2001 VOLVO S60 warning lights
[x] Cancel search: warning lightsPage 4 of 128

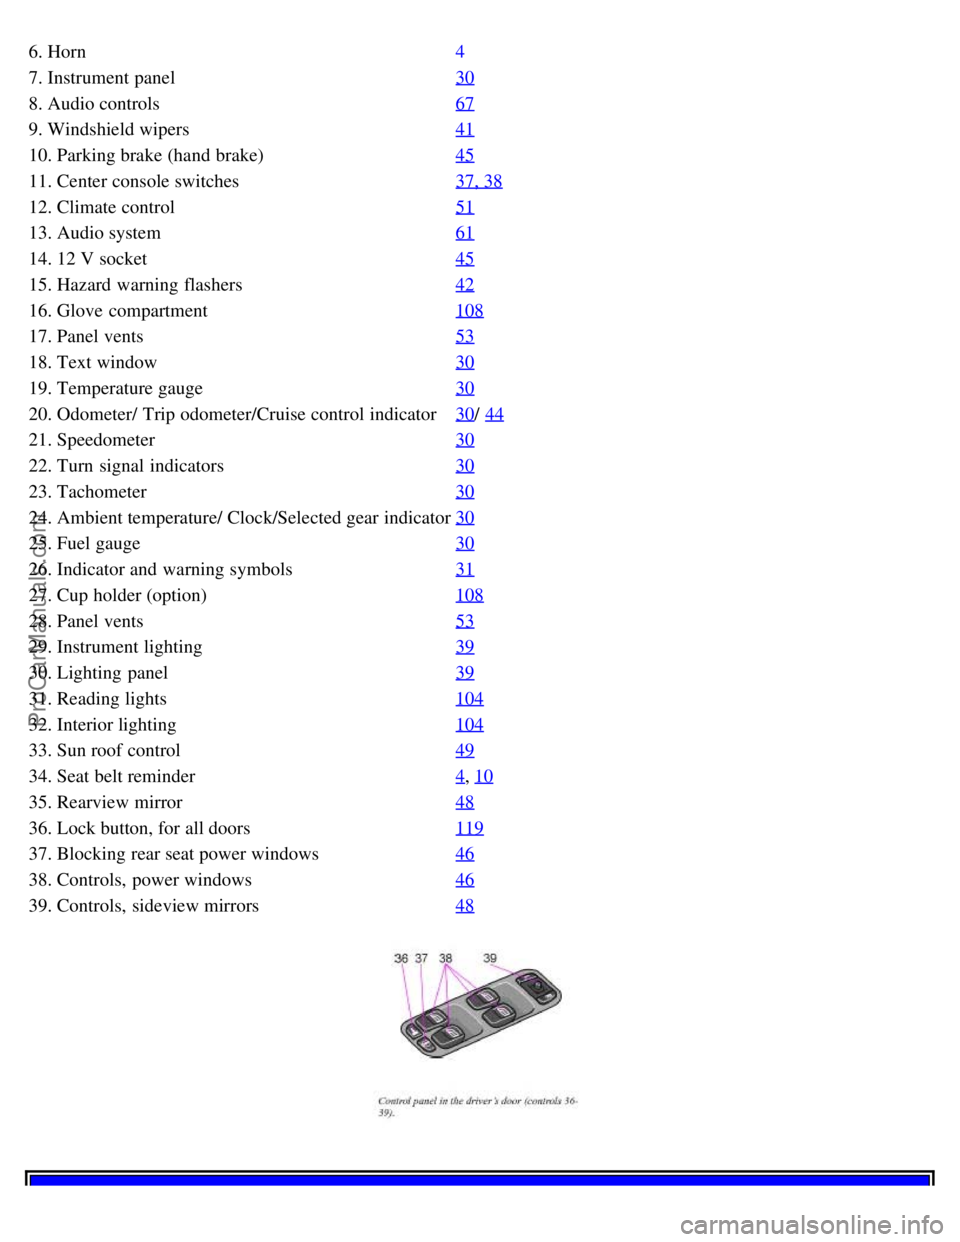
6. Horn4
7. Instrument panel30
8. Audio controls67
9. Windshield wipers41
10. Parking brake (hand brake)45
11. Center console switches37, 38
12. Climate control51
13. Audio system61
14. 12 V socket45
15. Hazard warning flashers42
16. Glove compartment108
17. Panel vents53
18. Text window30
19. Temperature gauge30
20. Odometer/ Trip odometer/Cruise control indicator30/ 44
21. Speedometer30
22. Turn signal indicators30
23. Tachometer30
24. Ambient temperature/ Clock/Selected gear indicator30
25. Fuel gauge30
26. Indicator and warning symbols31
27. Cup holder (option)108
28. Panel vents53
29. Instrument lighting39
30. Lighting panel39
31. Reading lights104
32. Interior lighting104
33. Sun roof control49
34. Seat belt reminder4, 10
35. Rearview mirror48
36. Lock button, for all doors119
37. Blocking rear seat power windows46
38. Controls, power windows46
39. Controls, sideview mirrors48
ProCarManuals.com
Page 8 of 128

Anti-lock brake system ABS If the warning light comes on, there is a malfunction of the ABS system (the
standard braking system will still function). The vehicle should be driven to a Volvo retailer for inspection. See page
138 for additional information.
pg. 32 Indicator and warning symbols
BRAKE Brake failure warning light
If the light comes on while driving or braking, stop immediately, open the hood and check the brake fluid level in the
reservoir. See page 170
for reservoir position and page 174 for instructions.
Canadian models are equipped with this warning light:
If the BRAKE and ABS warning lights come on at the same time, this could indicate a fault in the brake
system.
Stop the car in a suitable place and switch off the engine.
Restart the engine.
If both warning lights go off, no further action is required.
If both lights are still on after the engine has been restarted, switch off the engine again and check the brake fluid
level (see page 170
for the location of the brake fluid reservoir).
WARNING!
If the fluid level is below the MIN mark in the reservoir or if a "Brake failure - Service urgent" message is
displayed in the text window: DO NOT DRIVE. Have the car towed to an authorized Volvo retailer and have the
brake system inspected.
If the brake fluid level is above the MIN mark, drive carefully to an authorized Volvo retailer and have the brake
system inspected.
pg. 33 Indicator and warning symbols
Supplemental Restraint System SRS
If the light comes on (or stays on after the vehicle has started), the SRS diagnostic system has detected a fault. Drive
to an authorized Volvo retailer for an inspection of the system. See the SRS section for more information.
Generator warning light
If the light comes on while the engine is running, have the charging system checked.
Service reminder indicator
This light will come on at 7,500 mile (12,000 km) intervals, after 750 hours of driving or after 12 months, whichever
occurs first, to remind the driver that the service interval has been exceeded. The light will stay on for 2 minutes after
start until reset by the servicing retailer.
ProCarManuals.com
Page 15 of 128

Windshield wipers
Windshield wipers off
If the lever is in the 0 position and you move it upwards, the wipers will sweep one stroke at a time for as long as you
hold the lever up.
Intermittent wiper function With the lever in this position, you can set the wiper interval by twisting the
control ring (A) upward to increase wiper speed or downward to decrease the speed.
Rain sensor (option) The rain sensor replaces the intermittent wiper function. The windshield wiper speed increases
or decreases according to the amount of rain. The sensitivity of the sensor can be adjusted by twisting control A
upward or downward.
Wipers operate at "normal" speed
Wipers operate at "high" speed
3 - Windshield washer/ headlight washer (certain models)
The wipers will make 2- 3 sweeps across the windshield and headlights (certain models) after the lever is released.
pg. 42 Hazard warning flashers, rear window/ sideview mirror defroster, heated front seats
Hazard warning flashers
The four- way flasher should be used to indicate that the vehicle has become a traffic hazard. To activate the flashers,
press the triangular button in the center dash. Press the button again to turn off the flashers.
NOTE: Regulations regarding the use of the hazard warning flasher may vary, depending on where you live.
Sideview mirror and rear window defroster Press the switch to start heating the rear window and sideview mirrors
ProCarManuals.com
Page 21 of 128

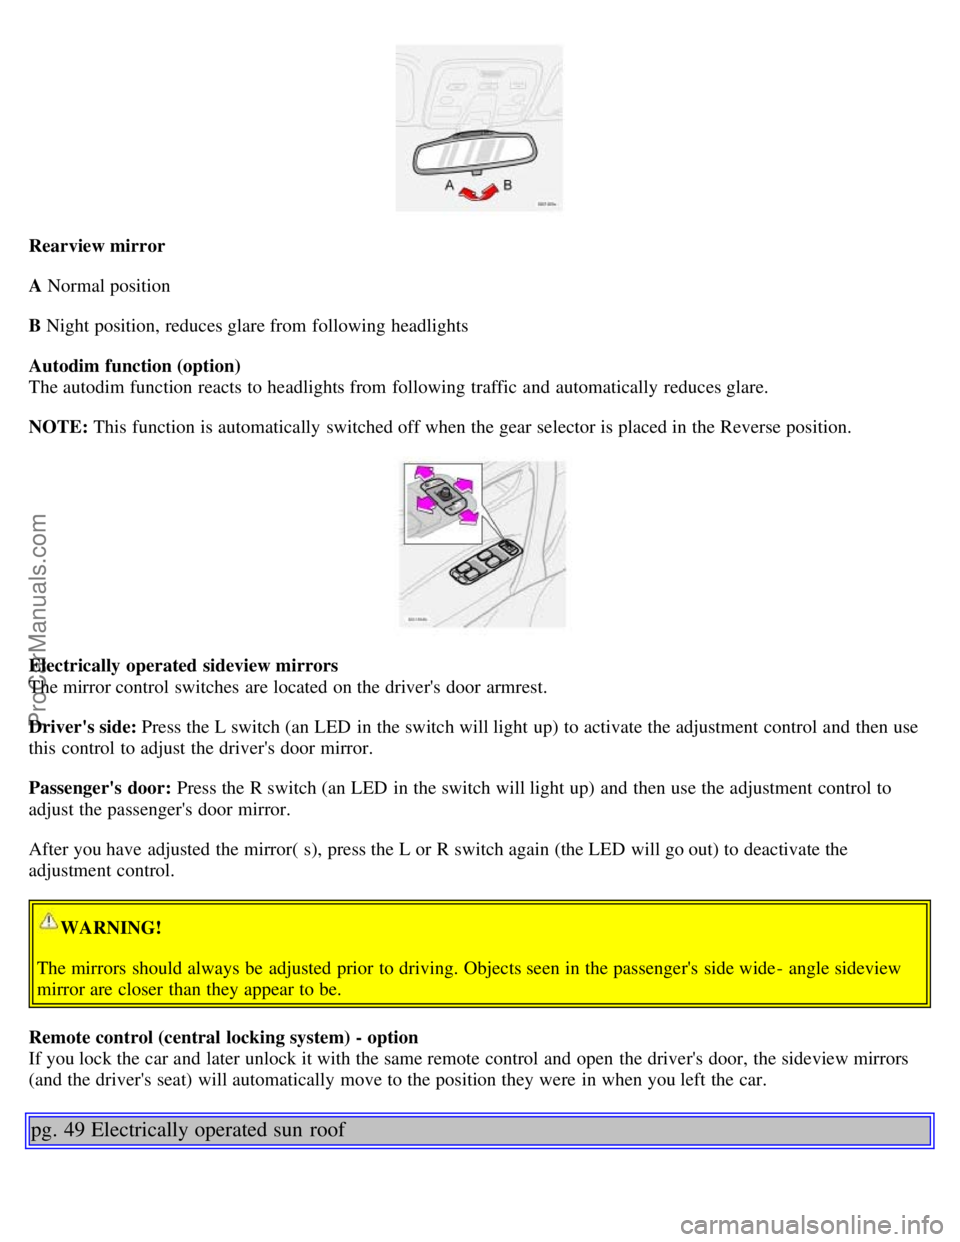
Rearview mirror
A Normal position
B Night position, reduces glare from following headlights
Autodim function (option)
The autodim function reacts to headlights from following traffic and automatically reduces glare.
NOTE: This function is automatically switched off when the gear selector is placed in the Reverse position.
Electrically operated sideview mirrors
The mirror control switches are located on the driver's door armrest.
Driver's side: Press the L switch (an LED in the switch will light up) to activate the adjustment control and then use
this control to adjust the driver's door mirror.
Passenger's door: Press the R switch (an LED in the switch will light up) and then use the adjustment control to
adjust the passenger's door mirror.
After you have adjusted the mirror( s), press the L or R switch again (the LED will go out) to deactivate the
adjustment control.
WARNING!
The mirrors should always be adjusted prior to driving. Objects seen in the passenger's side wide - angle sideview
mirror are closer than they appear to be.
Remote control (central locking system) - option
If you lock the car and later unlock it with the same remote control and open the driver's door, the sideview mirrors
(and the driver's seat) will automatically move to the position they were in when you left the car.
pg. 49 Electrically operated sun roof
ProCarManuals.com
Page 27 of 128

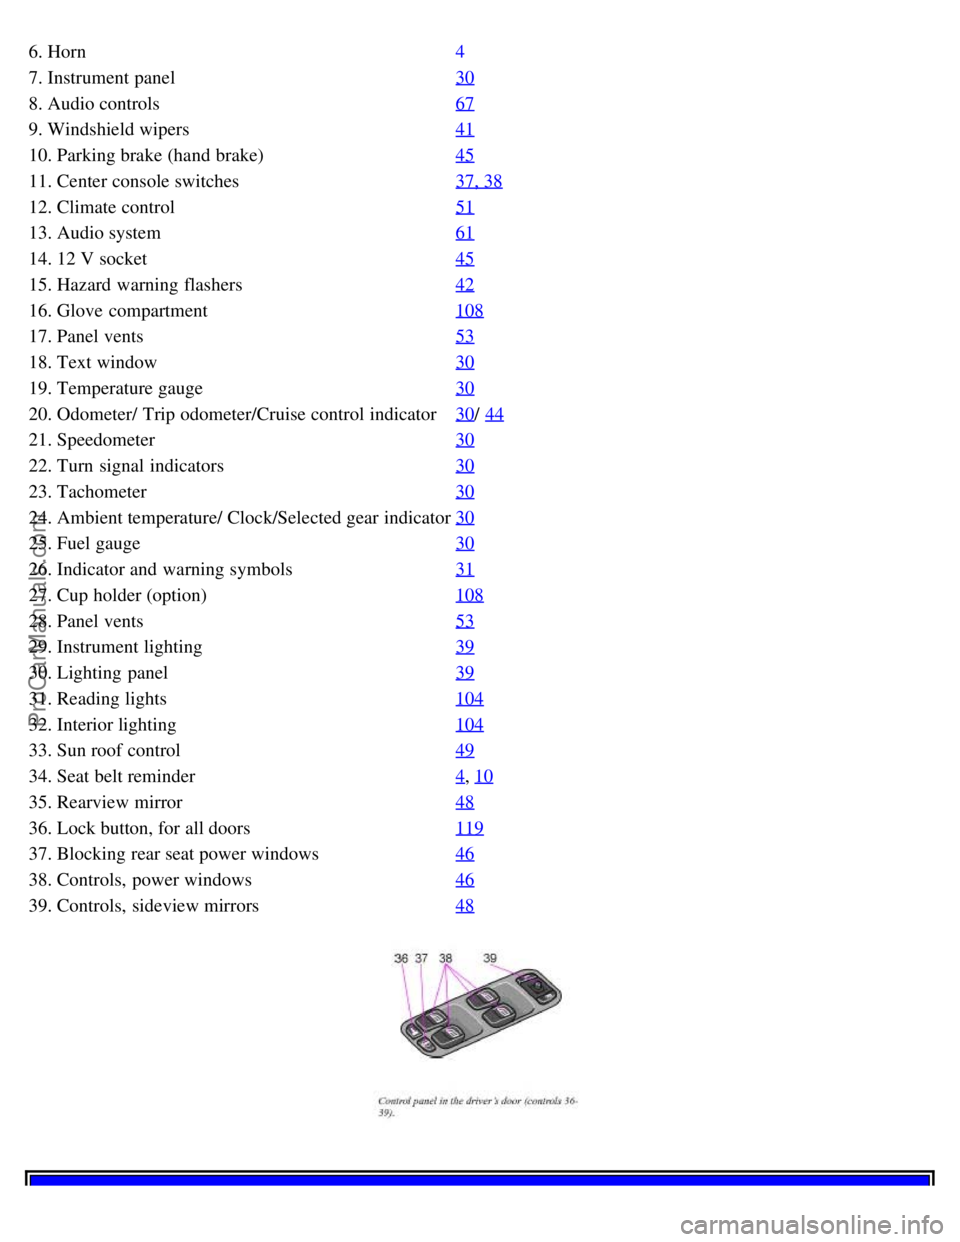
6. Horn4
7. Instrument panel30
8. Audio controls67
9. Windshield wipers41
10. Parking brake (hand brake)45
11. Center console switches37, 38
12. Climate control51
13. Audio system61
14. 12 V socket45
15. Hazard warning flashers42
16. Glove compartment108
17. Panel vents53
18. Text window30
19. Temperature gauge30
20. Odometer/ Trip odometer/Cruise control indicator30/ 44
21. Speedometer30
22. Turn signal indicators30
23. Tachometer30
24. Ambient temperature/ Clock/Selected gear indicator30
25. Fuel gauge30
26. Indicator and warning symbols31
27. Cup holder (option)108
28. Panel vents53
29. Instrument lighting39
30. Lighting panel39
31. Reading lights104
32. Interior lighting104
33. Sun roof control49
34. Seat belt reminder4, 10
35. Rearview mirror48
36. Lock button, for all doors119
37. Blocking rear seat power windows46
38. Controls, power windows46
39. Controls, sideview mirrors48
ProCarManuals.com
Page 58 of 128

You can disconnect the automatic function by pressing the courtesy light button for more than 3 seconds. Briefly
pressing the courtesy light button again automatically reconnects the function.
The courtesy light timer periods can be changed. Contact your Volvo retailer.
Reading lights - front/ rear
The reading lights can be switched on or off by pressing the respective buttons. These lights switch off automatically
after 10 minutes if the engine is not running. If the engine is running, the lights stay on indefinitely. The lights can be
switched off at any time by pressing the button.
pg. 105 Floor mats (option)
Vanity mirror
The light comes on when you open the cover.
Floor mats (option)
Volvo offers floor mats specially manufactured for your car. They must be properly placed and secured in the mat
clips.
WARNING!
An extra mat on the driver's floor can cause the accelerator pedal to catch. Check that the movement of the
accelerator pedal is not impeded. No more than one protective floor covering may be used at one time.
ProCarManuals.com
Page 80 of 128

Automatic transmission
The engine should be idling when you move the gear selector. Never accelerate until after you feel the transmission
engage! Acceler- ating immediately after selecting a gear will cause harsh engagement and premature transmission
wear.
Selecting P or N when idling at a standstill for prolonged periods of time will help prevent overheating of the
automatic trans - mission fluid.
WARNING!
Always place the gear selector in Park and apply the parking brake before leaving the vehicle. Never leave the car
unattended with the engine running.
Always open garage doors fully before starting the engine inside a garage to ensure adequate ventilation. The
exhaust gases contain carbon monoxide, which is invisible and odorless but very poisonous
Do not race a cold engine immediately after starting. Oil flow may not reach some lubrication points fast enough to
prevent engine damage.
* If two of the keys to your car are close together, e. g., on the same key ring, when you try to start the car, this could
cause interference in the immobilizer system and result in the car not starting. If this should occur, remove one of the
keys from the key ring before trying to start the car again.
pg. 129 Starting the car
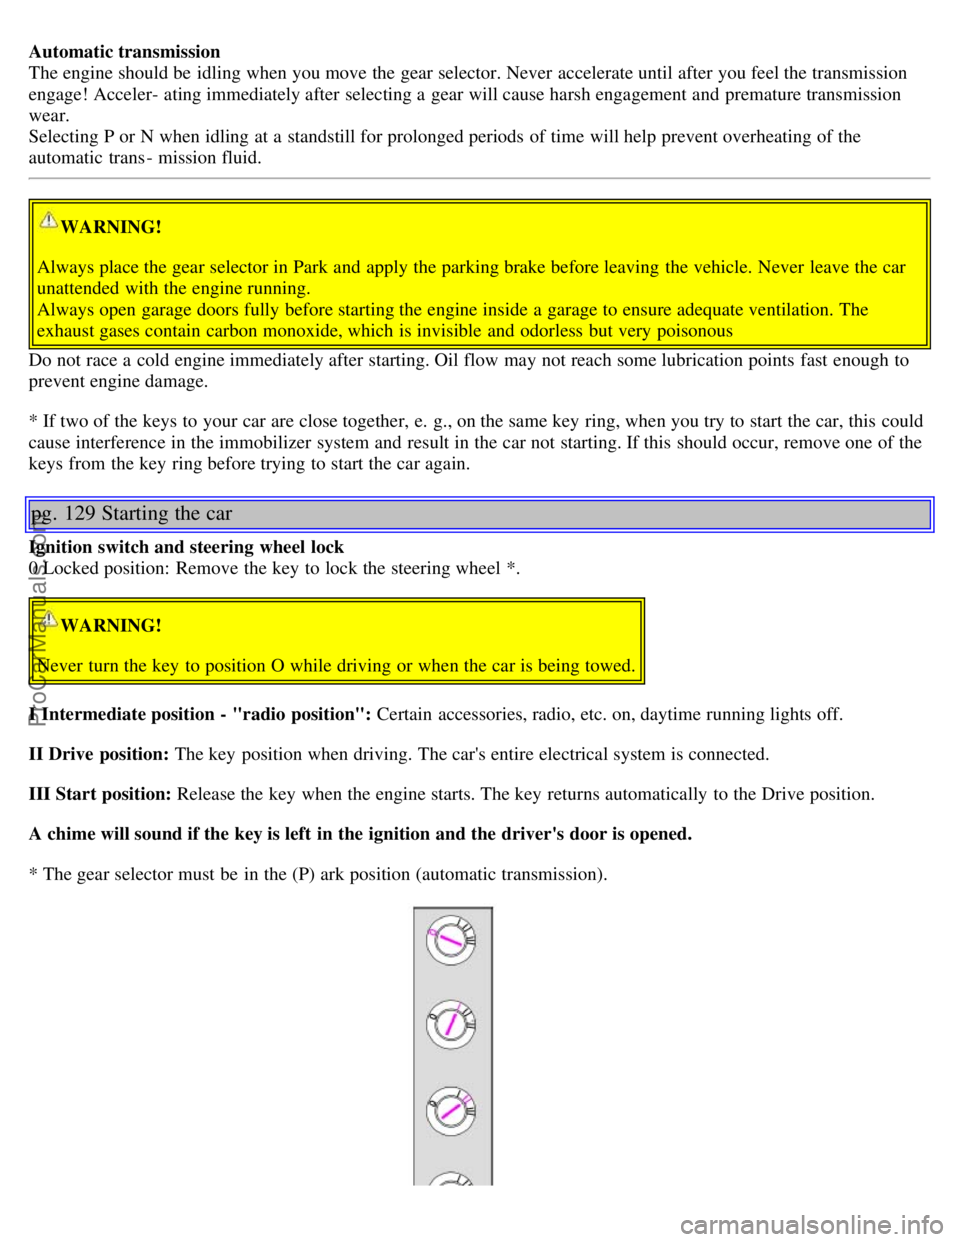
Ignition switch and steering wheel lock
0 Locked position: Remove the key to lock the steering wheel *.
WARNING!
Never turn the key to position O while driving or when the car is being towed.
I Intermediate position - "radio position": Certain accessories, radio, etc. on, daytime running lights off.
II Drive position: The key position when driving. The car's entire electrical system is connected.
III Start position: Release the key when the engine starts. The key returns automatically to the Drive position.
A chime will sound if the key is left in the ignition and the driver's door is opened.
* The gear selector must be in the (P) ark position (automatic transmission).
ProCarManuals.com
Page 88 of 128

needed, depress the pedal occasionally when driving through rain, slush etc. This will remove the water from the
brakes. Check that brake application feels normal. This should also be done after washing or starting in very damp or
cold weather.
Severe strain on the brake system
The brakes will be subject to severe strain when driving in mountains or hilly areas or towing. Vehicle speed is
usually slower, which means that the cooling of the brakes is less efficient than when driving on level roads. To
reduce the strain on the brakes, it is advisable not to use the brakes excessively. Instead, shift into a lower gear and let
the engine help with the braking. Do not forget that, if you are towing a trailer, the brakes will be subjected to a
greater than normal load.
pg. 138 Brake system
Anti-lock brakes (ABS)
If the warning lamp lights up there is a malfunction of the ABS system (the standard braking system will however
function) and the vehicle should be driven cautiously to a Volvo retailer for inspection. The Anti-lock Braking
System (ABS) helps to improve vehicle control (stopping and steering) during severe braking conditions by limiting
brake lockup. When the system "senses" impending lockup, braking pressure is automatically modulated in order to
help prevent lockup, which could lead to a skid.
The system performs a self - diagnostic test when the engine is started and when the vehicle first reaches a
speed of approximately 12 mph (20 km/ h). The brake pedal will pulsate several times and a sound may be audible
from the ABS control module. This is normal.
To obtain optimal effect from the ABS system, constant pressure should be kept on the brake pedal, keep constant
pressure on the brake pedal. Do not pump the brake pedal.
The switching of the ABS modulator will be audible and the brake pedal will pulsate during braking. Please be aware
that ABS does not increase the absolute braking potential of the vehicle. While control will be enhanced, ABS will
not shorten stopping distances on slippery surfaces.
ABS with EBD (Electronic Brake Force Distribution)
EBD is an integrated part of the ABS system. EBD regulates the hydraulic pressure to the rear brakes to help provide
optimal braking capacity.
If the BRAKE and ABS warning lights come on at the same time, this could indicate a fault in the brake system.
Stop the car in a suitable place and switch off the engine.
Restart the engine.
If both warning lights go off, no further action is required.
If both lights are still on after the engine has been restarted, switch off the engine again and check the brake fluid
level (see page 170 for the location of the brake fluid reservoir).
If the brake fluid level is above the MIN mark, drive carefully to an authorized Volvo retailer and have the brake
system inspected.
WARNING!
If the fluid level is below the MIN mark in the reservoir or if a "Brake failure - Service urgent" message is
displayed in the text window: DO NOT DRIVE. Have the car towed to a Volvo retailer and have the brake system
inspected.
ProCarManuals.com