Page 164 of 474
The arrangement of the instruments in the may vary depending on model and engine version.
The illustration shows the arrangement
of the instrumen t in a U.S.
Pos. Page
1 -Tachometer ...................... 8
2
Engine coo lant
temperature gauge ....... : ...... 9
3-Fuel gauge ......................
Speedometer . . . . . . . . . . . . . . . . . . . 1
Digital clock .................... 1
Display for Selector lever position
(only
indicator lights ............ 15
1 -Tachometer
The red area at th e end of the scale indica
tes maximum permissible engine RPM (
re
volutio ns per minute) for all gears after th e
break-in period. Before reachi ng this
selec t the next higher gear or selector lever
position
Upshifting early saves fuel and reduces engine noise.
Shift to the next lower gear when engine RPM drops below
Page 168 of 474
data covering any ber of successive trips, of how the ignition is off between trips.
age capacity of the total trip memory is:
Driving
time-1
(999
To information. press switch A,
cated on th e to
tr ip memory
The data can be
Ave rage
Distance driven
Average driving speed.
Driving time
one of the stored is exceeded, then
the
be erased and trip
memory, the
erase each memory. Press and
function .
you disconnect the battery, stored be erased .
The
When the ignition is on. 1 or 2 according to which memory
is turned on.
Press the rocker switch Bon the
function.
the ignition. the re main in the
memory
for up to 45 minutes.
faster than about km/h within the 45 m inute period, the
ne w
outside temperatu re be
The temperature range
and + 136 °F ( and +58°C).
When the
temperature may be
the outside temperatures are between
+2 1°F and +39°F (-7°C and
an ice appears in the
onds. then stays on
+21°F (-7°C).
Note
multi-function display
12 -------- --- ---INSTRUMENT PANEL AND
Page 200 of 474
utes. The
The rear window defogger is not designed
to melt snow. Therefore. always remove
heavy snow
and ice accumulations before
driving off.
7-n
passenger
With the ignition on. the seat cushion and
backres t of the passenger's seat can be
heated.
The heating eleme nts
in the seats can be
turned on and regulated with the thumb
wheel switch.
To switch off the seat heating, turn the
t humbwh eel switch to the detent position.
Switches in the driver's door
A -
up the switch to unlock the fuel filler
flap . The switch works also with the ignition
off .
B -Rear
up the switch to unlock the rear lid.
The switch works also
with the ignition off.
A warning light in the instrument cluster
comes
on when the ignition is on and the
rear lid is open. Additionally a warning tone*
wi ll sound an d a warning text* is shown
in
the display of the instrument cluster. This is to remind you to close the rear lid. The ligh
should go out when the rear lid is closed
Page 237 of 474

-defrost the windshield or to keep it from
steaming up (point outlets 4 towards the
side windows)
defrost the windshield or to keep it from
fogging up (point outlets 4 towards
the side windows) if. for example. someone
gets into the vehicle and is wearing
wet clothing .
Press button to switch on air recir
The air recirculation feature helps to prevent
fumes (for example. when driving through
a tunnel or standing in a traffic jam) and dust
from entering into the vehicle interior.
hicle interior use the air recirculation
feature. Air from inside the vehicle will be
heated or cooled and then redirected back
into the vehicle.
The
AND
drawn in will leave deposits
on the evaporator . resulting in permanent
odors whenever you switch on the air condi·
tione
r. This can be eliminated only by
suming and expensive.
You can direct the air flow into the
13 and 14 in dif
f erent combinat ions.
When you use the compressor
reaches and maintains the
you
cannot select an inside temperature lower
than the temperature outside.
Whenever you press button
1. switches off automatically.
To switch on again. press 17.
Press buttons 15 and 16 to adjust the
and then
the button 17.
Press ing buttons 9 or switches off
tem completely. Press the button until appears in the display.
Use this function only in special cases. for
example if there
is a defect in the heating
and ventilat ion system.
Note
you no longer require any special once again.
HEATING. AND AIR CONDITIONING---------8 1
Page 397 of 474

Radio
1-
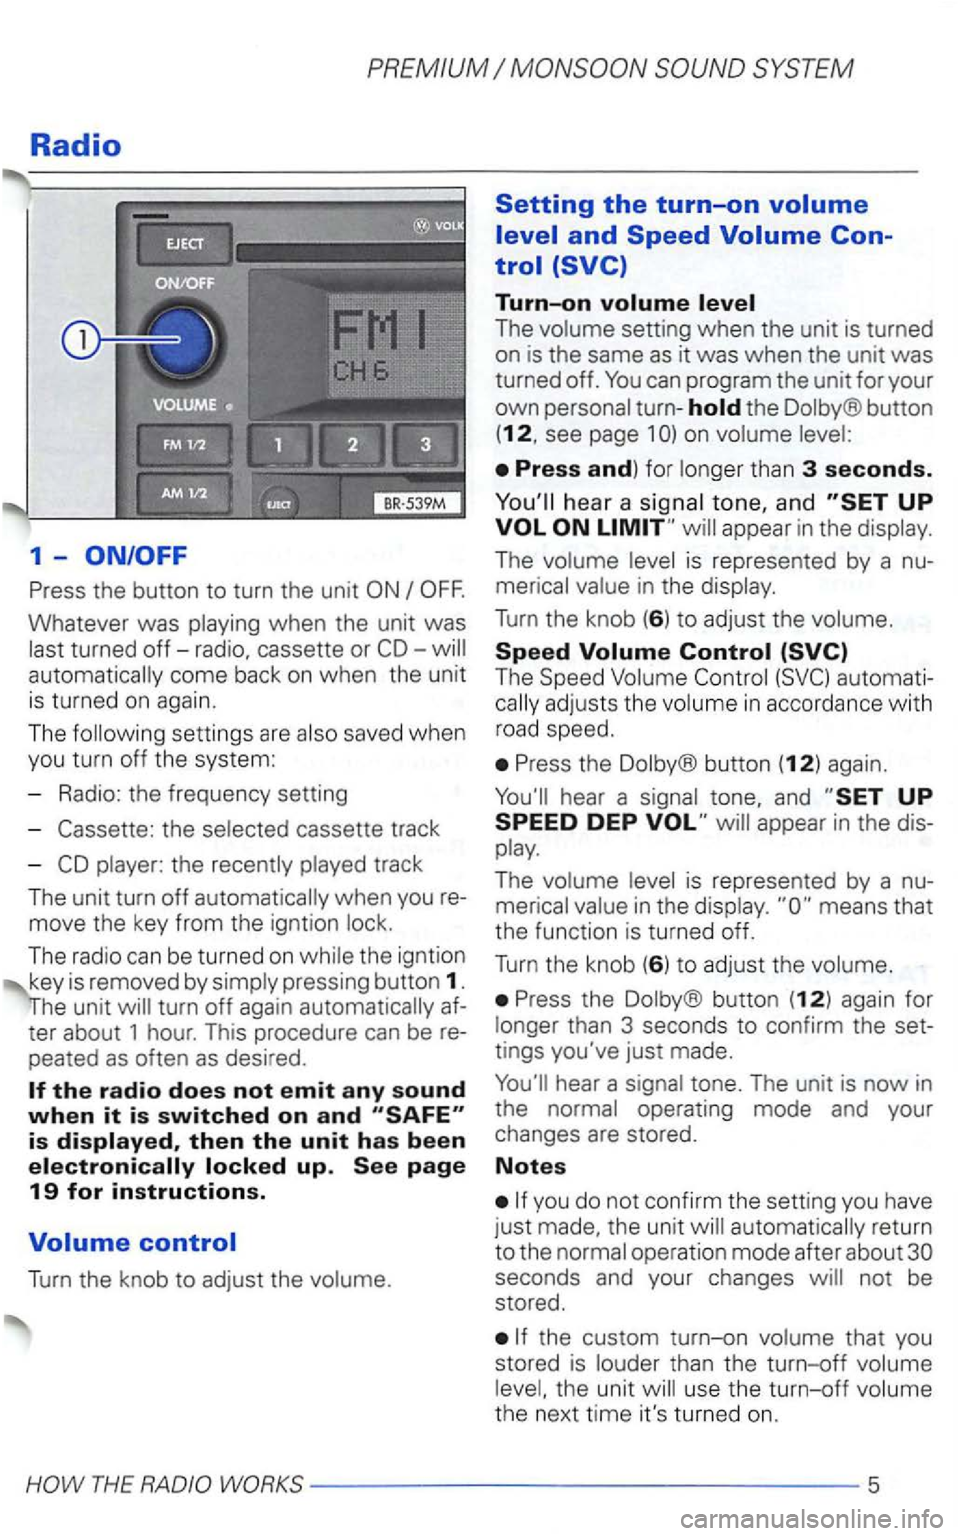
Press the button to turn the unit
Whatever was playing when the unit was
last turned
off-radio, cassette or automatically come back on when the unit
is turned on again.
The following settin gs are also saved when
you turn off the system:
- Radio: the frequency setting
-
the selected cassette track
-
player: the recently played track
The unit turn
off automatically when you
move the key from the igntion lock.
The radio can be turned
on while the igntion
key is removed by simply pressing button 1.
turn off again automatically
peated as often as desired .
Turn the knob to adjust the volume.
Setting the turn-on
Turn-on
The volume setting when the unit is turned
on is the same as it was when the unit was turned off.
the Dolby® button
(12, see page 1
hea r a signal tone, and appear in the display.
The volume level is represented by a
The Speed Volume
Press the Dolby® button (12) again.
Press the Dolby ® button (12) again for
longer than 3 seconds to confirm the
tings you've just made.
automatically return
to the normal operation mode after about
the custom turn-on volume that you
stored is louder than the turn-off volume
level, the unit will use the
turn-off volume
the next time it's turned on.
Page 400 of 474
6 -Manual tuning
Use this button to
ing the 5 second period, the feature will stop there.
7 -Station preset buttons
FM1 and FM2.
Select the desired band
Tune to the desired radio station (see 5 or 6).
Hold down the station button until you
hear
an audible signal. The sound first
be muted and then return.
the currently displayed frequency
Page 402 of 474
Cassette
Tap the TAPE button to start a cas
sette you
you don't have a casette in the cassette
bay and you press the TAPE
and
the unit start to
Selecting a tape side
the tape is
switch to the other cas
sette track.
The tape direction
be displayed :
= reverse direction.
Press the
the way into the cas
sette bay
11 with the tape side facing to the
right.
12 -Dolby® Noise Reduction
Press the button if you are
Noise Reduction
The
® The Dolby Noise Reduction System is manufactured under license from Dolby Licensing Corporation. Dolby and double-D
- - ----------HOW THE
Page 404 of 474
What you see in the display
when listening to a cassette
-
Appears when Dolby® Noise Reduction is
selected.
-
Appears when metal cassettes are played.
-
Shows you which side of the tape is currentbeing played.
page for further details.
® The is manufactu red under from
cas
settes.
To ensure that your cassette player
operates properly, only use name-brand
cassettes.
15 F
it using a wet-type
THE