Page 117 of 341

2-47 Mirror Reading Lamps
Press the switch next to each lamp to turn them on
and off.
Three-Position Dome Lamp (If Equipped)
The switch on this lamp has three positions. The ON
position will turn on the light. The DOOR position will
turn on the light whenever a door is opened or when the
instrument panel intensity control thumbwheel is moved
to the right. The OFF position will shut off the lamp
completely, even when a door is opened.
Your vehicle may also have two reading lamps as part of
the dome lamp. Push the lens of either lamp to turn them
on and off.
Trunk Lamp
The trunk lamp comes on when you open your trunk.
Battery Saver
Your vehicle is equipped with a battery saver feature
designed to protect your vehicle's battery.
When any interior lamp (trunk, mirror reading lamps,
dome lamp or glove box) is left on when the ignition is
turned off, the battery saver system will automatically
shut the lamp off after 20 minutes. This will avoid
draining the battery.
To reactivate the interior lamps, do one of the following:
�Lift the driver's door handle,
�open any door,
�press any remote keyless entry transmitter button
(if equipped),
�press the power door lock switch,
�press the remote trunk release, or
�turn the lamp that was left on to off then to on again.
Page 122 of 341
2-52
The Instrument Panel -- Your Information System
Page 123 of 341
2-53
The main components of your instrument panel are the following:
A. Fog Lamp Switch
B. Instrument Panel Intensity Control
C. Turn Signal/Multifunction Lever
D. Horn
E. Instrument Panel Cluster
F. Windshield Wiper/Washer Lever
G. Ignition Switch
H. Enhanced Traction System
I. Hazard Warning Flashers ButtonJ. Instrument Panel Fuse Blocks
K. Hood Release Handle
L. Tilt Wheel Lever
M. Audio System Steering Wheel Controls
(If Equipped)
N. Cruise Control Switches (If Equipped)
O. Shift Lever
P. Cigarette Lighter
Q. Climate Control System
R. Audio System
Page 124 of 341
2-54
Instrument Panel Cluster
Your instrument panel cluster is designed to let you know at a glance how your vehicle is running. You'll know how
fast you're going, how much fuel you're using, and many other things you'll need to drive safely and economically.
Your vehicle is equipped with this cluster or one very similar to it. It includes indicator warning lights and gages that
are explained on the following pages. Be sure to read about them.
Automatic Transaxle Cluster shown Manual Transaxle Cluster and Canada Cluster similar
Page 127 of 341

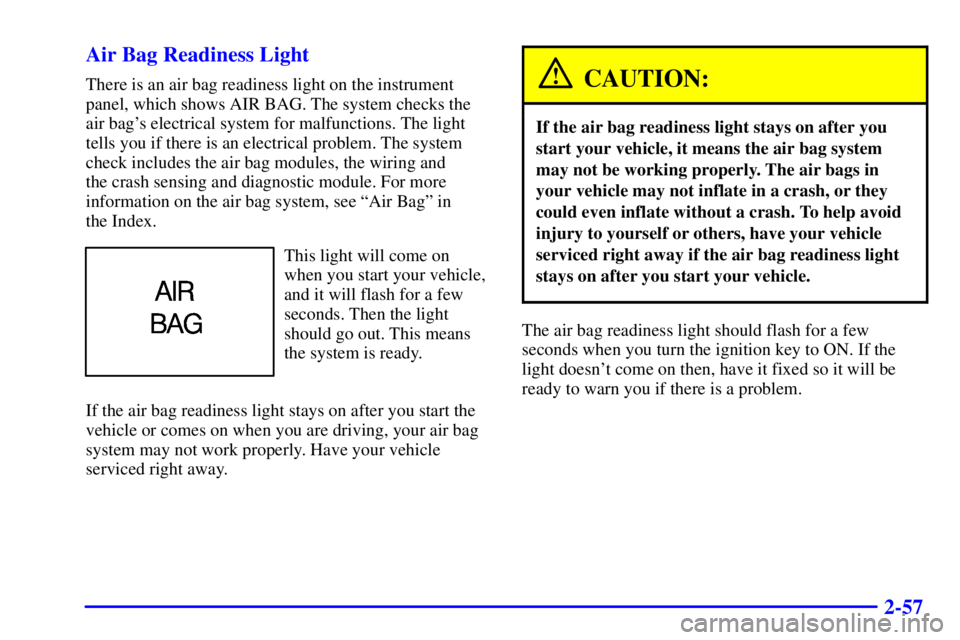
2-57 Air Bag Readiness Light
There is an air bag readiness light on the instrument
panel, which shows AIR BAG. The system checks the
air bag's electrical system for malfunctions. The light
tells you if there is an electrical problem. The system
check includes the air bag modules, the wiring and
the crash sensing and diagnostic module. For more
information on the air bag system, see ªAir Bagº in
the Index.
This light will come on
when you start your vehicle,
and it will flash for a few
seconds. Then the light
should go out. This means
the system is ready.
If the air bag readiness light stays on after you start the
vehicle or comes on when you are driving, your air bag
system may not work properly. Have your vehicle
serviced right away.
CAUTION:
If the air bag readiness light stays on after you
start your vehicle, it means the air bag system
may not be working properly. The air bags in
your vehicle may not inflate in a crash, or they
could even inflate without a crash. To help avoid
injury to yourself or others, have your vehicle
serviced right away if the air bag readiness light
stays on after you start your vehicle.
The air bag readiness light should flash for a few
seconds when you turn the ignition key to ON. If the
light doesn't come on then, have it fixed so it will be
ready to warn you if there is a problem.
Page 130 of 341

2-60 Anti-Lock Brake System Warning Light
With the anti-lock brake
system, the light will come
on when your engine is
started and may stay on for
several three seconds.
That's normal.
If the light stays on, turn the ignition to OFF. Or, if the
light comes on when you're driving, stop as soon as
possible and turn the ignition off. Then start the engine
again to reset the system. If the light still stays on, or
comes on again while you're driving, your vehicle needs
service. If the regular brake system warning light isn't
on, you still have brakes, but you don't have anti
-lock
brakes. If the regular brake system warning light is also
on, you don't have anti
-lock brakes and there's a
problem with your regular brakes. See ªBrake System
Warning Lightº earlier in this section.
The anti
-lock brake system warning light should come
on briefly when you turn the ignition key to ON. If the
light doesn't come on then, have it fixed so it will be
ready to warn you if there is a problem.
Enhanced Traction System Warning Light
With the Enhanced Traction
System (ETS), this warning
light should come on briefly
as you start the engine.
If the warning light doesn't come on then, have it fixed
so it will be ready to warn you if there's a problem.
If the warning light stays on, or comes on when you're
driving, there may be a problem with your Enhanced
Traction System and your vehicle may need service.
When this warning light is on, the system will not limit
wheel spin. Adjust your driving accordingly.
The Enhanced Traction System warning light may come
on for the following reasons:
�If you turn the system off by pressing the ETS button
located on the instrument panel above the audio
system, the warning light will come on and stay on.
To turn the system back on, press the button again.
The warning light should go off. See ªEnhanced
Traction Systemº in the Index for more information.
Page 137 of 341

2-67 Low Oil Light (If Equipped)
If your vehicle is equipped
with a 3400 V6 engine, then
you will have a LOW OIL
light on your instrument
panel cluster.
This light will come on briefly when you start
your vehicle.
If the light stays on after starting your vehicle, or comes
on and chimes while you are driving, your engine oil
level should be checked.
Prior to checking the oil level, be sure your vehicle has
been shut off for several minutes and is on a level
surface. Check the oil level on your dipstick and bring it
to the proper level. See ªEngine Oilº in the Index.
A false LOW OIL light may be generated when parking
on steep grades.The oil level monitoring system only checks oil level
during the brief period between when the key is on and
the engine is cranking. It does not monitor engine oil
level when the engine is running. Additionally, an oil
level check is only performed if the engine has been
turned off for a considerable period of time allowing the
oil normally in circulation to drain back into the oil pan.
Change Oil Light
The CHANGE OIL light
should come on briefly as
a bulb check when you
start the engine. If the light
doesn't come on, have
it serviced.
If the CHANGE OIL light comes on and stays on after
you start the engine, have the oil changed.
For additional information, see ªEngine Oil, When to
Changeº in the Index. To reset the Oil Life Monitor, see
ªEngine Oil Life Monitorº in the Index.
Page 141 of 341

3-2
Comfort Controls
With this system, you can control the ventilation and
heating in your vehicle.
Your vehicle also has the flow
-through ventilation
system described later in this section.
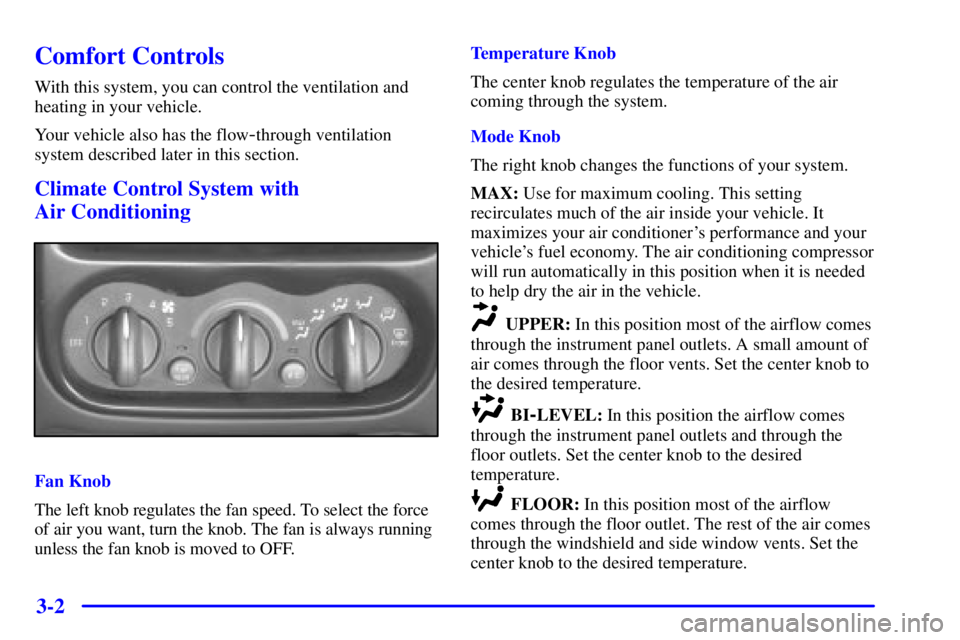
Climate Control System with
Air Conditioning
Fan Knob
The left knob regulates the fan speed. To select the force
of air you want, turn the knob. The fan is always running
unless the fan knob is moved to OFF.Temperature Knob
The center knob regulates the temperature of the air
coming through the system.
Mode Knob
The right knob changes the functions of your system.
MAX: Use for maximum cooling. This setting
recirculates much of the air inside your vehicle. It
maximizes your air conditioner's performance and your
vehicle's fuel economy. The air conditioning compressor
will run automatically in this position when it is needed
to help dry the air in the vehicle.
UPPER: In this position most of the airflow comes
through the instrument panel outlets. A small amount of
air comes through the floor vents. Set the center knob to
the desired temperature.
BI-LEVEL: In this position the airflow comes
through the instrument panel outlets and through the
floor outlets. Set the center knob to the desired
temperature.
FLOOR: In this position most of the airflow
comes through the floor outlet. The rest of the air comes
through the windshield and side window vents. Set the
center knob to the desired temperature.