Page 4 of 413
Table of Contents
Windows
Keys and Door Locks
Remote Keyless Entry System (If Equipped)
Trunk Release
Automatic Transaxle
Parking Brake
Tilt Wheel
Turn Signal/Multifunction Lever
Windshield Wipers
Cruise Control
Exterior and Interior LampsMirrors
Storage Compartments
Convenience Net (Option)
Accessory Power Outlet
OnStar® System (If Equipped)
Sunroof (Option)
HomeLink® Transmitter (If Equipped)
Instrument Panel, Warning Lights and Gages
Driver Information Center (Option)
Memory and Personalization
Head-Up Display (Option) Seats and Seat Controls
Safety BeltsAir Bag Systems
Restraint Systems for Children
Section
1
Section
2
Seats and Restraint Systems
Features and Controls
ii
Page 16 of 413

1-4 Power Lumbar Control (Option)
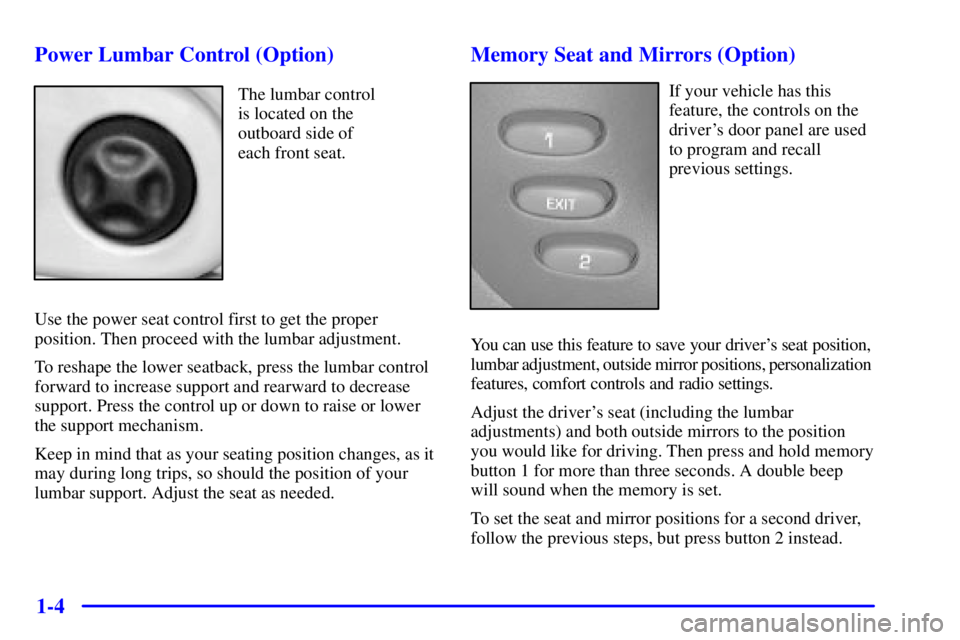
The lumbar control
is located on the
outboard side of
each front seat.
Use the power seat control first to get the proper
position. Then proceed with the lumbar adjustment.
To reshape the lower seatback, press the lumbar control
forward to increase support and rearward to decrease
support. Press the control up or down to raise or lower
the support mechanism.
Keep in mind that as your seating position changes, as it
may during long trips, so should the position of your
lumbar support. Adjust the seat as needed.
Memory Seat and Mirrors (Option)
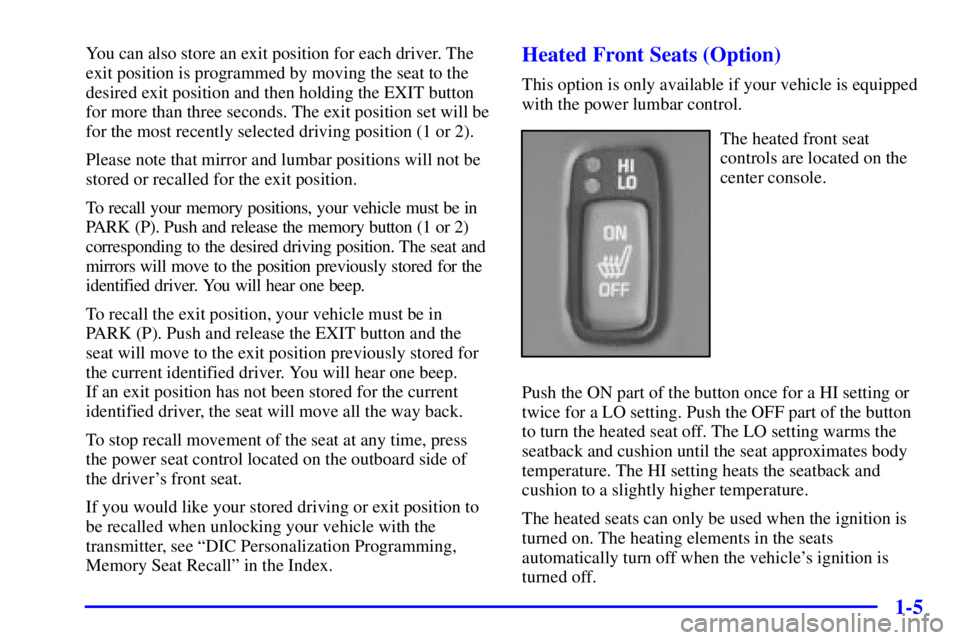
If your vehicle has this
feature, the controls on the
driver's door panel are used
to program and recall
previous settings.
You can use this feature to save your driver's seat position,
lumbar adjustment, outside mirror positions, personalization
features, comfort controls and radio settings.
Adjust the driver's seat (including the lumbar
adjustments) and both outside mirrors to the position
you would like for driving. Then press and hold memory
button 1 for more than three seconds. A double beep
will sound when the memory is set.
To set the seat and mirror positions for a second driver,
follow the previous steps, but press button 2 instead.
Page 17 of 413

1-5
You can also store an exit position for each driver. The
exit position is programmed by moving the seat to the
desired exit position and then holding the EXIT button
for more than three seconds. The exit position set will be
for the most recently selected driving position (1 or 2).
Please note that mirror and lumbar positions will not be
stored or recalled for the exit position.
To recall your memory positions, your vehicle must be in
PARK (P). Push and release the memory button (1 or 2)
corresponding to the desired driving position. The seat and
mirrors will move to the position previously stored for the
identified driver. You will hear one beep.
To recall the exit position, your vehicle must be in
PARK (P). Push and release the EXIT button and the
seat will move to the exit position previously stored for
the current identified driver. You will hear one beep.
If an exit position has not been stored for the current
identified driver, the seat will move all the way back.
To stop recall movement of the seat at any time, press
the power seat control located on the outboard side of
the driver's front seat.
If you would like your stored driving or exit position to
be recalled when unlocking your vehicle with the
transmitter, see ªDIC Personalization Programming,
Memory Seat Recallº in the Index.Heated Front Seats (Option)
This option is only available if your vehicle is equipped
with the power lumbar control.
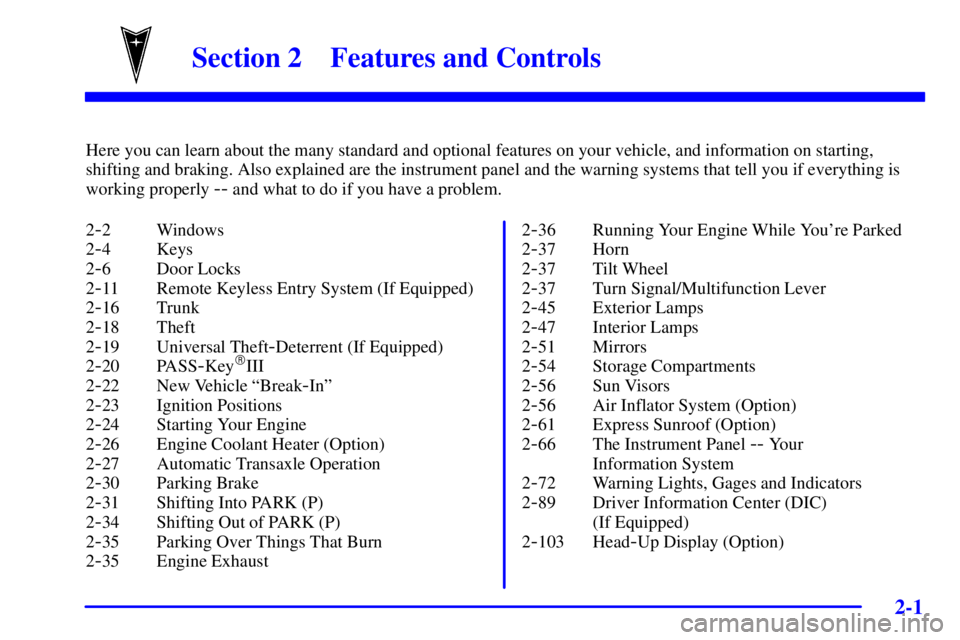
The heated front seat
controls are located on the
center console.
Push the ON part of the button once for a HI setting or
twice for a LO setting. Push the OFF part of the button
to turn the heated seat off. The LO setting warms the
seatback and cushion until the seat approximates body
temperature. The HI setting heats the seatback and
cushion to a slightly higher temperature.
The heated seats can only be used when the ignition is
turned on. The heating elements in the seats
automatically turn off when the vehicle's ignition is
turned off.
Page 68 of 413

2-
2-1
Section 2 Features and Controls
Here you can learn about the many standard and optional features on your vehicle, and information on starting,
shifting and braking. Also explained are the instrument panel and the warning systems that tell you if everything is
working properly
-- and what to do if you have a problem.
2
-2 Windows
2
-4 Keys
2
-6 Door Locks
2
-11 Remote Keyless Entry System (If Equipped)
2
-16 Trunk
2
-18 Theft
2
-19 Universal Theft-Deterrent (If Equipped)
2
-20 PASS-Key�III
2
-22 New Vehicle ªBreak-Inº
2
-23 Ignition Positions
2
-24 Starting Your Engine
2
-26 Engine Coolant Heater (Option)
2
-27 Automatic Transaxle Operation
2
-30 Parking Brake
2
-31 Shifting Into PARK (P)
2
-34 Shifting Out of PARK (P)
2
-35 Parking Over Things That Burn
2
-35 Engine Exhaust2
-36 Running Your Engine While You're Parked
2
-37 Horn
2
-37 Tilt Wheel
2
-37 Turn Signal/Multifunction Lever
2
-45 Exterior Lamps
2
-47 Interior Lamps
2
-51 Mirrors
2
-54 Storage Compartments
2
-56 Sun Visors
2
-56 Air Inflator System (Option)
2
-61 Express Sunroof (Option)
2
-66 The Instrument Panel -- Your
Information System
2
-72 Warning Lights, Gages and Indicators
2
-89 Driver Information Center (DIC)
(If Equipped)
2
-103 Head-Up Display (Option)
Page 119 of 413

2-52
Electrochromic Day/Night Rearview Mirror
(If Equipped)
Your vehicle may have an automatic electrochromic
day/night rearview mirror. Your vehicle's mirror may
also contain OnStar
� controls.
This is the on/off button for mirrors equipped with
OnStar controls.
When this feature is turned on, the mirror automatically
changes to reduce glare from headlamps behind you.
A photocell on the mirror senses when it is becoming
dark outside. Another photocell built into the mirror face
senses when headlamps are behind you.
At night, when the glare is too high, the mirror will
gradually darken to reduce glare (this change may take a
few seconds). The mirror will return to its clear daytime
state when the glare is reduced.
Mirror Operation
To turn on the automatic dimming feature, press AUTO
(or the on/off button for mirrors equipped with OnStar
controls). To turn off automatic dimming, press OFF
(or the on/off button for mirrors equipped with OnStar
controls). The indicator light will be illuminated when
this feature is active.
Power Remote Control Mirrors
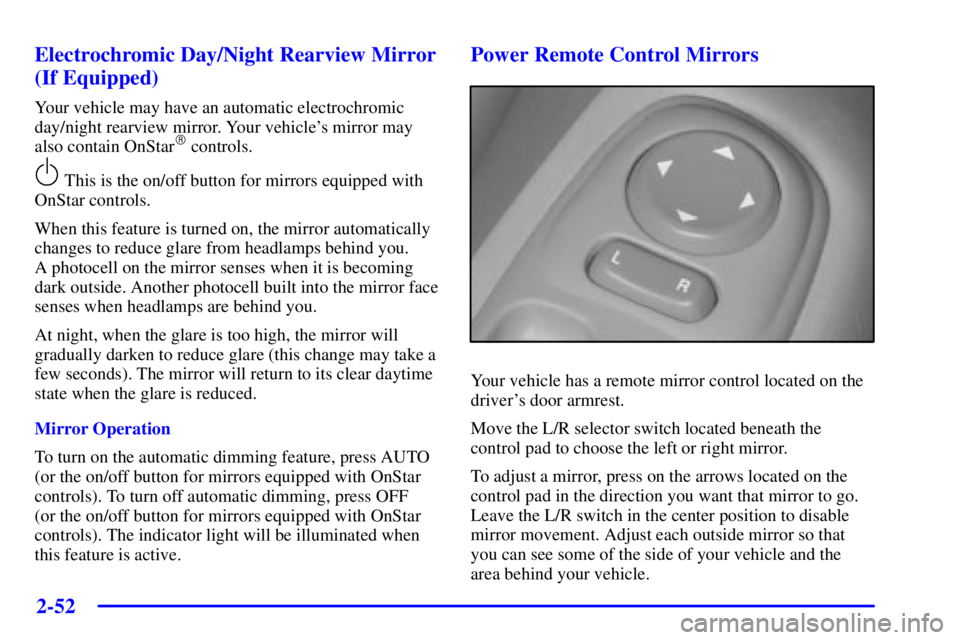
Your vehicle has a remote mirror control located on the
driver's door armrest.
Move the L/R selector switch located beneath the
control pad to choose the left or right mirror.
To adjust a mirror, press on the arrows located on the
control pad in the direction you want that mirror to go.
Leave the L/R switch in the center position to disable
mirror movement. Adjust each outside mirror so that
you can see some of the side of your vehicle and the
area behind your vehicle.