Page 32 of 127
SIGNALLING*31I-14Horn Press the end of the stalk. Headlamp flash Pull the stalk towards you to flash headlamps.
The headlamp flash operates even with the ignition off. Direction indicators Left: move the stalk downwards.Right: move the stalk upwards.
Movement of the steering wheel returns the stalk to the off position automati-
cally. Hazard warning lamps
Operates the direction indicators simultaneously.
Use only in case of danger, emergency stop or in hazardous conditions.
Also operates with the ignition off.The direction indicators will not work when the hazard warning lamps are in use.
* According to model or country
Protection fuses under the dashboardF7 - F26 - F30Protection fuses under the dashboardF4 - F9 - F18 - F19
(under the bonnet)
F3 - F4 - F7 - F8 (with ABS)
F2 - F3 - F12 - F13 (without ABS)
Page 33 of 127

SIGNALLING*I-14
32
Vehicles fitted with front fog lamps and a rear fog lamp (ring C)
Front fog lamps.
These function with the side lightsand the dipped beam headlamps.
Front fog lampsand rear fog lamp
These function with the side lightsand the dipped and main beamheadlamps.
Fog lamps off.
Vehicles fitted with a rear foglamp (ring B) Rear fog lamp.
This operates with the dipped/mainbeam headlamps.
THE LIGHTS STALK Front and rear lights Selection is by turning ring
A.
Lights off Side lights on
Dipped/main beam headlamps
Dipped/ main beam change Pull the stalk fully towards you. Note: with the ignition off, an
audible signal will sound upon ope-
ning the driverÕs door, if you haveleft your lights on. Front fog lamps* and rear fog lamp Rotate the ring forwards to switch
on and backwards to switch off. Thestatus is confirmed by the light onthe instrument panel.
BA
In good or rainy weather, both day and night, the rear foglamp is dazzling and is prohi-bited. Do not forget to switch it off as soon as it is no longer needed.
C
* According to model or country
Page 72 of 127

AUDIO-SYSTEM124
RADIO Notes on radio reception
Your car radio receiver is subject to phenomena which do not affect domestic sets. Both amplitude modula-
tion (MW/LW) and frequency modulation (FM) reception are subject to various forms of interference whichare not a reflection on the quality of your set, but are due to the nature of the signals and the way in whichthey are transmitted.
On MW/LW, interference may be noticed when passing underneath high voltage power lines or bridges or in tunnels.
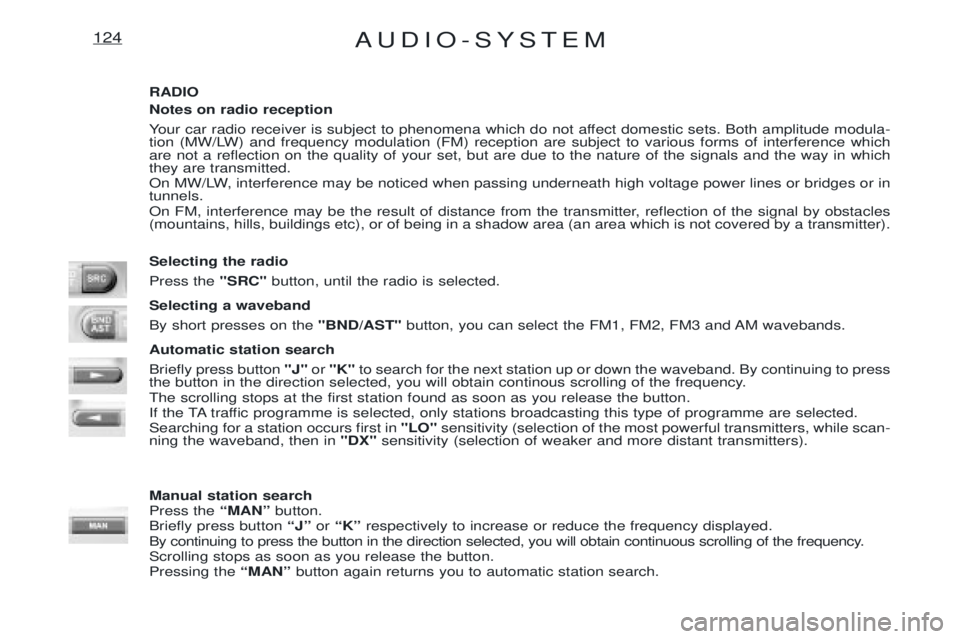
On FM, interference may be the result of distance from the transmitter, reflection of the signal by obstacles (mountains, hills, buildings etc), or of being in a shadow area (an area which is not covered by a transmitter). Selecting the radio Press the "SRC"button, until the radio is selected.
Selecting a wavebandBy short presses on the "BND/AST"button, you can select the FM1, FM2, FM3 and AM wavebands.
Automatic station searchBriefly press button "J"or "K" to search for the next station up or down the waveband. By continuing to press
the button in the direction selected, you will obtain continous scrolling of the frequency. The scrolling stops at the first station found as soon as you release the button.
If the TA traffic programme is selected, only stations broadcasting this type of programme are selected.Searching for a station occurs first in "LO"sensitivity (selection of the most powerful transmitters, while scan-
ning the waveband, then in "DX"sensitivity (selection of weaker and more distant transmitters).
Manual station searchPress the ÒMANÓbutton.
Briefly press button ÒJÓor ÒKÓ respectively to increase or reduce the frequency displayed.
By continuing to press the button in the direction selected, you will obtain continuous scrolling of the frequency.Scrolling stops as soon as you release the button.Pressing the ÒMANÓbutton again returns you to automatic station search.
Page 82 of 127

AUDIO-SYSTEM134
RADIO Notes on radio reception
Your car radio receiver is subject to phenomena which do not affect domestic sets. Both amplitude modula-
tion (MW/LW) and frequency modulation (FM) reception are subject to various forms of interference whichare not a reflection on the quality of your set, but are due to the nature of the signals and the way in whichthey are transmitted.
On MW/LW, interference may be noticed when passing underneath high voltage power lines or bridges or in tunnels.
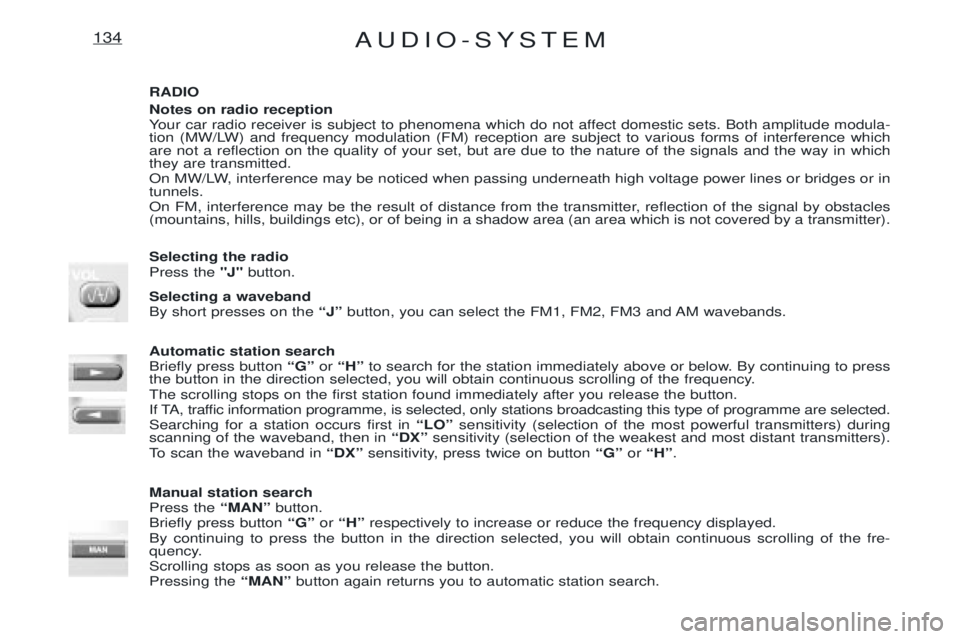
On FM, interference may be the result of distance from the transmitter, reflection of the signal by obstacles (mountains, hills, buildings etc), or of being in a shadow area (an area which is not covered by a transmitter). Selecting the radio Press the "J"button.
Selecting a wavebandBy short presses on the ÒJÓ button, you can select the FM1, FM2, FM3 and AM wavebands.
Automatic station searchBriefly press button ÒGÓor ÒHÓ to search for the station immediately above or below. By continuing to press
the button in the direction selected, you will obtain continuous scrolling of the frequency.The scrolling stops on the first station found immediately after you release the button.
If TA, traffic information programme, is selected, only stations broadcasting this type of programme are selected.Searching for a station occurs first in ÒLOÓsensitivity (selection of the most powerful transmitters) during
scanning of the waveband, then in ÒDXÓsensitivity (selection of the weakest and most distant transmitters).
To scan the waveband in ÒDXÓsensitivity, press twice on button ÒGÓor ÒHÓ .
Manual station searchPress the ÒMANÓbutton.
Briefly press button ÒGÓor ÒHÓ respectively to increase or reduce the frequency displayed.
By continuing to press the button in the direction selected, you will obtain continuous scrolling of the fre-
quency. Scrolling stops as soon as you release the button.Pressing the ÒMANÓbutton again returns you to automatic station search.
Page 98 of 127
REPLACING BULBS79V- 3
Beware
The halogen bulbs should not be changed until they have been off for a few minutes (risk of serious burns). Do not touch the new bulb directly withyour fingers; use a lint-free cloth. After replacing a bulb, check the correct operation of the lighting and signalling.
Headlamps Removal:
Remove the rubber cover and dis-connect the wiring connector.Release the spring clips.
Withdraw the bulb from its housing in the reflector. Refitting: Proceed in the reverse order to refit. Sidelamps Disconnect the lamp next to the headlamp.Rotate by a quarter of a turn.Remove the bulb.Protection fuses (under the dashboard)F4 - F9 - F19
(under the bonnet)
F3 - F4 - F7 - F8 (with ABS)
F2 - F3 - F12 - F13 (without ABS)