Page 70 of 263
Automatic operation
To fully open the driver window, completely
press the driver window switch down and
release it; it need not be held. To stop the
window, lift the switch up while the window
is opening.
MANUAL WINDOWS
The side windows can be opened or closed
by turning the hand crank on each door.
To open a window on the driver side, turn
the crank clockwise. To close a window, turn
the crank counterclockwise.
To open a window on the passenger side,
turn the crank counterclockwise. To close a
window, turn the crank clockwise.
TILTING THE SKYROOF
Pull the handle down, then push the handle
up to the fully tilted position.The skyroof
cannot be removed.
WARNING
In an accident you could be thrown
from the vehicle through an open sky-
roof. Always use seat belts and child
restraints.
AIC1121AIC0648A I C 1111
SKYROOF
(if so equipped)
Instruments and controls2-27
ZX
Page 71 of 263

CAUTION
ODo not open skyroof when gear bas-
ket is in place.
OAlways remove the gear basket be-
fore opening skyroof. The skyroof
may be scratched if it is opened with
the gear basket in place.
For instructions to remove the gear
basket, refer to ``Roof rack with gear
basket'' in the ``Pre-driving checks
and adjustments'' section of this
manual.
ODo not allow anyone to stand up or
extend any portion of their body out
of the skyroof opening while the ve-
hicle is in motion.
ORemove water drops, snow, ice or
sand from the skyroof before open-
ing.
ODo not place heavy objects on the
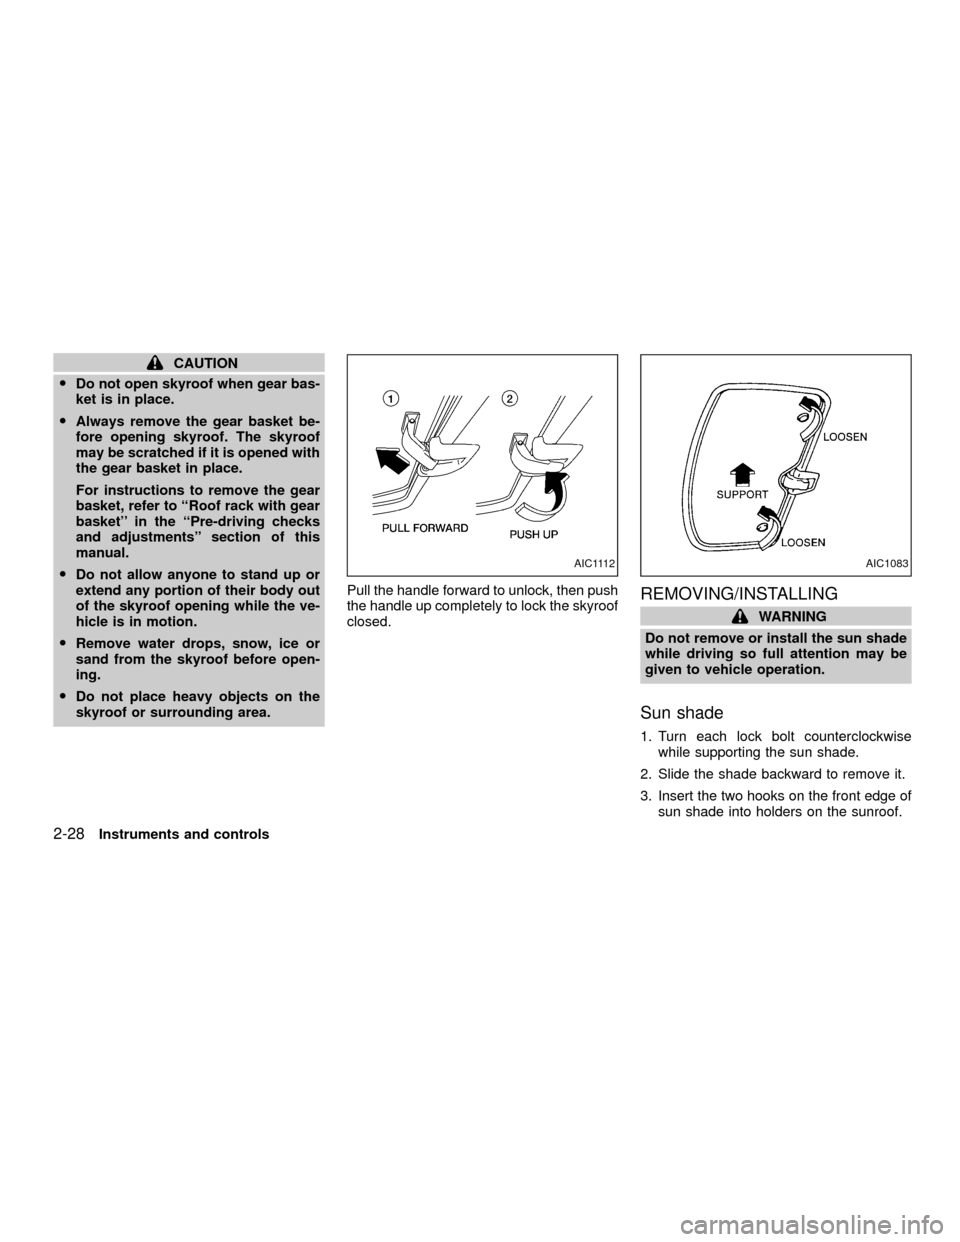
skyroof or surrounding area.Pull the handle forward to unlock, then push
the handle up completely to lock the skyroof
closed.
REMOVING/INSTALLING
WARNING
Do not remove or install the sun shade
while driving so full attention may be
given to vehicle operation.
Sun shade
1. Turn each lock bolt counterclockwise
while supporting the sun shade.
2. Slide the shade backward to remove it.
3. Insert the two hooks on the front edge of
sun shade into holders on the sunroof.
AIC1112AIC1083
2-28Instruments and controls
ZX
Page 72 of 263
4. Align the two lock bolts on the rear edge
of sun shade with the lock nuts. Turn
each lock bolt clockwise to securely lock
the sun shade in place.
The dome light has a three-position switch
and operates regardless of ignition key
position.
OWhen the switch is in the OFF position,
the dome light does not illuminate, re-
gardless of door position.
OWhen the switch is in the centerjor
DOOR position, the dome light illumi-
nates by opening a door.
OWhen the switch is in the ON position,
the dome light illuminates regardless of
door position.For information regarding dome light bulb
replacement, refer to ªBulb replacementº in
the ``Do-it-yourself'' section of this manual.
CAUTION
Leaving the dome light switch in the ON
position for extended periods of time
will result in a discharged battery.
IC1235M
INTERIOR LIGHT
Instruments and controls2-29
ZX
Page 82 of 263
To unlock the back door turn the key clock-
wise. To open the back door lift up on the
door handle and lift the door up. To close,
lower and push the door down securely. To
lock the back door, turn the key counter-
clockwise.
WARNING
OAlways be sure the back door has
been closed securely to prevent it
from opening while driving.O
Do not drive with the back door open.
This could allow dangerous exhaust
gases to be drawn into the vehicle.
See ªPrecautions when starting and
drivingº in the ªStarting and drivingº
section for exhaust gas.
APD1081
REAR DOOR
Pre-driving checks and adjustments3-9
ZX
Page 86 of 263

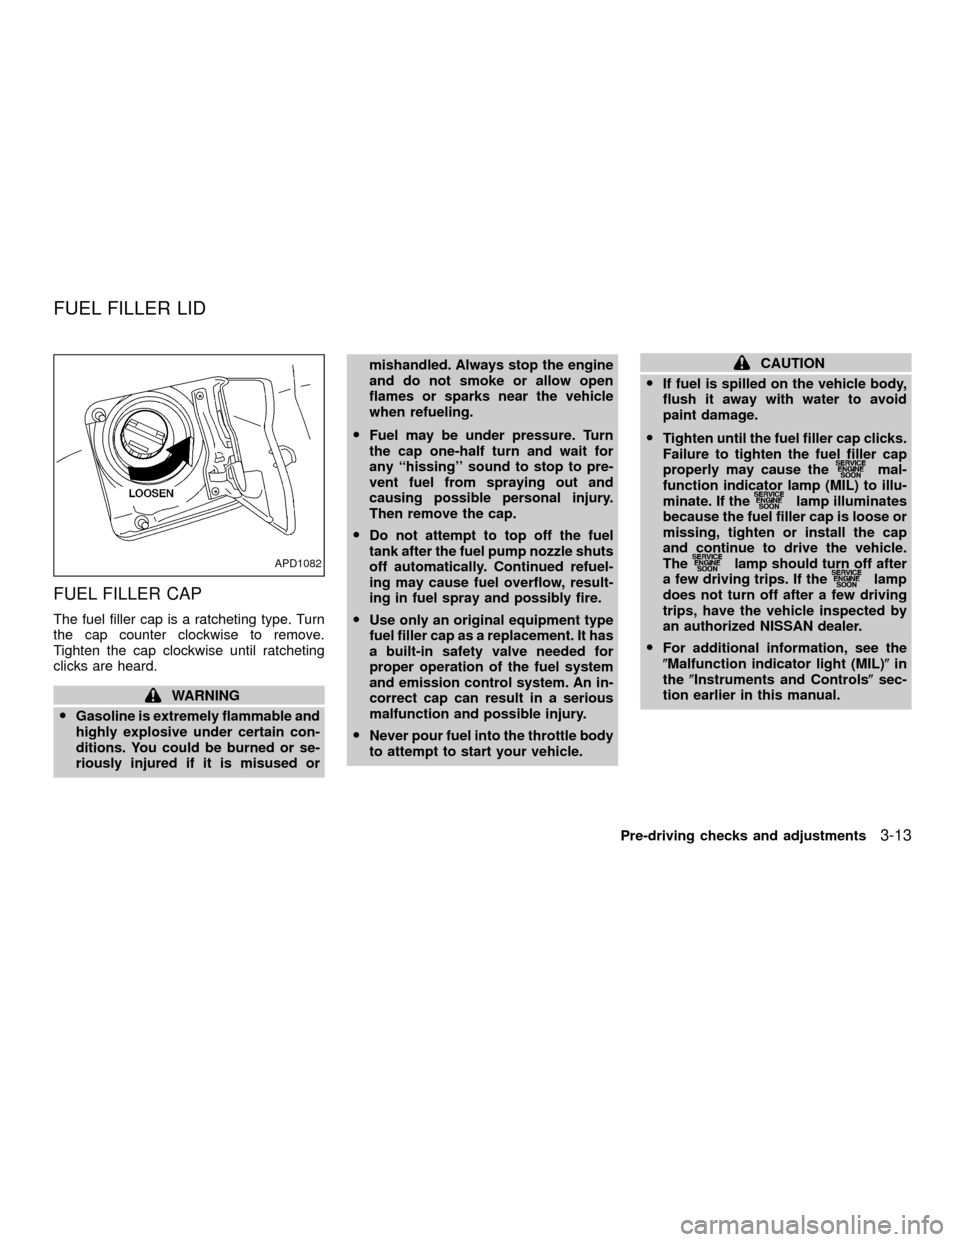
FUEL FILLER CAP
The fuel filler cap is a ratcheting type. Turn
the cap counter clockwise to remove.
Tighten the cap clockwise until ratcheting
clicks are heard.
WARNING
OGasoline is extremely flammable and
highly explosive under certain con-
ditions. You could be burned or se-
riously injured if it is misused ormishandled. Always stop the engine
and do not smoke or allow open
flames or sparks near the vehicle
when refueling.
OFuel may be under pressure. Turn
the cap one-half turn and wait for
any ``hissing'' sound to stop to pre-
vent fuel from spraying out and
causing possible personal injury.
Then remove the cap.
ODo not attempt to top off the fuel
tank after the fuel pump nozzle shuts
off automatically. Continued refuel-
ing may cause fuel overflow, result-
ing in fuel spray and possibly fire.
OUse only an original equipment type
fuel filler cap as a replacement. It has
a built-in safety valve needed for
proper operation of the fuel system
and emission control system. An in-
correct cap can result in a serious
malfunction and possible injury.
ONever pour fuel into the throttle body
to attempt to start your vehicle.
CAUTION
OIf fuel is spilled on the vehicle body,
flush it away with water to avoid
paint damage.
OTighten until the fuel filler cap clicks.
Failure to tighten the fuel filler cap
properly may cause the
mal-
function indicator lamp (MIL) to illu-
minate. If the
lamp illuminates
because the fuel filler cap is loose or
missing, tighten or install the cap
and continue to drive the vehicle.
The
lamp should turn off after
a few driving trips. If thelamp
does not turn off after a few driving
trips, have the vehicle inspected by
an authorized NISSAN dealer.
OFor additional information, see the
(Malfunction indicator light (MIL)(in
the(Instruments and Controls(sec-
tion earlier in this manual.
APD1082
FUEL FILLER LID
Pre-driving checks and adjustments3-13
ZX
Page 101 of 263
Clock operation
The clock is on in the display regardless of
what mode, media, or function the radio is in
as long as the ignition is in ACC or ON.
Clock set
To adjust the clock, press the
knob
for longer than 1.5 seconds. A beep signals
entry into the clock adjustment mode and
CL appears in the display. The hours will be
blinking. Rotate the
knob to adjust
the hours to the desired level.
Press the
knob a second time and
the minutes will start to blink. Rotate the
knob to adjust the minutes to the
desired level.
After 10 seconds, the radio or CD display
will reappear. Once the clock is set to the
desired level, press the
knob repeat-
edly until the radio or CD display reappears.
WHA0096
4-12Heater, air conditioner and audio systems
ZX
Page 108 of 263

Clock operation
Pressing the clock button displays the clock.
Clock set
Press the CLOCK button for more than 2
seconds the radio beeps and the hours
flash, use the TUNE/FF-REW
but-
tons to set the hour, press the CLOCK
button again until the radio beeps and the
minutes flash, use the TUNE/FF-REW
buttons to set the minutes. The
display will return to regular clock display in
7 seconds or you may press the CLOCK
button again to return to the regular clock
display.
FM-AM radio operation
FM-AM band select
Push the
button to change from AM to
FM1 or FM2 reception.
The FM stereo indicator, ST, illuminates
during FM stereo reception. When the ste-
reo broadcast signal is weak, the radio
automatically changes from stereo to mon-
aural reception.
TUNE (Tuning)
WARNING
The radio should not be tuned while
driving so full attention may be given to
vehicle operation.
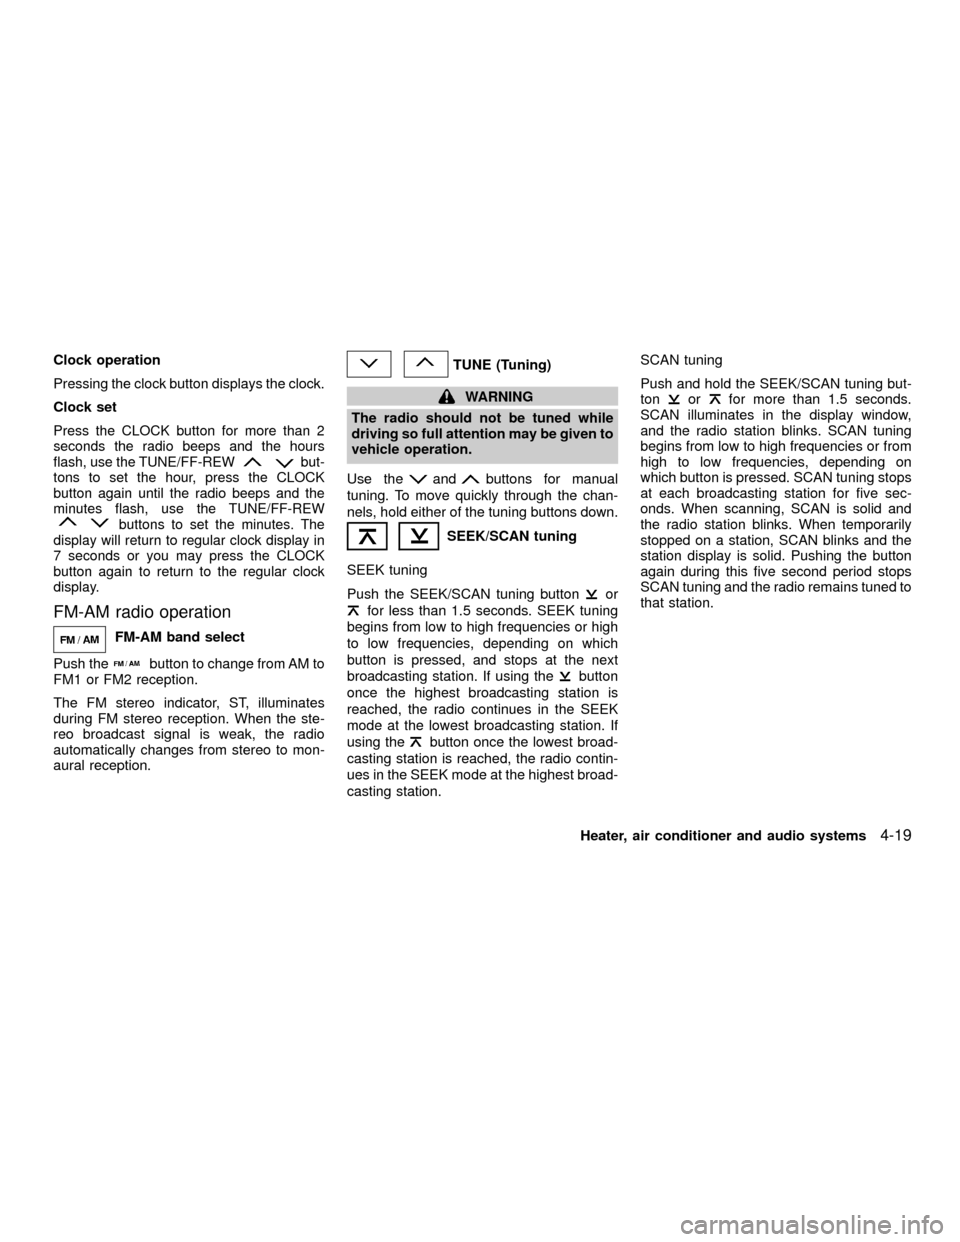
Use the
andbuttons for manual
tuning. To move quickly through the chan-
nels, hold either of the tuning buttons down.
SEEK/SCAN tuning
SEEK tuning
Push the SEEK/SCAN tuning button
or
for less than 1.5 seconds. SEEK tuning
begins from low to high frequencies or high
to low frequencies, depending on which
button is pressed, and stops at the next
broadcasting station. If using the
button
once the highest broadcasting station is
reached, the radio continues in the SEEK
mode at the lowest broadcasting station. If
using the
button once the lowest broad-
casting station is reached, the radio contin-
ues in the SEEK mode at the highest broad-
casting station.SCAN tuning
Push and hold the SEEK/SCAN tuning but-
ton
orfor more than 1.5 seconds.
SCAN illuminates in the display window,
and the radio station blinks. SCAN tuning
begins from low to high frequencies or from
high to low frequencies, depending on
which button is pressed. SCAN tuning stops
at each broadcasting station for five sec-
onds. When scanning, SCAN is solid and
the radio station blinks. When temporarily
stopped on a station, SCAN blinks and the
station display is solid. Pushing the button
again during this five second period stops
SCAN tuning and the radio remains tuned to
that station.
Heater, air conditioner and audio systems
4-19
ZX
Page 114 of 263
Adjusting tone quality and speaker bal-
ance
Press the AUDIO button to enter the audio
adjust mode:
Bass!Mid!Treb!Fade!Bal
Press the TUNE/FF-REV (
or)or
SEEK/TRACK (or) to adjust to the
desired levels. The display will return to the
regular radio display after 7 seconds, or you
may press the AUDIO button again to return
to the regular radio display.
Clock operation
Pressing the CLOCK button displays the
clock with the radio on or off. Press the
CLOCK button again to turn off the clock
display.
Clock set
1. Press and hold the CLOCK button until it
beeps (>2 seconds).
2. The hours will start flashing. Press
TUNE/FF-REV (
or)or
SEEK/TRACK (or) to adjust the
hours.
3. Press the CLOCK button to switch to the
minute adjustment.
WHA0065
Heater, air conditioner and audio systems4-25
ZX