Page 176 of 263

8 Do-it-yourself
Maintenance precautions .......................................8-2
Engine compartment check locations ....................8-3
Engine cooling system ...........................................8-5
Checking engine coolant level ..........................8-5
Changing engine coolant ..................................8-6
Engine oil ...............................................................8-9
Checking engine oil level ..................................8-9
Changing engine oil ........................................8-10
Changing engine oil filter.................................8-12
Automatic transmission fluid ................................8-13
Temperature conditions for checking ..............8-13
Power steering fluid..............................................8-14
Brake and clutch fluid...........................................8-15
Window washer fluid ............................................8-16
Window washer fluid reservoir ........................8-16
Battery ..................................................................8-16
Jump starting ...................................................8-17
Drive belts ............................................................8-18
Spark plugs ..........................................................8-19
Replacing spark plugs .....................................8-19
Air cleaner ............................................................8-20Windshield wiper blades ......................................8-22
Cleaning ..........................................................8-22
Replacing .........................................................8-22
Parking brake and brake pedal ............................8-24
Checking parking brake...................................8-24
Checking brake pedal .....................................8-24
Brake booster ..................................................8-25
Clutch pedal .........................................................8-26
Checking clutch pedal .....................................8-26
Fuses ....................................................................8-27
Passenger compartment .................................8-27
Multi-remote controller battery replacement ........8-28
Lights ....................................................................8-29
Headlights ........................................................8-29
Fog lights (if so equipped)...............................8-31
Exterior and interior lights ...............................8-32
Wheels and tires ..................................................8-34
Tire pressure ...................................................8-34
Types of tires ...................................................8-34
Tire chains .......................................................8-35
Changing wheels and tires ..............................8-36
ZX
Page 178 of 263
ADI1129
ENGINE COMPARTMENT
CHECK LOCATIONS
Do-it-yourself8-3
ZX
Page 180 of 263

The engine cooling system is filled at the
factory with a high-quality, year-round,
genuine NISSAN anti-freeze coolant solu-
tion. The anti-freeze solution contains rust
and corrosion inhibitors, therefore additional
engine cooling system additives are not
necessary.
CAUTION
When adding or replacing coolant, be
sure to use only an ethylene glycol
anti-freeze with the proper mixture ratio
of 50% Genuine Nissan Anti-freeze
coolant or equivalent and 50% soft tap
water. The use of other types of coolant
solutions may damage the engine cool-
ing system.
Outside tempera-
ture down toGenuine
Nissan
Anti-
freeze
coolant or
equivalentSoft tap
water
ÉC ÉF
þ35 þ30 50% 50%
WARNING
ONever remove the radiator cap when
the engine is hot. Wait until the en-
gine and radiator cool down. Serious
burns could be caused by high pres-
sure fluid escaping from the radiator.
See precautions in ``If your vehicle
overheats'' found in the ``In case of
emergency'' section of this manual.
OThe radiator is equipped with a pres-
sure type radiator cap. To prevent
engine damage, use only a genuine
NISSAN radiator cap.
CHECKING ENGINE COOLANT
LEVEL
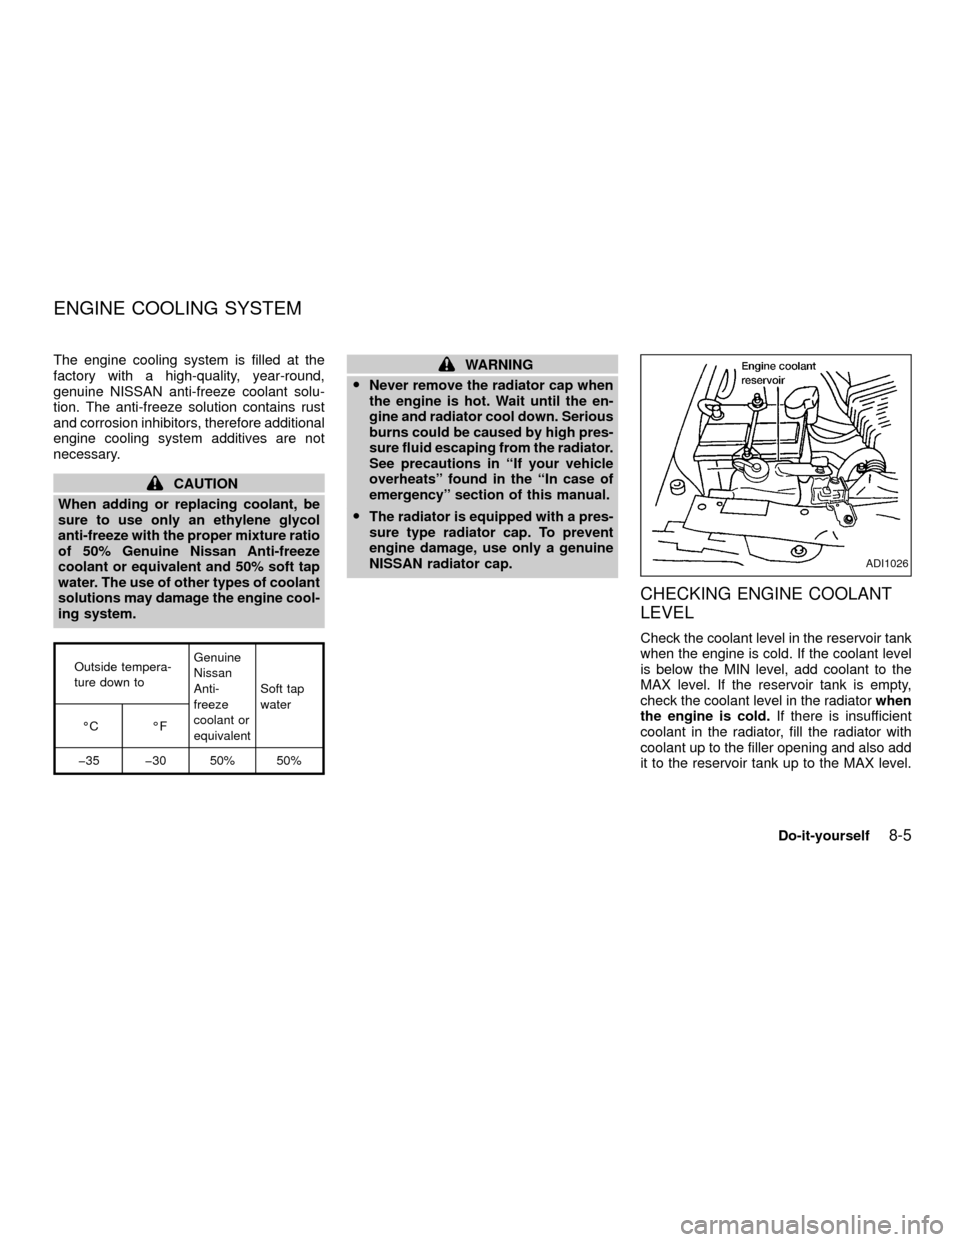
Check the coolant level in the reservoir tank
when the engine is cold. If the coolant level
is below the MIN level, add coolant to the
MAX level. If the reservoir tank is empty,
check the coolant level in the radiatorwhen
the engine is cold.If there is insufficient
coolant in the radiator, fill the radiator with
coolant up to the filler opening and also add
it to the reservoir tank up to the MAX level.
ADI1026
ENGINE COOLING SYSTEM
Do-it-yourself8-5
ZX
Page 181 of 263
If the cooling system frequently requires
coolant, have it checked by an autho-
rized NISSAN dealer.
CHANGING ENGINE COOLANT
OMajor cooling system repairs should be
performed by an authorized NISSAN
dealer. The service procedures can be
found in the appropriate NISSAN Ser-
vice Manual.
OImproper servicing can result in reduced
heater performance and engine over-
heating.
WARNING
OTo avoid the danger of being
scalded, never change the coolant
when the engine is hot.
ONever remove the radiator cap when
the engine is hot. Serious burns
could be caused by high pressure
fluid escaping from the radiator.
OAvoid direct skin contact with used
coolant. If skin contact is made,
wash thoroughly with soap or hand
cleaner as soon as possible.OKeep coolant out of reach of children
and pets.
Engine coolant must be disposed of
properly. Check your local regulations.
ADI1053
8-6Do-it-yourself
ZX
Page 182 of 263
1. Remove the splash shield.
ORemove the six push pins.
ORemove the six bolts and the splash
shield.
2. Remove the radiator drain cap. Open the
radiator drain plug located at the bottom
of the radiator. Drain the engine coolant.
OWaste coolant must be disposed of
properly.
OCheck your local regulations.3. Remove the cylinder block drain plug(s).
ADI1113ADI1054WDI0054
Do-it-yourself8-7
ZX
Page 184 of 263
and install the radiator cap.
12.Check the drain valve on the radiator and
drain plugs on the engine block for any
sign of leakage.
CHECKING ENGINE OIL LEVEL
1. Park the vehicle on a level surface and
apply the parking brake.
2. Start the engine and let it idle until it
reaches operating temperature.
3. Turn off the engine.Wait a few minutes
for the oil to drain back into the oil
pan.4. Remove the dipstick and wipe it clean.
Reinsert it all the way.
ADI1059ADI1060
ENGINE OIL
Do-it-yourself8-9
ZX
Page 185 of 263
5. Remove the dipstick again and check the
oil level. It should be between the H
(High) and L (Low) marks. If the oil level
is below the L (Low) mark, remove the oil
filler cap and pour recommended oil
through the opening.Do not overfill.6. Recheck oil level with dipstick.
It is normal to add some oil between oil
maintenance intervals or during the
break-in period, depending on the sever-
ity of operating conditions.
CAUTION
Oil level should be checked regularly.
Operating the engine with an insuffi-
cient amount of oil can damage the
engine, and such damage is not cov-
ered by warranty.
CHANGING ENGINE OIL
1. Park the vehicle on a level surface and
apply the parking brake.
2. Start the engine and let idle until it
reaches operating temperature, and then
turn it off.
3. Remove the oil filler cap.
4. Place a large drain pan under the drain
plug.
ADI1061ADI1062ADI1063
8-10Do-it-yourself
ZX
Page 186 of 263

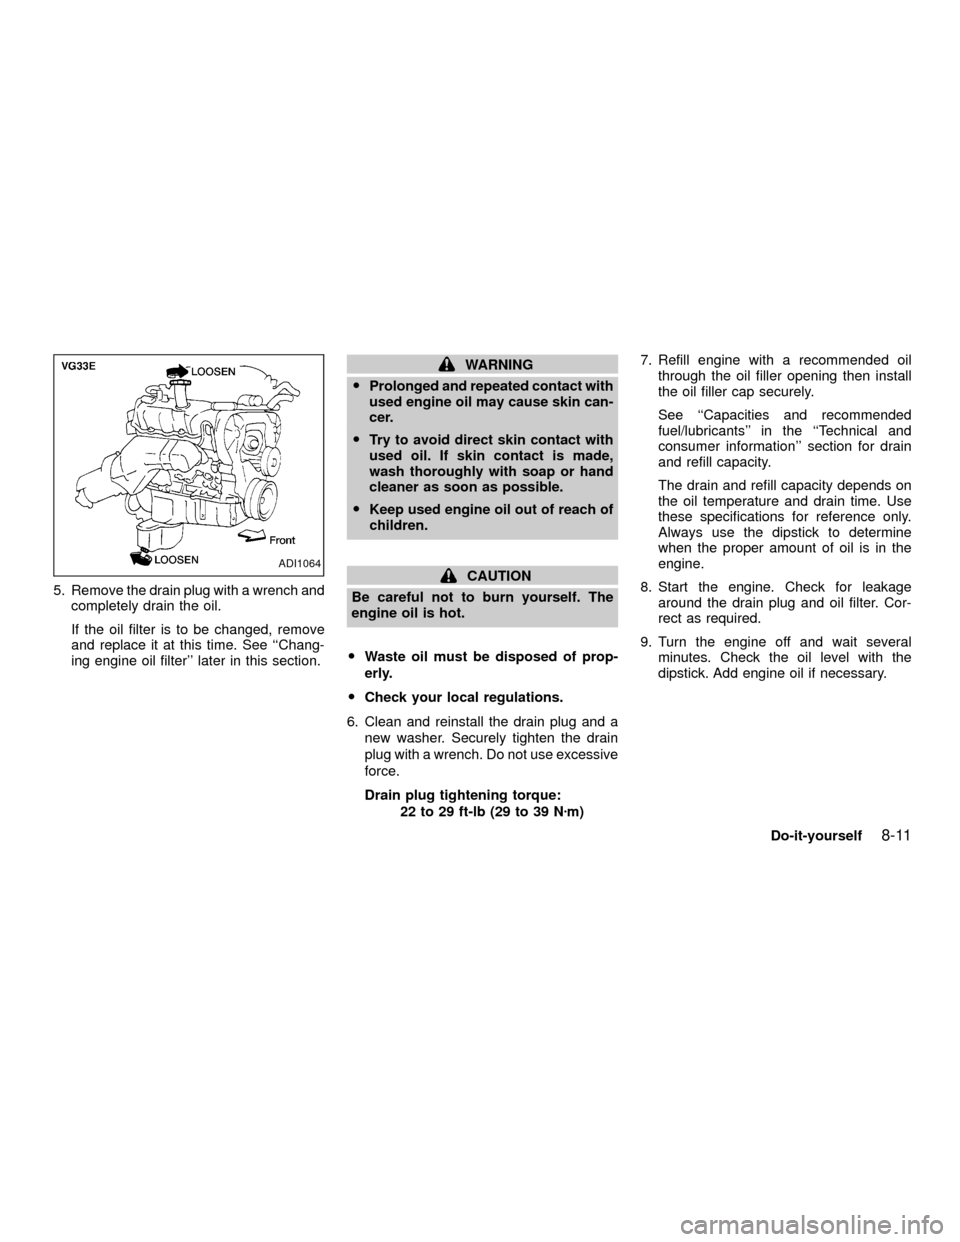
5. Remove the drain plug with a wrench and
completely drain the oil.
If the oil filter is to be changed, remove
and replace it at this time. See ``Chang-
ing engine oil filter'' later in this section.
WARNING
OProlonged and repeated contact with
used engine oil may cause skin can-
cer.
OTry to avoid direct skin contact with
used oil. If skin contact is made,
wash thoroughly with soap or hand
cleaner as soon as possible.
OKeep used engine oil out of reach of
children.
CAUTION
Be careful not to burn yourself. The
engine oil is hot.
OWaste oil must be disposed of prop-
erly.
OCheck your local regulations.
6. Clean and reinstall the drain plug and a
new washer. Securely tighten the drain
plug with a wrench. Do not use excessive
force.
Drain plug tightening torque:
22 to 29 ft-lb (29 to 39 Nzm)7. Refill engine with a recommended oil
through the oil filler opening then install
the oil filler cap securely.
See ``Capacities and recommended
fuel/lubricants'' in the ``Technical and
consumer information'' section for drain
and refill capacity.
The drain and refill capacity depends on
the oil temperature and drain time. Use
these specifications for reference only.
Always use the dipstick to determine
when the proper amount of oil is in the
engine.
8. Start the engine. Check for leakage
around the drain plug and oil filter. Cor-
rect as required.
9. Turn the engine off and wait several
minutes. Check the oil level with the
dipstick. Add engine oil if necessary.ADI1064
Do-it-yourself8-11
ZX