2001 NISSAN XTERRA warning
[x] Cancel search: warningPage 216 of 263

cluding the spare, and adjust to the speci-
fied pressure if necessary. Check carefully
for damage, cuts or excessive wear.
Wheel nuts*When checking the tires, make
sure no wheel nuts are missing, and check for
any loose wheel nuts. Tighten if necessary.
Tire rotation*Tires should be rotated every
7,500 miles (12,000 km).
Wheel alignment and balanceIf the ve-
hicle should pull to either side while driving
on a straight and level road, or if you detect
uneven or abnormal tire wear, there may be
a need for wheel alignment.
If the steering wheel or seat vibrates at
normal highway speeds, wheel balancing
may be needed.
Windshield wiper blades*Check for
cracks or wear if they do not wipe properly.
Doors and hoodCheck that all doors and
the hood operate properly. Also ensure that
all latches lock securely. Lubricate hinges,
latches, rollers and links if necessary. Make
sure that the secondary latch keeps the
hood from opening when the primary latch
is released.
When driving in areas using road salt orother corrosive materials, check lubrication
frequently.
Lights*Make sure that the headlights, stop
lights, tail lights, turn signal lights, and other
lights are all operating properly and installed
securely. Also check headlight aim.INTERIOR MAINTENANCE
The maintenance items listed here should
be checked on a regular basis, such as
when performing periodic maintenance,
cleaning the vehicle, etc.
Additional information on the following
items with an ``*'' is found in the ``Do-it-
yourself'' section of this manual.
Warning lights and chimesMake sure all
warning lights and chimes are operating
properly.
Windshield wiper and washer*Check that
the wipers and washer operate properly and
that the wipers do not streak.
Windshield defrosterCheck that the air
comes out of the defroster outlets properly
and in sufficient quantity when operating the
heater or air conditioner.
Steering wheelCheck for changes in thesteering conditions, such as excessive free-
play, hard steering or strange noises.
SeatsCheck seat position controls such as
seat adjusters, seatback recliner, etc. to
ensure they operate smoothly and all
latches lock securely in every position.
Check that the head restraints move up and
down smoothly and the locks (if so
equipped) hold securely in all latched posi-
tions.
Seat beltsCheck that all parts of the seat
belt system (e.g., buckles, anchors, adjust-
ers and retractors) operate properly and
smoothly, and are installed securely. Check
the belt webbing for cuts, fraying, wear or
damage.
Accelerator pedalCheck the pedal for
smooth operation and make sure the pedal
does not catch or require uneven effort.
Keep the floor mat away from the pedal.
Clutch pedal*Make sure the pedal oper-
ates smoothly and check that it has the
proper free travel.
BrakesCheck that the brakes do not pull
the vehicle to one side when applied.
Brake pedal and booster*Check the pedal
Maintenance
9-3
ZX
Page 217 of 263

for smooth operation and make sure it has
the proper distance under it when de-
pressed fully. Check the brake booster func-
tion. Be certain to keep the floor mat away
from the pedal.
Parking brake*Check that the lever has
the proper travel and confirm that your
vehicle is held securely on a fairly steep hill
with only the parking brake applied.
Automatic transmission P (Park) posi-
tion mechanismCheck that the lock re-
lease button on the selector lever operates
properly and smoothly. On a fairly steep hill
check that your vehicle is held securely with
the selector lever in the P position without
applying any brakes.
Under the hood and vehicle
The maintenance items listed here should
be checked periodically (e.g., each time you
check the engine oil or refuel).
Additional information on the following
items with an ``*'' is found in the ``Do-it-
yourself operations'' section.
Windshield washer fluid*Check that there
is adequate fluid in the reservoir.
Engine oil level*Check the level afterparking the vehicle on a level surface with
the engine off. Wait a few minutes for the oil
to drain back into the oil pan.
Brake and clutch fluid levels*Make sure
that the brake and clutch fluid level is be-
tween the MIN and MAX lines on the reser-
voir.
Power steering fluid level* and lines
Check the level when the fluid is cold, with
the engine off. Check the lines for proper
attachment, leaks, cracks, etc.
Automatic transmission fluid level*
Check the level after putting the selector
lever in P with the engine idling at operating
temperature.
Engine coolant level*Check the coolant
level when the engine is cold.
Radiator and hosesCheck the front of the
radiator and clean off any dirt, insects,
leaves, etc., that may have accumulated.
Make sure the hoses have no cracks, de-
formation, rot or loose connections.
Engine drive belts*Make sure the drive
belts are not frayed, worn, cracked or oily.
Battery*Check the fluid level in each cell. It
should be between the MAX and MIN lines.Exhaust systemMake sure there are no
loose supports, cracks or holes. If the sound
of the exhaust seems unusual or there is a
smell of exhaust fumes, immediately have
the exhaust system inspected by an autho-
rized NISSAN dealer. See the carbon mon-
oxide warning in the ``Starting and driving''
section of this manual.
UnderbodyThe underbody is frequently
exposed to corrosive substances such as
those used on icy roads or to control dust. It
is very important to remove these sub-
stances from the underbody, otherwise rust
may form on the floor pan, frame, fuel lines
and exhaust system. At the end of winter,
the underbody should be thoroughly flushed
with plain water, in those areas where mud
and dirt may have accumulated. See the
``Appearance and care'' section of this
manual.
Fluid leaksCheck under the vehicle for
fuel, oil, water or other fluid leaks after the
vehicle has been parked for a while. Water
dripping from the air conditioner after use is
normal. If you should notice any leaks or if
gasoline fumes are evident, check for the
cause and have it corrected immediately.
9-4Maintenance
ZX
Page 242 of 263
WARNING
OProperly secure all cargo with ropes
or straps to help prevent it from
sliding or shifting. Do not place
cargo higher than the seat backs. In
a sudden stop or collision, unse-
cured cargo could cause personal
injury.
ODo not load your vehicle any heavier
than the GVWR or the maximum
front and rear GAWR's. If you do,
parts on your vehicle can break, or it
can change the way your vehicle
handles. This could result in loss of
control and cause personal injury.
LOADING TIPS
OThe GVW must not exceed GVWR or
GAWR as specified on the FMVSS Cer-
tification Label located on the driver's
door jamb pillar.
ODo not load the front and rear axle to the
GAWR. Doing so will exceed the
GVWR.
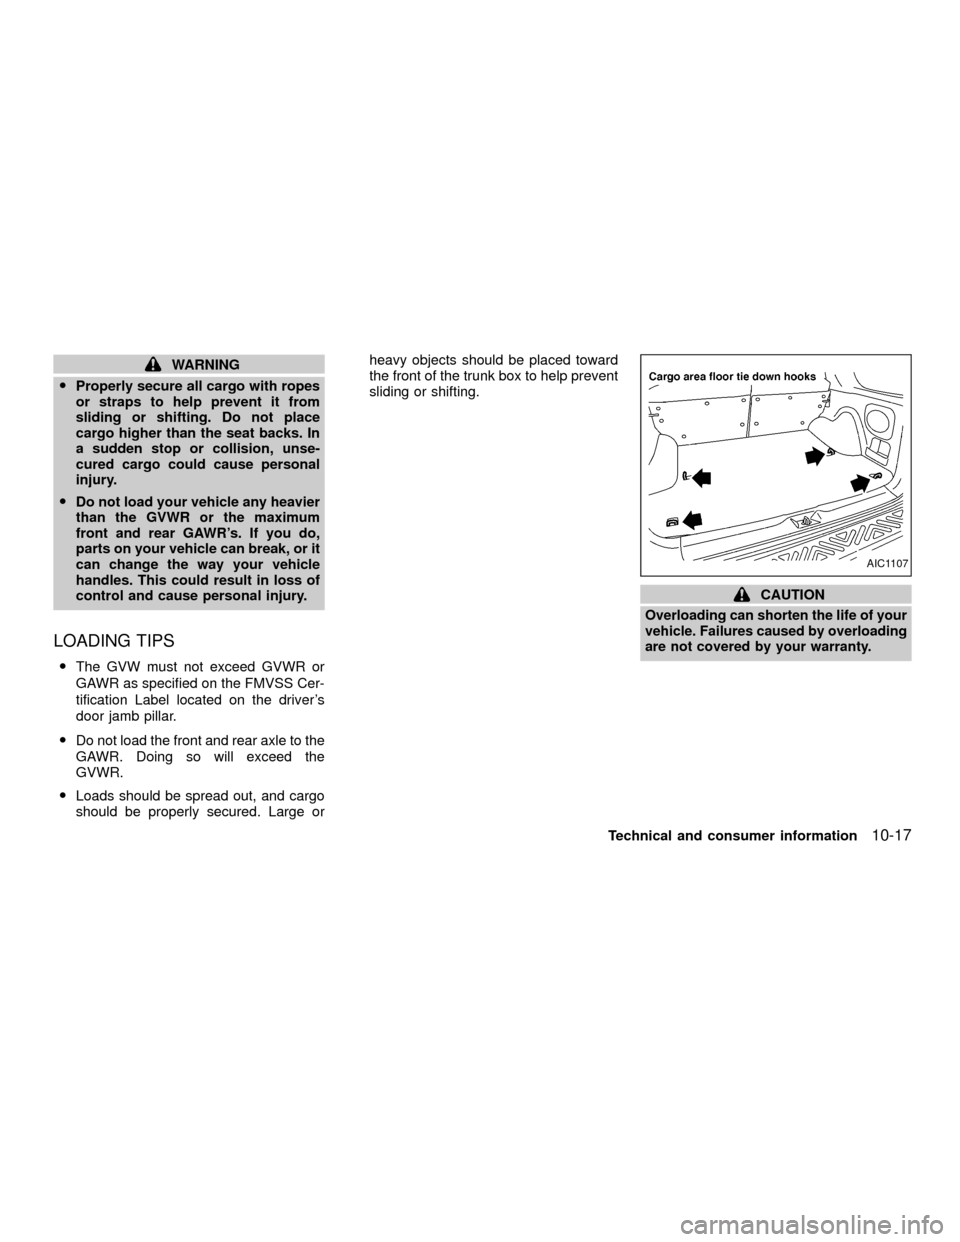
OLoads should be spread out, and cargo
should be properly secured. Large orheavy objects should be placed toward
the front of the trunk box to help prevent
sliding or shifting.
CAUTION
Overloading can shorten the life of your
vehicle. Failures caused by overloading
are not covered by your warranty.
AIC1107
Technical and consumer information10-17
ZX
Page 245 of 263
WARNING
Vehicle damage and/or personal injury
resulting from improper towing proce-
dures are not covered by NISSAN war-
ranties. A Nissan Trailer Towing Guide
(U.S. only) containing information on
trailer towing ability and the special
equipment required may be obtained
from an authorized NISSAN dealer.
Tongue load
Keep the tongue load between 9 to 11
percent of the total trailer load within the
maximum tongue load limits shown in the
following Towing Load/Specification Chart.
If the tongue load becomes excessive, re-
arrange cargo to allow for proper tongue
load.
Maximum gross vehicle weight/
maximum gross axle weight
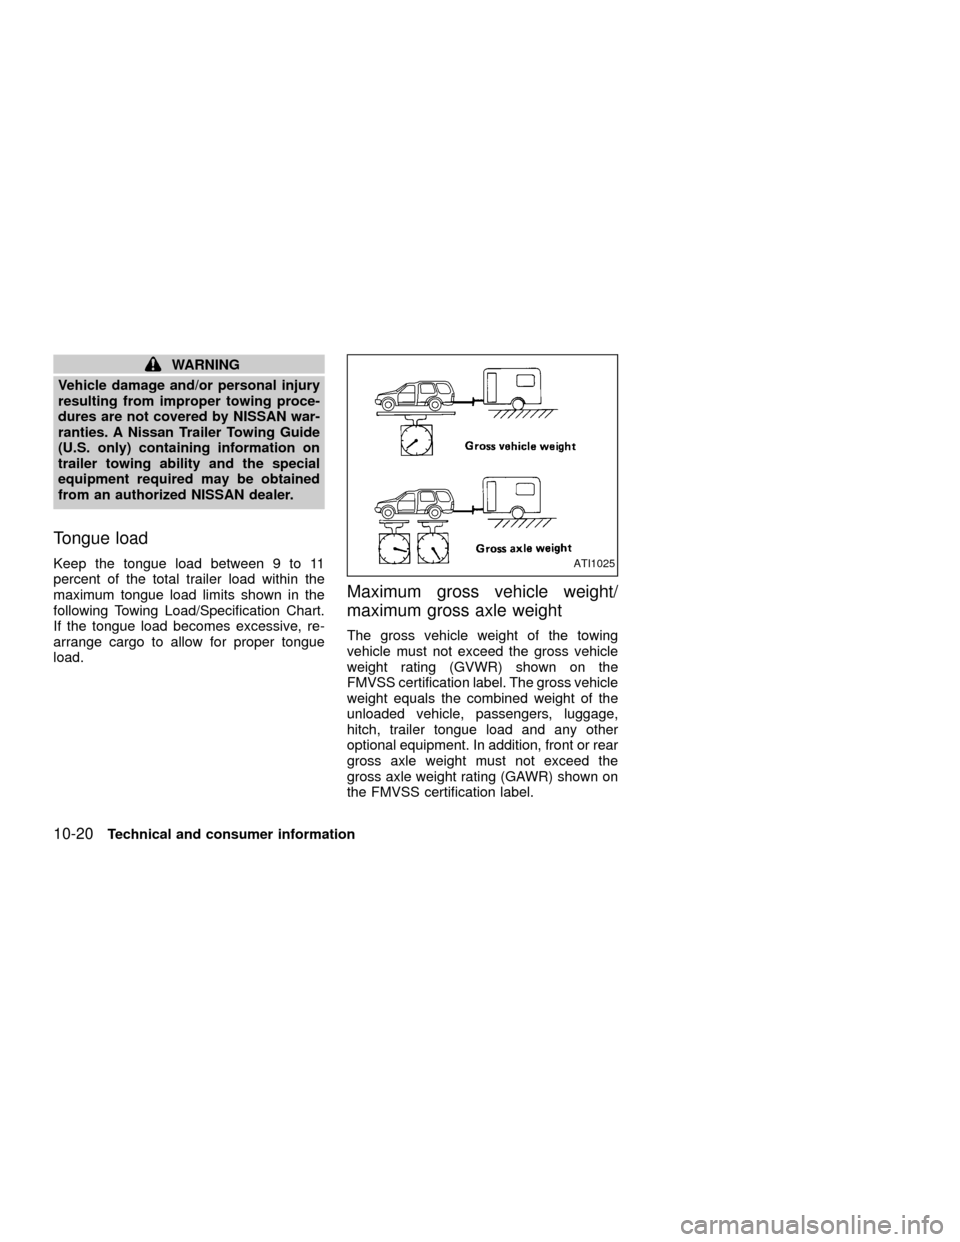
The gross vehicle weight of the towing
vehicle must not exceed the gross vehicle
weight rating (GVWR) shown on the
FMVSS certification label. The gross vehicle
weight equals the combined weight of the
unloaded vehicle, passengers, luggage,
hitch, trailer tongue load and any other
optional equipment. In addition, front or rear
gross axle weight must not exceed the
gross axle weight rating (GAWR) shown on
the FMVSS certification label.
ATI1025
10-20Technical and consumer information
ZX
Page 249 of 263
4) Connect the tow harness connector
(SAE J1239) to your trailer.
5) Confirm proper vehicle and trailer
stop/turn lamp operation.
6) When towing is completed, disconnect
the tow harness from the trailer and the
vehicle. Store the tow harness in the
glove box. Reinstall the connector cap to
the vehicle harness.
If you need further assistance in wiring
a trailer to your NISSAN, contact an autho-
rized NISSAN dealer.
Always confirm proper vehicle and
trailer stop/turn lamp operation every
time the trailer light circuits are con-
nected for use.
Trailer brakes
If your trailer is equipped with a braking
system, make sure it conforms to Federal
and/or local regulations and that it is prop-
erly installed.
WARNING
Never connect a trailer brake system
directly to the vehicle brake system.
Pre-towing tips
OBe certain your vehicle maintains a level
position when a loaded and/or unloaded
trailer is hitched. Do not drive the vehicle
if it has an abnormal nose-up or nose-
down condition; check for improper
tongue load, overload, worn suspension
or other possible causes of either condi-
tion.
OAlways secure items in the trailer to
prevent load shift while driving.
OBe certain your outside mirrors conform
to all federal, state or local regulations. If
not, install any mirrors required for towing
before driving the vehicle.
Trailer towing tips
In order to gain skill and an understanding
of the vehicle's behavior, you should prac-
tice turning, stopping and backing up in an
area which is free from traffic. Steering,
stability and braking performance will be
somewhat different than under normal driv-
ing conditions.
OAlways secure items in the trailer to
prevent load shift while driving.
O
Avoid abrupt starts, acceleration or stops.
OAvoid sharp turns or lane changes.
OAlways drive your vehicle at a moderate
speed.
OAlways block the wheels on both vehicle
and trailer when parking. Parking on a
slope is not recommended; however, if
you must do so, and if your vehicle is
equipped with automatic transmission,
first block the wheels and apply the park-
ing brake, and then move the transmis-
sion shift selector lever into the P (Park)
position. If you move the shift lever to the
P (Park) position before blocking the
wheels and applying the parking brake,
transmission damage could occur.
OWhen going down a hill, shift into a lower
gear and use the engine braking effect.
When ascending a long grade, downshift
the transmission to a lower gear and
reduce speed to reduce chances of en-
gine overloading and/or overheating.
However, for long steep grades, do not
stay in 1st or 2nd gear when driving
above 35 MPH (56 km/h).
OIf the engine coolant rises to an ex-
tremely high temperature when the air
conditioning system is on, turn off the air
conditioner. Coolant heat can be addi-
10-24Technical and consumer information
ZX
Page 251 of 263
ment as measured under controlled condi-
tions on specified government test surfaces
of asphalt and concrete. A tire marked C
may have poor traction performance.
WARNING
The traction grade assigned to your ve-
hicle tires is based on straight-ahead
braking traction tests, and does not in-
clude acceleration, cornering, hydro-
planing, or peak traction characteristics.
Temperature A, B and C
Temperature grades are A (the highest), B,
and C. They represent a tire's resistance to
heat build-up, and its ability to dissipate heat
when tested under controlled conditions on
a specified indoor laboratory test wheel.
Sustained high temperature can cause tire
material to degenerate, reducing tire life.
Excessive temperatures can lead to sudden
tire failure. Grade C corresponds to a per-
formance level which all passenger car tires
must meet under the Federal Motor Vehicle
Safety Standard No. 109. Grades A and B
represent higher levels of performance on
laboratory test wheels than the minimum
required by law.
WARNING
The temperature grade for this tire is
established for a tire that is properly
inflated and not overloaded. Excessive
speed, under inflation, or excessive
loading, either separately or in combi-
nation, can cause heat build-up and
possible tire failure.Your NISSAN is covered by the following
emission warranties.
For US
1) Emission Defects Warranty
2) Emission Performance Warranty
For Canada
Emission Control System Warranty
Details of these warranties may be found
with other vehicle warranties in your War-
ranty and Roadside Assistance Information
Booklet which comes with your NISSAN. If
you did not receive a Warranty and Road-
side Assistance Information Booklet, or it
becomes lost, you may obtain a replace-
ment by writing to:
ONissan North America, Inc.
Consumer Affairs Department
P.O. Box 191
Gardena, CA 90248-0191
ONissan Canada Inc.
5290 Orbitor Drive
Mississauga, Ontario L4W 4Z5
EMISSION CONTROL
SYSTEM WARRANTY
10-26Technical and consumer information
ZX
Page 252 of 263
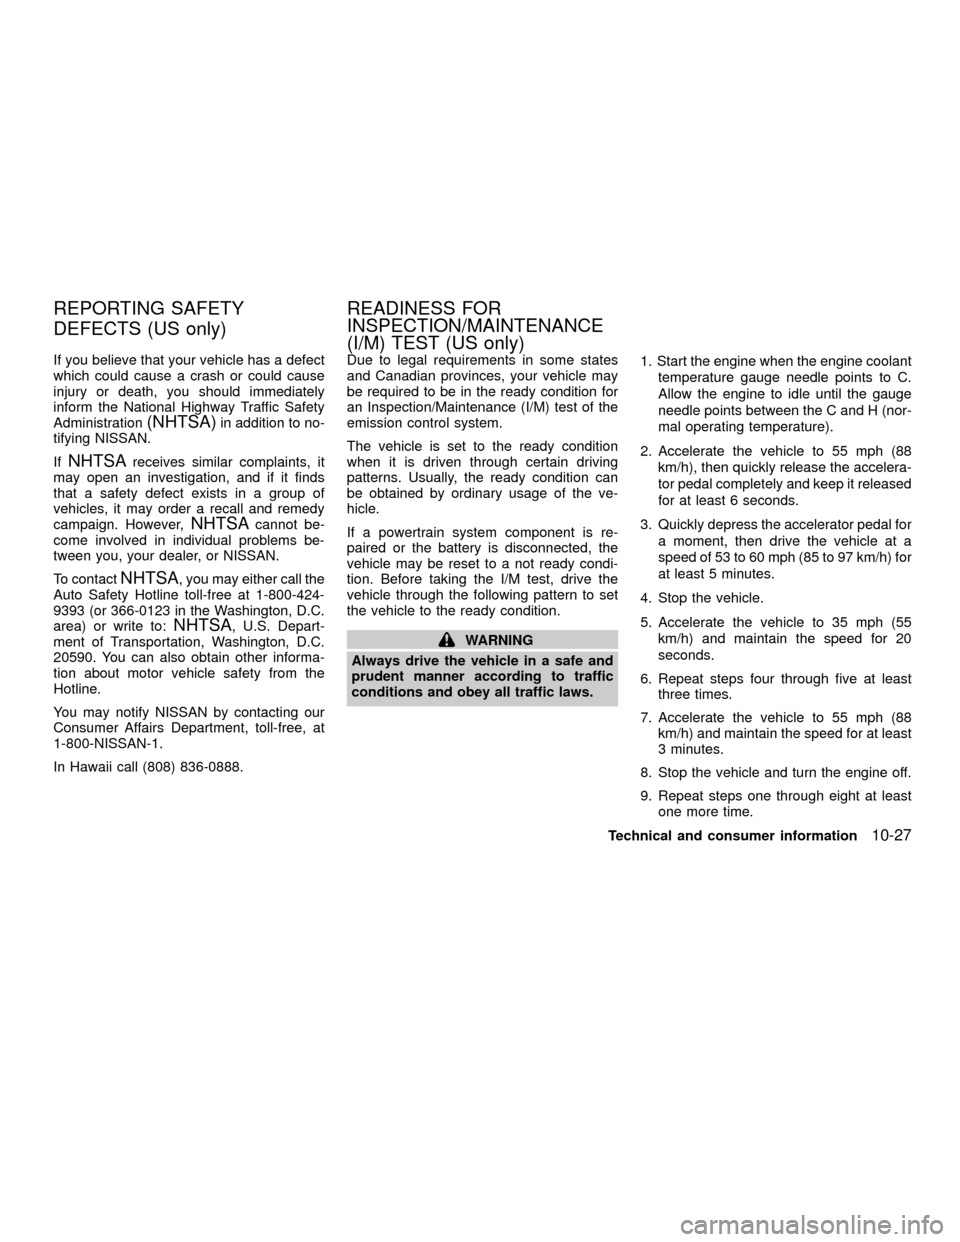
If you believe that your vehicle has a defect
which could cause a crash or could cause
injury or death, you should immediately
inform the National Highway Traffic Safety
Administration
(NHTSA)in addition to no-
tifying NISSAN.
If
NHTSAreceives similar complaints, it
may open an investigation, and if it finds
that a safety defect exists in a group of
vehicles, it may order a recall and remedy
campaign. However,
NHTSAcannot be-
come involved in individual problems be-
tween you, your dealer, or NISSAN.
To contact
NHTSA, you may either call the
Auto Safety Hotline toll-free at 1-800-424-
9393 (or 366-0123 in the Washington, D.C.
area) or write to:
NHTSA, U.S. Depart-
ment of Transportation, Washington, D.C.
20590. You can also obtain other informa-
tion about motor vehicle safety from the
Hotline.
You may notify NISSAN by contacting our
Consumer Affairs Department, toll-free, at
1-800-NISSAN-1.
In Hawaii call (808) 836-0888.Due to legal requirements in some states
and Canadian provinces, your vehicle may
be required to be in the ready condition for
an Inspection/Maintenance (I/M) test of the
emission control system.
The vehicle is set to the ready condition
when it is driven through certain driving
patterns. Usually, the ready condition can
be obtained by ordinary usage of the ve-
hicle.
If a powertrain system component is re-
paired or the battery is disconnected, the
vehicle may be reset to a not ready condi-
tion. Before taking the I/M test, drive the
vehicle through the following pattern to set
the vehicle to the ready condition.WARNING
Always drive the vehicle in a safe and
prudent manner according to traffic
conditions and obey all traffic laws.1. Start the engine when the engine coolant
temperature gauge needle points to C.
Allow the engine to idle until the gauge
needle points between the C and H (nor-
mal operating temperature).
2. Accelerate the vehicle to 55 mph (88
km/h), then quickly release the accelera-
tor pedal completely and keep it released
for at least 6 seconds.
3. Quickly depress the accelerator pedal for
a moment, then drive the vehicle at a
speed of 53 to 60 mph (85 to 97 km/h) for
at least 5 minutes.
4. Stop the vehicle.
5. Accelerate the vehicle to 35 mph (55
km/h) and maintain the speed for 20
seconds.
6. Repeat steps four through five at least
three times.
7. Accelerate the vehicle to 55 mph (88
km/h) and maintain the speed for at least
3 minutes.
8. Stop the vehicle and turn the engine off.
9. Repeat steps one through eight at least
one more time.
REPORTING SAFETY
DEFECTS (US only)READINESS FOR
INSPECTION/MAINTENANCE
(I/M) TEST (US only)
Technical and consumer information10-27
ZX
Page 253 of 263
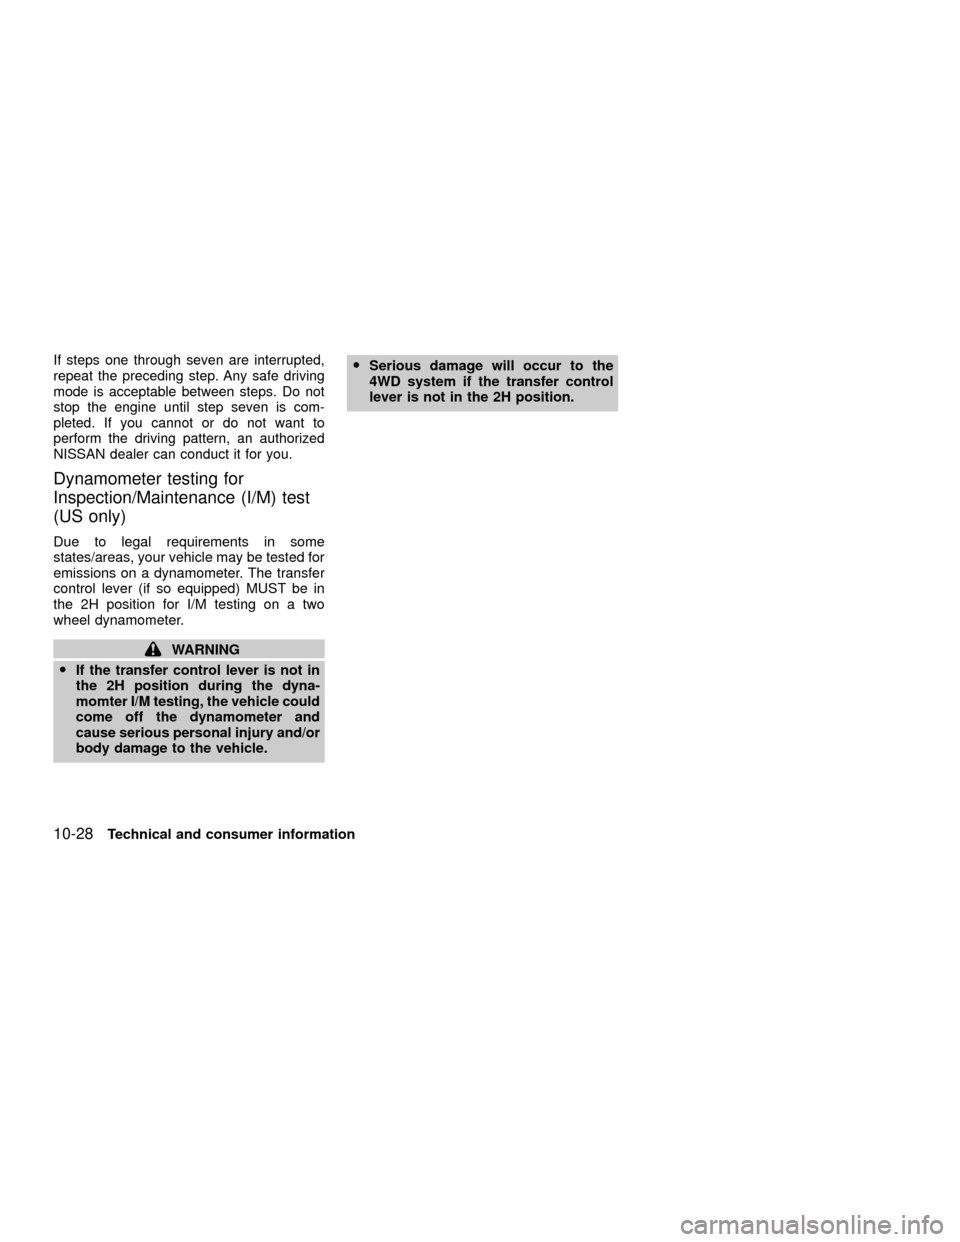
If steps one through seven are interrupted,
repeat the preceding step. Any safe driving
mode is acceptable between steps. Do not
stop the engine until step seven is com-
pleted. If you cannot or do not want to
perform the driving pattern, an authorized
NISSAN dealer can conduct it for you.
Dynamometer testing for
Inspection/Maintenance (I/M) test
(US only)
Due to legal requirements in some
states/areas, your vehicle may be tested for
emissions on a dynamometer. The transfer
control lever (if so equipped) MUST be in
the 2H position for I/M testing on a two
wheel dynamometer.
WARNING
OIf the transfer control lever is not in
the 2H position during the dyna-
momter I/M testing, the vehicle could
come off the dynamometer and
cause serious personal injury and/or
body damage to the vehicle.OSerious damage will occur to the
4WD system if the transfer control
lever is not in the 2H position.
10-28Technical and consumer information
ZX