2001 NISSAN SENTRA reset
[x] Cancel search: resetPage 49 of 240
Trip odometer
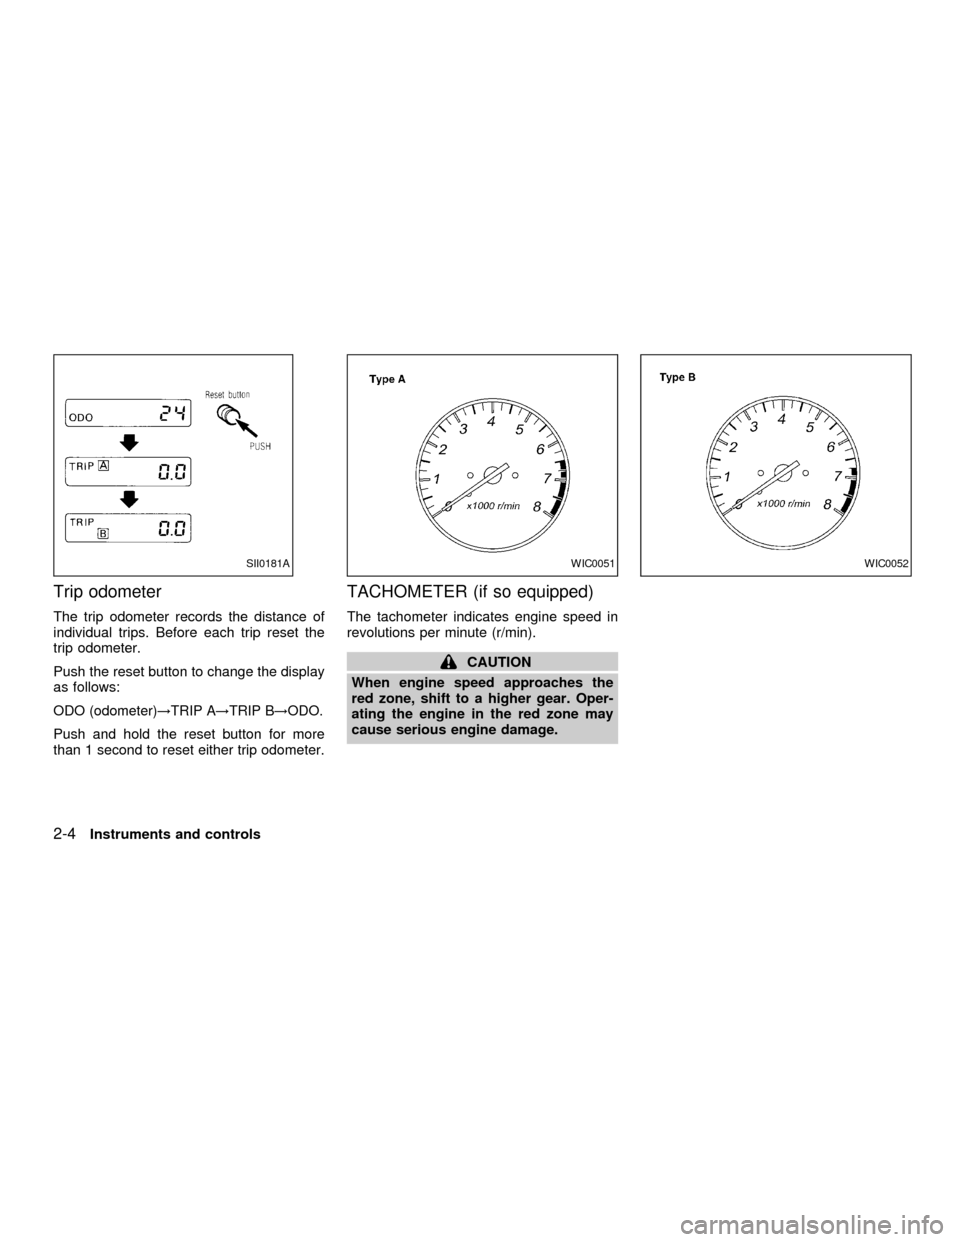
The trip odometer records the distance of
individual trips. Before each trip reset the
trip odometer.
Push the reset button to change the display
as follows:
ODO (odometer)!TRIP A!TRIP B!ODO.
Push and hold the reset button for more
than 1 second to reset either trip odometer.
TACHOMETER (if so equipped)
The tachometer indicates engine speed in
revolutions per minute (r/min).
CAUTION
When engine speed approaches the
red zone, shift to a higher gear. Oper-
ating the engine in the red zone may
cause serious engine damage.
SII0181AWIC0051WIC0052
2-4Instruments and controls
ZX
Page 71 of 240
The sunroof only operates with the ignition
key in the ON position.
NOTE:
If the battery is discharged or is discon-
nected, the sunroof may not operate cor-
rectly, and must be reset.
From any sunroof position (full open, par-
tially open, closed, partially vented and
vented), push and hold the button in the
forward position until the sunroof vents in
the full-up position. This resets the sunroof
motor memory and now the sunroof will
operate correctly.
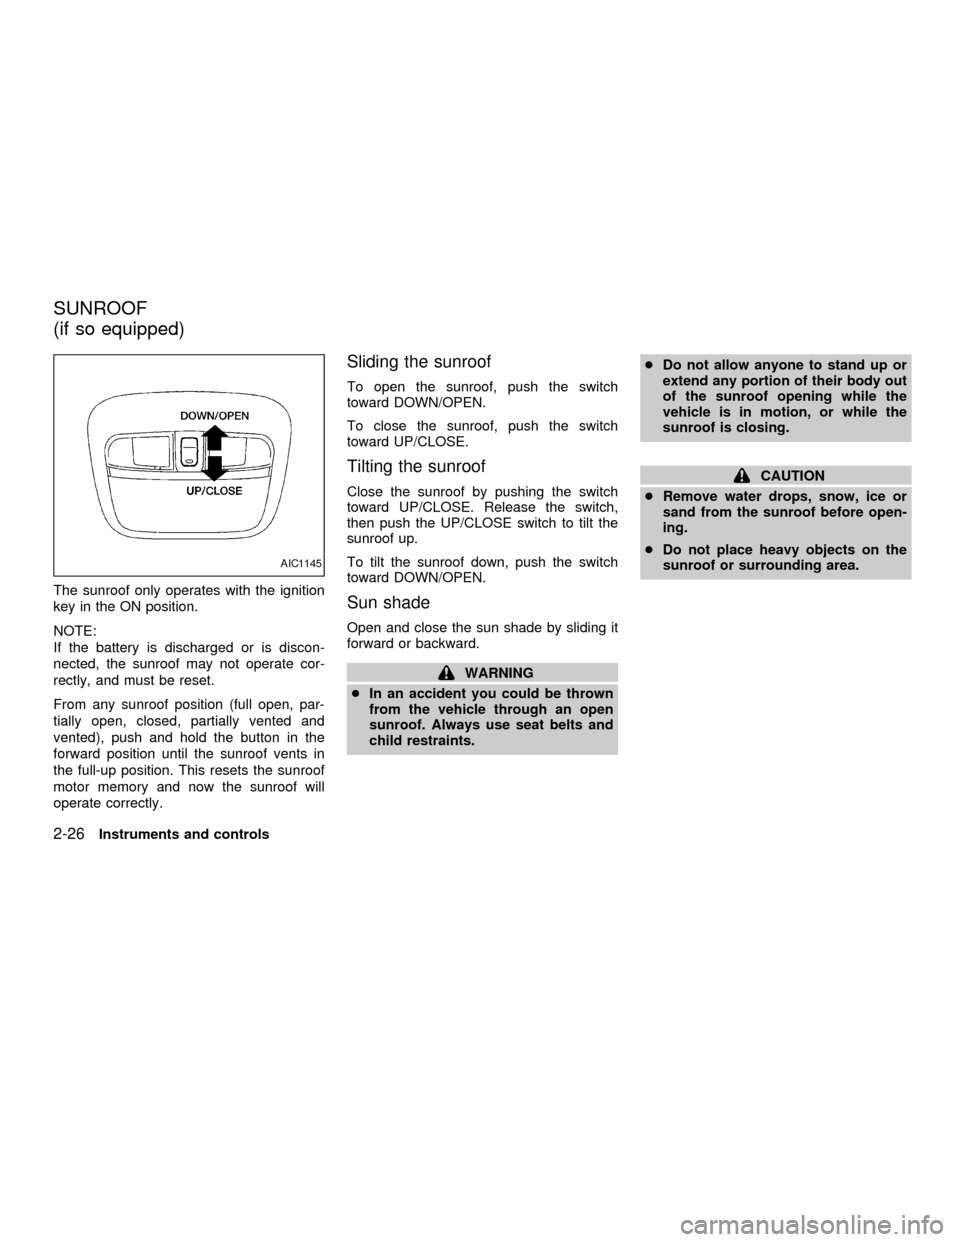
Sliding the sunroof
To open the sunroof, push the switch
toward DOWN/OPEN.
To close the sunroof, push the switch
toward UP/CLOSE.
Tilting the sunroof
Close the sunroof by pushing the switch
toward UP/CLOSE. Release the switch,
then push the UP/CLOSE switch to tilt the
sunroof up.
To tilt the sunroof down, push the switch
toward DOWN/OPEN.
Sun shade
Open and close the sun shade by sliding it
forward or backward.
WARNING
cIn an accident you could be thrown
from the vehicle through an open
sunroof. Always use seat belts and
child restraints.cDo not allow anyone to stand up or
extend any portion of their body out
of the sunroof opening while the
vehicle is in motion, or while the
sunroof is closing.
CAUTION
cRemove water drops, snow, ice or
sand from the sunroof before open-
ing.
cDo not place heavy objects on the
sunroof or surrounding area.
AIC1145
SUNROOF
(if so equipped)
2-26Instruments and controls
ZX
Page 102 of 240
AM, FM1, or FM2. The selected band illu-
minates in the display.
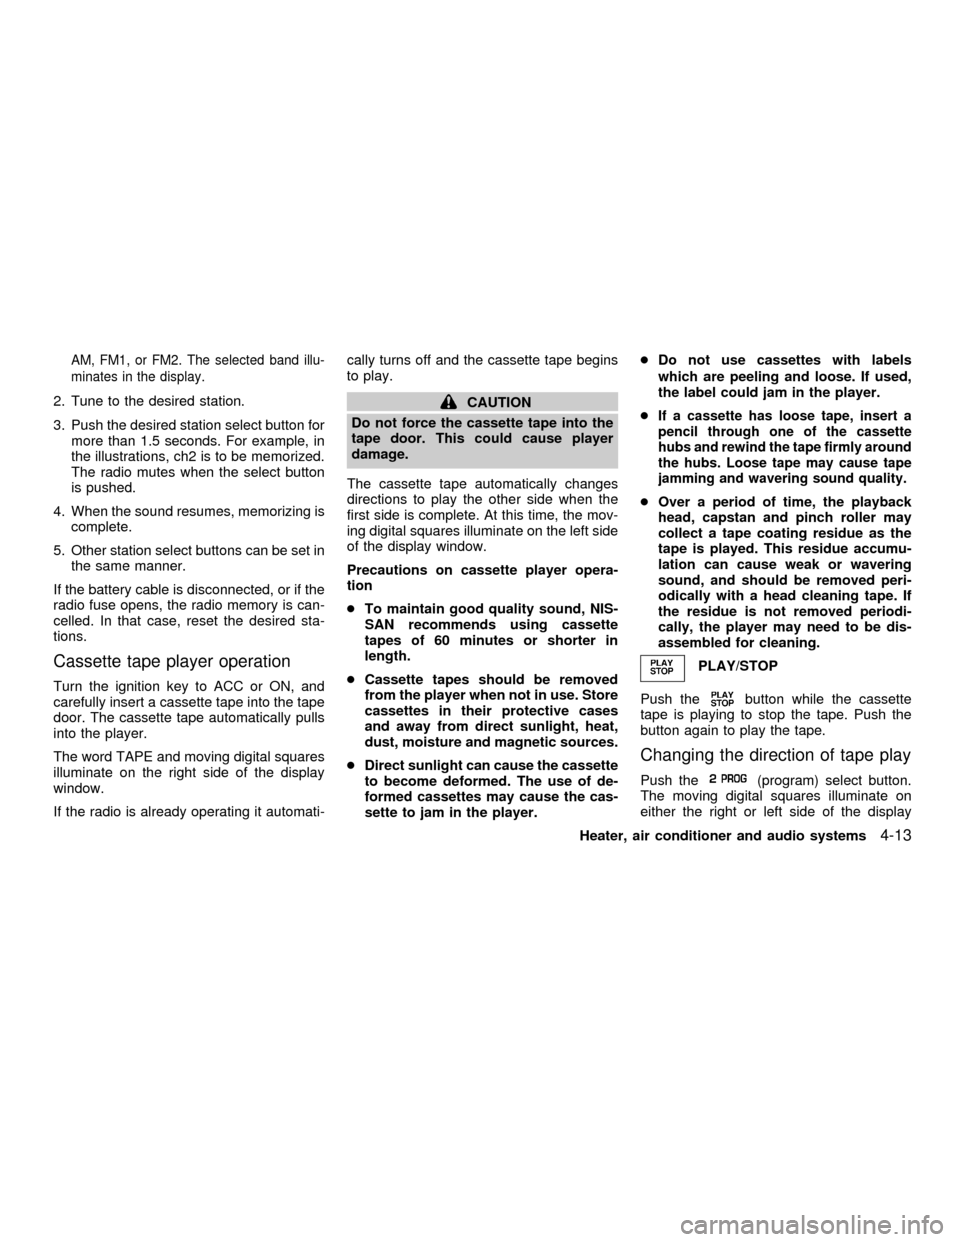
2. Tune to the desired station.
3. Push the desired station select button for
more than 1.5 seconds. For example, in
the illustrations, ch2 is to be memorized.
The radio mutes when the select button
is pushed.
4. When the sound resumes, memorizing is
complete.
5. Other station select buttons can be set in
the same manner.
If the battery cable is disconnected, or if the
radio fuse opens, the radio memory is can-
celled. In that case, reset the desired sta-
tions.
Cassette tape player operation
Turn the ignition key to ACC or ON, and
carefully insert a cassette tape into the tape
door. The cassette tape automatically pulls
into the player.
The word TAPE and moving digital squares
illuminate on the right side of the display
window.
If the radio is already operating it automati-cally turns off and the cassette tape begins
to play.
CAUTION
Do not force the cassette tape into the
tape door. This could cause player
damage.
The cassette tape automatically changes
directions to play the other side when the
first side is complete. At this time, the mov-
ing digital squares illuminate on the left side
of the display window.
Precautions on cassette player opera-
tion
cTo maintain good quality sound, NIS-
SAN recommends using cassette
tapes of 60 minutes or shorter in
length.
cCassette tapes should be removed
from the player when not in use. Store
cassettes in their protective cases
and away from direct sunlight, heat,
dust, moisture and magnetic sources.
cDirect sunlight can cause the cassette
to become deformed. The use of de-
formed cassettes may cause the cas-
sette to jam in the player.cDo not use cassettes with labels
which are peeling and loose. If used,
the label could jam in the player.
cIf a cassette has loose tape, insert a
pencil through one of the cassette
hubs and rewind the tape firmly around
the hubs. Loose tape may cause tape
jamming and wavering sound quality.
cOver a period of time, the playback
head, capstan and pinch roller may
collect a tape coating residue as the
tape is played. This residue accumu-
lation can cause weak or wavering
sound, and should be removed peri-
odically with a head cleaning tape. If
the residue is not removed periodi-
cally, the player may need to be dis-
assembled for cleaning.
PLAY/STOP
Push the
button while the cassette
tape is playing to stop the tape. Push the
button again to play the tape.
Changing the direction of tape play
Push the(program) select button.
The moving digital squares illuminate on
either the right or left side of the display
Heater, air conditioner and audio systems
4-13
ZX
Page 107 of 240
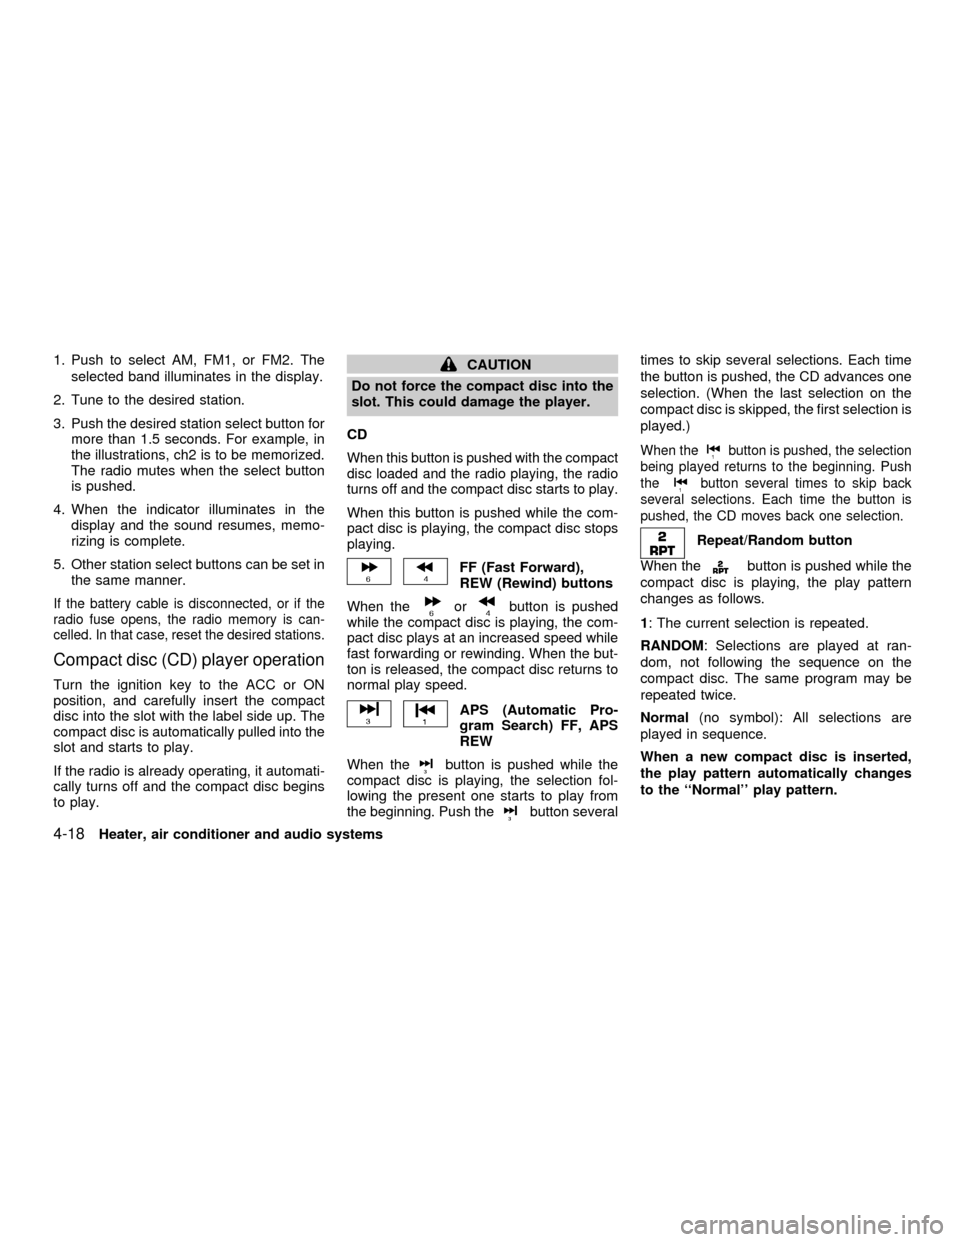
1. Push to select AM, FM1, or FM2. The
selected band illuminates in the display.
2. Tune to the desired station.
3. Push the desired station select button for
more than 1.5 seconds. For example, in
the illustrations, ch2 is to be memorized.
The radio mutes when the select button
is pushed.
4. When the indicator illuminates in the
display and the sound resumes, memo-
rizing is complete.
5. Other station select buttons can be set in
the same manner.
If the battery cable is disconnected, or if the
radio fuse opens, the radio memory is can-
celled. In that case, reset the desired stations.
Compact disc (CD) player operation
Turn the ignition key to the ACC or ON
position, and carefully insert the compact
disc into the slot with the label side up. The
compact disc is automatically pulled into the
slot and starts to play.
If the radio is already operating, it automati-
cally turns off and the compact disc begins
to play.
CAUTION
Do not force the compact disc into the
slot. This could damage the player.
CD
When this button is pushed with the compact
disc loaded and the radio playing, the radio
turns off and the compact disc starts to play.
When this button is pushed while the com-
pact disc is playing, the compact disc stops
playing.
FF (Fast Forward),
REW (Rewind) buttons
When the
orbutton is pushed
while the compact disc is playing, the com-
pact disc plays at an increased speed while
fast forwarding or rewinding. When the but-
ton is released, the compact disc returns to
normal play speed.
APS (Automatic Pro-
gram Search) FF, APS
REW
When the
button is pushed while the
compact disc is playing, the selection fol-
lowing the present one starts to play from
the beginning. Push the
button severaltimes to skip several selections. Each time
the button is pushed, the CD advances one
selection. (When the last selection on the
compact disc is skipped, the first selection is
played.)
When thebutton is pushed, the selection
being played returns to the beginning. Push
the
button several times to skip back
several selections. Each time the button is
pushed, the CD moves back one selection.
Repeat/Random button
When the
button is pushed while the
compact disc is playing, the play pattern
changes as follows.
1: The current selection is repeated.
RANDOM: Selections are played at ran-
dom, not following the sequence on the
compact disc. The same program may be
repeated twice.
Normal(no symbol): All selections are
played in sequence.
When a new compact disc is inserted,
the play pattern automatically changes
to the ``Normal'' play pattern.
4-18Heater, air conditioner and audio systems
ZX
Page 128 of 240

speed when going up or down steep
hills. If this happens, drive without the
cruise control.
To cancel the preset speed,use one of
the following three methods.
a) Push the CANCEL button; the SET light
in the instrument panel goes out.
b) Tap the brake pedal; the SET light in the
instrument panel goes out.
c) Turn the main switch off. Both the
CRUISE indicator and SET lights in the
instrument panel go out. The preset
speed is deleted from memory.
The cruise control will also automatically
cancel and the SET light in the instrument
panel goes out if:
cyou depress the brake pedal while push-
ing the ACCEL/RES or SET/COAST but-
tons. The preset speed is deleted from
memory.
cthe vehicle slows down more than 8 MPH
(13 km/h) below the set speed.
cyou depress the clutch pedal (manual
transmission), or move the shift selectorlever to N (Neutral) (automatic transmis-
sion).
To reset at a faster cruising speed,use
one of the following three methods.
a) Depress the accelerator pedal. When the
vehicle attains the desired speed, push
and release the SET/COAST switch.
b) Push and hold the ACCEL/RES set
switch. When the vehicle attains the
speed you desire, release the switch.
c) Push and release the ACCEL/RES set
switch. Each time you do this, the set
speed increases by about 1 MPH (1.6
km/h).
To reset at a slower cruising speed,use
one of the following three methods.
a) Lightly tap the brake pedal. When the
vehicle attains the desired speed, push
the SET/COAST switch and release it.
b) Push and hold the SET/COAST switch.
Release the switch when the vehicle
slows down to the desired speed.
c) Push and release the SET/COAST
switch. Each time you do this, the setspeed decreases by about 1 MPH (1.6
km/h).
To resume the preset speed,push and
release the ACCEL/RES switch. The ve-
hicle returns to the last set cruising speed
when the vehicle speed is over 25 MPH (40
km/h).
Starting and driving
5-15
ZX
Page 229 of 240
Your NISSAN is covered by the following
emission warranties.
For US
1) Emission Defects Warranty
2) Emission Performance Warranty
For Canada
Emission Control System Warranty
Details of these warranties may be found
with other vehicle warranties in your War-
ranty and Roadside Assistance Information
Booklet that comes with your NISSAN. If
you did not receive a Warranty and Road-
side Assistance Information Booklet, or it
has become lost, you may obtain a replace-
ment by writing to:
cNissan North America, Inc.
Consumer Affairs Department
P.O. Box 191
Gardena, CA. 90248-0191
cNissan Canada Inc.
5290 Orbitor Drive
Mississauga, Ontario, L4W 4Z5If you believe that your vehicle has a defect
which could cause a crash or could cause
injury or death, you should immediately
inform the National Highway Traffic Safety
Administration
(NHTSA)in addition to no-
tifying NISSAN.
If
NHTSAreceives similar complaints, it
may open an investigation, and if it finds
that a safety defect exists in a group of
vehicles, it may order a recall and remedy
campaign. However,
NHTSAcannot be-
come involved in individual problems be-
tween you, your dealer, or NISSAN.
To contact
NHTSA, you may either call the
Auto Safety Hotline toll-free at 1-800-424-
9393 (or 366-0123 in the Washington, D.C.
area) or write to:
NHTSA, U.S. Depart-
ment of Transportation, Washington, D.C.
20590. You can also obtain other informa-
tion about motor vehicle safety from the
Hotline.
You may notify NISSAN by contacting our
Consumer Affairs Department, toll-free, at
1-800-NISSAN-1.
In Hawaii call (808) 836-0888.Due to legal requirements in some states
and Canadian provinces, your vehicle may
be required to be in the ready condition for
an Inspection/Maintenance (I/M) test of the
emission control system.
The vehicle is set to the ready condition
when it is driven through certain driving pat-
terns. Usually, the ready condition can be
obtained by ordinary usage of the vehicle.
If a powertrain system component is repaired
or the battery is disconnected, the vehicle
may be reset to a not ready condition. Before
taking the I/M test, drive the vehicle through
the following pattern to set the vehicle to the
ready condition. If you cannot or do not want
to perform the driving pattern, an authorized
NISSAN dealer can conduct it for you.
WARNING
Always drive the vehicle in a safe and
prudent manner according to traffic
conditions and obey all traffic laws.
1. Start the engine when the engine coolant
temperature gauge needle points to C.
Allow the engine to idle until the gauge
needle points between the C and H (nor-
mal operating temperature).
EMISSION CONTROL
SYSTEM WARRANTYREPORTING SAFETY
DEFECTS (US only)READINESS FOR
INSPECTION/MAINTENANCE
(I/M) TEST (US only)
10-20Technical and consumer information
ZX