2001 NISSAN FRONTIER glove box
[x] Cancel search: glove boxPage 56 of 290

2 Instruments and controls
Meters and gauges ................................................2-2
Speedometer and odometer .............................2-3............................................2-3
Tachometer........................................................2-5
Engine coolant temperature gauge ...................2-5
Fuel gauge ........................................................2-6
Warning/indicator lights and chimes ......................2-7
Checking bulbs ..................................................2-7
Warning lights ....................................................2-8
Indicator lights .................................................2-10
Chimes.............................................................2-12
Security system ..................................................2-12
Vehicle security system (if so equipped) ........2-12
Windshield wiper and washer switch ...................2-15
Switch operation ..............................................2-16
Rear window defogger switch (Crew Cab
models only) .........................................................2-16
Headlight and turn signal switch ..........................2-17
Headlight switch ..............................................2-17
Turn signal switch............................................2-18
Front fog light switch (if so equipped)..................2-18
Hazard warning flasher switch .............................2-19Horn ......................................................................2-19
Power point (if so equipped) ................................2-20
Cigarette lighter (accessory) and ash tray ...........2-20
Storage .................................................................2-21
Storage compartment (Crew Cab
models only) ....................................................2-21
Cup holders (if so equipped) ...........................2-21
Glove box ........................................................2-22
Grocery hooks (King Cab only) .......................2-23
Windows ...............................................................2-23
Power windows (if so equipped) .....................2-23
Manual windows ..............................................2-25
Rear sliding window (if so equipped) ..............2-25
Sunroof (if so equipped).......................................2-25
Tilting the sunroof ............................................2-25
Removing/installing..........................................2-26
Interior lights .........................................................2-28
Map lights (if so equipped)...................................2-29
Illuminated entry system ......................................2-29
Battery saver ...................................................2-29
ZX
Page 78 of 290
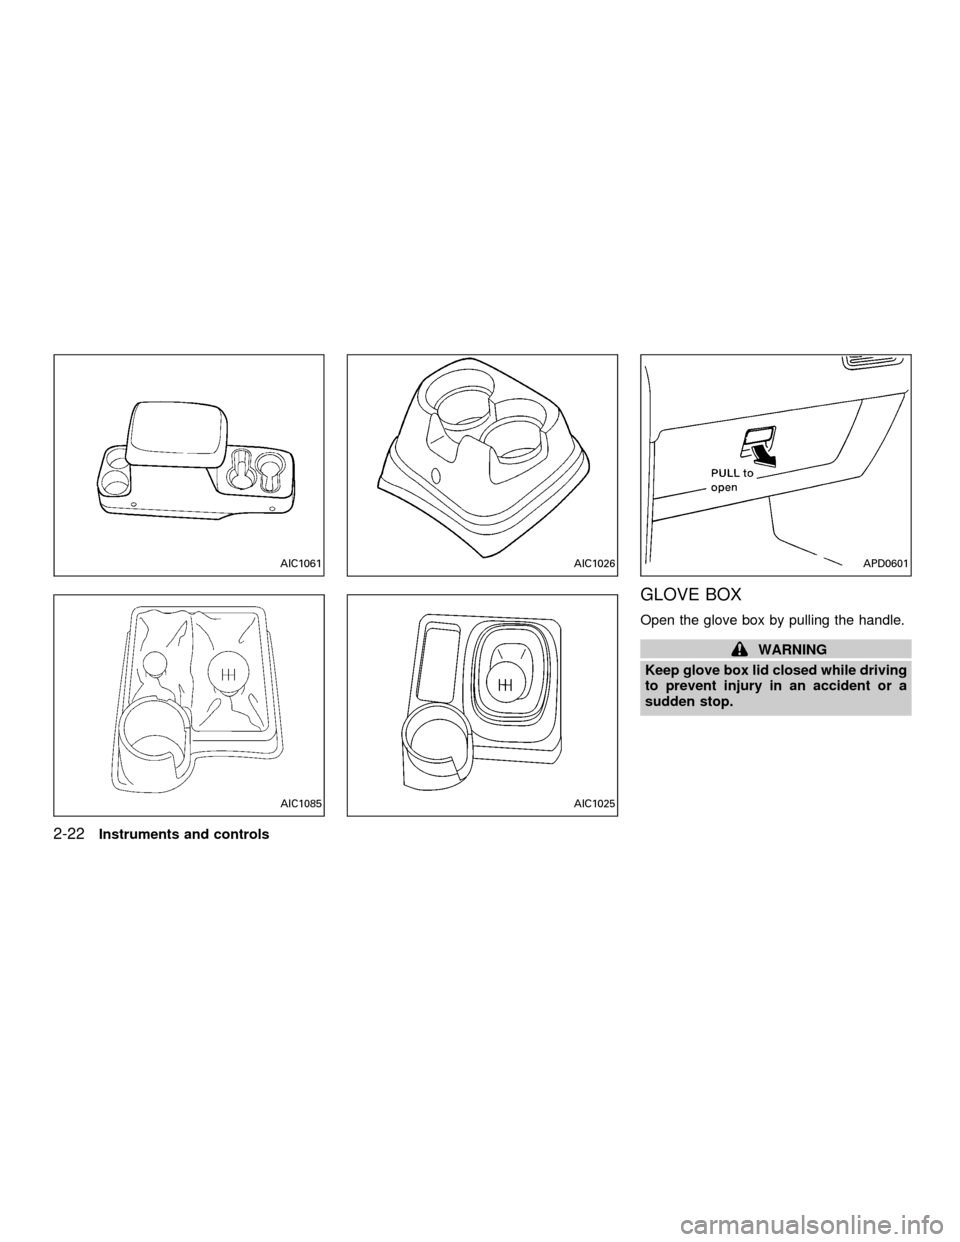
GLOVE BOX
Open the glove box by pulling the handle.
WARNING
Keep glove box lid closed while driving
to prevent injury in an accident or a
sudden stop.
AIC1061
AIC1085
AIC1026
AIC1025
APD0601
2-22Instruments and controls
ZX
Page 181 of 290
it-yourself'' section of this owner's
manual.
1. Clean any mud or dirt from the surface
between the wheel and hub.
2. Carefully put the spare tire on and tighten
the wheel nuts finger tight.
3. With the wheel nut wrench, tighten the
wheel nuts alternately and evenly until
they are tight.
4. Lower the vehicle slowly until the tire
touches the ground. Then, with the wheel
nut wrench, tighten the wheel nuts se-
curely in the sequence as illustrated.
Lower the vehicle completely.
As soon as possible, tighten the wheel
nuts to the specified torque with a torque
wrench.
Wheel nut tightening torque:
87 to 108 ft-lb (118 to 147 Nzm)
The wheel nuts must be kept tightened to
specification at all times. It is recom-
mended that wheel nuts be tightened to
specification at each lubrication interval.
Adjust tire pressure to the COLD pres-
sure.COLD pressure:
After vehicle has been parked for three
hours or more or driven less than 1 mile
(1.6 km).
COLD tire pressures are shown on the
tire placard affixed to the inside of the
glove box lid.
cRetighten the wheel nuts when the
vehicle has been driven for 600 miles
(1,000 km) (also in cases of a flat tire,
etc.).
5. Securely store the flat tire and jacking
equipment in the vehicle.
WARNING
cAlways make sure that the spare tire
and jacking equipment are properly
secured after use. Such items can
become dangerous projectiles in an
accident or sudden stop.
cThe spare tire is designed for emer-
gency use. See specific instructions
under the heading ``Wheels and
tires'' in the ``Do-it-yourself'' section
of this manual.
CAUTION
cBe sure to center the spare tire sus-
pending plate on the wheel and then
lift the spare tire.
In case of emergency
6-7
ZX
Page 232 of 290
If you have a flat tire, see the ``In case of
emergency'' section of this manual.
TIRE PRESSURE
Maximum inflation pressure
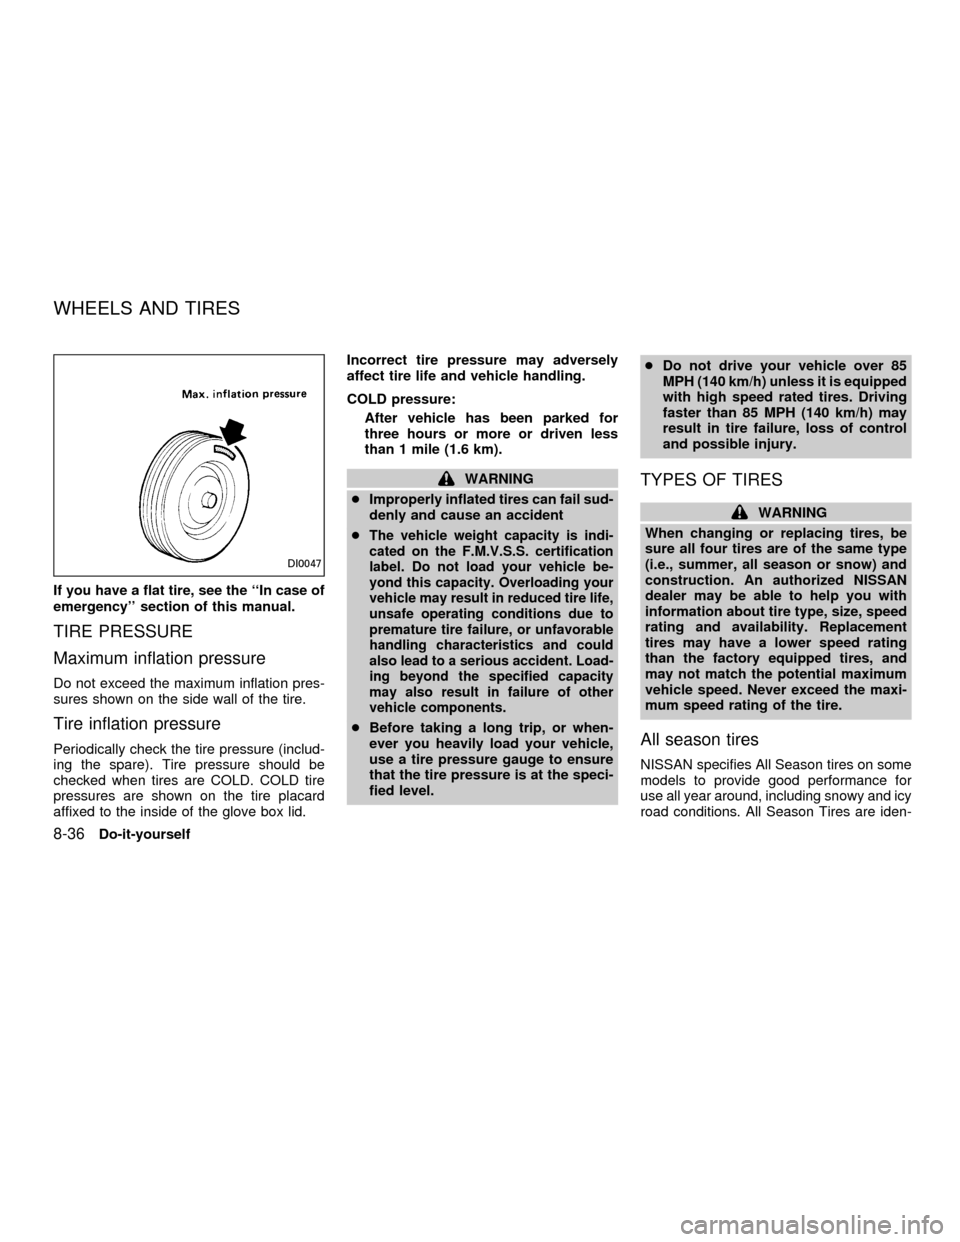
Do not exceed the maximum inflation pres-
sures shown on the side wall of the tire.
Tire inflation pressure
Periodically check the tire pressure (includ-
ing the spare). Tire pressure should be
checked when tires are COLD. COLD tire
pressures are shown on the tire placard
affixed to the inside of the glove box lid.Incorrect tire pressure may adversely
affect tire life and vehicle handling.
COLD pressure:
After vehicle has been parked for
three hours or more or driven less
than 1 mile (1.6 km).
WARNING
cImproperly inflated tires can fail sud-
denly and cause an accident
c
The vehicle weight capacity is indi-
cated on the F.M.V.S.S. certification
label. Do not load your vehicle be-
yond this capacity. Overloading your
vehicle may result in reduced tire life,
unsafe operating conditions due to
premature tire failure, or unfavorable
handling characteristics and could
also lead to a serious accident. Load-
ing beyond the specified capacity
may also result in failure of other
vehicle components.
cBefore taking a long trip, or when-
ever you heavily load your vehicle,
use a tire pressure gauge to ensure
that the tire pressure is at the speci-
fied level.cDo not drive your vehicle over 85
MPH (140 km/h) unless it is equipped
with high speed rated tires. Driving
faster than 85 MPH (140 km/h) may
result in tire failure, loss of control
and possible injury.
TYPES OF TIRES
WARNING
When changing or replacing tires, be
sure all four tires are of the same type
(i.e., summer, all season or snow) and
construction. An authorized NISSAN
dealer may be able to help you with
information about tire type, size, speed
rating and availability. Replacement
tires may have a lower speed rating
than the factory equipped tires, and
may not match the potential maximum
vehicle speed. Never exceed the maxi-
mum speed rating of the tire.
All season tires
NISSAN specifies All Season tires on some
models to provide good performance for
use all year around, including snowy and icy
road conditions. All Season Tires are iden-
DI0047
WHEELS AND TIRES
8-36Do-it-yourself
ZX
Page 264 of 290

EMISSION CONTROL
INFORMATION LABEL
The emission control information label is
attached to the underside of the hood as
shown.
TIRE PLACARD
The cold tire pressure is shown on the tire
placard affixed to the inside of the glove box
lid.
AIR CONDITIONER
SPECIFICATION LABEL
The label is attached to the underside of the
hood as shown.
WTI0014ATI1019WTI0015
10-14Technical and consumer information
ZX
Page 265 of 290
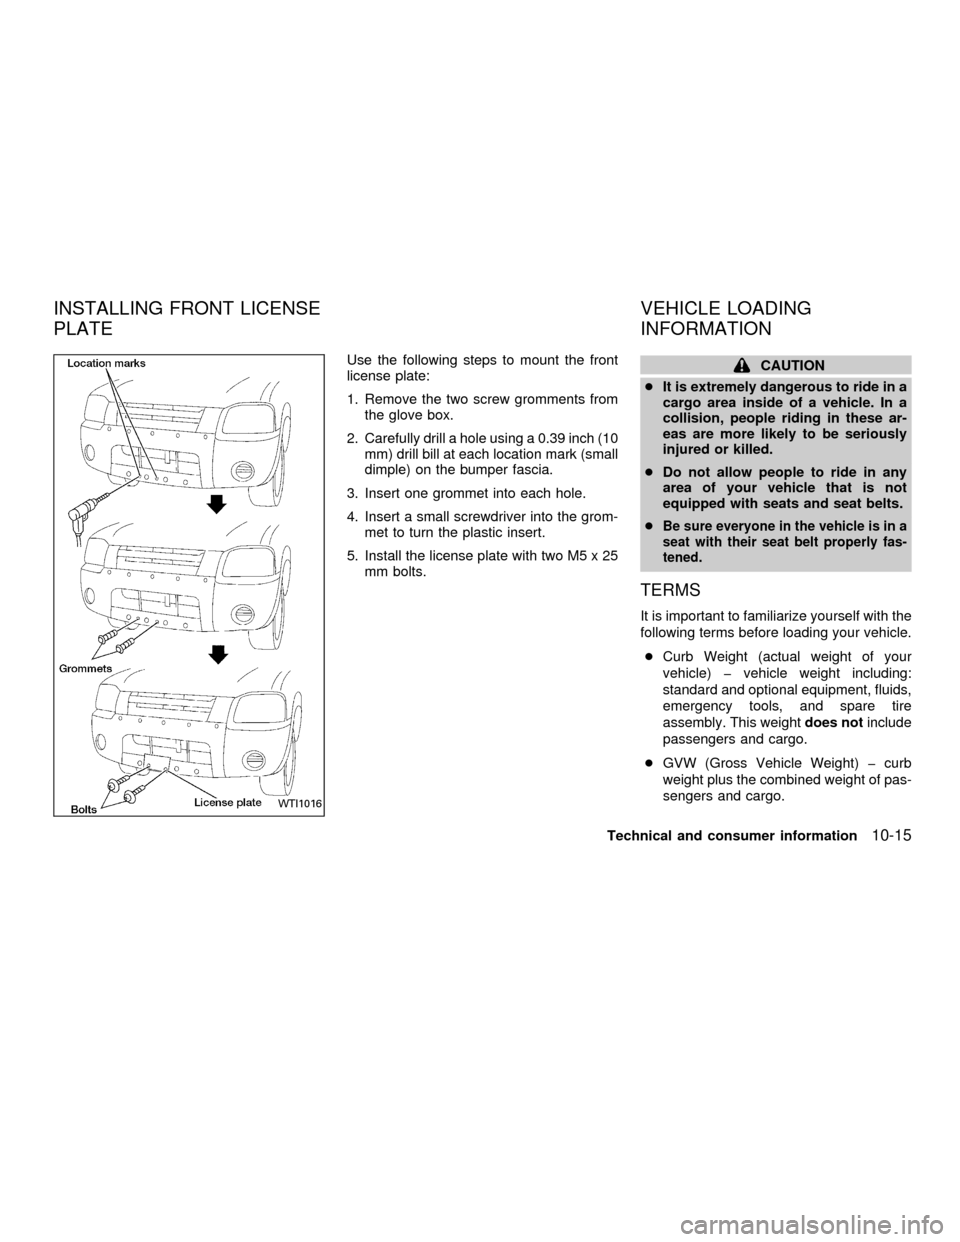
Use the following steps to mount the front
license plate:
1. Remove the two screw gromments from
the glove box.
2. Carefully drill a hole using a 0.39 inch (10
mm) drill bill at each location mark (small
dimple) on the bumper fascia.
3. Insert one grommet into each hole.
4. Insert a small screwdriver into the grom-
met to turn the plastic insert.
5. Install the license plate with two M5 x 25
mm bolts.CAUTION
cIt is extremely dangerous to ride in a
cargo area inside of a vehicle. In a
collision, people riding in these ar-
eas are more likely to be seriously
injured or killed.
cDo not allow people to ride in any
area of your vehicle that is not
equipped with seats and seat belts.
c
Be sure everyone in the vehicle is in a
seat with their seat belt properly fas-
tened.
TERMS
It is important to familiarize yourself with the
following terms before loading your vehicle.
cCurb Weight (actual weight of your
vehicle) þ vehicle weight including:
standard and optional equipment, fluids,
emergency tools, and spare tire
assembly. This weightdoes notinclude
passengers and cargo.
cGVW (Gross Vehicle Weight) þ curb
weight plus the combined weight of pas-
sengers and cargo.
WTI1016
INSTALLING FRONT LICENSE
PLATEVEHICLE LOADING
INFORMATION
Technical and consumer information10-15
ZX
Page 275 of 290
TOWING SAFETY
Trailer hitch
Check the towing capacity of your bumper
hitch or receiver-type frame mounted hitch.
Choose a proper hitch for your vehicle and
trailer. A genuine Nissan trailer hitch is
available from your NISSAN dealer. Make
sure the trailer hitch is securely attached to
the vehicle to help avoid personal injury or
property damage due to sway caused by
crosswinds, rough road surfaces or passing
trucks.
CAUTION
cSpecial hitches which include frame
reinforcements are required for tow-
ing above 2,000 lb (907 kg). Suitable
genuine NISSAN hitches for pickup
trucks and sport utility vehicles are
available at an authorized NISSAN
dealer.
cThe hitch should not be attached to
or affect the operation of the impact-
absorbing bumper.
cDo not use axle-mounted hitches.cDo not modify the vehicle exhaust
system, brake system, etc. to install
a trailer hitch.
cTo reduce the possibility of addi-
tional damage if your vehicle is
struck from the rear, where practical,
remove the hitch and/or receiver
when not in use. Remove receiver
when not in use. After the hitch is
removed, seal the bolt holes to pre-
vent exhaust fumes, water or dust
from entering the passenger com-
partment.
cRegularly check that all trailer hitch
mounting bolts are securely
mounted.
Tire pressures
cWhen towing a trailer, inflate the vehicle
tires to the recommended cold tire pres-
sure indicated on the tire placard (af-
fixed to the inside of the glove box lid).
cTrailer tire condition, size, load rating
and proper inflation pressure should be
in accordance with the trailer and tire
manufacturers' specifications.
Safety chain
Always use suitable safety chains between
your vehicle and the trailer. Safety chains
should be crossed and should be attached
to the hitch, not to the vehicle bumper or
axle. Be sure to leave enough slack in the
chain to permit turning corners.
Trailer lights
Trailer lights should comply with Federal
and/or local regulations. For assistance in
hooking up trailer lights, contact an autho-
rized NISSAN dealer.
Trailer brakes
If your trailer is equipped with a braking
system, make sure it conforms to Federal
and/or local regulations and that it is prop-
erly installed.
WARNING
Never connect a trailer brake system
directly to the vehicle brake system.
Pre-towing tips
cBe certain your vehicle maintains a level
position when a loaded and/or unloaded
Technical and consumer information
10-25
ZX
Page 289 of 290
Recommended fuel:
Unleaded gasoline, at least 87 AKI number
(RON 91) (except supercharger) or 91 AKI
number (RON 96) (supercharger).
For further details such as gasohol or diesel
fuel grade, see ``Fuel recommendation'' in
the ``Technical and consumer information''
section.
CAUTION
cUsing fuel other than that specified
could adversely effect the emissions
control system, and may also affect
warranty coverage.
cUnder no circumstances should a
leaded gasoline be used since this
will damage the three way catalyst.
Recommended engine oil:
cAPI Certification Mark
cAPI grade SG/SH Energy Conserving I
& II or API grade SJ Energy Conserving
cILSAC grade GF-I & GF-II
See9Engine oil and filter recommendation9
in the ``Technical and consumer informa-
tion'' section.
Tire cold pressure:
See the tire placard affixed to the inside of
the glove box lid.
Recommended new vehicle
break-in procedure:
During the first 1,000 miles (1,600 km) of
vehicle use, follow the recommendations
outlined in the ``BREAK-IN SCHEDULE''
found in the ``Starting and Driving'' section
of this Owner's Manual. Follow these rec-
ommendations for the future reliability and
economy of your new vehicle. Failure to
follow these recommendations may result in
vehicle damage or shortened engine life.
GAS STATION INFORMATION
ZX