2001 NISSAN FRONTIER transmission
[x] Cancel search: transmissionPage 153 of 290

AUTOMATIC TRANSMISSION (if
so equipped)
WARNING
cDo not depress the accelerator pedal
while shifting from P (Park) or N
(Neutral) to R (Reverse), D (Drive), 2
or 1. Always depress the brake pedal
until shifting is completed. Failure to
do so could cause you to lose con-
trol and have an accident.
cCold engine idle speed is high, so
use caution when shifting into a for-
ward or reverse gear before the en-
gine has warmed up.
cNever shift to P (Park) or R (Reverse)
while the vehicle is moving. This
could cause an accident.
CAUTION
cWhen stopping the vehicle on an
uphill grade, do not hold the vehicle
by depressing the accelerator pedal.
The foot brake should be used for
this purpose.
cOn slippery roads, do not downshift.
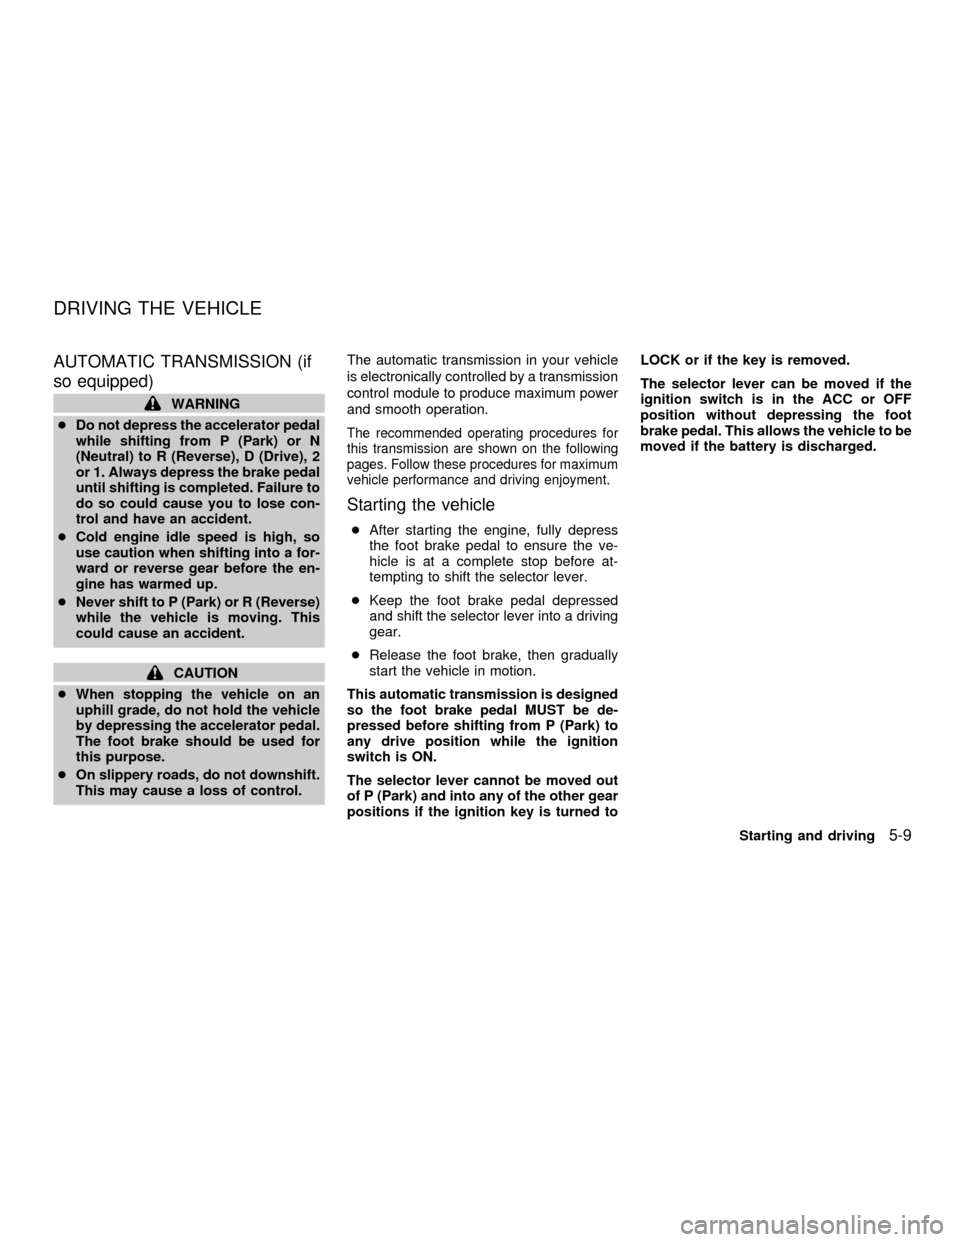
This may cause a loss of control.The automatic transmission in your vehicle
is electronically controlled by a transmission
control module to produce maximum power
and smooth operation.
The recommended operating procedures for
this transmission are shown on the following
pages. Follow these procedures for maximum
vehicle performance and driving enjoyment.
Starting the vehicle
cAfter starting the engine, fully depress
the foot brake pedal to ensure the ve-
hicle is at a complete stop before at-
tempting to shift the selector lever.
cKeep the foot brake pedal depressed
and shift the selector lever into a driving
gear.
cRelease the foot brake, then gradually
start the vehicle in motion.
This automatic transmission is designed
so the foot brake pedal MUST be de-
pressed before shifting from P (Park) to
any drive position while the ignition
switch is ON.
The selector lever cannot be moved out
of P (Park) and into any of the other gear
positions if the ignition key is turned toLOCK or if the key is removed.
The selector lever can be moved if the
ignition switch is in the ACC or OFF
position without depressing the foot
brake pedal. This allows the vehicle to be
moved if the battery is discharged.
DRIVING THE VEHICLE
Starting and driving5-9
ZX
Page 157 of 290

Accelerator downshift
In D position
For rapid passing or hill climbing while driv-
ing, fully depress the accelerator pedal to
the floor. This shifts the transmission down
into second gear or first gear, depending on
the vehicle speed.
Overdrive switch (KA24DE engine
type a)
ON: For typical driving, push the overdrive
switch ONwith the selector lever
in the D (Drive) position. The trans-
mission is upshifted into OVERDRIVE
as the vehicle speed increases.
OVERDRIVE does not engage until the
engine has reached operating tempera-
ture.
OFF: For driving up and down long slopes
where engine braking is necessary,
push the switch OFF
. The indica-tor light in the instrument panel comes
on at this time. When cruising at a low
speed or climbing a gentle slope, you
may feel uncomfortable shift shocks
as the transmission repeatedly shifts
between 3rd and overdrive. In this
case, set the overdrive switch in the
OFF
position.
When driving conditions change, reset the
overdrive switch in the ON
position to
turn the overdrive on. The indicator light
goes out at this time.
Remember not to drive at high speeds for
extended periods of time with the overdrive
switch set in the OFF
position. This
reduces fuel economy.
WSD0012
Starting and driving5-13
ZX
Page 158 of 290

Overdrive switch (KA24DE engine
type b)
Each time your vehicle is started, the trans-
mission is automatically ``reset'' to overdrive
ON.
ON: For normal driving the overdrive
switch is engaged. The transmission
is upshifted into overdrive as the
vehicle speed increases.
The overdrive does not engage until the
engine has reached operating tempera-
ture.OFF: For driving up and down long slopes
where engine braking is necessary,
push the overdrive switch once. The
O/D OFF indicator light illuminates at
this time.
When cruising at a low speed or climbing a
gentle slope, you may feel uncomfortable
shift shocks as the transmission shifts be-
tween 3rd gear and overdrive repeatedly. In
this case, press the overdrive switch.
When driving conditions change, press the
overdrive switch to turn the overdrive on.
The O/D OFF indicator light goes out.
Remember not to drive at high speeds for
extended periods of time with the O/D OFF
light illuminated. This reduces the fuel
economy.
Overdrive switch (VG33E or
VG33ER engines)
ON: With the engine running and the se-
lector lever in the D (Drive) position,
the transmission upshifts into OVER-
DRIVE as vehicle speed increases.
OVERDRIVE does not engage until the
engine has reached operating tempera-
ture.
OFF: For driving up and down long slopes
where engine braking is necessary
push the OVERDRIVE switch once.
The O/D OFF indicator light in the
WSD0055ASD1023
5-14Starting and driving
ZX
Page 159 of 290

instrument panel comes on at this
time.
When cruising at a low speed or
climbing a gentle slope, you may feel
uncomfortable shift shocks as the
transmission shifts between third gear
and overdrive repeatedly. In this case,
depress the OVERDRIVE switch to
turn the OVERDRIVE off. The O/D
OFF indicator light in the instrument
panel comes on at this time.
When driving conditions change, depress
the overdrive switch to turn the OVER-
DRIVE on.
Remember not to drive at high speeds for
extended periods of time with the OVER-
DRIVE off. This reduces fuel economy.
MANUAL TRANSMISSION
WARNING
cDo not downshift abruptly on slip-
pery roads. This may cause a loss of
control.cDo not over-rev the engine when
shifting to a lower gear. This may
cause a loss of control or engine
damage.
CAUTION
cDo not rest your foot on the clutch
pedal while driving. This may cause
clutch damage.
cStop your vehicle completely before
shifting into R (Reverse).
cWhen the vehicle is stopped with the
engine running (for example at a
stop light), shift to N (Neutral) and
release the clutch pedal with the foot
brake applied.
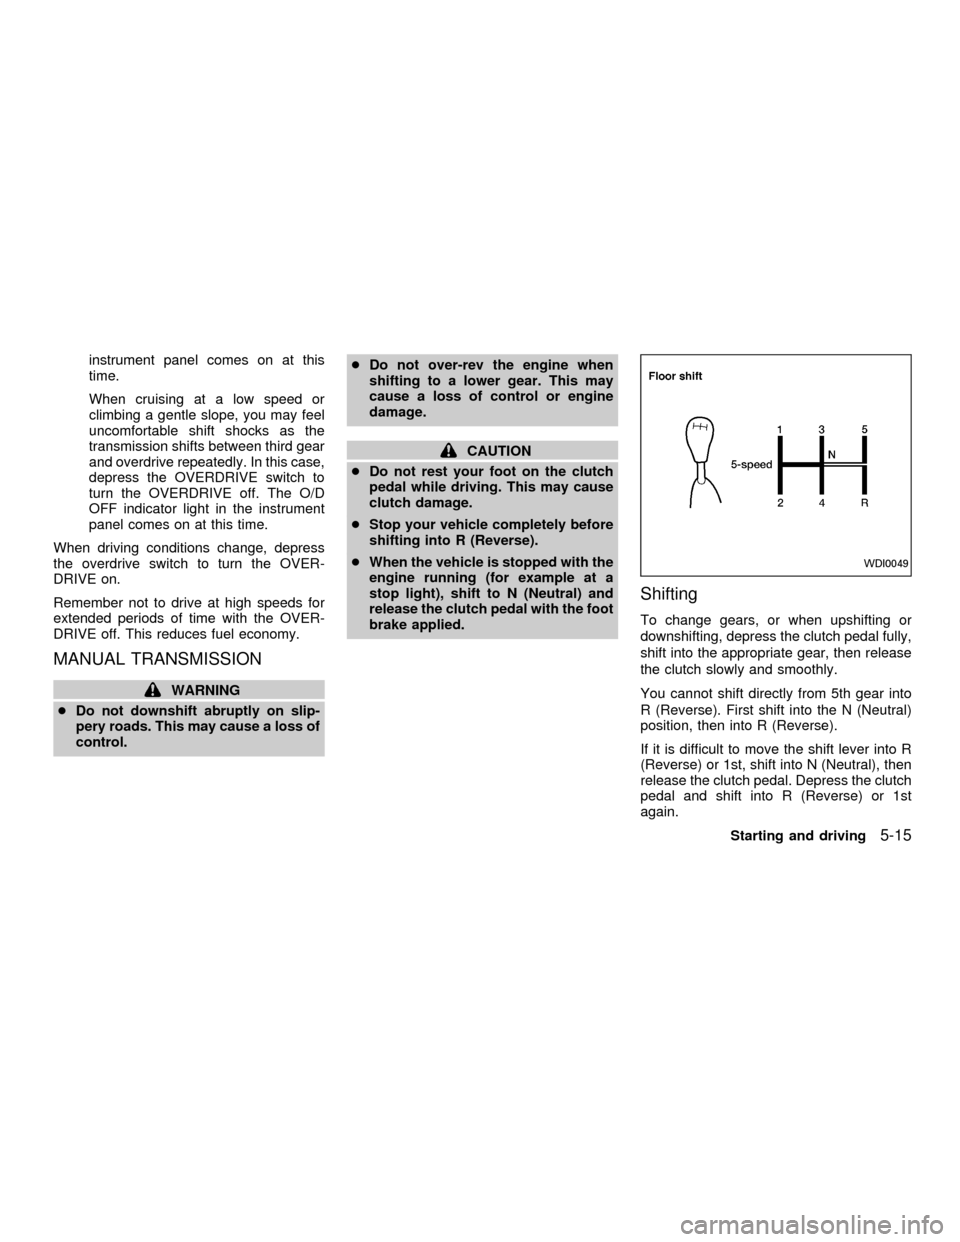
Shifting
To change gears, or when upshifting or
downshifting, depress the clutch pedal fully,
shift into the appropriate gear, then release
the clutch slowly and smoothly.
You cannot shift directly from 5th gear into
R (Reverse). First shift into the N (Neutral)
position, then into R (Reverse).
If it is difficult to move the shift lever into R
(Reverse) or 1st, shift into N (Neutral), then
release the clutch pedal. Depress the clutch
pedal and shift into R (Reverse) or 1st
again.
WDI0049
Starting and driving5-15
ZX
Page 161 of 290

To apply:pull the lever out.
To release:
1. Firmly apply foot brake.
2. Manual transmission models:
Place the shift lever in the N (Neutral)
position.
Automatic transmission models:
Move the selector lever to the P (Park)
position.
3. While pulling out on the parking brake
lever slightly, push and hold the releasebutton, turn the lever and push it in
completely.
4. Before driving, be sure the brake warning
light goes out.PRECAUTIONS ON CRUISE
CONTROL
cThe cruise control system cancels auto-
matically if it is not functioning properly.
The SET indicator light in the instrument
panel then blinks to warn the driver.
cIf the SET indicator light blinks, turn the
cruise control main switch off and have
the system checked by an authorized
NISSAN dealer.
cThe SET indicator light may blink when
the cruise control main switch is turned
ON while pushing the RES/ACCEL,
ASD1010WSD0013
CRUISE CONTROL (if so
equipped)
Starting and driving5-17
ZX
Page 162 of 290

COAST/SET, or CANCEL switch (lo-
cated on the steering wheel). To properly
use the cruise control system, use the
following procedures.
WARNING
Do not use the cruise control when
driving under the following conditions.
cWhen it is not possible to keep the
vehicle at a set speed.
cIn heavy traffic or in traffic that var-
ies in speed.
cOn winding or hilly roads.
c
On slippery roads (rain, snow, ice, etc.).
cIn very windy areas.
Doing so could cause a loss of vehicle
control and result in an accident.
CAUTION
On manual transmission models, do
not shift into N (Neutral) without de-
pressing the clutch pedal when the
cruise control is set. Should this occur,
depress the clutch pedal and turn the-
main switch off immediately. Failure to
do so may cause engine damage.
CRUISE CONTROL OPERA-
TIONS
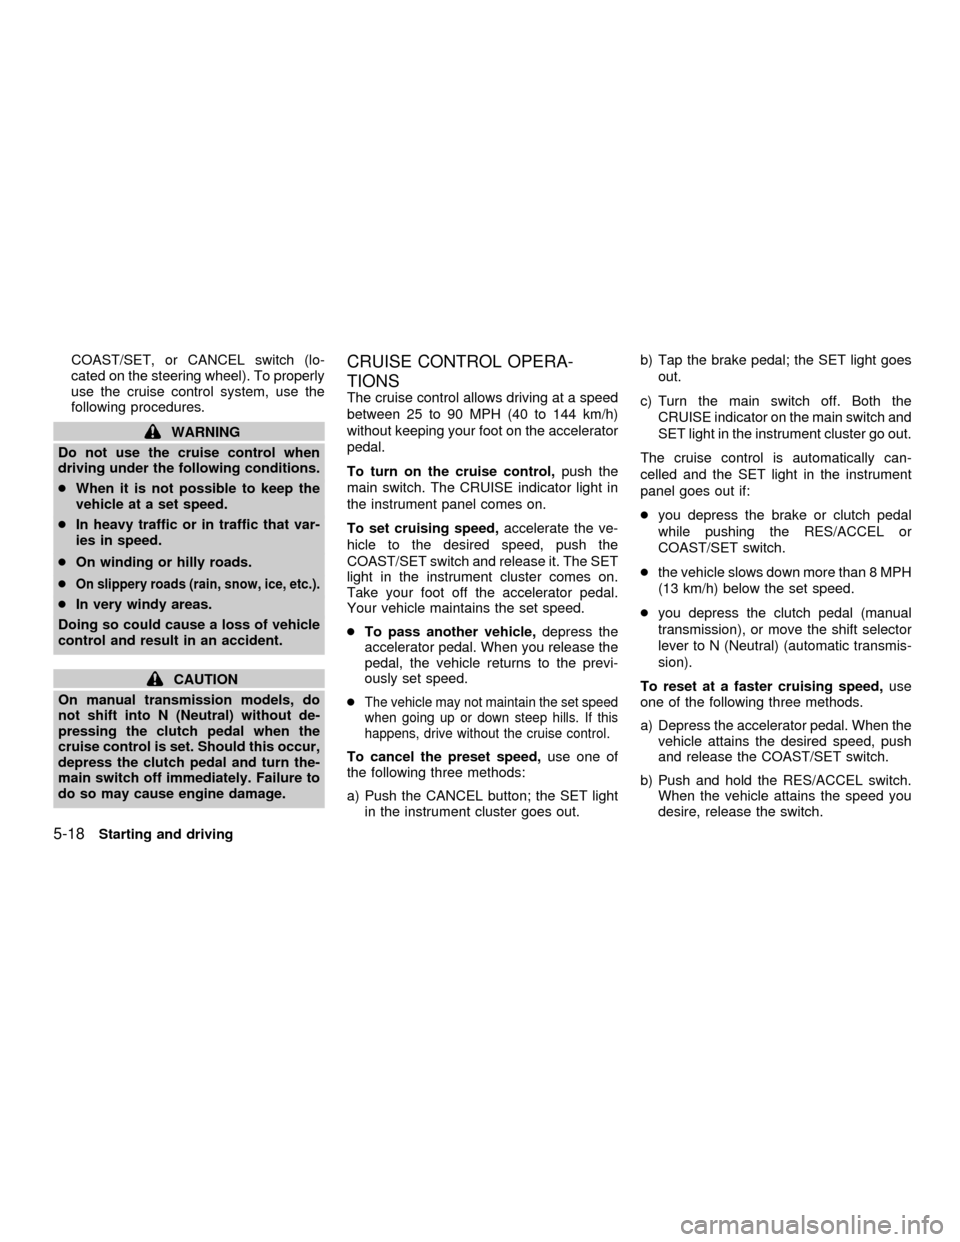
The cruise control allows driving at a speed
between 25 to 90 MPH (40 to 144 km/h)
without keeping your foot on the accelerator
pedal.
To turn on the cruise control,push the
main switch. The CRUISE indicator light in
the instrument panel comes on.
To set cruising speed,accelerate the ve-
hicle to the desired speed, push the
COAST/SET switch and release it. The SET
light in the instrument cluster comes on.
Take your foot off the accelerator pedal.
Your vehicle maintains the set speed.
cTo pass another vehicle,depress the
accelerator pedal. When you release the
pedal, the vehicle returns to the previ-
ously set speed.
c
The vehicle may not maintain the set speed
when going up or down steep hills. If this
happens, drive without the cruise control.
To cancel the preset speed,use one of
the following three methods:
a) Push the CANCEL button; the SET light
in the instrument cluster goes out.b) Tap the brake pedal; the SET light goes
out.
c) Turn the main switch off. Both the
CRUISE indicator on the main switch and
SET light in the instrument cluster go out.
The cruise control is automatically can-
celled and the SET light in the instrument
panel goes out if:
cyou depress the brake or clutch pedal
while pushing the RES/ACCEL or
COAST/SET switch.
cthe vehicle slows down more than 8 MPH
(13 km/h) below the set speed.
cyou depress the clutch pedal (manual
transmission), or move the shift selector
lever to N (Neutral) (automatic transmis-
sion).
To reset at a faster cruising speed,use
one of the following three methods.
a) Depress the accelerator pedal. When the
vehicle attains the desired speed, push
and release the COAST/SET switch.
b) Push and hold the RES/ACCEL switch.
When the vehicle attains the speed you
desire, release the switch.
5-18Starting and driving
ZX
Page 165 of 290

TRANSFER CASE SHIFTING
PROCEDURES
CAUTION
Do not drive on dry hard surface roads
in four-wheel drive. Driving on dry hard
surfaces in 4H or 4L may cause unnec-
essary noise, tire wear, and increased
fuel consumption. NISSAN recom-
mends driving in the 2H position under
these conditions.
WARNING
cWhen parking the vehicle, apply the
parking brake and always make sure
to shift the transfer control lever into
the 2H, 4H or 4L position.
cDo not leave the transfer control le-
ver in the N (Neutral) position. Oth-
erwise, the vehicle could roll unex-
pectedly even if the manual
transmission is in gear or the auto-
matic transmission is in the P (Park)
position.
cFailure to engage the transfer con-
trol lever in 2H, 4H, or 4L could result
in the vehicle moving unexpectedly,resulting in serious personal injury
or property damage.
2HÐ (2WD, high range) Only the rear
wheels are driven. Use for driving under the
same conditions as standard 2WD vehicles
or state dynamometer I/M testing.
4HÐ (4WD, high range) Four wheels are
driven. Use when driving on roads where it
is difficult to drive in the 2H position (i.e.,
driving at normal speeds on snow covered,
icy, wet, muddy or sandy roads).
4LÐ (4WD, low range) Four wheels are
driven. Use when climbing or descending
steep hills, or during hard driving in sand,
mud or deep snow. The 4L position pro-
vides maximum power and traction. Avoid
raising vehicle speed excessively, as the
maximum speed is approximately 30 MPH
(48 km/h).
NÐ No wheels are driven. Always keep the
transfer lever out of the N (Neutral) position.
Shift the lever quickly and smoothly when
moving across the N (Neutral) position with
the vehicle stopped.
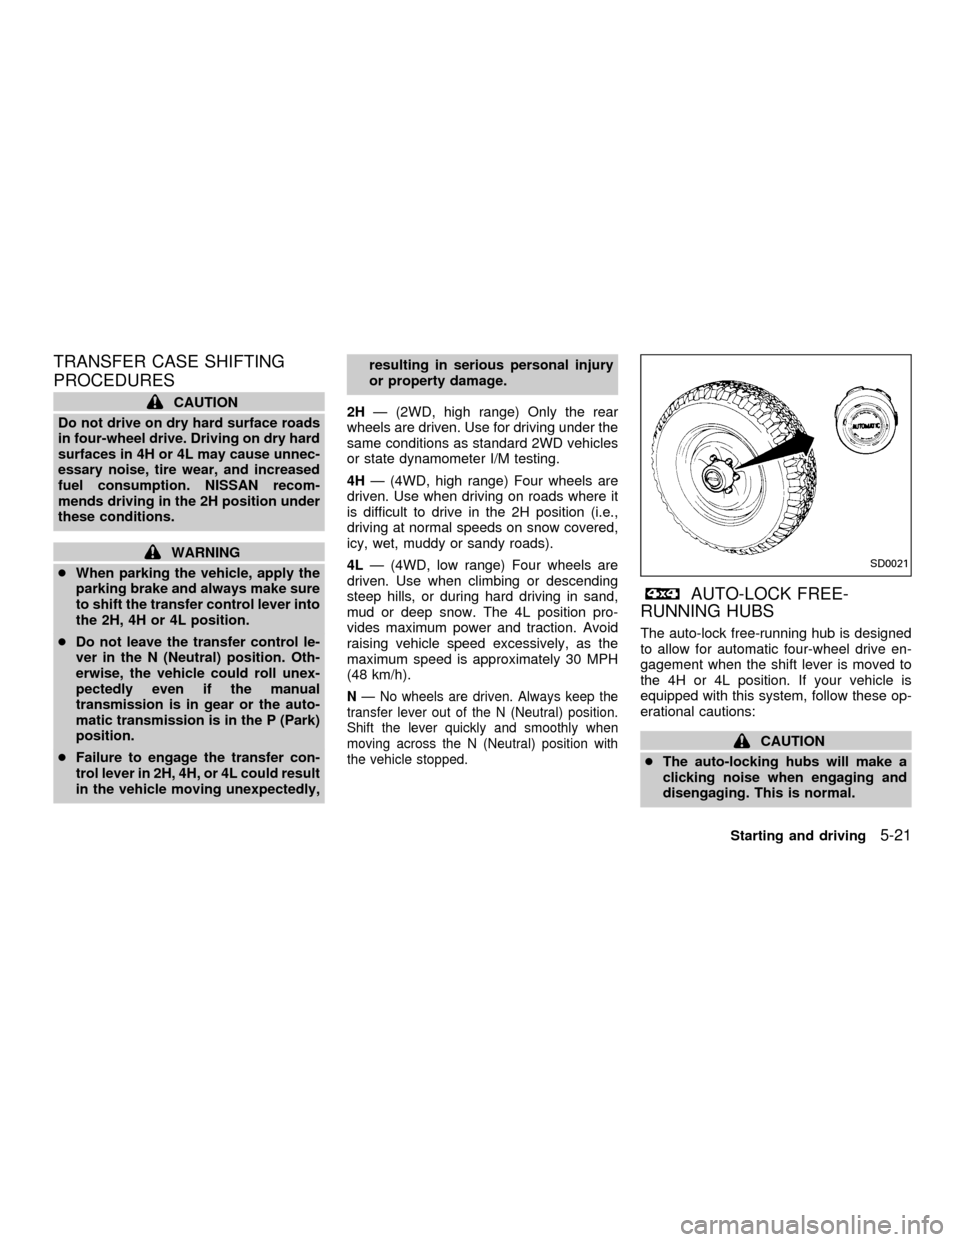
AUTO-LOCK FREE-
RUNNING HUBS
The auto-lock free-running hub is designed
to allow for automatic four-wheel drive en-
gagement when the shift lever is moved to
the 4H or 4L position. If your vehicle is
equipped with this system, follow these op-
erational cautions:
CAUTION
cThe auto-locking hubs will make a
clicking noise when engaging and
disengaging. This is normal.
SD0021
Starting and driving5-21
ZX
Page 167 of 290

TO SHIFT
TRANSFER CASE:SHIFT PROCEDURE FOR AUTO-LOCK FREE-RUNNING HUBS
From 2H to 4HMove the transfer case shift lever to 4H at speeds below 25 MPH (40 km/h). It is not necessary to depress the clutch pedal. Per-
form this operation when driving straight, not while cornering.
From 4H to 2H1. Move the transfer case shift lever to 2H. This can be done at any speed, and it is not necessary to depress the clutch pedal.
Perform this operation when driving straight, not while cornering.
2. Disengage the AUTO-LOCK hubs following the procedure outlined below.
NOTE:
The 4WD indicator light may not turn off immediately under certain driving conditions, such as when the vehicle is driven
uphill. This is normal and it will shut off as the vehicle is driven further.
AUTO-LOCK HUB DISENGAGEMENT (FREE MODE)
The AUTO-LOCK hubs will not disengage until the vehicle is completely stopped and is then moved in a straight line, approxi-
mately 7-10 feet (2-3 m), in the opposite direction of travel. For example:
If you were driving the vehicle forward, stop and move the vehicle 7-10 feet (2-3 m) backward.
If you were driving the vehicle in reverse, stop and move the vehicle 7-10 feet (2-3 m) forward.
It is not necessary to immediately return the AUTO-LOCK hubs to FREE MODE when shifting from 4H to 2H. The vehicle may be
operated under normal 2H conditions with the AUTO-LOCK hubs engaged. However, disengaging the AUTO-LOCK hubs will al-
low for better fuel economy, quieter ride and less component wear. Leaving the hubs locked while driving in 2H may be desir-
able so that you can easily shift to 4H at speeds greater than 25 MPH (40 km/h).
From 4H to 4L or 4L to
4H1. Stop the vehicle.
2. Depress the clutch pedal, or place the transmission selector lever in the N (Neutral) position.
3. Depress the transfer case shift lever and move it to the 4L or 4H position. Change gears quickly and smoothly.
From 2H to 4L1. Stop the vehicle.
2. Depress the clutch pedal, or place the transmission selector lever in the N (Neutral) position.
3. Depress the transfer case shift lever and move it to the 4L position. Change gears quickly and smoothly.
From 4L to 2H1. Stop the vehicle.
2. Depress the clutch pedal, or place the transmission selector lever in the N (Neutral) position.
3. Depress the transfer case shift lever and move it to the 2H position. Change gears quickly and smoothly.
4. Disengage the AUTO-LOCK hubs following the procedure outlined above.
Starting and driving5-23
ZX