Page 34 of 290
belts, check the operation as follows.
cGrasp the shoulder belt and pull quickly
forward. The retractor should lock and
restrict further belt movement.
If the retractor does not lock during this
check, or if you have any questions about
seat belt operation, see an authorized
NISSAN dealer.
Shoulder belt height adjustment
(For front seats)
The shoulder belt anchor height should be
adjusted to the position best for you. (See
``Precautions on seat belt usage'' earlier in
this section.) To adjust, pull out or squeeze
the adjustment button and move the shoul-
der belt anchor to the desired position, so
the belt passes over the center of the shoul-
der. The belt should be away from your face
and neck, but not falling off of your shoulder.
Release the adjustment button to lock the
shoulder belt anchor into position.
WRS0083WRS0084
Seats, restraints and supplemental air bag systems1-27
ZX
Page 35 of 290

WARNING
cAfter adjustment, release the adjust-
ment button and try to move the
shoulder belt anchor up and down to
make sure it is securely fixed in
position.
cThe shoulder belt anchor height
should be adjusted to the position
best for you. Failure to do so may
reduce the effectiveness of the en-
tire restraint system and increase
the chance or severity of injury in an
accident.
TWO-POINT TYPE SEAT BELT
WITHOUT RETRACTOR (Center
of 60/40 bench seat)
WARNING
cDo not install a child restraint in the
center position of the front seat if the
type of restraint used interferes with
operation of the driving controls.cDo not sit on the armrest. The arm-
rest is not a seating surface. Using
the armrest as a seating surface may
cause serious injury in an accident.
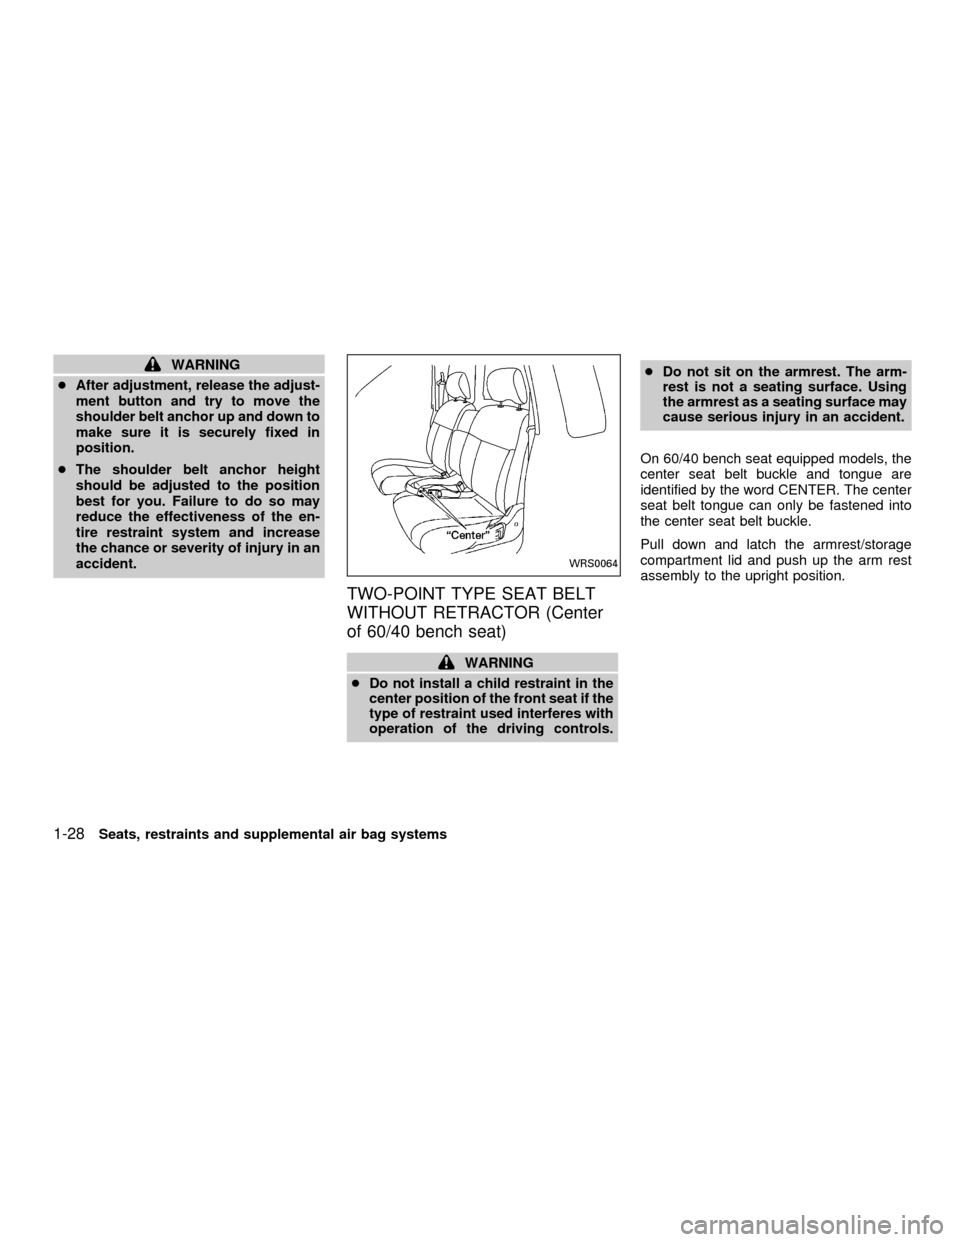
On 60/40 bench seat equipped models, the
center seat belt buckle and tongue are
identified by the word CENTER. The center
seat belt tongue can only be fastened into
the center seat belt buckle.
Pull down and latch the armrest/storage
compartment lid and push up the arm rest
assembly to the upright position.
WRS0064
1-28Seats, restraints and supplemental air bag systems
ZX
Page 41 of 290
INSTALLATION ON REAR
BENCH SEAT CENTER POSI-
TION (Crew Cab models only)
Front facing
When you install a child restraint in the rear
center seat, follow these steps:
1. Position the child restraint on the seat as
illustrated. Always follow the restraint
manufacturer's instructions.2. Route the seat belt tongue through the
child restraint and insert it into the buckle
until you hear and feel the latch engage.
Be sure to follow the child restraint manu-
facturer's instructions for belt routing.3. Remove all slack in the lap belt for a very
tight fit by pulling forcefully on the lap belt
adjustment.
ARS1247ARS1169ARS1170
1-34Seats, restraints and supplemental air bag systems
ZX
Page 43 of 290

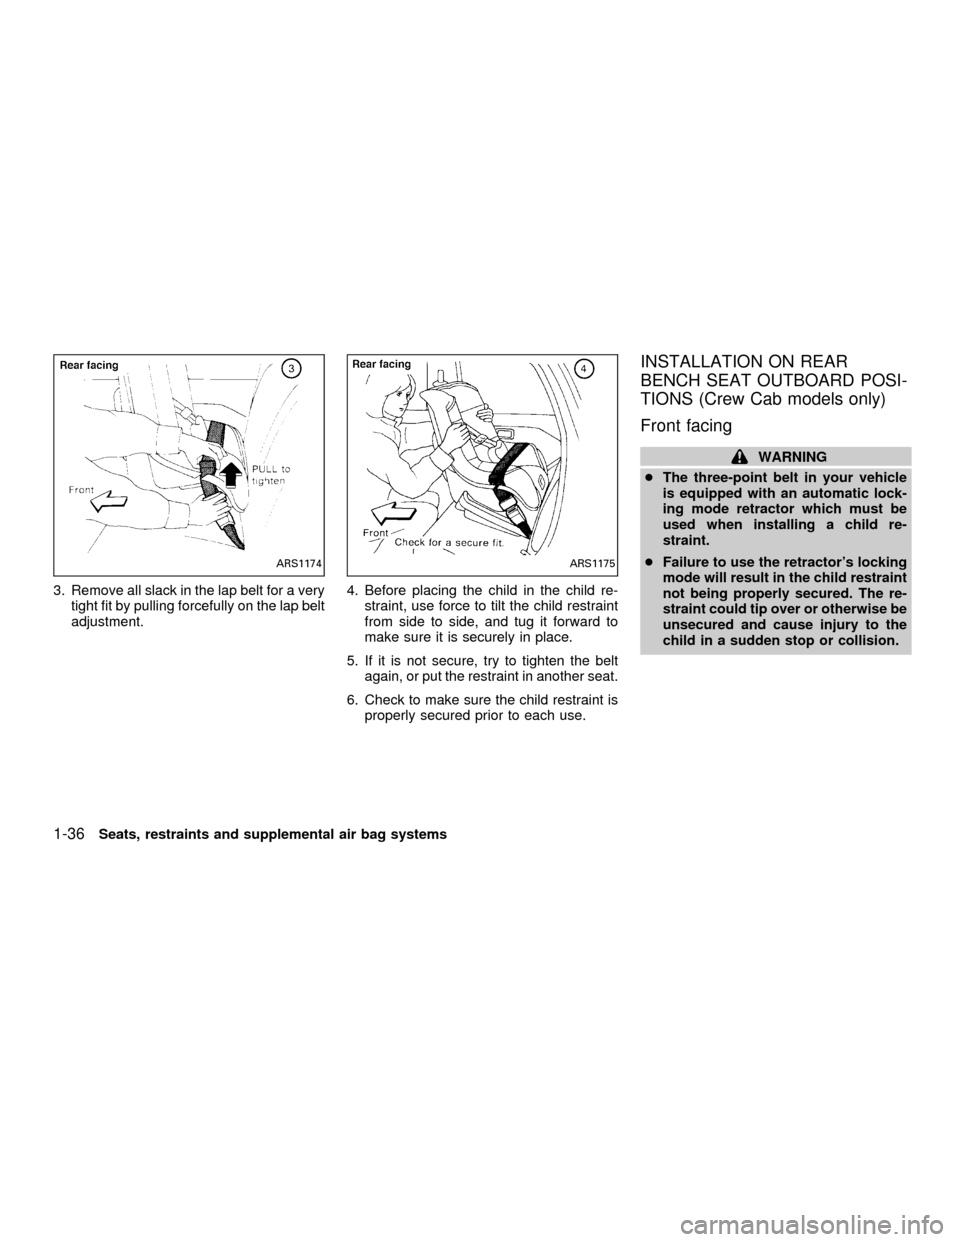
3. Remove all slack in the lap belt for a very
tight fit by pulling forcefully on the lap belt
adjustment.4. Before placing the child in the child re-
straint, use force to tilt the child restraint
from side to side, and tug it forward to
make sure it is securely in place.
5. If it is not secure, try to tighten the belt
again, or put the restraint in another seat.
6. Check to make sure the child restraint is
properly secured prior to each use.
INSTALLATION ON REAR
BENCH SEAT OUTBOARD POSI-
TIONS (Crew Cab models only)
Front facing
WARNING
cThe three-point belt in your vehicle
is equipped with an automatic lock-
ing mode retractor which must be
used when installing a child re-
straint.
cFailure to use the retractor's locking
mode will result in the child restraint
not being properly secured. The re-
straint could tip over or otherwise be
unsecured and cause injury to the
child in a sudden stop or collision.
ARS1174ARS1175
1-36Seats, restraints and supplemental air bag systems
ZX
Page 88 of 290

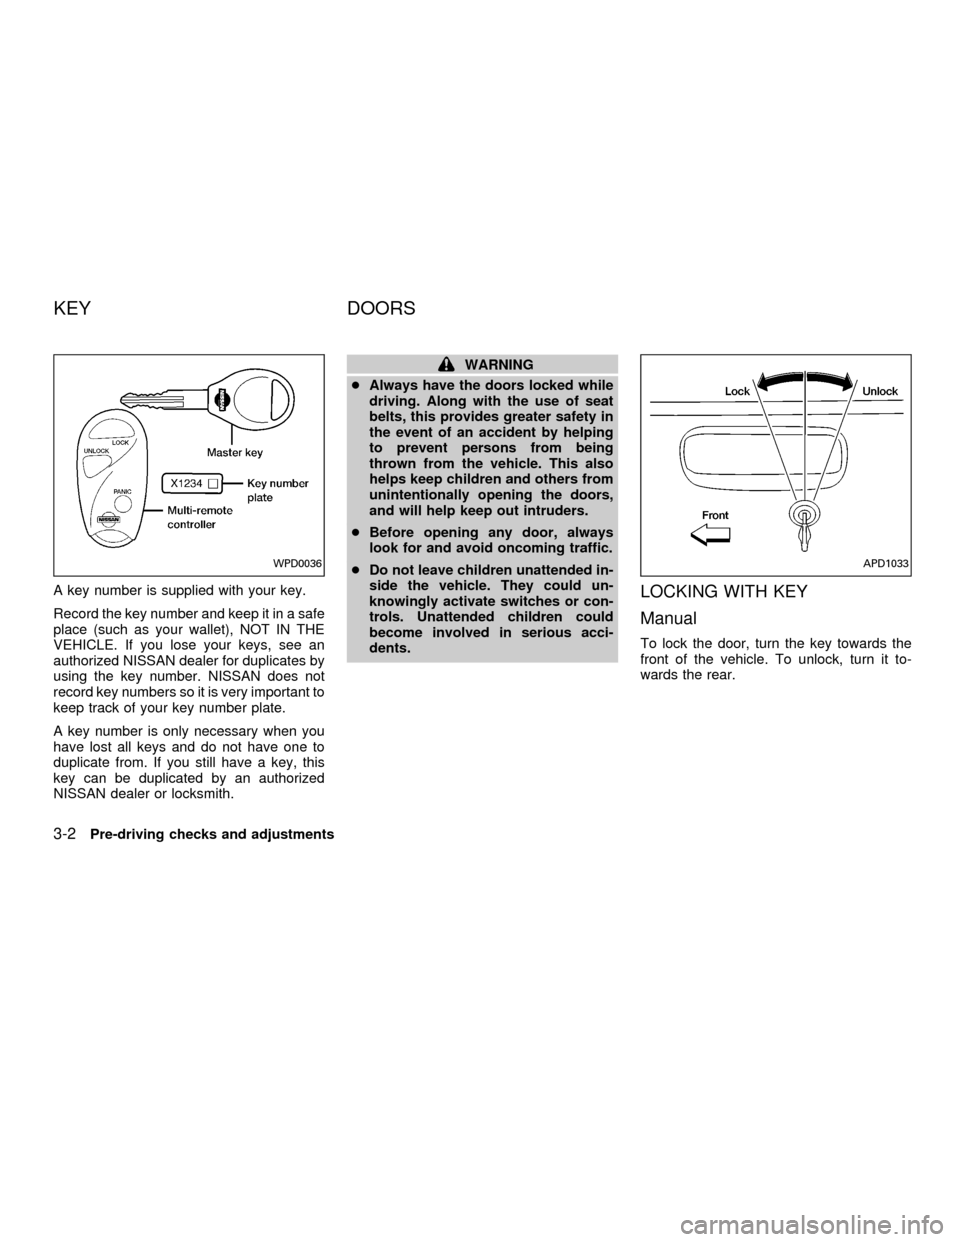
A key number is supplied with your key.
Record the key number and keep it in a safe
place (such as your wallet), NOT IN THE
VEHICLE. If you lose your keys, see an
authorized NISSAN dealer for duplicates by
using the key number. NISSAN does not
record key numbers so it is very important to
keep track of your key number plate.
A key number is only necessary when you
have lost all keys and do not have one to
duplicate from. If you still have a key, this
key can be duplicated by an authorized
NISSAN dealer or locksmith.
WARNING
cAlways have the doors locked while
driving. Along with the use of seat
belts, this provides greater safety in
the event of an accident by helping
to prevent persons from being
thrown from the vehicle. This also
helps keep children and others from
unintentionally opening the doors,
and will help keep out intruders.
cBefore opening any door, always
look for and avoid oncoming traffic.
cDo not leave children unattended in-
side the vehicle. They could un-
knowingly activate switches or con-
trols. Unattended children could
become involved in serious acci-
dents.
LOCKING WITH KEY
Manual
To lock the door, turn the key towards the
front of the vehicle. To unlock, turn it to-
wards the rear.
WPD0036APD1033
KEY DOORS
3-2Pre-driving checks and adjustments
ZX
Page 102 of 290
WARNING
cIt is extremely dangerous to ride in a
cargo area inside a vehicle. In a
collision, people riding in these ar-
eas are more likely to be seriously
injured or killed.
cDo not allow people to ride in any
area of your vehicle that is not
equipped with seats and seat belts.
cBe sure everyone in your vehicle is
in a seat and using a seat belt
properly.
Removing the tailgate
1. Release the tailgate support cables.
2. Hold the tailgate at a 45 degree angle.
3. Pull the tailgate out from the left side
hinge.
4. Remove the tailgate from the right side
hinge.
Installing the tailgate
1. Insert the tailgate into the right side
hinge.
2. Hold the tailgate at a 45 degree angleand insert left side hinge.
3. Continue to hold tailgate at a 45 degree
angle and attach the tailgate support
cables.
4. Close the tailgate securely.
CAUTION
The tailgate is heavy. Be careful not to
drop it during removal.
IC0175
3-16Pre-driving checks and adjustments
ZX
Page 103 of 290
Locking the tailgate
To lock the tailgate, turn the key towards the
passenger side of the vehicle. To unlock,
turn the key towards the driver side.
TIE DOWN HOOKS
For your convenience, tie down hooks are
placed at each corner of the truck box.
These may be used to help secure cargo
loaded into the truck box.
cThe weight of the cargo load must be
evenly distributed over both the front and
rear axles.
cAll cargo should be securely fastened
with ropes or straps to prevent it from
shifting or sliding within the vehicle.
WARNING
cProperly secure all cargo with ropes
or straps to help prevent it from
sliding or shifting. In a sudden stop
or collision, unsecured cargo could
cause personal injury.
cDo not place cargo higher than the
seatbacks. In a sudden stop or colli-
sion, unsecured cargo could cause
personal injury.
WPD0046ATI1020
Pre-driving checks and adjustments3-17
ZX
Page 226 of 290

cAiming is not necessary after replac-
ing the bulb. When aiming adjust-
ment is necessary, contact an autho-
rized NISSAN dealer.
cDo not leave the bulb out of the
headlight reflector for a long period
of time as dust, moisture, and smoke
may enter the headlight body and
affect the performance of the head-
light.
Replacing the headlight bulb
1. Open the hood.
2. Disconnect the negative (2) battery
cable.
3 Disconnect the electrical connector from
the rear end of the bulb.
4. Turn the bulb retaining ring counterclock-
wise until it is free from the headlamp
reflector and then remove it.
5. Carefully remove the headlight bulb. Do
not shake or rotate the bulb when remov-
ing it.
DO NOT TOUCH THE BULB.6. Install the new bulb in the reverse order
of removal.
cBe sure the lip of the bulb socket
contacts the headlight body.
Adjusting the headlight aim
Before performing aiming adjustment, make
sure of the following:
a. Use an aiming wall screen.
b. Keep all of the tires inflated to the correct
pressure.
c. Place the vehicle and screen on level
ground.
d. See that the vehicle is unloaded (except
for full levels of coolant, engine oil and
fuel, and that the spare tire, jack, and
tools are stored). Have the driver or an
equivalent weight placed in the driver's
seat.
1. Open the hood. Turn headlamp low
beam on.
2. Adjust the vertical aim by turning the
adjustment screw.
cCover the opposite lamp and ensure the
fog lamps (if so equipped) are turned off.cAdjust beam pattern until cutoff line is
positioned at the same height off ground
as bulb center (on H-line).
8-30Do-it-yourself
ZX