2001 NISSAN ALTIMA brake fluid
[x] Cancel search: brake fluidPage 51 of 258
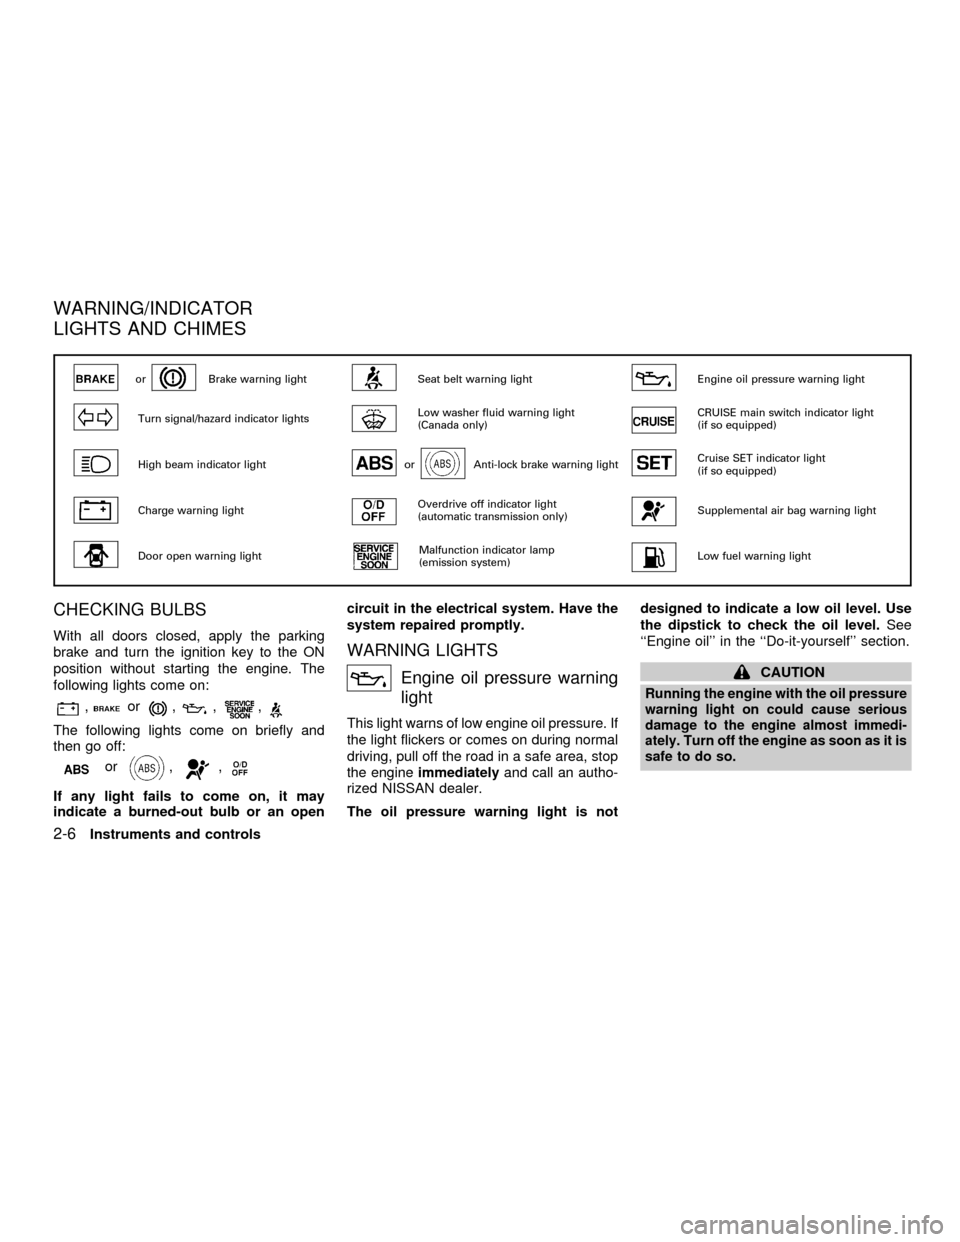
CHECKING BULBS
With all doors closed, apply the parking
brake and turn the ignition key to the ON
position without starting the engine. The
following lights come on:
,or,,,
The following lights come on briefly and
then go off:
or,,
If any light fails to come on, it may
indicate a burned-out bulb or an opencircuit in the electrical system. Have the
system repaired promptly.
WARNING LIGHTS
Engine oil pressure warning
light
This light warns of low engine oil pressure. If
the light flickers or comes on during normal
driving, pull off the road in a safe area, stop
the engineimmediatelyand call an autho-
rized NISSAN dealer.
The oil pressure warning light is notdesigned to indicate a low oil level. Use
the dipstick to check the oil level.See
``Engine oil'' in the ``Do-it-yourself'' section.
CAUTION
Running the engine with the oil pressure
warning light on could cause serious
damage to the engine almost immedi-
ately. Turn off the engine as soon as it is
safe to do so.
orBrake warning lightSeat belt warning lightEngine oil pressure warning light
Turn signal/hazard indicator lightsLow washer fluid warning light
(Canada only)CRUISE main switch indicator light
(if so equipped)
High beam indicator lightorAnti-lock brake warning lightCruise SET indicator light
(if so equipped)
Charge warning lightOverdrive off indicator light
(automatic transmission only)Supplemental air bag warning light
Door open warning lightMalfunction indicator lamp
(emission system)Low fuel warning light
WARNING/INDICATOR
LIGHTS AND CHIMES
2-6Instruments and controls
ZX
Page 52 of 258
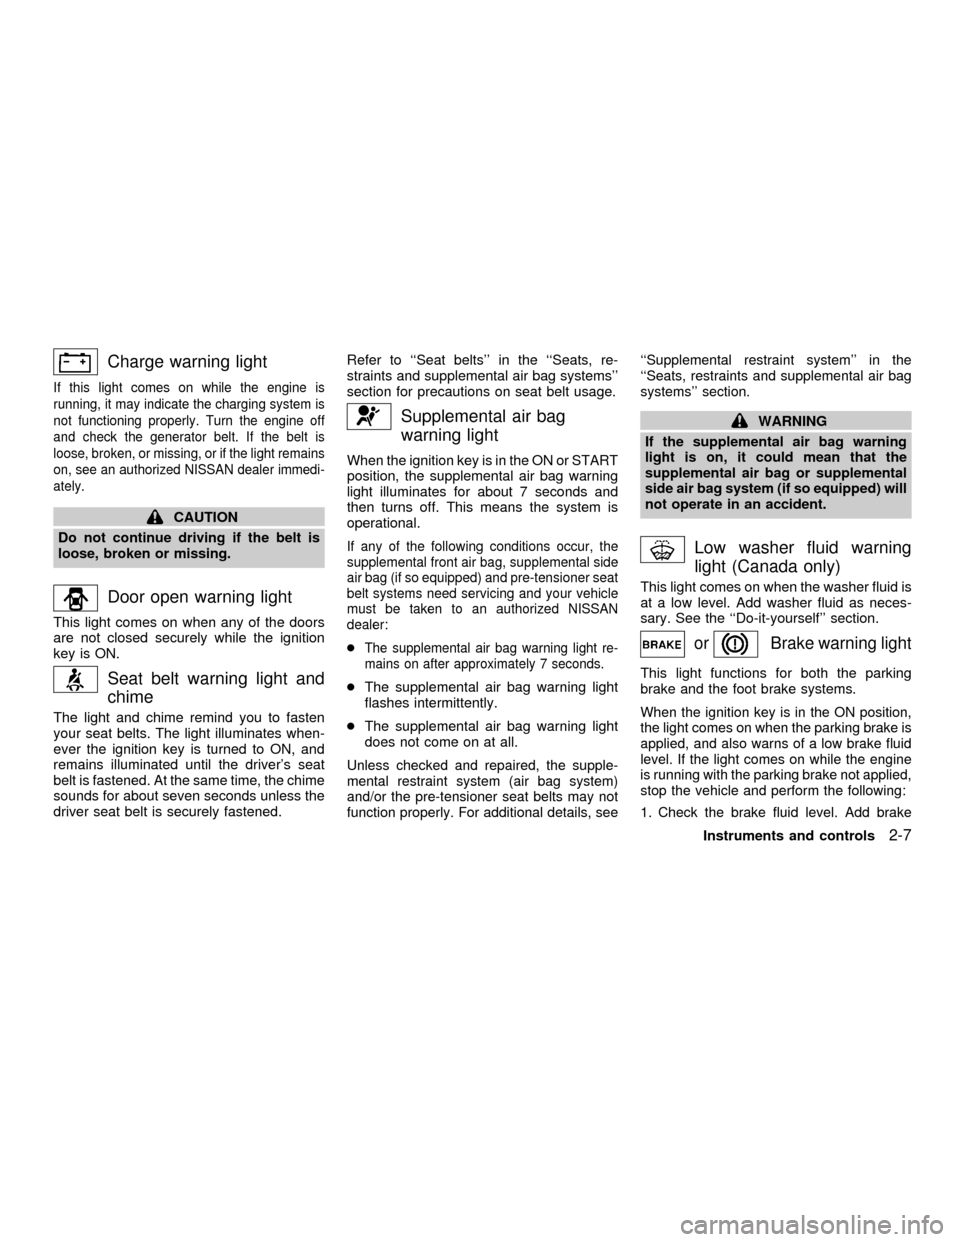
Charge warning light
If this light comes on while the engine is
running, it may indicate the charging system is
not functioning properly. Turn the engine off
and check the generator belt. If the belt is
loose, broken, or missing, or if the light remains
on, see an authorized NISSAN dealer immedi-
ately.
CAUTION
Do not continue driving if the belt is
loose, broken or missing.
Door open warning light
This light comes on when any of the doors
are not closed securely while the ignition
key is ON.
Seat belt warning light and
chime
The light and chime remind you to fasten
your seat belts. The light illuminates when-
ever the ignition key is turned to ON, and
remains illuminated until the driver's seat
belt is fastened. At the same time, the chime
sounds for about seven seconds unless the
driver seat belt is securely fastened.Refer to ``Seat belts'' in the ``Seats, re-
straints and supplemental air bag systems''
section for precautions on seat belt usage.
Supplemental air bag
warning light
When the ignition key is in the ON or START
position, the supplemental air bag warning
light illuminates for about 7 seconds and
then turns off. This means the system is
operational.
If any of the following conditions occur, the
supplemental front air bag, supplemental side
air bag (if so equipped) and pre-tensioner seat
belt systems need servicing and your vehicle
must be taken to an authorized NISSAN
dealer:
cThe supplemental air bag warning light re-
mains on after approximately 7 seconds.
cThe supplemental air bag warning light
flashes intermittently.
cThe supplemental air bag warning light
does not come on at all.
Unless checked and repaired, the supple-
mental restraint system (air bag system)
and/or the pre-tensioner seat belts may not
function properly. For additional details, see``Supplemental restraint system'' in the
``Seats, restraints and supplemental air bag
systems'' section.
WARNING
If the supplemental air bag warning
light is on, it could mean that the
supplemental air bag or supplemental
side air bag system (if so equipped) will
not operate in an accident.
Low washer fluid warning
light (Canada only)
This light comes on when the washer fluid is
at a low level. Add washer fluid as neces-
sary. See the ``Do-it-yourself'' section.
orBrake warning light
This light functions for both the parking
brake and the foot brake systems.
When the ignition key is in the ON position,
the light comes on when the parking brake is
applied, and also warns of a low brake fluid
level. If the light comes on while the engine
is running with the parking brake not applied,
stop the vehicle and perform the following:
1.Check the brake fluid level. Add brake
Instruments and controls2-7
ZX
Page 53 of 258
fluid as necessary. See ``Brake and clutch
fluid'' in the ``Do-it-yourself'' section of this
owner's manual.
2. If the brake fluid level is correct, have the
brake system checked by an authorized
NISSAN dealer.
WARNING
c
Your brake system may not be work-
ing properly if the warning light is on.
Driving could be dangerous. If you
judge it to be safe, drive carefully to
the nearest service station for repairs.
Otherwise, have your vehicle towed
because driving it could be danger-
ous.
cPressing the brake pedal with the
engine stopped and/or a low brake
fluid level may increase your stop-
ping distance and braking will re-
quire greater pedal effort as well as
pedal travel.
cIf the brake fluid level is below the
MINIMUM or MIN mark on the brake
fluid reservoir, do not drive until the
brake system has been checked at a
NISSAN dealer.
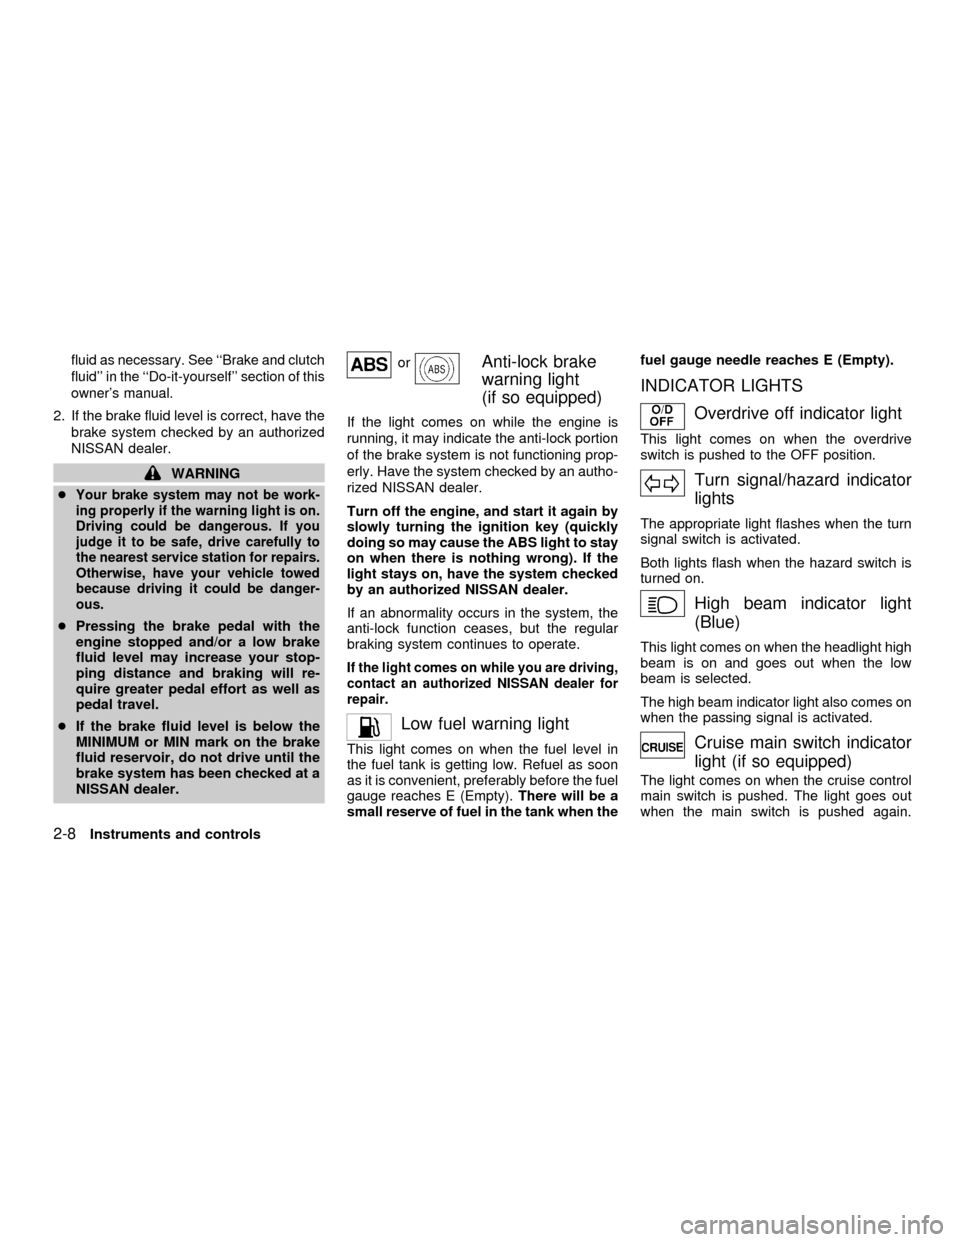
orAnti-lock brake
warning light
(if so equipped)
If the light comes on while the engine is
running, it may indicate the anti-lock portion
of the brake system is not functioning prop-
erly. Have the system checked by an autho-
rized NISSAN dealer.
Turn off the engine, and start it again by
slowly turning the ignition key (quickly
doing so may cause the ABS light to stay
on when there is nothing wrong). If the
light stays on, have the system checked
by an authorized NISSAN dealer.
If an abnormality occurs in the system, the
anti-lock function ceases, but the regular
braking system continues to operate.
If the light comes on while you are driving,
contact an authorized NISSAN dealer for
repair.
Low fuel warning light
This light comes on when the fuel level in
the fuel tank is getting low. Refuel as soon
as it is convenient, preferably before the fuel
gauge reaches E (Empty).There will be a
small reserve of fuel in the tank when thefuel gauge needle reaches E (Empty).
INDICATOR LIGHTS
Overdrive off indicator light
This light comes on when the overdrive
switch is pushed to the OFF position.
Turn signal/hazard indicator
lights
The appropriate light flashes when the turn
signal switch is activated.
Both lights flash when the hazard switch is
turned on.
High beam indicator light
(Blue)
This light comes on when the headlight high
beam is on and goes out when the low
beam is selected.
The high beam indicator light also comes on
when the passing signal is activated.
Cruise main switch indicator
light (if so equipped)
The light comes on when the cruise control
main switch is pushed. The light goes out
when the main switch is pushed again.
2-8Instruments and controls
ZX
Page 151 of 258
WARNING
c
While driving on a slippery surface,
be careful when braking, accelerating
or downshifting. Abrupt braking or
accelerating could cause the wheels
to skid and result in an accident.
cIf the engine is not running or is
turned off while driving, the power
assist for the brakes will not work.
Braking will be harder.
Wet brakes
When the vehicle is washed or driven
through water, the brakes may get wet. As a
result, your braking distance will be longer
and the vehicle may pull to one side during
braking.
To dry brakes, drive the vehicle at a safe
speed while lightly pressing the brake pedal
to heat-up the brakes. Do this until the
brakes return to normal. Avoid driving the
vehicle at high speeds until the brakes
function correctly.
ANTI-LOCK BRAKE SYSTEM
(ABS) (if so equipped)
The anti-lock brake system installed in
some models controls the brakes at each
wheel so the wheels do not lock when
braking abruptly or when braking on slip-
pery surfaces. The system detects the rota-
tion speed at each wheel and varies the
brake fluid pressure to prevent each wheel
from locking and sliding. By preventing
wheel lockup, the system helps the driver
maintain steering control and helps to mini-
mize swerving and spinning on slippery
surfaces.
Using the system
Depress the brake pedal and hold it down.
WARNING
Do not pump the brake pedal. Doing so
may result in increased stopping dis-
tances.
Normal operation
The anti-lock brake system does not oper-
ate at speeds below 3 to 6 MPH (5 to 10
km/h). The speeds vary according to roadconditions. When the anti-lock system
senses that one or more wheels are close to
locking up, the actuator (under the hood)
rapidly applies and releases hydraulic pres-
sure (like pumping the brakes very quickly).
While the actuator is working, you may feel
a pulsation in the brake pedal and hear a
noise or vibration from the actuator under
the hood. This is normal and indicates that
the anti-lock system is working properly.
However, the pulsation may indicate that
road conditions are hazardous and extra
care is required while driving.
Self-test feature
The anti-lock brake system is sophisticated,
with electronic sensors, electric pumps, and
hydraulic solenoids controlled by a com-
puter. The computer has a built-in diagnos-
tic feature that tests the system each time
you start the engine and move the vehicle at
a low speed in forward or reverse. When the
self-test occurs, you may hear a ``clunk''
noise and/or feel a pulsation in the brake
pedal. This is normal and is not an indica-
tion of any malfunction. If the computer
senses any malfunction, it switches the anti-
lock brake system OFF and turns on the
ABS brake warning light in the dashboard.
5-18Starting and driving
ZX
Page 152 of 258
The brake system then operates normally,
but without anti-lock assistance.
If the light comes on during the self-test or
while driving, take the vehicle to an autho-
rized NISSAN dealer for repair.
WARNING
The anti-lock brake system is a sophis-
ticated device, but it cannot prevent
accidents resulting from careless or
dangerous driving techniques. It can
help maintain vehicle control during
braking on slippery surfaces, but re-
member that the stopping distance on
slippery surfaces will be longer than on
normal surfaces, even with the anti-
lock brake system. Stopping distances
may also be longer on rough, gravel or
snow covered roads, or if you are using
tire chains. Always maintain a safe dis-
tance from the vehicle in front of you.
Ultimately, the responsibility for safety
of self and others rests in the hands of
the driver.
Tire type and condition of tires may
also affect braking effectiveness.cWhen replacing tires, install the
specified size of tire on all four
wheels.
cWhen installing a spare tire, make
sure it is the proper size and type as
specified on the tire placard. For tire
placard location information, refer to
ªTire placardº in the ``Technical and
Consumer information'' section of
this manual.
Refer to ``Wheels and tires'' in the ``Do-
it-yourself'' section of this manual.
FREEING A FROZEN DOOR
LOCK
To prevent a door lock from freezing, apply
de-icer or glycerin through the key hole. If
the lock becomes frozen, heat the key be-
fore inserting it into the key hole.
ANTI-FREEZE
In the winter when it is anticipated that the
temperature will drop below 32ÉF (0ÉC),
check the anti-freeze (ethylene glycol base)
to assure proper winter protection. For de-
tails, see ``Engine cooling system'' in the
``Do-it-yourself'' section.
BATTERY
If the battery is not fully charged during
extremely cold weather conditions, the bat-
tery fluid may freeze and damage the bat-
tery. To maintain maximum efficiency, the
battery should be checked regularly. For
details, see ``Battery'' in the ``Do-it-yourself ''
section.
DRAINING OF COOLANT WATER
If the vehicle is to be left outside without
anti-freeze, drain the cooling system by
opening the drain valves located under the
COLD WEATHER DRIVING
Starting and driving5-19
ZX
Page 177 of 258

8 Do-it-yourself
Maintenance precautions .......................................8-2
Engine compartment check locations ....................8-4
Engine cooling system ...........................................8-5
Checking engine coolant level ..........................8-5
Changing engine coolant ..................................8-6
Engine oil ...............................................................8-8
Checking engine oil level ..................................8-8
Changing engine oil ..........................................8-9
Changing engine oil filter.................................8-10
Automatic transmission fluid ................................8-11
Temperature conditions for checking ..............8-11
Power steering fluid..............................................8-12
Brake and clutch fluid...........................................8-12
Brake fluid........................................................8-12
Clutch fluid .......................................................8-13
Window washer fluid ............................................8-13
Battery ..................................................................8-14
Jump starting ...................................................8-15
Drive belts ............................................................8-15
Spark plugs ..........................................................8-16
Replacing spark plugs .....................................8-16
Air cleaner ............................................................8-17Windshield wiper blades ......................................8-18
Cleaning ..........................................................8-18
Replacing .........................................................8-18
Parking brake and brake pedal ............................8-19
Checking parking brake...................................8-19
Checking brake pedal .....................................8-19
Brake booster ..................................................8-20
Clutch pedal .........................................................8-21
Checking clutch pedal .....................................8-21
Fuses ....................................................................8-21
Engine compartment .......................................8-21
Passenger compartment .................................8-22
Multi-remote controller battery replacement ........8-23
Lights ....................................................................8-24
Headlights ........................................................8-24
Front turn signal lamp .....................................8-28
Front parking and cornering lamp ...................8-28
Front sidemarker lamp ....................................8-29
Fog lights .........................................................8-30
Exterior and interior lights ...............................8-31
Wheels and tires ..................................................8-35
Tire pressure ...................................................8-35
ZX
Page 179 of 258
When performing any inspection or mainte-
nance work on your vehicle, always take
care to prevent serious accidental injury to
yourself or damage to the vehicle. The
following are general precautions which
should be closely observed.
WARNING
cPark the vehicle on a level surface,
apply the parking brake securely and
block the wheels to prevent the ve-
hicle from moving. For manual trans-
mission models, move the shift lever
to (N) Neutral. For an automatic
transmission models, move the shift
selector lever to P (Park).
cBe sure the ignition key is in the OFF
or LOCK position when performing
any parts replacement or repairs.
cYour vehicle is equipped with an
automatic engine cooling fan. It may
come on at any time without warn-
ing, even if the ignition key is in the
OFF position and the engine is not
running. To avoid injury, always dis-
connect the negative battery cable
before working near the fan.c
If you must work with the engine run-
ning, keep your hands, clothing, hair
and tools away from moving fans,
belts and any other moving parts.
cIt is advisable to secure or remove
any loose clothing and remove any
jewelry, such as rings, watches, etc.
before working on your vehicle.
cAlways wear eye protection when-
ever you work on your vehicle.
cIf you must run the engine in an
enclosed space such as a garage, be
sure there is proper ventilation for
exhaust gases to escape.
cNever get under the vehicle while it
is supported only by a jack. If it is
necessary to work under the vehicle,
support it with safety stands.
c
Keep smoking materials, flame and
sparks away from the fuel tank and
battery.cOn gasoline engine models with the
multiport fuel injection (MFI) system,
the fuel filter or fuel lines should be
serviced by an authorized NISSAN
dealer because the fuel lines are un-
der high pressure even when the en-
gine is off.
CAUTION
cDo not work under the hood while
the engine is hot. Turn off the engine
and wait until it cools down.
cNever connect or disconnect the bat-
tery or any transistorized compo-
nent while the ignition is in the ON
position.
cNever leave the engine or automatic
transmission related component
harnesses disconnected while the
ignition is in the ON position.
c
Avoid contact with used engine oil
and coolant. Improperly disposed
engine oil, engine coolant, and/or
other vehicle fluids can damage the
environment. Always conform to lo-
cal regulations for disposal of ve-
hicle fluid.
MAINTENANCE
PRECAUTIONS
8-2Do-it-yourself
ZX
Page 188 of 258
WARNING
cWhen the engine is running, keep
hands, jewelry and clothing away
from any moving parts such as the
cooling fan and drive belts.
cAutomatic transmission fluid is poi-
sonous and should be stored care-
fully in marked containers out of the
reach of children.
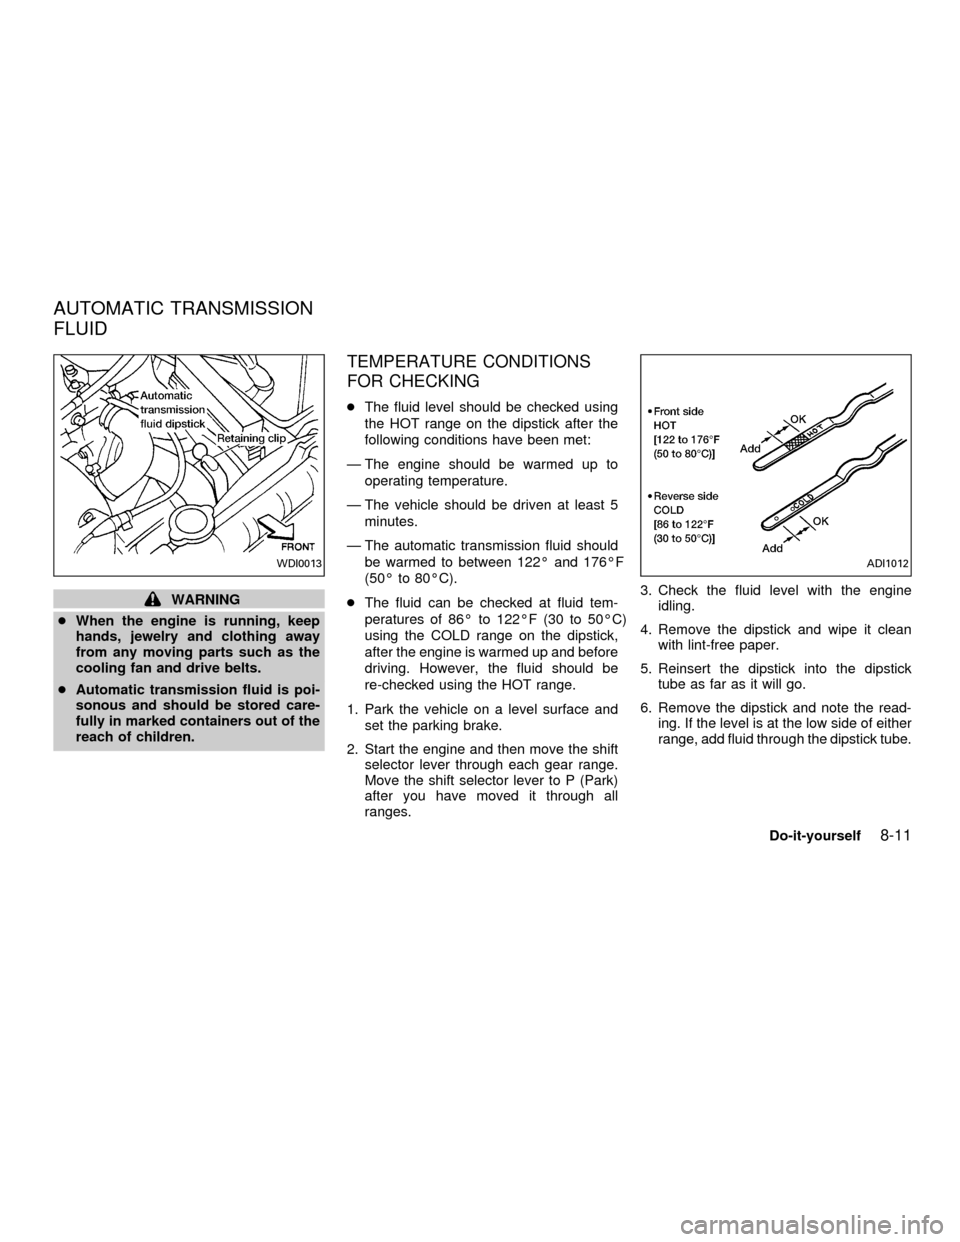
TEMPERATURE CONDITIONS
FOR CHECKING
cThe fluid level should be checked using
the HOT range on the dipstick after the
following conditions have been met:
Ð The engine should be warmed up to
operating temperature.
Ð The vehicle should be driven at least 5
minutes.
Ð The automatic transmission fluid should
be warmed to between 122É and 176ÉF
(50É to 80ÉC).
cThe fluid can be checked at fluid tem-
peratures of 86É to 122ÉF (30 to 50ÉC)
using the COLD range on the dipstick,
after the engine is warmed up and before
driving. However, the fluid should be
re-checked using the HOT range.
1. Park the vehicle on a level surface and
set the parking brake.
2. Start the engine and then move the shift
selector lever through each gear range.
Move the shift selector lever to P (Park)
after you have moved it through all
ranges.3. Check the fluid level with the engine
idling.
4. Remove the dipstick and wipe it clean
with lint-free paper.
5. Reinsert the dipstick into the dipstick
tube as far as it will go.
6. Remove the dipstick and note the read-
ing. If the level is at the low side of either
range, add fluid through the dipstick tube.
WDI0013ADI1012
AUTOMATIC TRANSMISSION
FLUID
Do-it-yourself8-11
ZX