Page 92 of 317
89 Engine oil level indicator
Te ch n ica l
data Instruments
and controlsOperationDrivingInstrument
cluster displayPractical hints Car care Index Engine oil level indicator
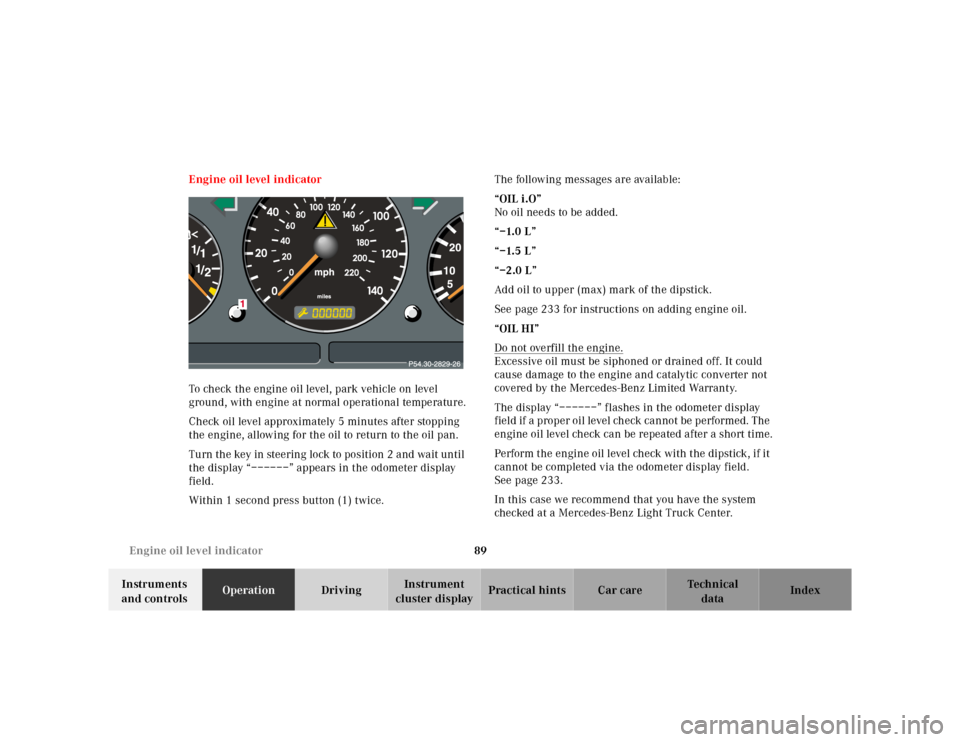
To check the engine oil level, park vehicle on level
ground, with engine at normal operational temperature.
Check oil level approximately 5 minutes after stopping
the engine, allowing for the oil to return to the oil pan.
Turn the key in steering lock to position 2 and wait until
the display “––––––” appears in the odometer display
field.
Within 1 second press button (1) twice.The following messages are available:
“OIL i.O”
No oil needs to be added.
“–1.0 L”
“–1.5 L”
“–2.0 L”
Add oil to upper (max) mark of the dipstick.
See page 233 for instructions on adding engine oil.
“OIL HI”
Do not overfill the engine.
Excessive oil must be siphoned or drained off. It could
cause damage to the engine and catalytic converter not
covered by the Mercedes-Benz Limited Warranty.
The display “––––––” flashes in the odometer display
field if a proper oil level check cannot be performed. The
engine oil level check can be repeated after a short time.
Perform the engine oil level check with the dipstick, if it
cannot be completed via the odometer display field.
See page 233.
In this case we recommend that you have the system
checked at a Mercedes-Benz Light Truck Center.
Page 93 of 317
90 Exterior lamp switch
Te ch n ica l
data Instruments
and controlsOperationDrivingInstrument
cluster displayPractical hints Car care Index
Exterior lamp switch
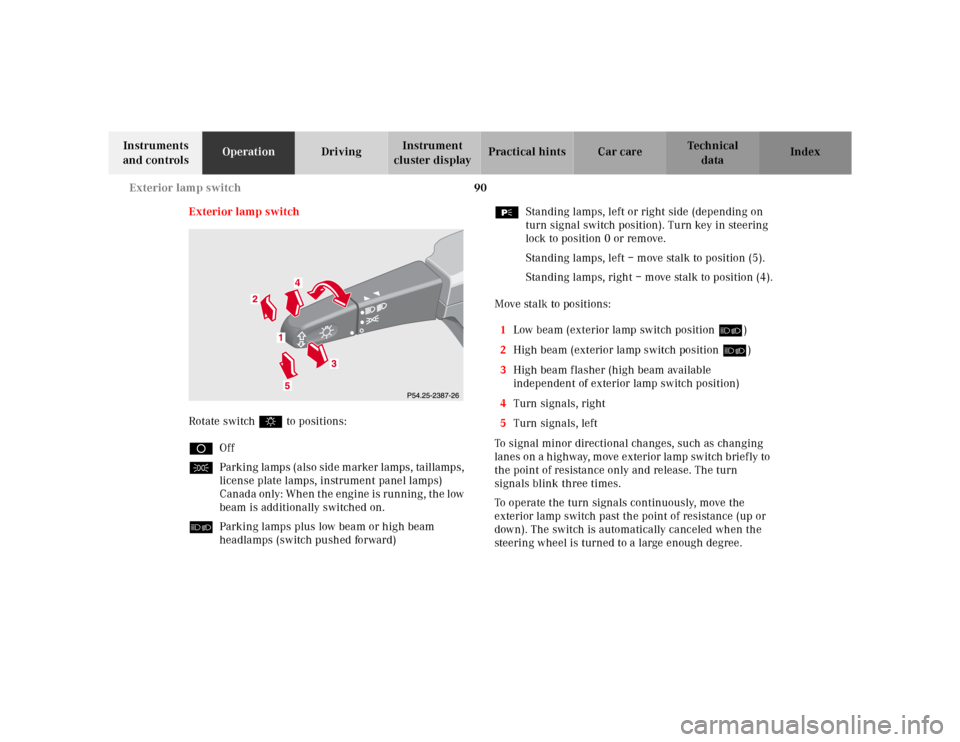
Rotate switch $ to positions:
DOff
CParking lamps (also side marker lamps, taillamps,
license plate lamps, instrument panel lamps)
Canada only: When the engine is running, the low
beam is additionally switched on.
õParking lamps plus low beam or high beam
headlamps (switch pushed forward)ƒStanding lamps, left or right side (depending on
turn signal switch position). Turn key in steering
lock to position 0 or remove.
Standing lamps, left – move stalk to position (5).
Standing lamps, right – move stalk to position (4).
Move stalk to positions:
1Low beam (exterior lamp switch position õ)
2High beam (exterior lamp switch position õ)
3High beam flasher (high beam available
independent of exterior lamp switch position)
4Turn signals, right
5Turn signals, left
To signal minor directional changes, such as changing
lanes on a h ig hway, m ove exterior la mp sw itch b rief ly to
the point of resistance only and release. The turn
signals blink three times.
To operate the turn signals continuously, move the
exterior lamp switch past the point of resistance (up or
down). The switch is automatically canceled when the
steering wheel is turned to a large enough degree.
Page 94 of 317
91 Exterior lamp switch
Te ch n ica l
data Instruments
and controlsOperationDrivingInstrument
cluster displayPractical hints Car care Index Turn signal failure
If one of the turn signals fails, the turn signal indicator
system f lashes and sounds at a faster than normal rate.
Standing lamps
When the vehicle is parked on the street the standing
lamps (right or left side parking lamps) can be turned
on, making the vehicle more visible to passing vehicles.
The standing lamps cannot be operated with the key in
steering lock position 1 or 2.
Note:
With the key removed and a front door open, a warning
sounds if the vehicle’s exterior lamps (except standing
lamps) are not switched off.Daytime running lamps (Canada only)
When the engine is running and the selector lever is in
a driving position, the low beam headlamps (includes
parking lamps, side marker lamps, taillamps and
license plate lamps) are automatically switched on.
When shifting from a driving position to position “N”
or “P”, the low beam switches off (2 seconds delay).
For nighttime driving the exterior lamp switch should
be turned to position õ to permit activation of the
high beam headlamps.
Page 97 of 317
94 Hazard warning flasher
Te ch n ica l
data Instruments
and controlsOperationDrivingInstrument
cluster displayPractical hints Car care Index
Hazard warning flasher switch
The hazard warning flasher switch is located on top of
the steering column.
The hazard warning flasher can be activated either
manually via the switch located in the dashboard, or it
is activated automatically at the time an airbag is
deployed.
To activate hazard warning flasher, press switch once.
To deactivate, press switch again.
If hazard warning flasher was activated automatically,
press switch twice to deactivate.
Note:
To signal turns while being towed with hazard warning
flasher in use, turn key in steering lock to position 2
and activate combination switch for left or right turn
signal in usual manner. Now deactivate the hazard
warning flasher, only the selected turn signal will
operate. Upon canceling the turn signal, the hazard
warning flasher must be activated again.Headlamp cleaning system
(with Xenon headlamps)
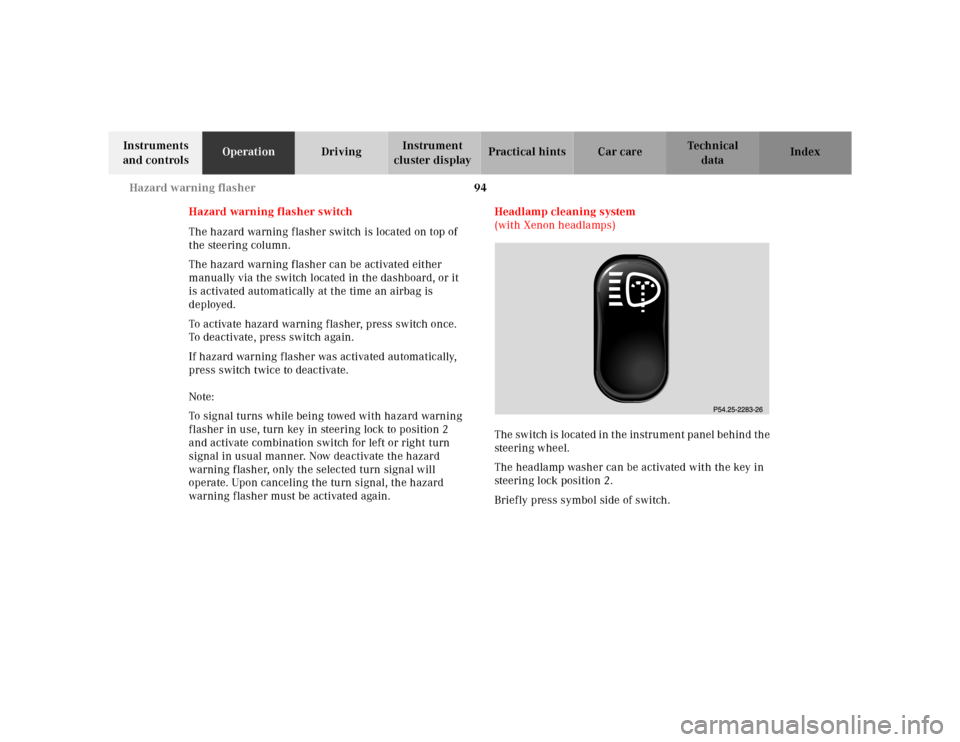
The switch is located in the instrument panel behind the
steering wheel.
The headlamp washer can be activated with the key in
steering lock position 2.
Briefly press symbol side of switch.
Page 98 of 317

95 Windshield wiper/washer
Te ch n ica l
data Instruments
and controlsOperationDrivingInstrument
cluster displayPractical hints Car care Index Windshield wiper/washer switch
Move stalk briefly up for single wipe without adding
washer fluid (use only when windshield is wet).
Pull stalk toward steering wheel and hold to activate
wiper and washer.
Wiper offMove stalk down for:
Intermittent wiping
(Interval is vehicle speed dependent
1.
Optional rain sensor: One initial wipe, pauses
between wipes are automatically controlled by a
rain sensor monitoring wetness of windshield.)
Notes:
With vehicle at a standstill, a front door open and
the key in steering lock position 2 there will be no
operation of windshield wipers in intermittent
setting.
Optional rain sensor:
Do not leave in intermittent setting when vehicle
is taken to an automatic car wash or when
cleaning the windshield. Wipers will operate in
presence of water spray at windshield, and wipers
may be damaged as a result.
Move stalk up for:
Normal wiper speed
Fast wiper speed
1 At speeds of approximately 105 mph (170 km/h) the wiper
switches automatically to continuous wiping.
Page 99 of 317
96 Rear window wiper/washer
Te ch n ica l
data Instruments
and controlsOperationDrivingInstrument
cluster displayPractical hints Car care Index
Rear window wiper/washer
The rear window wiper / washer switch is located in the
instrument panel.With key in steering lock position 2:
1Press for interval wiping,
2Press to switch off,
or
press briefly for approx. 5 seconds wiper operation,
or
press and hold for simultaneous operation of wiper
and washer. After releasing the switch the wiper
operates for additional 5 seconds.
The rear window wiper will also automatically engage if
the windshield wiper is engaged and the gear selector
lever is placed in “R” Reverse.
12
Page 100 of 317
97 Rear window wiper/washer
Te ch n ica l
data Instruments
and controlsOperationDrivingInstrument
cluster displayPractical hints Car care Index Windshield wipers smear
If the windshield wipers smear the windshield, even
during rain, activate the washer system as often as
necessary. The fluid in the washer reservoir should be
mixed in the correct ratio.
Note:
For windshield and headlamp washer fluid mixing ratio
see page 237.Blocked windshield wipers
If the windshield wipers become blocked (for example,
due to snow), switch off the wipers.
For safety reasons before removing ice or snow, remove
key from steering lock. Remove blockage.
Activate windshield wiper / washer switch again (key in
steering lock position 1).
Page 108 of 317
105 Interior equipment
Te ch n ica l
data Instruments
and controlsOperationDrivingInstrument
cluster displayPractical hints Car care Index The windows can be operated with key in steering lock
position 1 or 2.
Operation:
Press switch in to resistance point to open.
Lift switch to close.
Release switch when window is in desired position.Express opening of front door windows
Press switch past resistance point and release – window
lowers to fully open position. To interrupt procedure,
brief ly pull switch.
Blocking of rear door window operation
If no operation of the rear door windows by switch (6),
located on rear center console (for instance by children)
is desired, slide override switch (5) to right,
symbolN becomes visible.
Note:
After turning off the engine the power windows can be
operated for approximately 30 minutes or until a front
door is opened.
Wa r n i n g !
When closing the windows, be sure that there is no
danger of anyone being harmed by the closing
procedure.The closing procedure can be immediately reversed
by pressing the power window switch.When leaving the vehicle, always remove the key
from the steering lock, and lock the vehicle. Do not
leave children unattended in the vehicle, or with
access to an unlocked vehicle. Unsupervised use of
vehicle equipment can cause serious personal
injury.
Wa r n i n g !
When leaving the vehicle, always remove the key
from the steering lock, and lock the vehicle. Do not
leave children unattended in the vehicle, or with
access to an unlocked vehicle. Unsupervised use of
vehicle equipment can cause serious personal
injury.