Page 133 of 345
130 Automatic climate control
Te ch n ica l
data Instruments
and controlsOperationDrivingInstrument
cluster displayPractical hints Car care Index
Rear window defroster
Turn electronic key in steering lock to position 2.
To select, press F button.
To cancel, press F button again.
Notes:
Heavy accumulation of snow and ice should be removed
before activating the defroster.
The rear window defroster uses a large amount of power.
To keep the battery drain to a minimum, turn off the
defroster as soon as the window is clear.
The defroster is automatically turned off after a
maximum of 12 minutes of operation.
If several power consumers are turned on
simultaneously, or the battery is only partially charged,
it is possible that the defroster will automatically turn
itself off. When this happens, the indicator lamp inside
the switch starts blinking.
As soon as the battery has sufficient voltage, the
defroster automatically turns itself back on.Air distribution
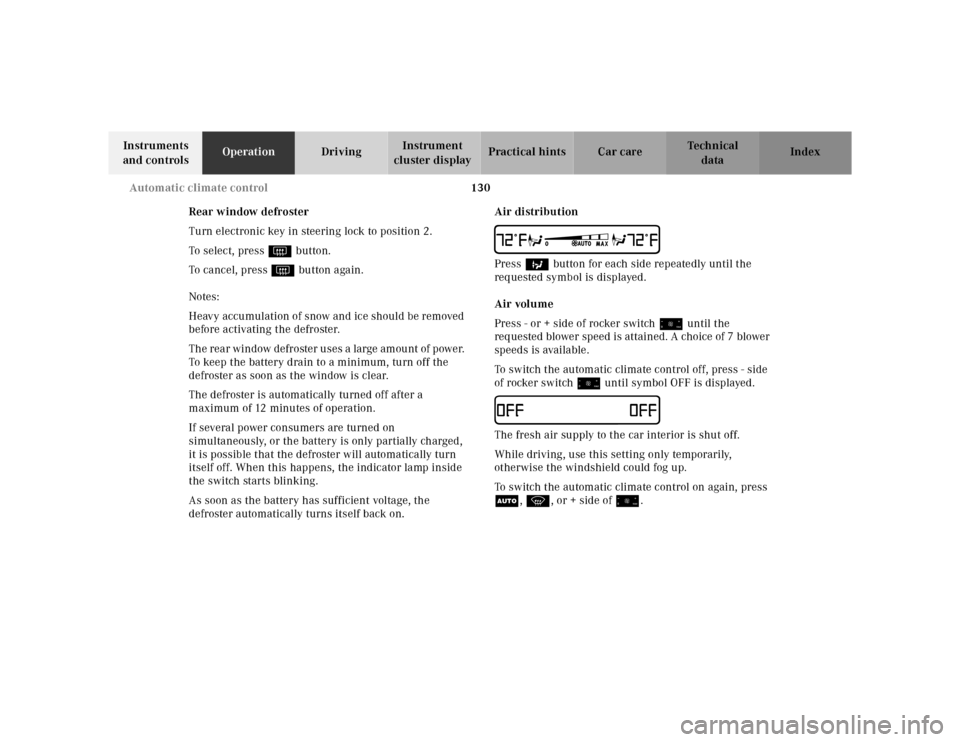
UPress b button for each side repeatedly until the
requested symbol is displayed.
Air volume
Press - or + side of rocker switch ï until the
requested blower speed is attained. A choice of 7 blower
speeds is available.
To switch the automatic climate control off, press - side
of rocker switch ï until symbol OFF is displayed.IThe fresh air supply to the car interior is shut off.
While driving, use this setting only temporarily,
otherwise the windshield could fog up.
To switch the automatic climate control on again, press
U, P, or + side of ï.
Page 135 of 345

132 Automatic climate control
Te ch n ica l
data Instruments
and controlsOperationDrivingInstrument
cluster displayPractical hints Car care Index
Activated charcoal filter
An activated charcoal filter markedly reduces bad odors
and removes pollutants from the air entering the
passenger compartment.
To select, press e button.
To cancel, press e button again.
The blower speed is slightly increased to supply a
constant volume of air.
The system switches automatically to the air
recirculation mode, if the carbon monoxide (CO) or
nitric oxide (NO
X) of the outside air increases beyond a
predetermined level.
When pressing button P or S, the filter is also
switched off.
Notes:
The automatic air recirculation does not function when
selecting the Economy mode S, or the outside
temperature is below 45°F (7°C).
The activated charcoal filter should be switched off
when windows fog up on the inside, or if the passenger
compartment needs to be quickly heated or cooled
down.Residual engine heat utilization
With the engine switched off, it is possible to continue
heating the interior for a short while.
Air volume and distribution are controlled
automatically.
To select:
Turn electronic key in steering lock to position 1 or 0 or
remove electronic key. Close air outlet in rear passenger
compartment.
Press T button.
This function selection will not activate if the battery
charge level is insufficient.
To c a n c e l :
Press T button.
The system will automatically shut off
•If you turn electronic key in steering lock to
position 2,
•after approximately 30 minutes,
•if the battery voltage drops.
Page 142 of 345
139 Audio system
Te ch n ica l
data Instruments
and controlsOperationDrivingInstrument
cluster displayPractical hints Car care Index Operation
Switching on and off
Press the control knob .
The radio is switched off when the ignition key is turned
to position 0 or removed from the ignition. The radio is
switched on again when the ignition key is turned to
position 1 or 2.
Note:
The radio can also be switched on even if the ignition
key is not inserted, but will switch itself off
automatically after one hour to conserve vehicle battery
power.
Adjusting the volume
Turn the control knob - turning the knob clockwise will
increase the volume, counterclockwise will decrease the
volume.Audio functions
The AUD key is used to select the BASS, TREBLE,
FADER and BALANCE functions. Settings for bass and
treble are stored separately for the cassette and CD
modes. Tone level settings are identified by the vertical
bars. The center (flat) setting is shown by one longer bar
in the center of the display.
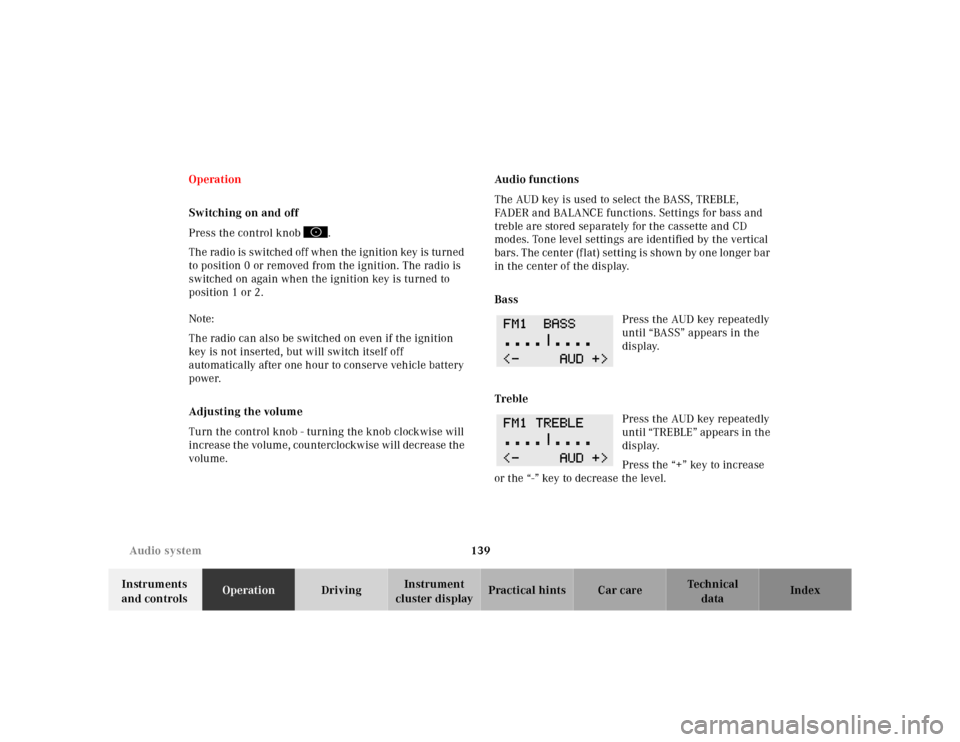
Bass
Press the AUD key repeatedly
until “BASS” appears in the
display.
Treble
Press the AUD key repeatedly
until “TREBLE” appears in the
display.
Press the “+” key to increase
or the “-” key to decrease the level.
Page 146 of 345
143 Audio system
Te ch n ica l
data Instruments
and controlsOperationDrivingInstrument
cluster displayPractical hints Car care Index Cassette mode
Note:
Vehicles equipped with the COMAND system do not
come with a factory installed cassette mechanism.
A standard 1/8” stereo phono plug for auxiliary audio
input (located in glove box) is provided for connection of
a portable battery operated cassette player or any other
portable device which uses a headphone output. Please
refer to the COMAND operating manual for information
concerning the activation of the audio input.Playing cassettes
Press the “TAPE” button. When the eject (EJ) key is
pressed, the display folds down and the cassette slot
becomes visible. Push the cassette into the slot until it
engages. The cassette will be pulled in automatically.
Notes:
Do not press directly on the radio display face.
Return the display panel to its normal position by
folding it back up and pressing gently on the display
frame to lock in place.
When playing mono recorded tapes (e.g. books) through
a stereo system the sound from one track might bleed to
the other track, despite setting the balance to the full
left or full right speakers.
Page 159 of 345
156 Interior equipment
Te ch n ica l
data Instruments
and controlsOperationDrivingInstrument
cluster displayPractical hints Car care Index
Synchronizing power windows
If the power supply was interrupted (battery
disconnected or low), the windows cannot be opened or
closed by the Express feature.
To resynchronize the express feature, press j side of
power window switch until the window is completely
closed and hold for additional 2 seconds. Repeat
procedure for each window.
The automatic full opening and closing procedure of the
windows should now be restored.Sliding / pop-up roof (optional)
1to slide roof open
Push to open half-way, push again to open fully.
2to slide roof closed
3to raise roof at rear
4to lower roof at rear
Turn electronic key in steering lock to position 1 or 2.
P68.00-2100-26
1
2
34
Page 161 of 345

158 Interior equipment
Te ch n ica l
data Instruments
and controlsOperationDrivingInstrument
cluster displayPractical hints Car care Index
Express opening of sliding / pop-up roof
Move switch past resistance point and release — the
sliding / pop-up roof slides open half-way. Move again to
open fully.
To interrupt procedure, briefly move switch in any
direction.Synchronizing sliding / pop-up roof
If the power supply was interrupted (battery
disconnected or low), or if the sliding/pop-up roof is
blocked during closing/opening procedure, the system
has to be synchronized.
To do so, turn electronic key in steering lock to
position 2, move and hold switch in direction (3) until
the sliding/pop-up roof is completely raised at rear, and
hold for additional 1 second.
Notes:
The sliding / pop-up roof can be opened or closed
manually should an electrical malfunction occur, see
page 301.
The sliding / pop-up roof can also be opened or closed
with the electronic main key while unlocking or locking
the vehicle doors, see page 32.
Page 162 of 345
159 Interior equipment
Te ch n ica l
data Instruments
and controlsOperationDrivingInstrument
cluster displayPractical hints Car care Index Interior lighting
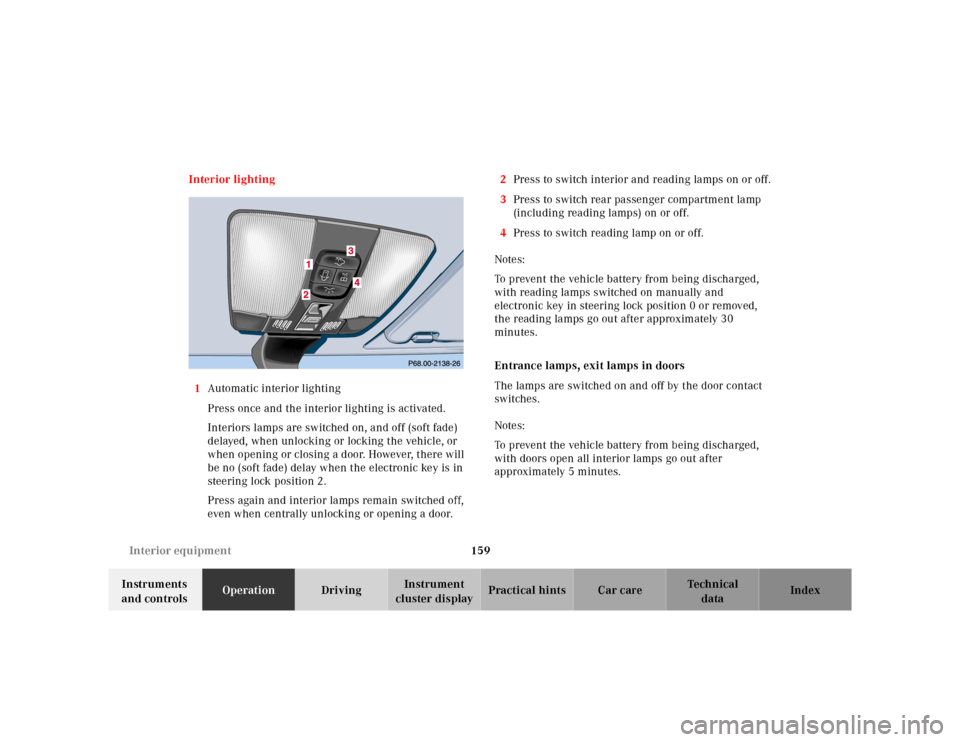
1Automatic interior lighting
Press once and the interior lighting is activated.
Interiors lamps are switched on, and off (soft fade)
delayed, when unlocking or locking the vehicle, or
when opening or closing a door. However, there will
be no (soft fade) delay when the electronic key is in
steering lock position 2.
Press again and interior lamps remain switched off,
even when centrally unlocking or opening a door.2Press to switch interior and reading lamps on or off.
3Press to switch rear passenger compartment lamp
(including reading lamps) on or off.
4Press to switch reading lamp on or off.
Notes:
To prevent the vehicle battery from being discharged,
with reading lamps switched on manually and
electronic key in steering lock position 0 or removed,
the reading lamps go out after approximately 30
minutes.
Entrance lamps, exit lamps in doors
The lamps are switched on and off by the door contact
switches.
Notes:
To prevent the vehicle battery from being discharged,
with doors open all interior lamps go out after
approximately 5 minutes.
Page 189 of 345
186 Tele Aid
Te ch n ica l
data Instruments
and controlsOperationDrivingInstrument
cluster displayPractical hints Car care Index
Tele Aid
Important!
The initial activation of the Tele Aid system may only be
performed by completing the subscriber agreement and
placing an acquaintance call using the “SOS” button.
Failure to complete either of these steps will result in a
system that is not activated. If the system is not
activated the indicator lamp in the “SOS” button stays
on after turning electronic key in starter switch to
position 2 and the message “TELE AID – NOT
ACTIVATED” will be shown in the multifunction display
for approx. 10 seconds.
If you have any questions regarding activation, please
call the Response Center at 1-800-756-9018 (in the USA)
or 1-888-923-8367 (in Canada).
(Telematic Alarm Identification on Demand)
The Tele Aid system consists of three types of response;
automatic and manual emergency, roadside assistance
and information.
The Tele Aid system is operational providing that the
vehicle’s battery is charged, properly connected, not
damaged and cellular and GPS coverage is available.The speaker volume of a Tele Aid call can be adjusted
when using the volume control on the multifunction
steering wheel, for raising press buttonæand for
lowering press buttonç.
To activate, press the “SOS” button, the Roadside
Assistance button• or the Information button¡,
depending on the type of response required.
Shortly after the completion of your Acquaintance Call,
you will receive a user ID and password via first call
mail. By visiting www.mbusa.com and selecting
“Tele Aid” (USA only), you will have access to account
information, remote door unlock, Info Services
* profile
and more.
* Optional – available only with COMAND System self-check
Initially, after turning the electronic key in starter
switch to position 2, malfunctions are detected and
indicated (the indicator lamps in the “SOS” button, the
Roadside Assistance button• and the Information
button¡ stay on longer than 10 seconds or do not
come on). The message “TELE AID – VISIT
WORKSHOP” appears for approx. 10 seconds in the
multifunction display.