Page 88 of 329
85 Instrument cluster
Te ch n ica l
data Instruments
and controlsOperationDrivingInstrument
cluster displayPractical hints Car care Index 1Push buttons V and W for intensity of
instrument lamps, see page 87
2Push button Jfor resetting trip odometer, see
page 89, or to acknowledge a malfunction or
warning message, see page 106
3Coolant temperature gauge, see page 88
4Fuel gauge with reserve and fuel cap placement
warning lamp, see page 230
5Outside temperature indicator, see page 88
6Left turn signal indicator lamp, see combination
switch on page 119
7ESP warning lamp, see page 2318Speedometer
9Trip odometer, see page 89
10Main odometer
11Multifunction indicator, see page 233
or FSS indicator, see page 111
or engine oil level indicator, see page 114
12Right turn signal indicator lamp, see combination
switch on page 119
13Tachometer, see page 89
14Gear range indicator display, see selector lever
positions, see page 196
15Clock, see page 108
Page 136 of 329

133 Audio system
Te ch n ica l
data Instruments
and controlsOperationDrivingInstrument
cluster displayPractical hints Car care Index Operation
Switching on and off
Press the control knob .
Th e ra dio is switch ed of f wh en the ignition key is tu rned
to position 0 or removed from the ignition. The radio is
switched on again when the ignition key is turned to
position 1 or 2.
Note:
The radio can also be switched on even if the ignition
key is not inserted, but will switch itself off
automatically after one hour to conserve vehicle battery
power.
Adjusting the volume
Turn the control knob - turning the knob clockwise will
increase the volume, counterclockwise will decrease the
volume.Audio functions
The AUD key is used to select the BASS, TREBLE,
FADER and BALANCE functions. Settings for bass and
treble are stored separately for the cassette and CD
modes. Tone level settings are identified by the vertical
bars. The center (flat) setting is shown by one longer bar
in the center of the display.
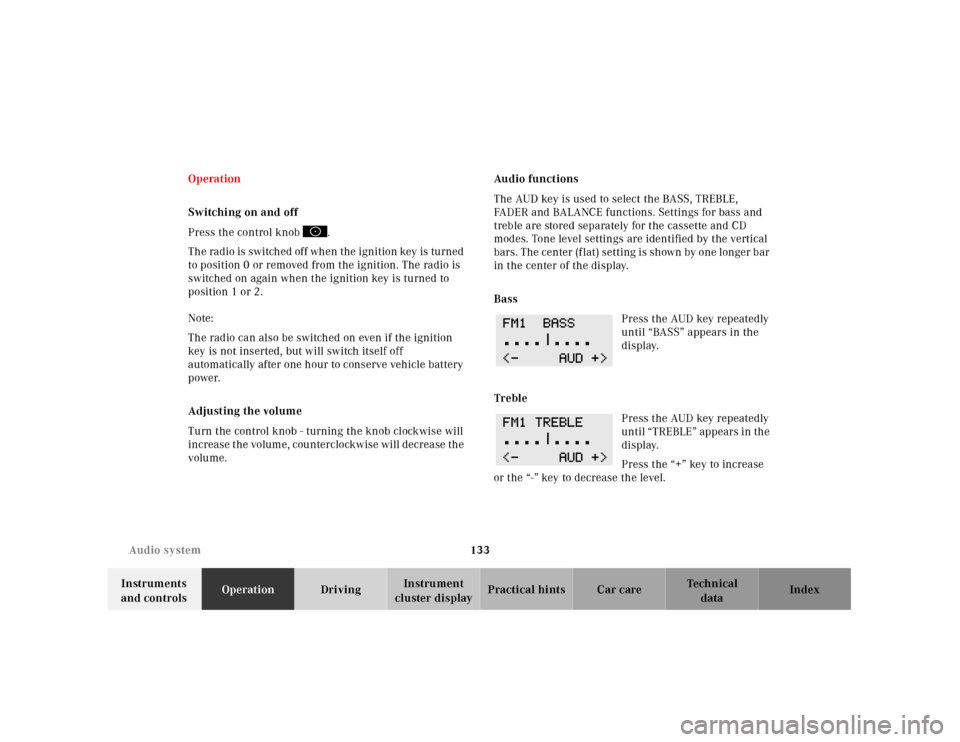
Bass
Press the AUD key repeatedly
until “BASS” appears in the
display.
Treble
Press the AUD key repeatedly
until “TREBLE” appears in th e
display.
Press the “+” key to increase
or the “-” key to decrease the level.
Page 272 of 329

269 Battery
Te ch n ica l
data Instruments
and controlsOperation DrivingInstrument
cluster displayPractical hintsCar care Index Therefore, we strongly recommend that you have the
battery charge checked frequently, and corrected if
necessary, especially if you use the vehicle less than
approximately 200 miles (300 km) per month,
mostly for short distance trips, or if it is not used for
long periods of time.
Only charge a battery with a battery charger after the
battery has been disconnected from the vehicle’s
electrical circuit.
Always disconnect the battery negative lead first and
connect last.
When removing and connecting the battery, always
make sure that all electrical consumers are off and the
electronic key is in steering lock position 0. The battery
and its filler caps must always be securely installed
when the vehicle is in operation. During removal and
installation always protect the disconnected battery
positive (+) terminal with the cover attached to the
battery.
While the engine is running the battery terminal clamps
must not be loosened or detached, otherwise the
generator and other electronic components would be
damaged.Note:
After reconnecting the battery also set the clock (see
page 108), resynchronize the front seats (see page 49),
front seat head restraints (see page 49), the express
feature of the power windows (see page 148), the
sliding/pop-up roof (see page 150) and the electronic
stability program (ESP) (see page 220).
Battery recycling
Batteries contain material that can harm the
environment with improper disposal.
Large 12 Volt storage batteries contain lead.
Recycling of batteries is the preferred method of
disposal.
Many states require sellers of batteries to accept old
batteries for recycling.
Page 282 of 329
279 Exterior lamps
Te ch n ica l
data Instruments
and controlsOperation DrivingInstrument
cluster displayPractical hintsCar care Index Side marker lamp, front (5 W/4 cp bulb) Carefully slide lamp towards front (arrow), and remove
back and first.
Twist bulb socket counterclockwise and pull out. Push
bulb socket, turn counterclockwise and remove.
Insert new bulb in socket, push in and twist clockwise.
Reinstall bulb socket, push in and twist clockwise.
To reinstall lamp, set front end of lamp in bumper and
let back end snap into place.