Page 159 of 381
150 Automatic climate control
Te ch n i c a l
data Instruments
and controlsOperationDrivingInstrument
cluster displayPractical hints Car care Index
Notes:
Do not obstruct the air f low by placing objects on the air
flow-through exhaust slots below the rear window.
Also keep the air intake grill in front of the windshield
free of snow and debris.
The storage compartment between the front seats can be
ventilated. See page 158 for notes on ventilating the
storage space under the armrest in the center console.
The air conditioner switches itself off for its own
protection if refrigerant is lost. No cooling will then take
place. Economy mode S can n ot be s witched of f. Have
the air conditioner checked by a Mercedes-Benz Center
should this happen.
Dust filter
Nearly all dust particles and pollen are filtered out
before outside air enters the passenger compartment
through the air distribution system.Basic setting – automatic mode
Briefly press left or right U button. The h, j
and k symbols will no longer be visible.
The economy mode and air recirculation functions will
be switched off. The automatic blower will be activated
at the same time.
Set the temperature switches on the left and right
to 72
°F (22
°C). This provides for comfortable conditions
in the vehicle.
Heating mode:
To lower headroom temperature, use thumbwheel
(4, page 146).
Air conditioning mode:
Open air outlets at dashboard top center (7, page 146)
for an even air distribution.
Page 161 of 381
152 Automatic climate control
Te ch n i c a l
data Instruments
and controlsOperationDrivingInstrument
cluster displayPractical hints Car care Index
Defrosting
Windows fogged up on the inside
Press the P button. The indicator lamp in the button
illuminates.
Switch off air recirculation, if selected. Press
buttonO, the indicator lamp in the button will go
out.
The fan is set to a higher speed and the warm air is
directed to the defroster and windshield air outlets.
Pressing the switch again returns the system to the
previous setting.Windshield fogged up on the outside
Switch on the windshield wiper.
Close air outlet on dashboard top center (7, page 146).
Switch to manual mode.
Turn air distribution control switch to positionh
ork.
Page 170 of 381
161 Audio system
Te ch n i c a l
data Instruments
and controlsOperationDrivingInstrument
cluster displayPractical hints Car care Index Operating and display elements
1On/off, volume, see page 163
2Telephone mode selector, see page 177
3Seek tuning, see page 167,
Track search (tape), see page 171,
Skipping tracks (CD), see page 175
Manual repeat dialing (telephone), see page 1804Radio mode selector, see page 166
5Manual tuning, see page 167 and 167
Fast Forward/Reverse (tape), see page 171
Fast Forward/Reverse (CD), see page 176
Telephone book, see page 178
6CD mode selector, see page 175
7Tape mode selector, see page 169
Page 171 of 381
162 Audio system
Te ch n i c a l
data Instruments
and controlsOperationDrivingInstrument
cluster displayPractical hints Car care Index
8Display panel
The cassette slot is located behind the display panel.
For notes on playing cassettes, see page 169
9Alpha-numeric keypad for
station storage and frequency entry, see page 169
optional telephone, see page 177
Tape eject, see page 170
Tape track select, see page 171
Dolby, see page 172
CD track access, see page 17710Scan tuning (Radio, see page 167)
Tape track search, see page 171
CD, see page 167
11Function button, see page 169 and 177
12Soft keys for
radio band selection, see page 166
tone controls, see page 164
scan, see page 167
13Tape eject, see page 169
Page 178 of 381
169 Audio system
Te ch n i c a l
data Instruments
and controlsOperationDrivingInstrument
cluster displayPractical hints Car care Index Storing stations
Hold the desired number button - down for
approximately 2 seconds. The currently displayed
frequency is stored on the selected station button. The
storage procedure is confirmed by a short signal tone.
Retrieving a station from memory
Press the desired station button - .
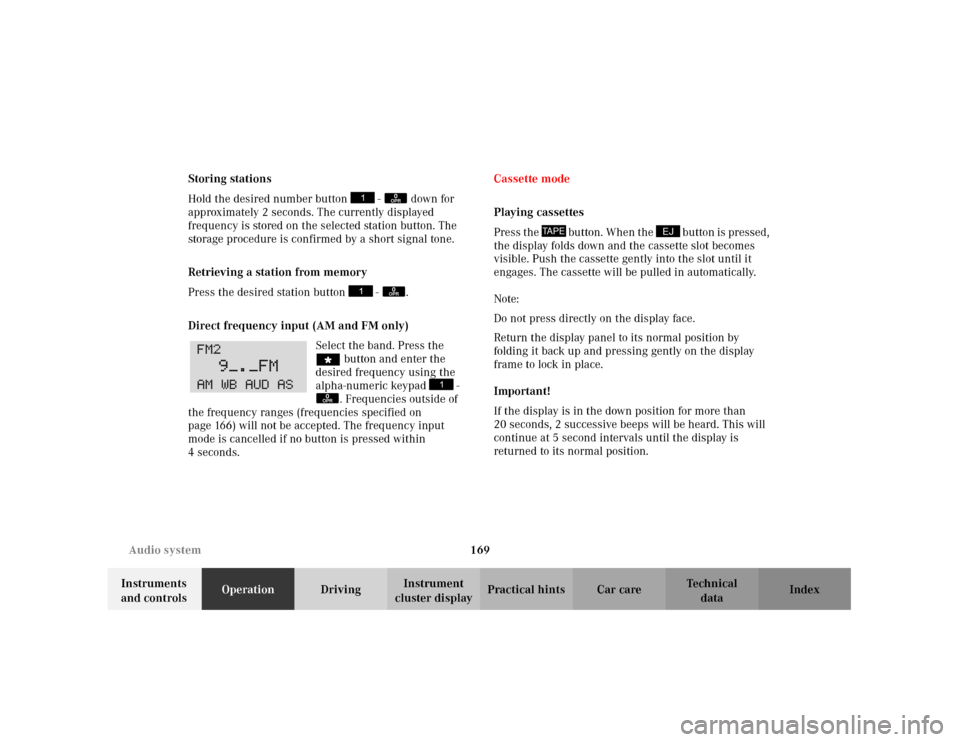
Direct frequency input (AM and FM only)
Select the band. Press the
“ button and enter the
desired frequency using the
alpha-numeric keypad -
. Frequencies outside of
the frequency ranges (frequencies specified on
page 166) will not be accepted. The frequency input
mode is cancelled if no button is pressed within
4seconds.Cassette mode
Playing cassettes
Pre ss t he button. When t he b utton is pr ess ed ,
the display folds down and the cassette slot becomes
visible. Push the cassette gently into the slot until it
engages. The cassette will be pulled in automatically.
Note:
Do not press directly on the display face.
Return the display panel to its normal position by
folding it back up and pressing gently on the display
frame to lock in place.
Important!
If the display is in the down position for more than
20 seconds, 2 successive beeps will be heard. This will
continue at 5 second intervals until the display is
returned to its normal position.
0OPR0OPR
0OPR
TAPE
EJ
Page 190 of 381
181 Audio system
Te ch n i c a l
data Instruments
and controlsOperationDrivingInstrument
cluster displayPractical hints Car care Index Express-dialing
Press one of the number buttons - for more
than 1 second.
The phone number or the name stored at this memory
location will appear on the screen.
When the call is initiated, the call time will appear on
the display.
Note:
Please be aware that button might already be
reserved for an emergency call number, see page 183.
Call hold feature
While on the telephone, a second call can be accepted
by pressing the “SND” key. The first call will be put on
hold. Press “SND” to toggle between the calls.
An additional call can be accepted after ending one of
the previous calls.Accepting incoming call in telephone mode
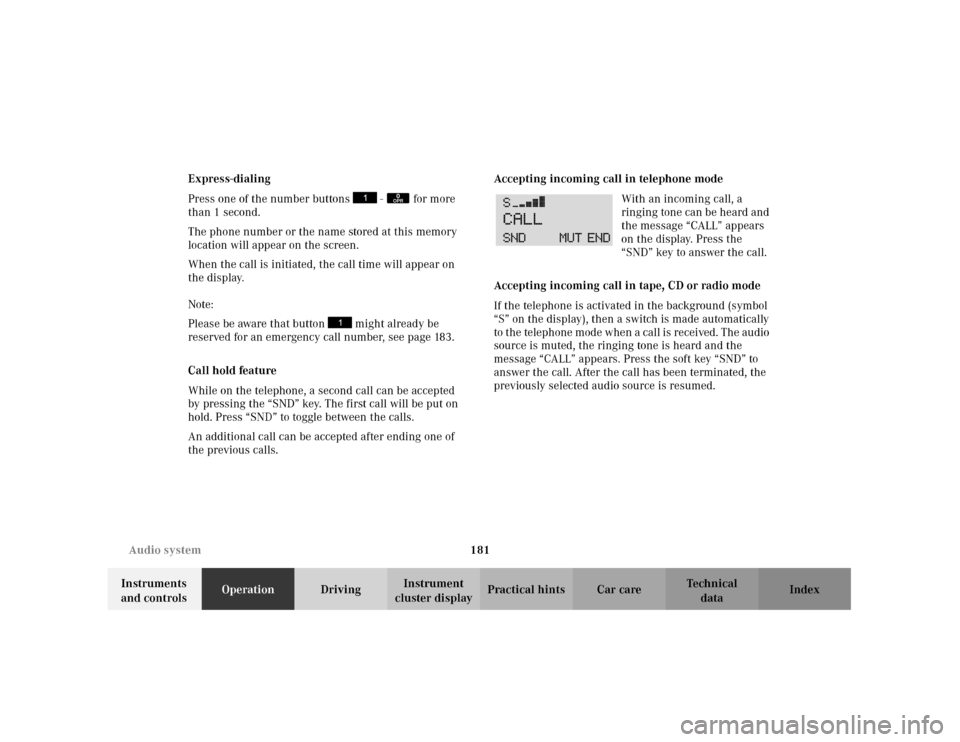
With an incoming call, a
ringing tone can be heard and
the message “CALL” appears
on the display. Press the
“SND” key to answer the call.
Accepting incoming call in tape, CD or radio mode
If the telephone is activated in the background (symbol
“S” on the display), then a switch is made automatically
to the telephone mode when a call is received. The audio
source is muted, the ringing tone is heard and the
message “CALL” appears. Press the soft key “SND” to
answer the call. After the call has been terminated, the
previously selected audio source is resumed.
0OPR
Page 194 of 381
185 Interior equipment
Te ch n i c a l
data Instruments
and controlsOperationDrivingInstrument
cluster displayPractical hints Car care Index Express opening and closing
Press or pull switch past resistance point and release –
window opens or closes completely.
To interrupt procedure, briefly press or pull switch.
If the upward movement of the window is blocked
during the closing procedure, the window will stop
during the last few inches before closure and open
slightly.
When pulling and holding the switch to close the
window, and upward movement of the window is
blocked during the last few inches before closure, it will
stop but not
open slightly.
Note:
The power windows can also be opened and closed
using the convenience opening / closing feature, see
page 29.
Wa r n i n g !
When closing the windows, be sure that there is no
danger of anyone being harmed by the closing
procedure.In case of obstruction, the automatic reversal will
not operate if a window is being closed by pulling
the switch to its resistance point and holding it
there, or when using the electronic main key.The closing procedure can be immediately reversed
by either pressing or pulling the switch, or
pressing buttonΠon the electronic main key
and holding it.When leaving the vehicle, always remove the
electronic key from starter switch, and lock your
vehicle. Do not leave children unattended in the
vehicle, or with access to an unlocked vehicle.
Unsupervised use of vehicle equipment can cause
serious personal injury.
Page 197 of 381
188 Interior equipment
Te ch n i c a l
data Instruments
and controlsOperationDrivingInstrument
cluster displayPractical hints Car care Index
Opening or closing the sliding / pop-up roof
automatically
Move the switch past resistance point in the direction
required and release.
The sliding / pop-up roof opens or closes completely.
Stopping the sliding / pop-up roof:
Move the switch in any direction.
If the movement of the sliding / pop-up roof is blocked
during the closing procedure, the roof will stop and
reopen slightly.With the roof closed or tilted open, a screen can be slid
into the roof opening to guard against sun rays. When
sliding the roof open, the screen will also retract.
Notes:
The sliding / pop-up roof can also be opened and closed
using the summer opening / convenience feature, see
page 29.
To avoid damaging the seals, do not transport any
objects with sharp edges which can stick out of the
sliding / pop-up roof.
The sliding/pop-up roof can be opened or closed
manually should an electrical malfunction occur, see
page 335.
Synchronizing the sliding / pop-up roof
The sliding / pop-up roof must be resynchronized if the
power supply has been interrupted (battery
disconnected or low), the sliding / pop-up roof has been
closed manually or the sliding / pop-up roof does not
open smoothly or malfunctions.
•Press the switch in the “raise” (3) direction, wait
until the sliding / pop-up roof is fully raised at rear
and hold the switch for approximately 1 second.
Wa r n i n g !
When closing the sliding / pop-up roof, be sure that
there is no danger of anyone being harmed by the
closing procedure.When leaving the vehicle, always remove the
electronic key from starter switch, and lock your
vehicle. Do not leave children unattended in the
vehicle, or with access to an unlocked vehicle.
Unsupervised use of vehicle equipment can cause
serious personal injury.