Page 166 of 381

157 Automatic climate control
Te ch n i c a l
data Instruments
and controlsOperationDrivingInstrument
cluster displayPractical hints Car care Index Rear window defroster
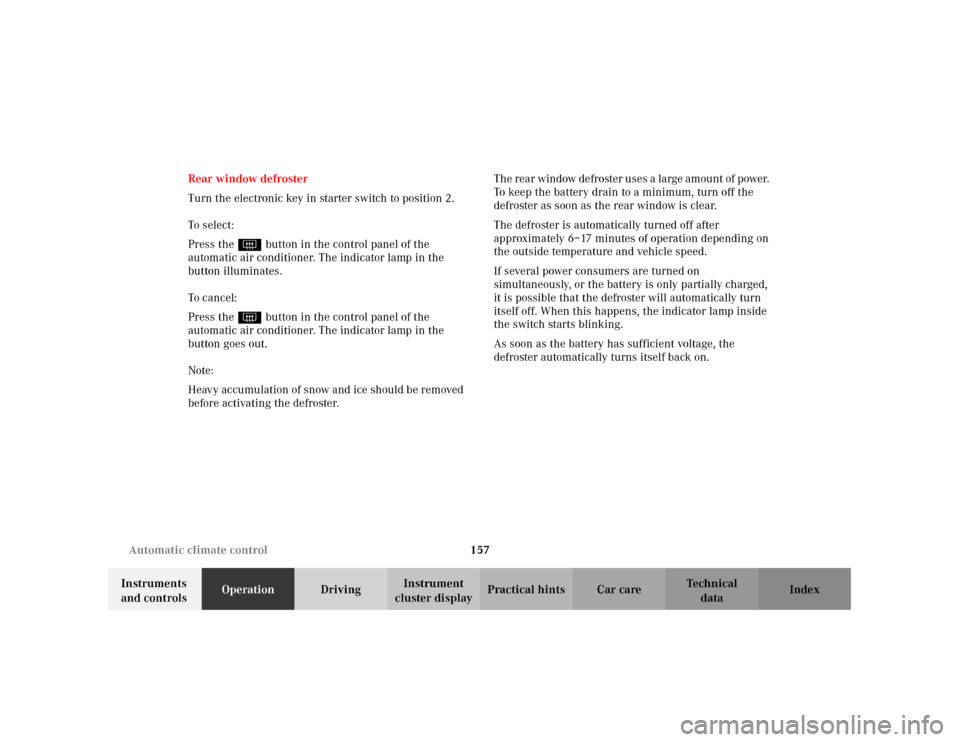
Turn the electronic key in starter switch to position 2.
To select:
Press the F button in the control panel of the
automatic air conditioner. The indicator lamp in the
button illuminates.
To c a nc el:
Press the F button in the control panel of the
automatic air conditioner. The indicator lamp in the
button goes out.
Note:
Heavy accumulation of snow and ice should be removed
before activating the defroster. The rear wind ow de fr oster us es a large amount of power.
To keep the battery drain to a minimum, turn off the
defroster as soon as the rear window is clear.
The defroster is automatically turned off after
approximately 6–17 minutes of operation depending on
the outside temperature and vehicle speed.
If several power consumers are turned on
simultaneously, or the battery is only partially charged,
it is possible that the defroster will automatically turn
itself off. When this happens, the indicator lamp inside
the switch starts blinking.
As soon as the battery has sufficient voltage, the
defroster automatically turns itself back on.
Page 171 of 381
162 Audio system
Te ch n i c a l
data Instruments
and controlsOperationDrivingInstrument
cluster displayPractical hints Car care Index
8Display panel
The cassette slot is located behind the display panel.
For notes on playing cassettes, see page 169
9Alpha-numeric keypad for
station storage and frequency entry, see page 169
optional telephone, see page 177
Tape eject, see page 170
Tape track select, see page 171
Dolby, see page 172
CD track access, see page 17710Scan tuning (Radio, see page 167)
Tape track search, see page 171
CD, see page 167
11Function button, see page 169 and 177
12Soft keys for
radio band selection, see page 166
tone controls, see page 164
scan, see page 167
13Tape eject, see page 169
Page 178 of 381

169 Audio system
Te ch n i c a l
data Instruments
and controlsOperationDrivingInstrument
cluster displayPractical hints Car care Index Storing stations
Hold the desired number button - down for
approximately 2 seconds. The currently displayed
frequency is stored on the selected station button. The
storage procedure is confirmed by a short signal tone.
Retrieving a station from memory
Press the desired station button - .
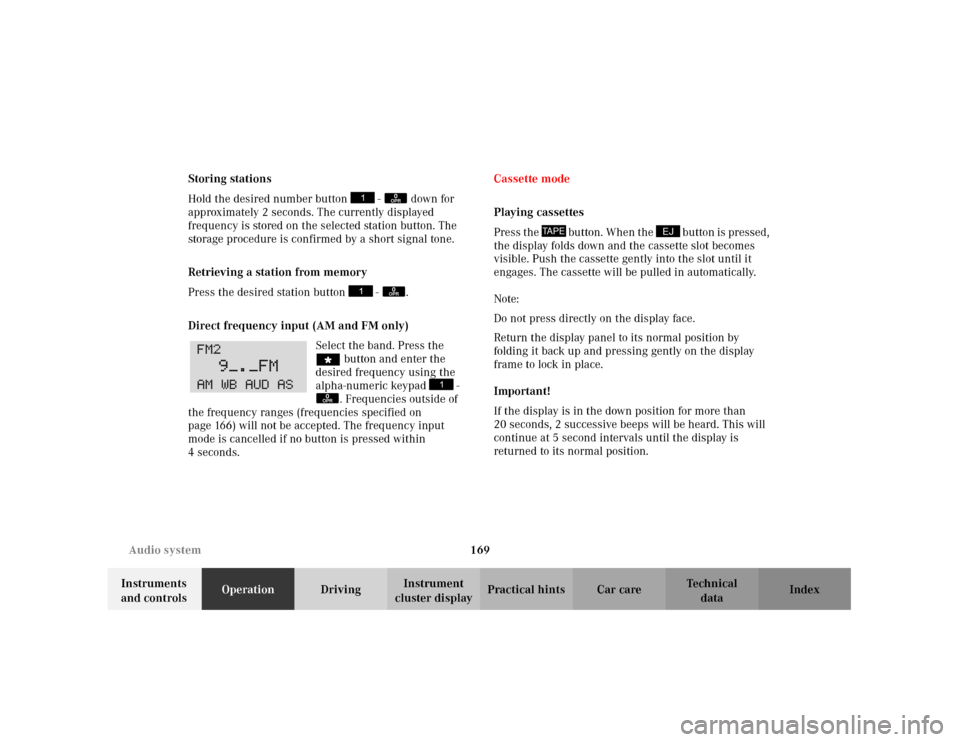
Direct frequency input (AM and FM only)
Select the band. Press the
“ button and enter the
desired frequency using the
alpha-numeric keypad -
. Frequencies outside of
the frequency ranges (frequencies specified on
page 166) will not be accepted. The frequency input
mode is cancelled if no button is pressed within
4seconds.Cassette mode
Playing cassettes
Pre ss t he button. When t he b utton is pr ess ed ,
the display folds down and the cassette slot becomes
visible. Push the cassette gently into the slot until it
engages. The cassette will be pulled in automatically.
Note:
Do not press directly on the display face.
Return the display panel to its normal position by
folding it back up and pressing gently on the display
frame to lock in place.
Important!
If the display is in the down position for more than
20 seconds, 2 successive beeps will be heard. This will
continue at 5 second intervals until the display is
returned to its normal position.
0OPR0OPR
0OPR
TAPE
EJ
Page 183 of 381
174 Audio system
Te ch n i c a l
data Instruments
and controlsOperationDrivingInstrument
cluster displayPractical hints Car care Index
CD changer
1 installed
1CD changer
2CD magazine
3CD tray
4CD
If a CD changer1 is installed, it can be operated from the
front control panel of the radio. A loaded magazine must
be installed for CD playing.
1 Optional equipment
Loading/emptying the CD magazine
Slide the changer door to the right until it latches open
and press the eject button . The magazine will be
ejected. Remove the magazine. Pull out the CD tray to its
stop and place the CDs in the recess of the tray, label
side up. Push the tray into the magazine in the direction
shown by the arrow. Insert the loaded magazine into the
changer.
Important!
Close the door after the magazine has been inserted.
3
2
2
1
4
Page 193 of 381
184 Interior equipment
Te ch n i c a l
data Instruments
and controlsOperationDrivingInstrument
cluster displayPractical hints Car care Index
Power windows
The control panel is located on the driver’s door. Switches for:
1left, front
2right, front
3left, rear
4right, rear
There are individual switches in the front passenger
door and the rear doors for the respective windows.
Turn electronic key in starter switch to position 1 or 2.
Opening the windows:
Press the switch to resistance point.
Closing the windows:
Pull the switch to resistance point.
Release switch when window is in desired position.
P54.25-2259-26
Page 252 of 381
243 Parking brake
Te ch n i c a l
data Instruments
and controlsOperationDrivingInstrument
cluster displayPractical hints Car care Index Parking brakeTo engage, firmly depress parking brake pedal. When
the electronic key is in starter switch position 2, the
brake warning lamp in the instrument cluster should
come on brightly.
To release the parking brake, pull handle on instrument
panel. The brake warning lamp in the instrument
cluster should go out.
A warning sounds and the parking brake warning
message appears in the multifunction display
(see page 279), if you start to drive without having
released the parking brake.
Also see brake warning lamp on page 270.
Wa r n i n g !
When leaving the vehicle always remove the
electronic key from the starter switch, and lock the
vehicle. Do not leave children unattended in the
vehicle, or with access to an unlocked vehicle.
Children could release the parking brake, which
could result in an accident or serious injury.
Page 307 of 381
298 Engine compartment
Te ch n i c a l
data Instruments
and controlsOperation DrivingInstrument
cluster displayPractical hintsCar care Index
To o pen :
To unlock the hood, pull release lever (1) under the
driver´s side of the instrument panel. At the same time
a handle will extend out of the radiator grill.Pull handle (2) to its stop out of radiator grill and open
hood (do not pull up on the handle).
Note:
To avoid damage to the windshield wipers or hood, open
the hood only with the wipers in the parked position.
P88.40-2137-26
Page 375 of 381

366 Index
Te ch n i c a l
data Instruments
and controlsOperation DrivingInstrument
cluster displayPractical hints Car careIndex
DDashboard ......................................................................... 16
Door control panel ........................................................... 14
Door entry lamps ........................................................... 190
Drive sensibly - Save Fuel ............................................244EEasy-entry/exit feature ................................................... 41
Electronic main key ......................................................... 23
Changing batteries ...................................................332
Synchronizing remote control ................................334
Electronic stability program (ESP) ..............................260
Emergency engine shut-down .....................................334
Emergency operation of sliding/pop-up roof ............335
Emergency tensioning retractor (ETR) ......................... 64
Emergency unlocking in case of accident ................... 34
Engine oil consumption ................................................ 129
Engine oil level indicator .............................................. 128
Enlarged cargo area .......................................................207
ENTRANCE POSITION - malfunction and warning
messages ....................................................................292
Exterior lamp switch ..................................................... 130
Daytime running lamp mode .................................. 132
Exterior lamps ................................................................326Additional turn signals on
the exterior mirror .............................................. 330
Bulbs for high and low beam ................................. 328
Headlamp assembly ................................................. 327
High mounted stop lamp ......................................... 330
License plate lamps ................................................. 330
Parking and standing lamp .................................... 328
Replacing bulbs ........................................................ 326
Taillamp assemblies ................................................ 329
Turn signal lamp ...................................................... 328
Exterior mirror adjustment ............................................ 81
Exterior mirror, front passenger side,
parking position ..........................................................82
FFirst aid kit ..................................................................... 294
Flexible service system (FSS) ......................................125
Front airbags ....................................................................65
Front center console storage
compartment ventilation ......................................... 158
Front seat adjustment .....................................................42
Fuel filler flap, manual release ................................... 335
Fuel reserve warning ..................................................... 271
Fuses ............................................................................... 295