Page 79 of 381

70 Restraint systems
Te ch n i c a l
data Instruments
and controlsOperationDrivingInstrument
cluster displayPractical hints Car care Index
Your vehicle was originally equipped with airbags
which are designed to activate in certain impacts
exceeding a preset threshold to reduce the potential
and severity of injury. It is important to your safety
and that of your passenger that you replace deployed
airbags and repair any malfunctioning airbags to
ensure the vehicle will continue to provide crash
protection for occupants.
Wa r n i n g !
Airbags are designed to reduce the potential of
injury in certain frontal (front airbags) impacts, or
side (side impact and head protection window
curtain airbags) impacts which may cause
significant injuries, however, no system available
today can totally eliminate injuries and fatalities.The activation of the “SRS” temporarily releases a
small amount of dust from the airbags. This dust,
however, is neither injurious to your health, nor
does it indicate a fire in the vehicle. The dust might
cause some temporary breathing difficulty for
people with asthma or other breathing trouble. To
avoid this, you may wish to get out of the vehicle as
soon as it is safe to do so. If you have any breathing
difficulty but cannot get out of the vehicle after the
airbag inflates, then get fresh air by opening a
window or door.The service life of the airbags extends to the date
indicated on the label located on the driver side
door latch post. To provide continued reliability
after that date, they should be inspected by an
authorized Mercedes-Benz Center at that time and
replaced when necessary.
Wa r n i n g !
To reduce the risk of injury when the front airbags
inflate, it is very important for the driver and front
passenger to always be in a properly seated
position and to wear your seat belt.For maximum protection in the event of a collision
always be in normal seated position with your back
against the backrest. Fasten your seat belt and
ensure that it is properly positioned on your body.Since the airbag inflates with considerable speed
and force, a proper seating and hands on steering
wheel position will help to keep you at a safe
distance from the airbag. Occupants who are
unbelted, out of position or too close to the airbag
can be seriously injured by an airbag as it inflates
with great force in the blink of an eye:
Page 87 of 381
78 Restraint systems
Te ch n i c a l
data Instruments
and controlsOperationDrivingInstrument
cluster displayPractical hints Car care Index
Unlocking:
Pull handle (1) out to its stop.
Adjusting:
Move steering wheel to the desired position.
Locking:
Push handle (1) in until it engages.Important!
Do not drive the vehicle until you have properly locked
the steering column.
See “STEERING WH. ADJUST” on page 292 for
malfunction and warning messages in the multifunction
display.
Page 98 of 381
89 Instrument cluster
Te ch n i c a l
data Instruments
and controlsOperationDrivingInstrument
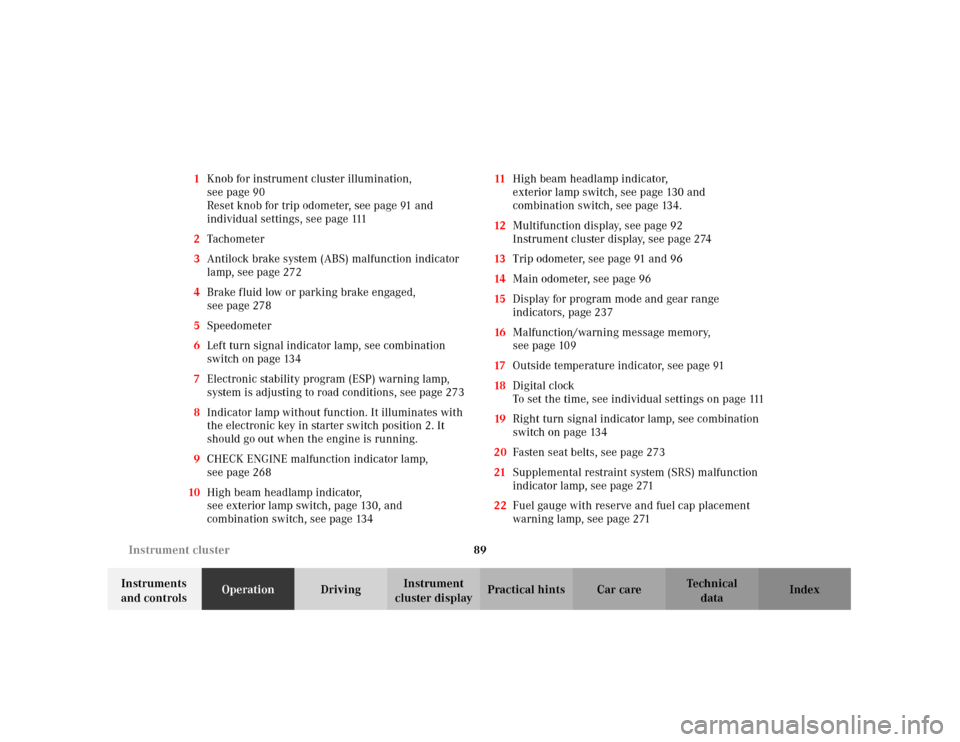
cluster displayPractical hints Car care Index 1Knob for instrument cluster illumination,
seepage90
Reset knob for trip odometer, see page 91 and
individual settings, see page 111
2Tachometer
3Antilock brake system (ABS) malfunction indicator
lamp, see page 272
4Brake fluid low or parking brake engaged,
seepage278
5Speedometer
6Left turn signal indicator lamp, see combination
switch on page 134
7Electronic stability program (ESP) warning lamp,
system is adjusting to road conditions, see page 273
8Indicator lamp without function. It illuminates with
the electronic key in starter switch position 2. It
should go out when the engine is running.
9CHECK ENGINE malfunction indicator lamp,
seepage268
10High beam headlamp indicator,
seeexterior lamp switch, page130, and
combination switch, see page 13411High beam headlamp indicator,
exterior lamp switch, see page 130 and
combination switch, see page 134.
12Multifunction display, see page 92
Instrument cluster display, see page 274
13Trip odometer, see page 91 and 96
14Main odometer, see page 96
15Display for program mode and gear range
indicators, page 237
16Malfunction/warning message memory,
seepage109
17Outside temperature indicator, see page 91
18Digital clock
To set the time, see individual settings on page 111
19Right turn signal indicator lamp, see combination
switch on page 134
20Fasten seat belts, see page 273
21Supplemental restraint system (SRS) malfunction
indicator lamp, see page 271
22Fuel gauge with reserve and fuel cap placement
warning lamp, see page 271
Page 102 of 381
93 Multifunction steering wheel, multifunction display
Te ch n i c a l
data Instruments
and controlsOperationDrivingInstrument
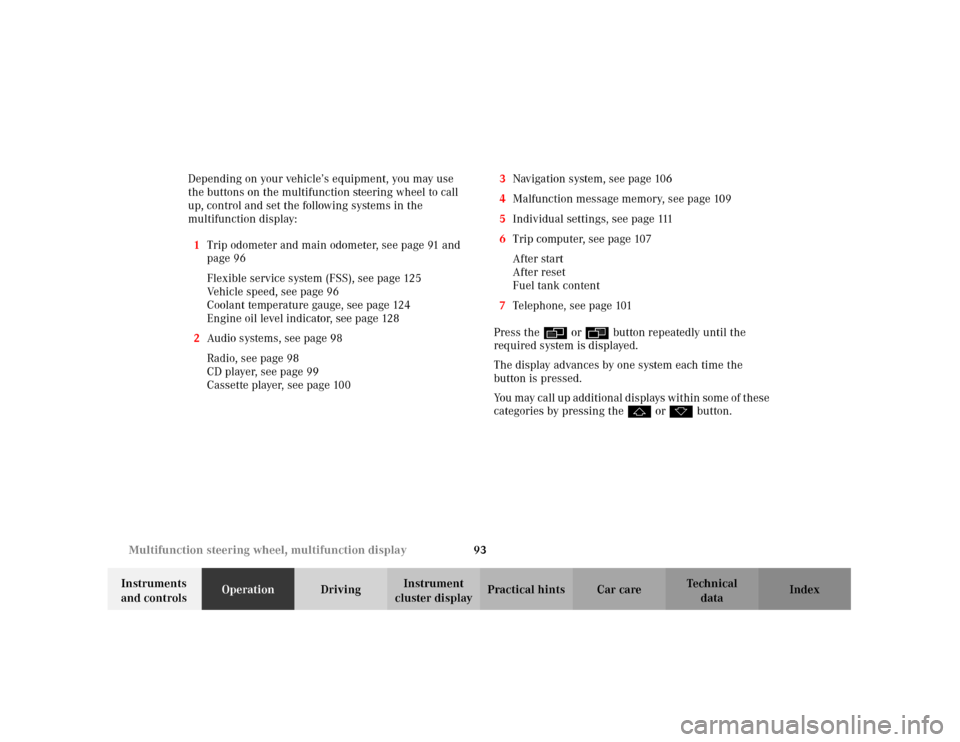
cluster displayPractical hints Car care Index Depending on your vehicle’s equipment, you may use
the buttons on the multifunction steering wheel to call
up, control and set the following systems in the
multifunction display:
1Trip odometer and main odometer, see page 91 and
page 96
Flexible service system (FSS), see page 125
Vehicle speed, see page 96
Coolant temperature gauge, see page 124
Engine oil level indicator, see page 128
2Audio systems, see page 98
Radio, see page 98
CD player, see page 99
Cassette player, see page 1003Navigation system, see page 106
4Malfunction message memory, see page 109
5Individual settings, see page 111
6Trip computer, see page 107
After start
After reset
Fuel tank content
7Telephone, see page 101
Press the è or ÿ button repeatedly until the
required system is displayed.
The display advances by one system each time the
button is pressed.
You may call up add ition al d is plays wit hin som e of t hes e
categories by pressing the j or k button.
Page 118 of 381
109 Multifunction steering wheel, multifunction display
Te ch n i c a l
data Instruments
and controlsOperationDrivingInstrument
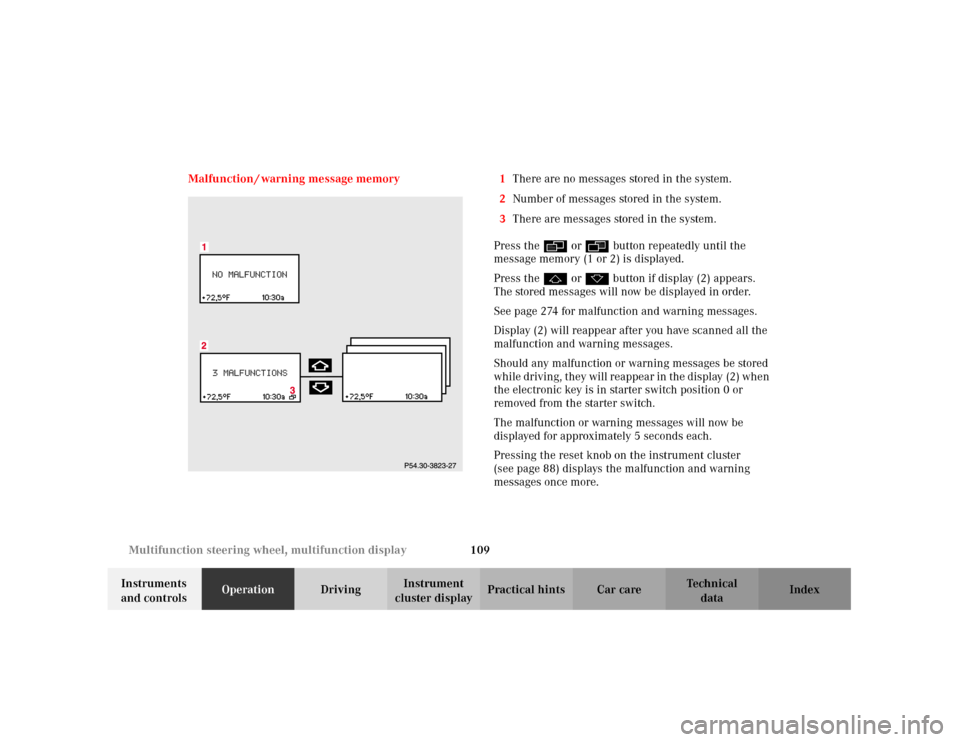
cluster displayPractical hints Car care Index Malfunction / warning message memory 1There are no messages stored in the system.
2Number of messages stored in the system.
3There are messages stored in the system.
Press the è or ÿ button repeatedly until the
message memory (1 or 2) is displayed.
Press the j or k button if display (2) appears.
The stored messages will now be displayed in order.
See page 274 for malfunction and warning messages.
Display (2) will reappear after you have scanned all the
malfunction and warning messages.
Should any malfunction or warning messages be stored
while driving, they will reappear in the display (2) when
the electronic key is in starter switch position 0 or
removed from the starter switch.
The malfunction or warning messages will now be
displayed for approximately 5 seconds each.
Pressing the reset knob on the instrument cluster
(see page 88) displays the malfunction and warning
messages once more.
Page 119 of 381
110 Multifunction steering wheel, multifunction display
Te ch n i c a l
data Instruments
and controlsOperationDrivingInstrument
cluster displayPractical hints Car care Index
The message memory will be cleared when the
electronic key is turned in the starter switch to
position 1 or 2. Should any subsequent faults occur,
they will be displayed in the message memory.
Pressing the è or ÿ button displays the next or
previous system.Important!
Malfunction and warning messages are only indicated
for certain systems and displayed to a low level of detail.
The malfunction and warning messages are simply a
reminder with respect to the operation of certain
systems and do not replace the driver’s responsibility to
maintain the vehicle’s operating safety by having all
required maintenance and safety checks performed on
the vehicle and by bringing the vehicle to an authorized
Mercedes-Benz Center to address the malfunction and
warning messages. See page 274, for malfunction and
warning messages.
Page 138 of 381
129 Engine oil level indicator
Te ch n i c a l
data Instruments
and controlsOperationDrivingInstrument
cluster displayPractical hints Car care Index One of the following messages will subseq uently appear
on the indicator:
“ENGINE OIL LEVEL – O.K.”
No oil needs to be added.
“ENGINE OIL LEVEL – ADD 1.0 QUART”
(Canada: 1.0 L)
“ENGINE OIL LEVEL – ADD 1.5 QUART”
(Canada: 1.5 L)
“ENGINE OIL LEVEL – ADD 2.0 QUART”
(Canada: 2.0 L)
See “Checking engine oil level”, on page 300 for
instructions on adding engine oil.
“ENGINE OIL LEVEL – REDUCE OIL LEVEL”
Do not overfill the engine.
Excessive oil must be siphoned or drained off. It could
cause damage to the engine and catalytic converter not
covered by the Mercedes-Benz Limited Warranty.The “PERF. SERV. ON TIME” message will be displayed
if a proper oil level check cannot be performed. The
engine oil level check can be repeated after a short
while.
Perform the engine oil level check with the dipstick, if it
cannot be completed via the multifunction display.
See “Checking engine oil level”, on page 300.
In this case we recommend that you have the system
checked at a Mercedes-Benz Center.
Notes:
See malfunction and warning messages on page 274
and page 283 if an engine oil level indicator appears on
the multifunction display when the engine is running.
The engine oil level cannot be checked while the engine
is running. The “ENGINE OIL LEVEL – NOT WHEN
ENGINE ON” message will appear.
Engine oil consumption
Engine oil consumption checks should only be made
after the break-in period. During the break-in period,
higher oil consumption may be noticed and is normal.
Frequent driving at high engine speeds results in
increased consumption.
Page 145 of 381
136 Combination switch
Te ch n i c a l
data Instruments
and controlsOperationDrivingInstrument
cluster displayPractical hints Car care Index
Blocked windshield wipers
If the windshield wipers become blocked (for example,
due to snow), switch off the wipers.
For safety reasons before removing ice or snow, remove
electronic key from starter switch. Remove blockage.
Activate combination switch again (electronic key in
starter switch position 1).
Emergency operation of windshield wipers
In case of windshield wiper malfunction in switch
positions I or III, turn combination switch to wiper
setting II. Have the system checked at your authorized
Mercedes-Benz Center as soon as possible.Windshield wipers smear
If the windshield wipers smear the windshield, even
during rain, activate the washer system as often as
necessary. The fluid in the washer reservoir should be
mixed in the correct ratio.
See page 302 for instructions on filling up the
windshield washer reservoir.
Windshield and headlamp washer fluid mixing ratio
For temperatures above freezing:
MB Windshield Washer Concentrate “S” and water.
1 part “S” to 100 parts water
(40 ml “S” to 1 gallon water).
For temperature below freezing:
MB Windshield Washer Concentrate “S” and
commercially available premixed windshield washer
solvent / antifreeze
1 part “S” to 100 parts solvent
(40 ml “S” to 1 gallon solvent).