2001 MERCEDES-BENZ C320 Malfunction display
[x] Cancel search: Malfunction displayPage 169 of 381
160 Audio system
Te ch n i c a l
data Instruments
and controlsOperationDrivingInstrument
cluster displayPractical hints Car care Index
Audio and telephone operation
These instructions are intended to help you become
acquainted with your Mercedes-Benz audio system.
They contain useful tips and a detailed description of
the user functions.Operating safety
1Optional equipment
Dolby and the double-D symbol
Ù
are trademarks of Dolby
Laboratories Licensing Corporation. The Dolby noise reduction
system is manufactured under licence from Dolby Laboratories
Licensing Corporation.
Wa r n i n g !
In order to avoid distraction which could lead to an
accident, system settings should be entered with
the vehicle at standstill and systems should be
operated by the driver only when traffic conditions
permit. Always pay full attention to traffic
conditions first before operating system controls
while driving. Bear in mind that at a speed of just 30 mph
(approximately 50 km/h), your car is covering a
distance of 50 feet (approximately14 m) every
second.
Wa r n i n g !
Any alterations made to electronic components can
cause malfunctions.The radio, cassette deck, CD changer
1 and
telephone
1 are interconnected. Therefore, when
one of the components is defective or has not been
removed/replaced properly this may impair the
function of other components.
These malfunctions might seriously impair the
operating safety of your vehicle.We recommend that you have any service work or
alterations to electronic components done at an
authorized Mercedes-Benz Center.
Page 191 of 381
182 Audio system
Te ch n i c a l
data Instruments
and controlsOperationDrivingInstrument
cluster displayPractical hints Car care Index
Terminating call
A current call can be terminated by pressing the “END”
button.
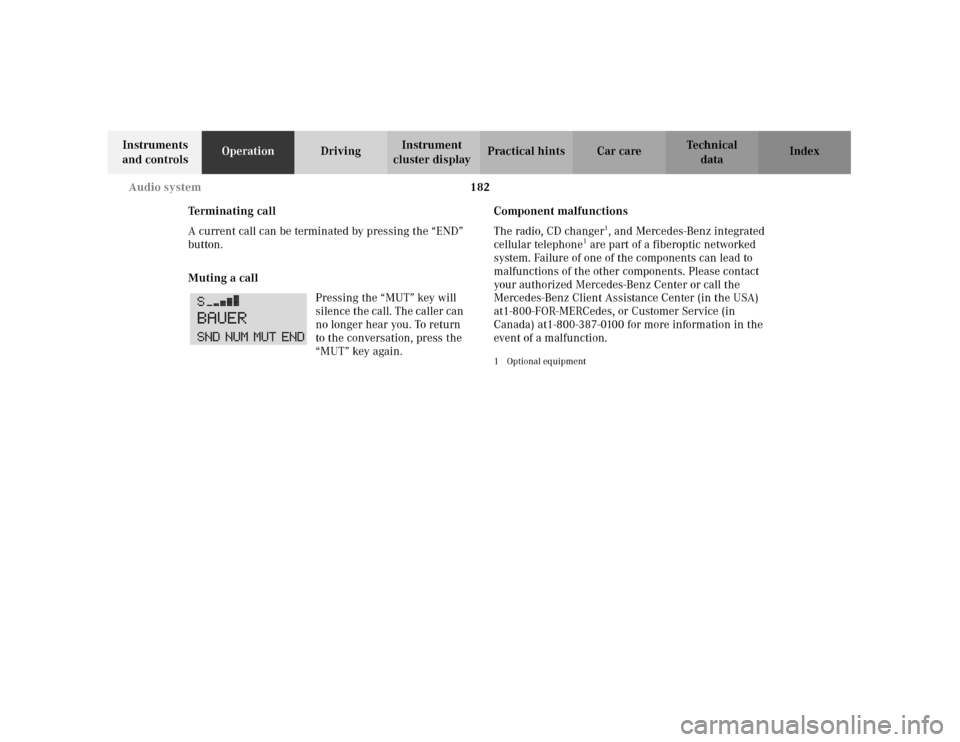
Muting a call
Pressing the “MUT” key will
silence the call. The caller can
no longer hear you. To return
to the conversation, press the
“MUT” key again.Component malfunctions
The radio, CD changer
1, and Mercedes-Benz integrated
cellular telephone
1 are part of a fiberoptic networked
system. Failure of one of the components can lead to
malfunctions of the other components. Please contact
your authorized Mercedes-Benz Center or call the
Mercedes-Benz Client Assistance Center (in the USA)
at1-800-FOR-MERCedes, or Customer Service (in
Canada) at1-800-387-0100 for more information in the
event of a malfunction.
1Optional equipment
Page 197 of 381
188 Interior equipment
Te ch n i c a l
data Instruments
and controlsOperationDrivingInstrument
cluster displayPractical hints Car care Index
Opening or closing the sliding / pop-up roof
automatically
Move the switch past resistance point in the direction
required and release.
The sliding / pop-up roof opens or closes completely.
Stopping the sliding / pop-up roof:
Move the switch in any direction.
If the movement of the sliding / pop-up roof is blocked
during the closing procedure, the roof will stop and
reopen slightly.With the roof closed or tilted open, a screen can be slid
into the roof opening to guard against sun rays. When
sliding the roof open, the screen will also retract.
Notes:
The sliding / pop-up roof can also be opened and closed
using the summer opening / convenience feature, see
page 29.
To avoid damaging the seals, do not transport any
objects with sharp edges which can stick out of the
sliding / pop-up roof.
The sliding/pop-up roof can be opened or closed
manually should an electrical malfunction occur, see
page 335.
Synchronizing the sliding / pop-up roof
The sliding / pop-up roof must be resynchronized if the
power supply has been interrupted (battery
disconnected or low), the sliding / pop-up roof has been
closed manually or the sliding / pop-up roof does not
open smoothly or malfunctions.
•Press the switch in the “raise” (3) direction, wait
until the sliding / pop-up roof is fully raised at rear
and hold the switch for approximately 1 second.
Wa r n i n g !
When closing the sliding / pop-up roof, be sure that
there is no danger of anyone being harmed by the
closing procedure.When leaving the vehicle, always remove the
electronic key from starter switch, and lock your
vehicle. Do not leave children unattended in the
vehicle, or with access to an unlocked vehicle.
Unsupervised use of vehicle equipment can cause
serious personal injury.
Page 220 of 381
211 Interior equipment
Te ch n i c a l
data Instruments
and controlsOperationDrivingInstrument
cluster displayPractical hints Car care Index Telephone, general
See separate instruction manual for instructions on how
to operate the telephone.
Wa r n i n g !
A driver’s attention to the road must always be his /
her primary focus when driving. For your safety
and the safety of others, we recommend that you
pull over to a safe location and stop before placing
or taking a telephone call. If you choose to use the
telephone while driving, please use the hands-free
device and only use the telephone when road and
traffic conditions permit.Some jurisdictions prohibit the driver from using a
cellular telephone while driving a vehicle.
Bear in mind that at a speed of just 30 mph
(approximately 50 km / h), your vehicle is covering
a distance of approximately 50 feet (approximately
14 m) every second. Never operate radio transmitters equipped with a
built-in or attached antenna (i.e. without being
connected to an external antenna) from inside the
vehicle while the engine is running. Doing so could
lead to a malfunction of the vehicle’s electronic
system, possibly resulting in an accident and
personal injury.
Page 227 of 381
218 Control and operation of radio transmitters
Te ch n i c a l
data Instruments
and controlsOperationDrivingInstrument
cluster displayPractical hints Car care Index
Control and operation of radio transmitters
COMAND, radio, telephone and two-way radio
1 Observe all legal requirements.
Telephones and two-way radio
Radio transmitters, such as a portable telephone or a
citizens band unit should only be used inside the
vehicle if they are connected to an antenna that is
installed on the outside of the vehicle.
Refer to the radio transmitter operation instructions
regarding use of an external antenna.
Wa r n i n g !
Please do not forget that your primary
responsibility is to drive the vehicle. Only operate
the COMAND (Cockpit Management and Data
System), radio, telephone
1 or two-way radio
1 if road
and traffic conditions permit.
Bear in mind that at a speed of just 30 mph
(approximately 50 km / h), your vehicle is covering
a distance of approximately 50 feet (approximately
14 m) every second.
Wa r n i n g !
Never operate radio transmitters equipped with a
built-in or attached antenna (i.e. without being
connected to an external antenna) from inside the
vehicle while the engine is running. Doing so could
lead to a malfunction of the vehicle’s electronic
system, possibly resulting in an accident and
personal injury.
Page 229 of 381
220 Tele Aid
Te ch n i c a l
data Instruments
and controlsOperationDrivingInstrument
cluster displayPractical hints Car care Index
Tele Aid
Important!
The initial activation of the Tele Aid system may only be
performed by completing the subscriber agreement and
placing an acquaintance call using the “SOS” button.
Failure to complete either of these steps will result in a
system that is not activated.
If you have any questions regarding activation, please
call the Response Center at 1-800-756-9018 (in the USA)
or 1-888-923-8367 (in Canada).
(Te l ematic Alarm Identification on Demand)
The Tele Aid system consists of three types of response;
automatic and manual emergency, roadside assistance
and information.
The Tele Aid system is always operational, providing
that the vehicle’s battery is charged and properly
connected. To activate, press the “SOS” button, the
Roadside Assistance button or the Information
button¡, depending on the type of response
required.System self-check
Initially, after turning the electronic key in starter
switch to position 2, malfunctions are detected and
indicated (the indicator lamps in the “SOS” button, the
Roadside Assistance button and the Information
button¡ stay on longer than 5 seconds or do not
come on).
If a malfunction is indicated as outlined above, have the
system checked at the nearest Mercedes-Benz Center as
soon as possible.
Important!
Always make sure that the indicator lamp in the
“SOS” button remains illuminated for approximately
5 seconds during the system self-check after turning
electronic key in starter switch to position 2.
Emergency calls
An emergency call is initiated automatically following
an accident in which the Emergency Tensioning
Retractors (ETR’s) or airbags deploy. An emergency call
can also be initiated manually by opening the cover next
to the inside rear view mirror labeled “SOS”, then
Page 245 of 381
236 Automatic transmission
Te ch n i c a l
data Instruments
and controlsOperationDrivingInstrument
cluster displayPractical hints Car care Index
Stopping
For brief stops, e.g. at traffic lights, leave the
transmission in gear and hold vehicle with the service
brake.
For longer stops with the engine idling, shift into “N”
or “P” and hold the vehicle with the service brake.
When stopping the vehicle on an uphill gradient, do not
hold it with the accelerator, use the brake. This avoids
unnecessary transmission heat build up.
Maneuvering
To maneuver in tight areas, e.g. when pulling into a
parking space, control the vehicle speed by gradually
releasing the brakes. Accelerate gently and never
abruptly step on the accelerator.
To rock a vehicle out of soft ground (mud or snow),
alternately shift from forward to reverse, while applying
slight partial throttle.Rocking a vehicle free in this manner may cause the
ABS or traction system malfunction indicator lamp to
come on. Turn off and restart the engine to clear the
malfunction indication.
Wa r n i n g !
Getting out of your vehicle with the selector lever
not fully engaged in position “P” is dangerous.
A ls o, w hen pa rked on a n in c li ne, pos i tion “P” a lon e
may not prevent your vehicle from moving,
possibly hitting people or objects.Always set the parking brake in addition to shifting
to position “P”, see page 243 for parking brake. When parked on an incline, also turn front wheel
against curb.
Page 248 of 381
239 Automatic transmission
Te ch n i c a l
data Instruments
and controlsOperationDrivingInstrument
cluster displayPractical hints Car care Index Press and hold selector lever in the æ direction:
The transmission will shift from the current gear
directly to gear range “D”.
Important!
With transmission in gear range “D”, “4” or “3”,
upshifting from 1st to 2nd to 3rd gear is delayed
depending on vehicle speed and engine temperature.
This allows the catalytic converter to heat up more
quickly to operating temperatures.
During the brief warm-up period this delayed upshift
and increased engine noise might be perceived as a
malfunction. However, neither the engine nor
transmission are negatively affected by this mode of
operation.The delayed upshift is effective with vehicle speeds
below 31 mph (50 km/h) at partial throttle and engine
temperatures below 95
°F (35
°C).
To avoid overrevving the engine when the selector lever
is m ove d to a lower gear range , t he tran smi ss ion will n ot
shift to a lower gear, if the engine’s revolutions per
minute limit would be exceeded. In this case there will
be no downshift, even when the vehicle speed reaches
the engine’s rpm limit of that gear, e.g. by applying the
service brakes.
To prevent the engine from laboring at low RPM when
driving uphill gradients or with your vehicle heavily
loaded, the automatic transmission will downshift when
necessary to maintain engine RPM within the best
torque range.
Wa r n i n g !
O n s l i p p e ry ro a d s u rfa c es , n eve r d ow n s h i f t i n o rd e r
to obtain braking action. This could result in drive
wheel slip and reduced vehicle control. Your
vehicle’s ABS will not prevent this type of loss of
control.