Page 111 of 381
102 Multifunction steering wheel, multifunction display
Te ch n i c a l
data Instruments
and controlsOperationDrivingInstrument
cluster displayPractical hints Car care Index
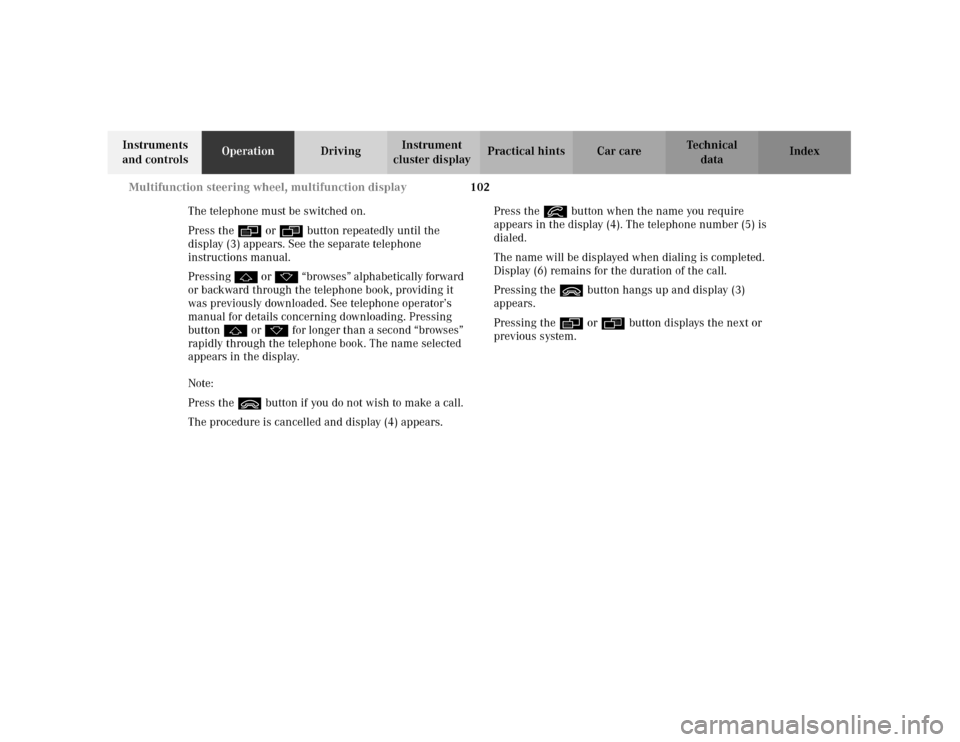
The telephone must be switched on.
Press the è or ÿ button repeatedly until the
display (3) appears. See the separate telephone
instructions manual.
Pressing j o r k “br owses ” alphabetic ally forward
or backward through the telephone book, providing it
was previously downloaded. See telephone operator’s
manual for details concerning downloading. Pressing
button j or k for longer than a second “browses”
rapidly through the telephone book. The name selected
appears in the display.
Note:
Press the ì button if you do not wish to make a call.
The procedure is cancelled and display (4) appears.Press the í button when the name you require
appears in the display (4). The telephone number (5) is
dialed.
The name will be displayed when dialing is completed.
Display (6) remains for the duration of the call.
Pressing the ì button hangs up and display (3)
appears.
Pressing the è or ÿ button displays the next or
previous system.
Page 113 of 381
104 Multifunction steering wheel, multifunction display
Te ch n i c a l
data Instruments
and controlsOperationDrivingInstrument
cluster displayPractical hints Car care Index
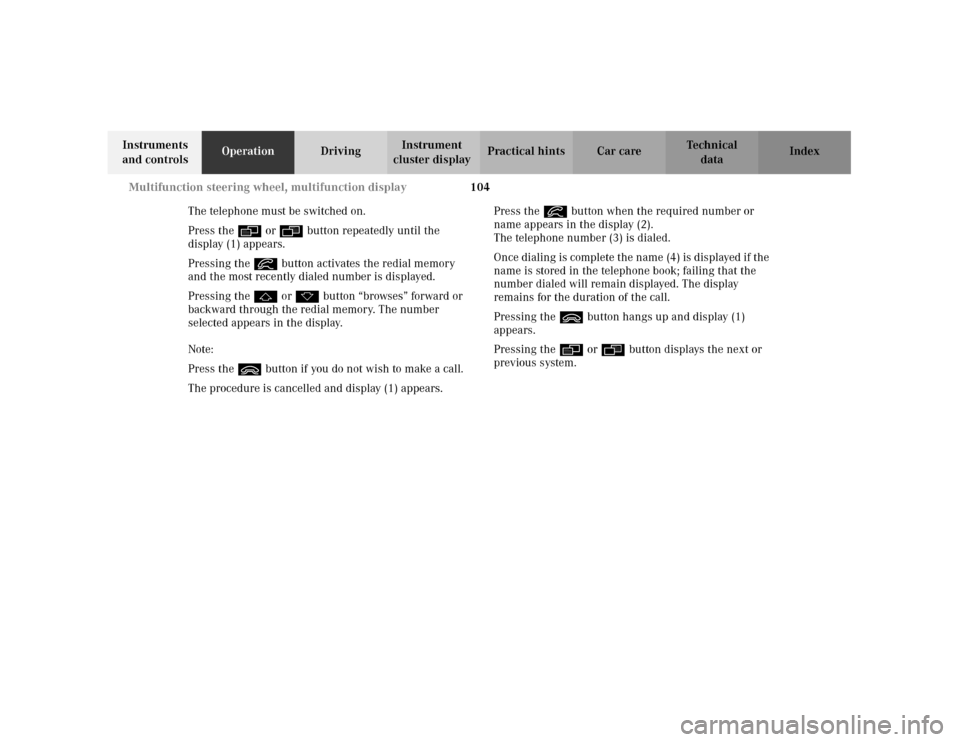
The telephone must be switched on.
Press the è or ÿ button repeatedly until the
display (1) appears.
Pressing the í button activates the redial memory
and the most recently dialed number is displayed.
Pressing the j or k button “browses” forward or
backward through the redial memory. The number
selected appears in the display.
Note:
Press the ì button if you do not wish to make a call.
The procedure is cancelled and display (1) appears.Press the í button when the required number or
name appears in the display (2).
The telephone number (3) is dialed.
Once dialing is complete the name (4) is displayed if the
name is stored in the telephone book; failing that the
number dialed will remain displayed. The display
remains for the duration of the call.
Pressing the ì button hangs up and display (1)
appears.
Pressing the è or ÿ button displays the next or
previous system.
Page 115 of 381
106 Multifunction steering wheel, multifunction display
Te ch n i c a l
data Instruments
and controlsOperationDrivingInstrument
cluster displayPractical hints Car care Index
Navigation system 1The navigation system is switched off.
2The navigation system is switched on but no
destination has been specified.
3The navigation system is switched on and
destination guidance is active.
Press the è or ÿ button repeatedly until the
required system is displayed.
See the separate COMAND (Cockpit Management and
Data System) operator’s manual for notes on the
navigation system.
Pressing the è or ÿ button displays the next or
previous system.
P54.30-3643-27
Page 116 of 381
107 Multifunction steering wheel, multifunction display
Te ch n i c a l
data Instruments
and controlsOperationDrivingInstrument
cluster displayPractical hints Car care Index Trip computer 1“AFTER START” — short distance memory
2“AFTER RESET” — long distance memory
3Estimated range remaining
4Distance covered “AFTER START” or
“AFTER RESET”
5Elapsed time “AFTER START” or “AFTER RESET”
6Average speed “AFTER START” or “AFTER RESET”
7Average fuel consumption “AFTER START” or
“AFTER RESET”
Press the button è or ÿ repeatedly until the
display (1, 2 or 3) appears.
Press the j or k button until the “AFTER START”
short distance memory (1), the “AFTER RESET” long
distance memory (2) or fuel tank contents and
estimated range remaining indicator (3) appears.
Pressing the è or ÿ button displays the next or
previous system.
Note:
The display (1) always appears the next time the trip
computer is called up.
Page 118 of 381
109 Multifunction steering wheel, multifunction display
Te ch n i c a l
data Instruments
and controlsOperationDrivingInstrument
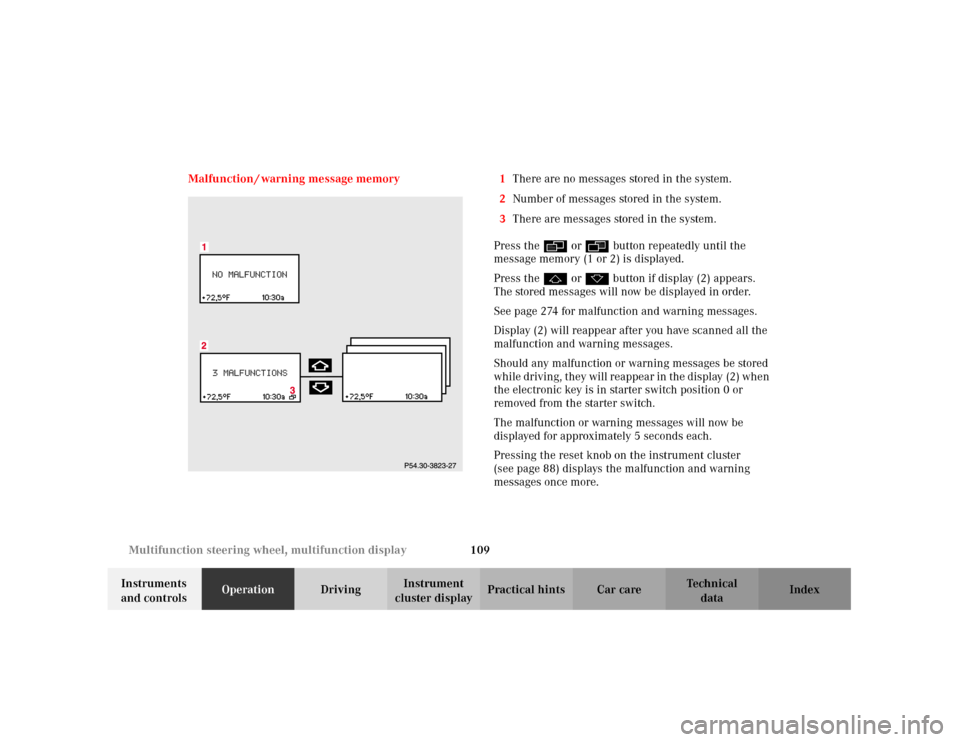
cluster displayPractical hints Car care Index Malfunction / warning message memory 1There are no messages stored in the system.
2Number of messages stored in the system.
3There are messages stored in the system.
Press the è or ÿ button repeatedly until the
message memory (1 or 2) is displayed.
Press the j or k button if display (2) appears.
The stored messages will now be displayed in order.
See page 274 for malfunction and warning messages.
Display (2) will reappear after you have scanned all the
malfunction and warning messages.
Should any malfunction or warning messages be stored
while driving, they will reappear in the display (2) when
the electronic key is in starter switch position 0 or
removed from the starter switch.
The malfunction or warning messages will now be
displayed for approximately 5 seconds each.
Pressing the reset knob on the instrument cluster
(see page 88) displays the malfunction and warning
messages once more.
Page 119 of 381
110 Multifunction steering wheel, multifunction display
Te ch n i c a l
data Instruments
and controlsOperationDrivingInstrument
cluster displayPractical hints Car care Index
The message memory will be cleared when the
electronic key is turned in the starter switch to
position 1 or 2. Should any subsequent faults occur,
they will be displayed in the message memory.
Pressing the è or ÿ button displays the next or
previous system.Important!
Malfunction and warning messages are only indicated
for certain systems and displayed to a low level of detail.
The malfunction and warning messages are simply a
reminder with respect to the operation of certain
systems and do not replace the driver’s responsibility to
maintain the vehicle’s operating safety by having all
required maintenance and safety checks performed on
the vehicle and by bringing the vehicle to an authorized
Mercedes-Benz Center to address the malfunction and
warning messages. See page 274, for malfunction and
warning messages.
Page 121 of 381
112 Multifunction steering wheel, multifunction display
Te ch n i c a l
data Instruments
and controlsOperationDrivingInstrument
cluster displayPractical hints Car care Index
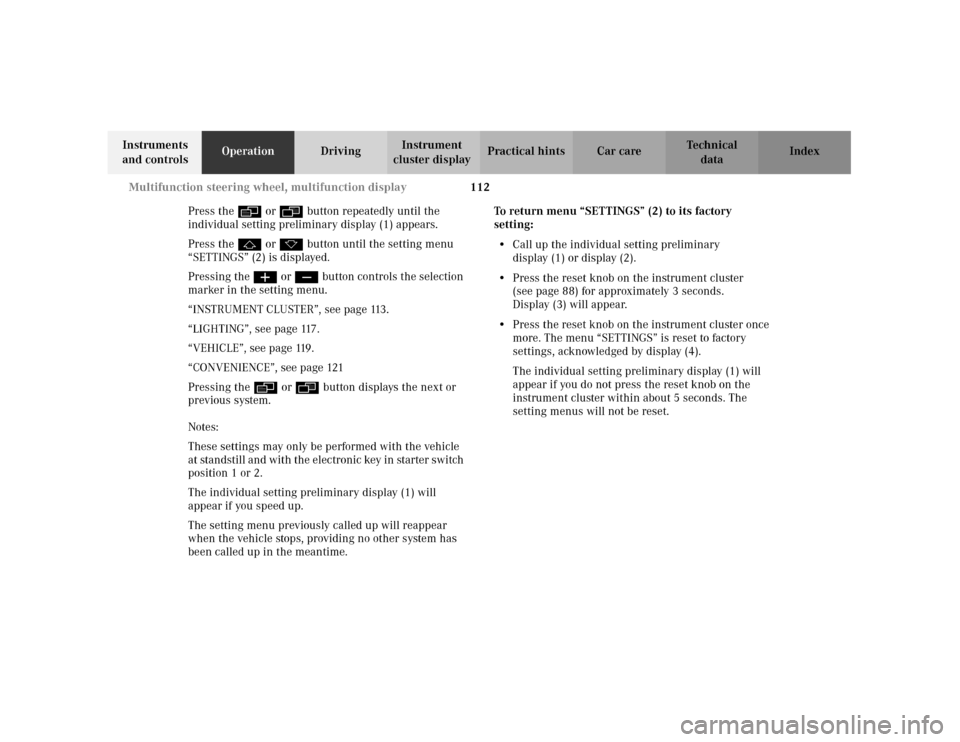
Press the è or ÿ button repeatedly until the
individual setting preliminary display (1) appears.
Press the j or k button until the setting menu
“SETTINGS” (2) is displayed.
Pressing the æ or ç button controls the selection
marker in the setting menu.
“INSTRUMENT CLUSTER”, see page 113.
“LIGHTING”, see page 117.
“VEHICLE”, see page 119.
“CONVENIENCE”, see page 121
Pressing the è or ÿ button displays the next or
previous system.
Notes:
These settings may only be performed with the vehicle
at stan dstill an d wit h the elec tr on ic key in starter s witch
position 1 or 2.
The individual setting preliminary display (1) will
appear if you speed up.
The setting menu previously called up will reappear
when the vehicle stops, providing no other system has
been called up in the meantime.To return menu “SETTINGS” (2) to its factory
setting:
•Call up the individual setting preliminary
display (1) or display (2).
•Press the reset knob on the instrument cluster
(see page 88) for approximately 3 seconds.
Display (3) will appear.
•Press the reset knob on the instrument cluster once
more. The menu “SETTINGS” is reset to factory
settings, acknowledged by display (4).
The individual setting preliminary display (1) will
appear if you do not press the reset knob on the
instrument cluster within about 5 seconds. The
setting menus will not be reset.
Page 124 of 381
115 Multifunction steering wheel, multifunction display
Te ch n i c a l
data Instruments
and controlsOperationDrivingInstrument
cluster displayPractical hints Car care Index Press the è or ÿ button repeatedly until the
individual setting preliminary display (1) appears.
Press the j or k button until the setting menu
“SETTINGS” (2) is displayed.
Press buttonæ orç until the menu
“INSTRUMENT CLUSTER” is selected by the selection
marker.Press the j or k button until the required
display (3 to 9) is displayed.
Pressing the æ orç button sets the time in
setting menus (3, 4) and controls the selection marker
in the setting menus (5 to 9).
The settings made are stored and applied immediately.
The individual setting preliminary display (1) will
appear again after you have run through all the setting
menus. Pressing the è or ÿ button displays the
next or previous system.