Page 87 of 232

WARNING: Several air bag system components get hot after
inflation. Do not touch them after inflation or you may be
burned.
WARNING: If the air bag has deployed, the air bag will not
function again and must be replaced immediately. If the air bag
is not replaced, the unrepaired area will increase the risk of
injury in a collision.
The SRS consists of:
² driver and passenger air bag modules (which include the inflators and
air bags),
² one or more impact and safing sensors,
² a readiness light and tone
² diagnostic module
² and the electrical wiring which connects the components.
The diagnostic module monitors its own internal circuits and the
supplemental air bag electrical system warning (including the impact
sensors), the system wiring, the air bag system readiness light, the air
bag back up power and the air bag ignitors.
Determining if the system is operational
The SRS uses a readiness light in the instrument cluster or a tone to
indicate the condition of the system. Refer to the Air bag readiness
section in the Instrumentation chapter. Routine maintenance of the air
bag is not required.
A difficulty with the system is indicated by one or more of the following:
² The readiness light will either
flash or stay lit.
² The readiness light will not
illuminate immediately after
ignition is turned on.
² A series of five beeps will be heard. The tone pattern will repeat
periodically until the problem and/or light are repaired.
If any of these things happen, even intermittently, have the SRS serviced
at your authorized Mazda dealership immediately.
Seating and safety restraints
87
Page 91 of 232

WARNING: Several air bag
system components get hot
after inflation. Do not touch
them after inflation.
WARNING: If the side air bag
has deployed, the air bag will
not function again. The side
air bag system (including the
seat) must be inspected and
serviced by a qualified
technician in accordance with
the vehicle service manual. If
the air bag is not replaced, the
unrepaired area will increase
the risk of injury in a collision.
Determining if the system is operational
The SRS uses a readiness light in the instrument cluster or a tone to
indicate the condition of the system. Refer to theAir bag readiness
section in the Instrumentation chapter. Routine maintenance of the air
bag is not required.
A difficulty with the system is indicated by one or more of the following:
² The readiness light (same light as for front air bag system) will either
flash or stay lit.
² The readiness light will not illuminate immediately after ignition is
turned on.
² A series of five beeps will be heard. The tone pattern will repeat
periodically until the problem and light are repaired.
If any of these things happen, even intermittently, have the SRS serviced
at your authorized Mazda dealership immediately. Unless serviced, the
system may not function properly in the event of a collision.
Seating and safety restraints
91
Page 108 of 232

WARNING: The Anti-Lock system does not decrease the time
necessary to apply the brakes or always reduce stopping
distance. Always leave enough room between your vehicle and
the vehicle in front of you to stop.
ABS warning lamp
ABS(if equipped)
The
ABSwarning lamp in the instrument cluster momentarily illuminates
when the ignition is turned to the ON position. If the light does not
illuminate momentarily at start up, remains on or continues to flash, the
ABS needs to be serviced.
With the ABS light on, the anti-lock
brake system is disabled and normal
braking is still effective unless the
brake warning light also remains
illuminated with parking brake released. (If your brake warning lamp
illuminates, have your vehicle serviced immediately by an authorized
Mazda dealership.)
Using four wheel ABS (if equipped)
² In an emergency or when maximum efficiency from the ABS is
required, apply continuous force on the brake. The ABS will be
activated immediately, thus allowing you to retain full steering control
of your vehicle and, providing there is sufficient space, will enable you
to avoid obstacles and bring the vehicle to a controlled stop.
WARNING: The Anti-Lock system does not decrease the time
necessary to apply the brakes or always reduce stopping
distance. Always leave enough room between your vehicle and
the vehicle in front of you to stop.
NOTE: We recommend that you familiarize yourself with this braking
technique. However, avoid taking any unnecessary risks.
Driving
108
Page 109 of 232

Parking brake
Apply the parking brake whenever
the vehicle is parked. To set the
parking brake, apply the brake pedal
and pull the parking brake handle
up as far as possible.
The BRAKE warning lamp in the
instrument cluster illuminates and
remains illuminated (when the
ignition is turned ON) until the
parking brake is released.WARNING: Always set the parking brake fully and make sure
that the gearshift is securely latched in P (Park) (automatic
transmission) or in 1 (First Gear) (manual transmission).
NOTE: The parking brake is not recommended to stop a moving vehicle.
However, if the normal brakes fail, the parking brake can be used to stop
your vehicle in an emergency. Since the parking brake applies only the
rear brakes, the vehicle's stopping distance will increase greatly and the
handling of your vehicle will be adversely affected.
To release the parking brake, the
brake handle may need to be pulled
up slightly to release pressure
before pushing in the button.
Push the button on the end of
the parking brake handle and
push the handle down as far as
possible. Driving with the
parking brake applied will cause
the brakes to wear out quickly
and reduce fuel economy.
!
BRAKE
Driving
109
Page 112 of 232

Do not rock the vehicle if the engine is not at normal operating
temperature or damage to the transaxle may occur.
Do not rock the vehicle for more than a few minutes or damage
to the transaxle and tires may occur or the engine may overheat.WARNING: Always set the parking brake fully and make sure
the gearshift is latched in P (Park). Turn off the ignition
whenever you leave your vehicle.
WARNING: If the parking brake is fully released, but the brake
warning lamp remains illuminated, the brakes may not be
working properly. See your authorized Mazda dealer or a
qualified service technician.
Driving with an automatic overdrive transaxle
Your automatic transaxle electronically controls the shift feel by using an
adaptive learning strategy. This feature is designed to optimize shift
smoothness. NOTE:It is normal for your transaxle to shift firmly during
the first few hundred kilometers (miles) of operation until the adaptive
strategy has been learned. The adaptive learning strategy is maintained
by power from the battery. When the battery is disconnected or a new
battery is installed, the transaxle must relearn its adaptive strategy.
Optimal shifting will resume within a few hundred kilometers (miles) of
operation.
Your automatic overdrive transaxle
provides fully automatic operation in
either D (Overdrive) or with the
O/D OFF switch depressed. Driving
with the gearshift lever in D
(Overdrive) gives the best fuel economy for normal driving conditions.
For manual control, start in 1 (First) and then shift manually.
To put your vehicle in gear, start the
engine, depress the brake pedal,
then move gearshift lever out of P
(Park).
OFF/ON
R D 2 1ODO
Driving
112
Page 113 of 232

Understanding gearshift positions
Your automatic transaxle electronically controls the shift feel by using an
adaptive learning strategy. This feature is designed to optimize shift
smoothness.NOTE:It is normal for your transaxle to shift firmly during
the first few hundred kilometers (miles) of operation until the adaptive
strategy has been learned. The adaptive learning strategy is maintained
by power from the battery. When the battery is disconnected or a new
battery is installed, the transaxle must relearn its adaptive strategy.
Optimal shifting will resume within a few hundred kilometers (miles) of
operation.
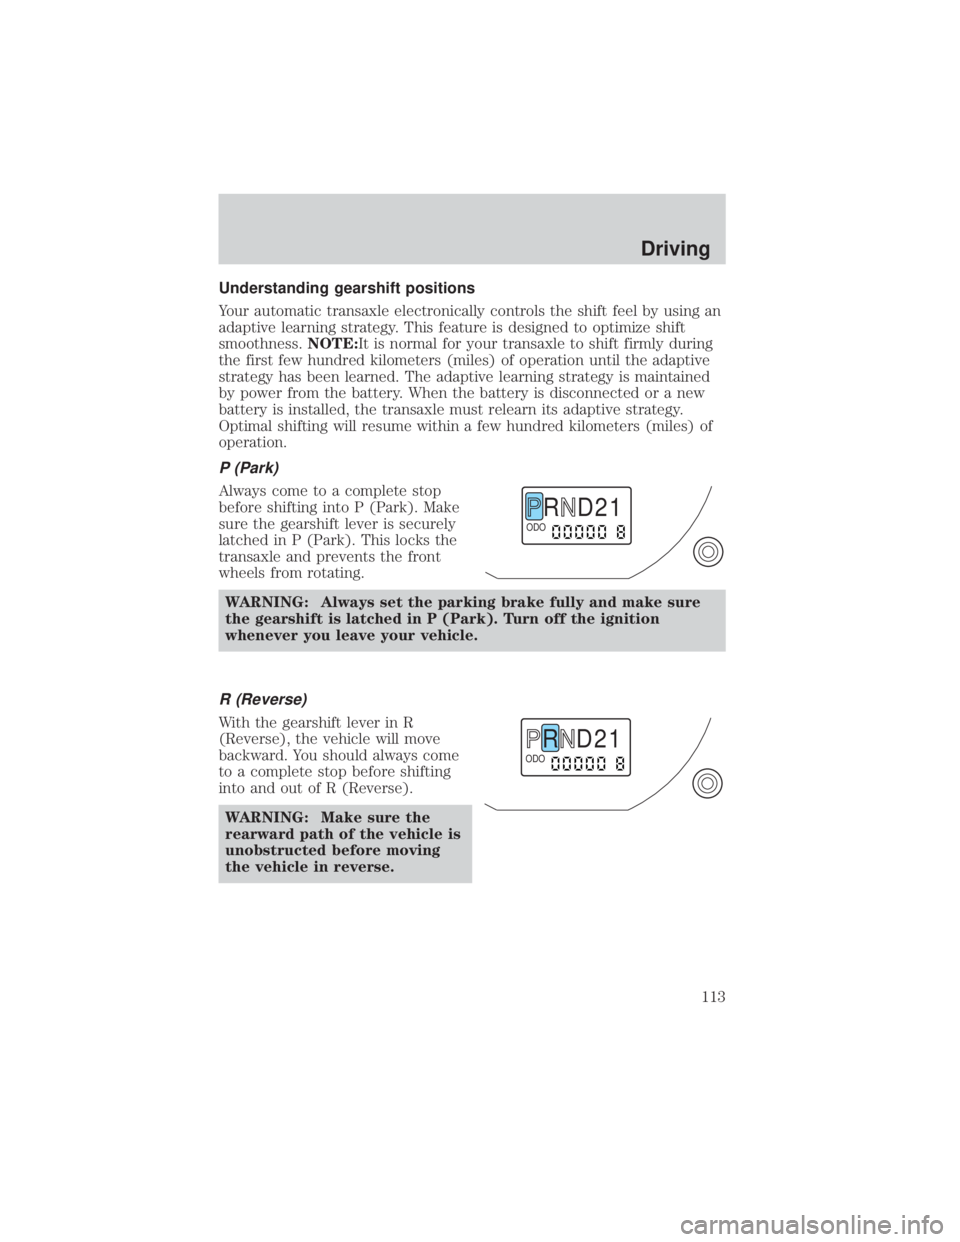
P (Park)
Always come to a complete stop
before shifting into P (Park). Make
sure the gearshift lever is securely
latched in P (Park). This locks the
transaxle and prevents the front
wheels from rotating.
WARNING: Always set the parking brake fully and make sure
the gearshift is latched in P (Park). Turn off the ignition
whenever you leave your vehicle.
R (Reverse)
With the gearshift lever in R
(Reverse), the vehicle will move
backward. You should always come
to a complete stop before shifting
into and out of R (Reverse).WARNING: Make sure the
rearward path of the vehicle is
unobstructed before moving
the vehicle in reverse.
R D 2 1ODO
R D 2 1ODO
Driving
113
Page 116 of 232

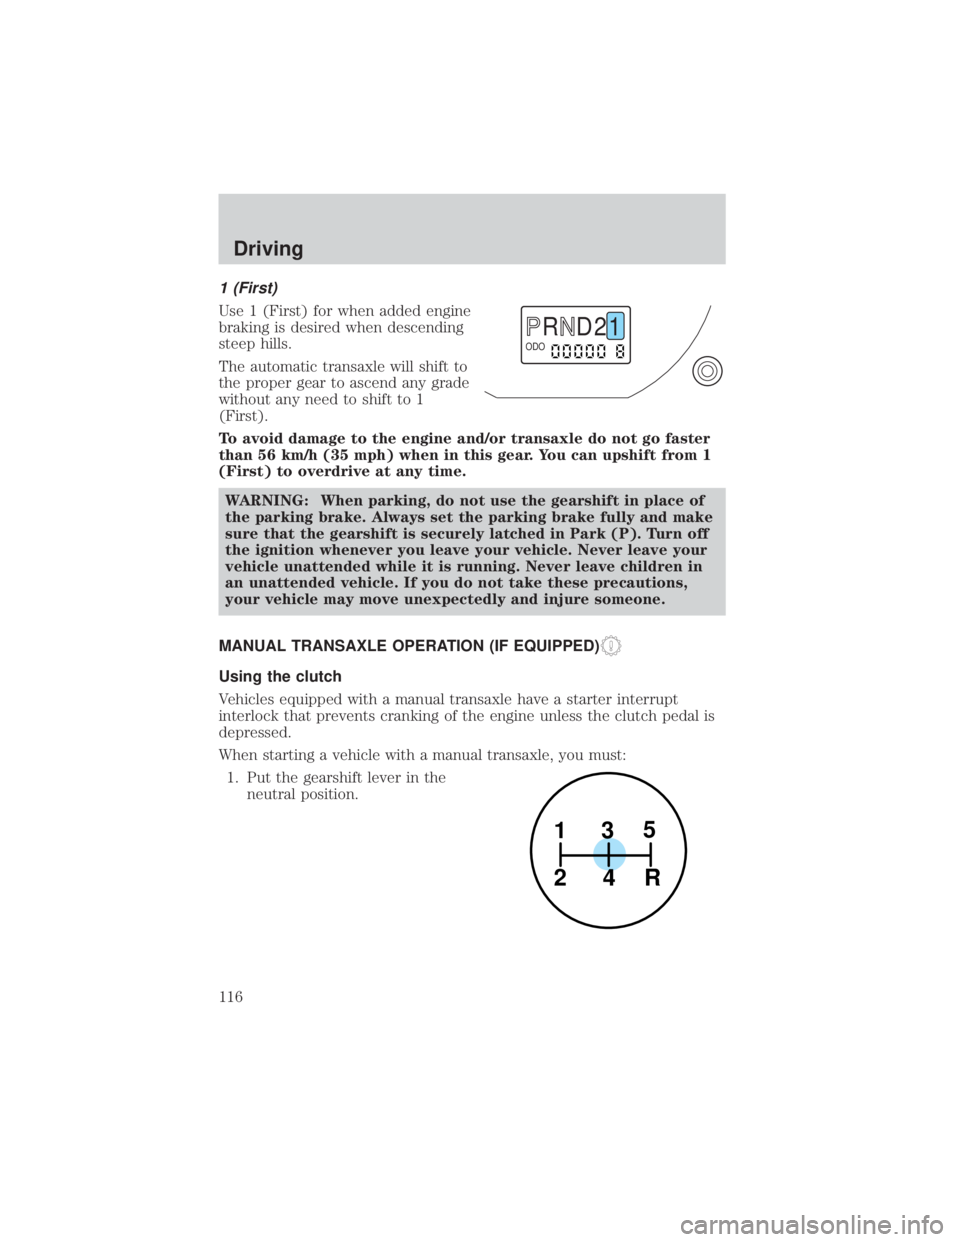
1 (First)
Use 1 (First) for when added engine
braking is desired when descending
steep hills.
The automatic transaxle will shift to
the proper gear to ascend any grade
without any need to shift to 1
(First).
To avoid damage to the engine and/or transaxle do not go faster
than 56 km/h (35 mph) when in this gear. You can upshift from 1
(First) to overdrive at any time.WARNING: When parking, do not use the gearshift in place of
the parking brake. Always set the parking brake fully and make
sure that the gearshift is securely latched in Park (P). Turn off
the ignition whenever you leave your vehicle. Never leave your
vehicle unattended while it is running. Never leave children in
an unattended vehicle. If you do not take these precautions,
your vehicle may move unexpectedly and injure someone.
MANUAL TRANSAXLE OPERATION (IF EQUIPPED)
Using the clutch
Vehicles equipped with a manual transaxle have a starter interrupt
interlock that prevents cranking of the engine unless the clutch pedal is
depressed.
When starting a vehicle with a manual transaxle, you must: 1. Put the gearshift lever in the neutral position.
R D 2 1ODO
1
24R 3
5
Driving
116
Page 117 of 232
2. Hold down the brake pedal.
3. Depress the clutch pedal.
4. Without depressing theaccelerator pedal, turn the
ignition to position 4 (START),
release the ignition as soon as
the engine starts.
5. Let the engine idle for a few seconds.
6. Release the brake pedal, then slowly release the clutch pedal
while pressing down slowly on
the accelerator pedal.
Do not drive with your foot resting on the clutch pedal and do
not use the clutch pedal to hold your vehicle at a standstill while
waiting on a hill. These actions will seriously reduce clutch life.
Recommended shift speeds
Upshift according to the following charts for best fuel economy:
Upshifts when accelerating (recommended for best fuel economy)
1-2 22 km/h (14 mph)
2-3 40 km/h (25 mph)
3-4 55 km/h (34 mph)
4-5 70 km/h (44 mph)
Upshifts when cruising (recommended for best fuel economy)
1-2 19 km/h (12 mph)
2-3 31 km/h (19 mph)
3-4 46 km/h (29 mph)
4-5 61 km/h (38 mph)
4
3
2
1
Driving
117