Page 16 of 319
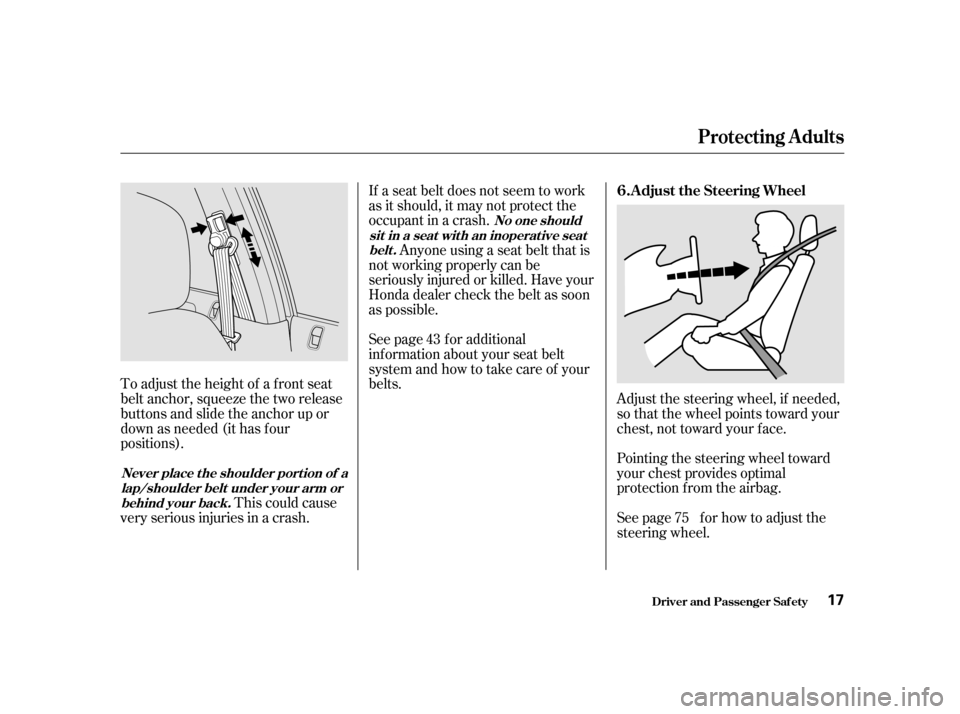
Adjust the steering wheel, if needed,
so that the wheel points toward your
chest, not toward your f ace.
Pointing the steering wheel toward
your chest provides optimal
protection f rom the airbag.
See page f or how to adjust the
steering wheel.
If a seat belt does not seem to work
as it should, it may not protect the
occupant in a crash.
Anyone using a seat belt that is
not working properly can be
seriously injured or killed. Have your
Honda dealer check the belt as soon
as possible.
See page f or additional
inf ormation about your seat belt
system and how to take care of your
belts.
To adjust the height of a f ront seat
belt anchor, squeeze the two release
buttons and slide the anchor up or
down as needed (it has f our
positions).
This could cause
very serious injuries in a crash. 43
75
A djust the Steering Wheel
6.
No one should
sit in a seat wit h an inoperat ive seat belt.
Never place t he shoulder port ion of a lap/shoulder belt under your arm orbehind your back.
Protecting Adults
Driver and Passenger Saf ety 17
Page 43 of 319
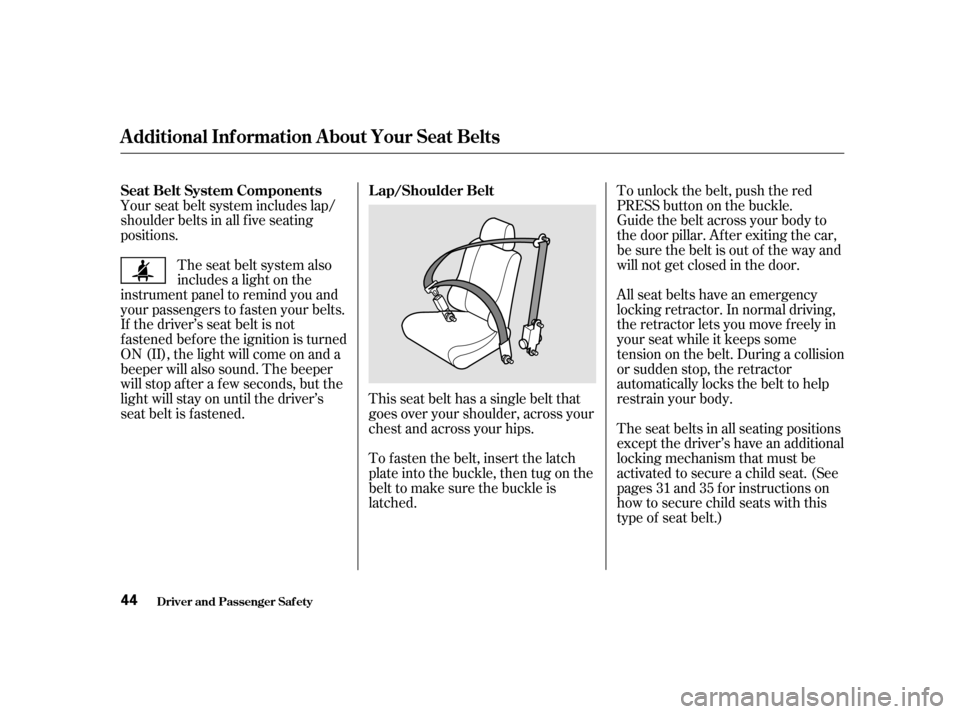
This seat belt has a single belt that
goes over your shoulder, across your
chest and across your hips.
Your seat belt system includes lap/
shoulder belts in all f ive seating
positions.
The seat belt system also
includes a light on the
instrument panel to remind you and
your passengers to f asten your belts.
If the driver’s seat belt is not
fastened before the ignition is turned
ON (II), the light will come on and a
beeper will also sound. The beeper
will stop af ter a f ew seconds, but the
light will stay on until the driver’s
seat belt is f astened.
The seat belts in all seating positions
except the driver’s have an additional
locking mechanism that must be
activated to secure a child seat. (See
pages and f or instructions on
how to secure child seats with this
type of seat belt.)
All seat belts have an emergency
locking retractor. In normal driving,
the retractor lets you move f reely in
your seat while it keeps some
tension on the belt. During a collision
or sudden stop, the retractor
automatically locks the belt to help
restrain your body.
Guide the belt across your body to
the door pillar. Af ter exiting the car,
be sure the belt is out of the way and
will not get closed in the door.
To unlock the belt, push the red
PRESSbuttononthebuckle.
To fasten the belt, insert the latch
plate into the buckle, then tug on the
belt to make sure the buckle is
latched. 31 35
Seat Belt System Components L ap/Shoulder Belt
Additional Inf ormation About Your Seat Belts
Driver and Passenger Saf ety
44
Page 53 of 319

Push the button.
Select the mode.
Turn the f an on high speed.
Set the temperature control to a
comfortable setting.
High levels of carbon monoxide can
collect rapidly in enclosed areas,
such as a garage. Do not run the
engine with the garage door closed.
Even with the door open, run the
engine only long enough to move the
vehicle out of the garage.
Your car’s exhaust contains carbon
monoxide gas. You should have no
problem with carbon monoxide
entering the car in normal driving if
you maintain your car properly.
Have the exhaust system inspected
f or leaks whenever:
The car is raised f or an oil change.
You notice a change in the sound
of the exhaust.
Thecarwasinanaccidentthat
may have damaged the underside. If you must sit in your parked car,
even in an unconf ined area, with the
engine running, adjust the heating
and cooling system as f ollows:
With the trunk lid open, air f low can
pull exhaust gas into your car’s
interior and create a hazardous
condition. If you must drive with the
trunk lid open, open all the windows
and set the heating and cooling
system as shown below. 1. 2.3.4.
Carbon Monoxide Hazard
Driver and Passenger Saf ety
54 Carbon monoxide gas is toxic.
Breathing it can cause
unconsciousness and even killyou.
Avoid any enclosed areas or
activities that expose you to
carbon monoxide.
Page 64 of 319
Your dealer will reset this indicator
af ter completing the scheduled
maintenance. If this maintenance is
done by someone other than your
Honda dealer, reset the indicator as
f ollows.Turn of f the engine.
Press and hold the select/reset
button in the instrument panel,
then turn the ignition switch ON
(II).
Hold the button until the indicator
resets (approximately ten
seconds).
1.
2. 3.
Indicator L ights
Inst rument s and Cont rols65
Page 66 of 319

This shows how much f uel you have.
It is most accurate when the car is on
level ground. It may show slightly
more or less than the actual amount
whenyouaredrivingoncurvyor
hilly roads.The needle returns to the bottom
after you turn off the ignition. The
gauge shows the f uel level reading
immediately af ter you turn the
ignition switch back ON (II).
This meter shows the number of
miles (U.S.) or kilometers (Canada)
driven since you last reset it.
To reset a trip meter, display it, and
then press and hold the Select/Reset
button until the number resets to‘‘0.0’’.
There are two trip meters: Trip A
and Trip B. Switch between these
displays and the odometer by
pressing the Select/Reset button
repeatedly. Each trip meter works
independently, so you can keep track
of two dif f erent distances.
Gauges
Inst rument s and Cont rols
Trip Meter
Fuel Gauge
DX
67
FFUUEELLGGAAUUGGEETTEEMMPPEERRAATTUURREEGGAAUUGGEE
OODDOOMMEETTEERR//TTRRIIPPMMEETTEERR
SSPPEEEEDDOOMMEETTEERR
SSEELLEECCTT//RREESSEETTBBUUTTTTOONN
Page 73 of 319
Make sure the rear window is clear
and you have good visibility bef ore
starting to drive.
The def ogger and antenna wires on
the inside of the rear window can be
accidentally damaged. When
cleaning the glass, always wipe side
to side.
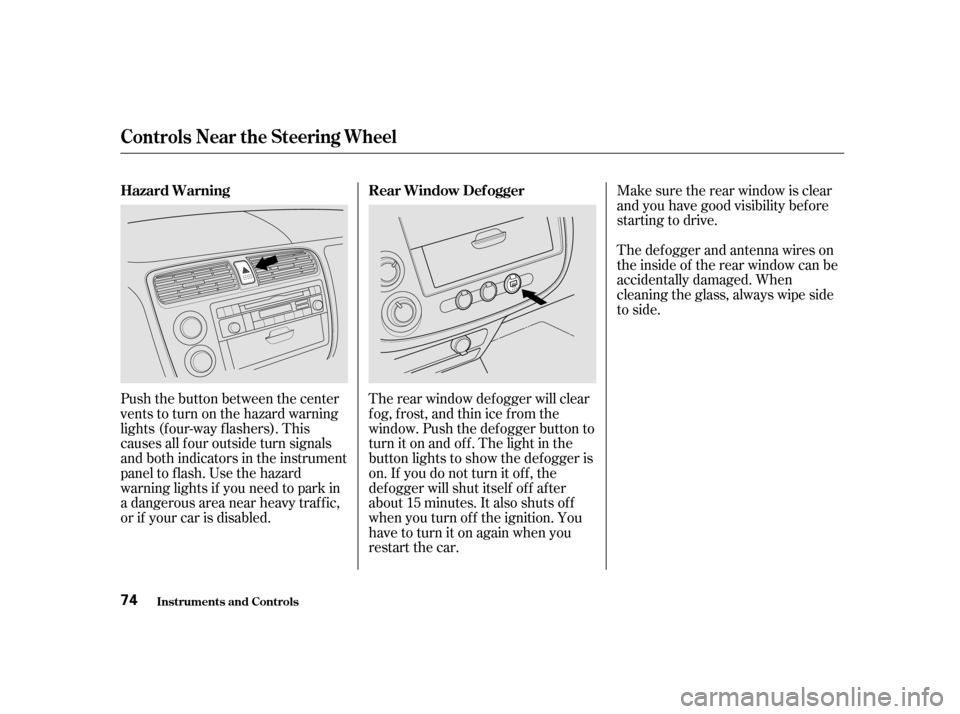
Push the button between the center
vents to turn on the hazard warning
lights (f our-way f lashers). This
causes all f our outside turn signals
and both indicators in the instrument
panel to f lash. Use the hazard
warning lights if you need to park in
a dangerous area near heavy traffic,
or if your car is disabled. The rear window def ogger will clear
fog, frost, and thin ice from the
window. Push the def ogger button to
turn it on and of f . The light in the
button lights to show the def ogger is
on. If you do not turn it of f , the
def ogger will shut itself of f af ter
about15minutes.Italsoshutsoff
when you turn of f the ignition. You
have to turn it on again when you
restart the car.
Controls Near the Steering Wheel
Inst rument s and Cont rolsRear Window Def ogger
Hazard Warning 74
Page 76 of 319
CONT INUED
You can increase the set cruising
speed in any of these ways:Press and hold the RESUME/
accel button. The car will acceler-
ate. When you reach the desired
cruising speed, release the button.
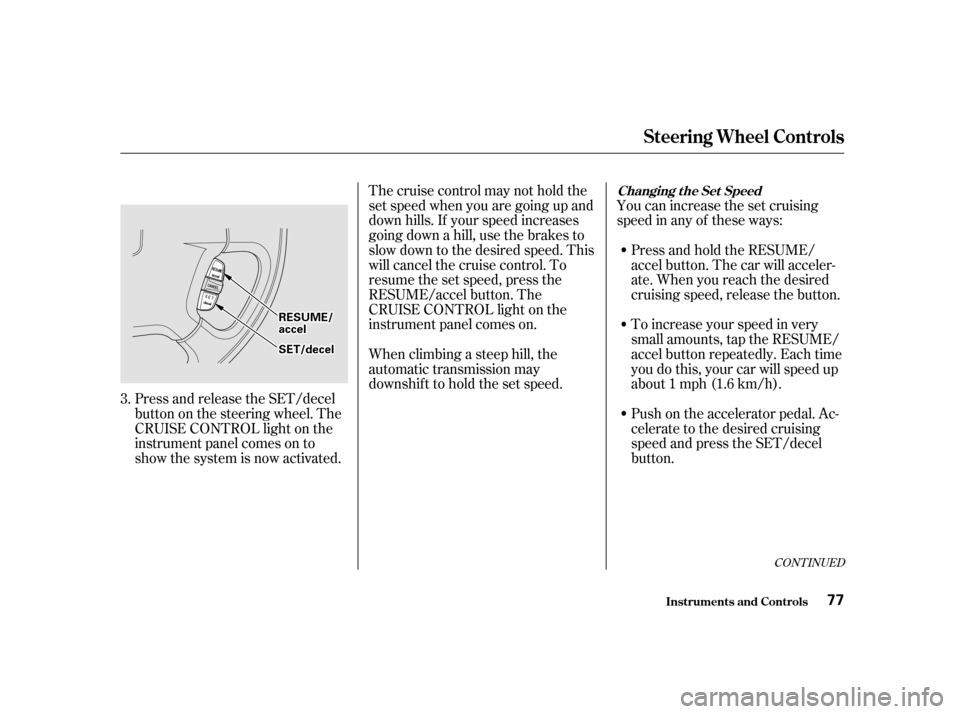
Press and release the SET/decel
buttononthesteeringwheel.The
CRUISE CONTROL light on the
instrument panel comes on to
show the system is now activated. Thecruisecontrolmaynotholdthe
set speed when you are going up and
down hills. If your speed increases
going down a hill, use the brakes to
slow down to the desired speed. This
will cancel the cruise control. To
resume the set speed, press the
RESUME/accel button. The
CRUISE CONTROL light on the
instrument panel comes on.
When climbing a steep hill, the
automatic transmission may
downshif t to hold the set speed.
To increase your speed in very
small amounts, tap the RESUME/
accel button repeatedly. Each time
you do this, your car will speed up
about 1 mph (1.6 km/h).
Push on the accelerator pedal. Ac-
celerate to the desired cruising
speed and press the SET/decel
button.
3.
Steering Wheel Controls
Inst rument s and Cont rols
Changing t he Set Speed
77
RREESSUUMMEE//aacccceell
SSEETT//ddeecceell
Page 77 of 319
Even with the cruise control turned
on, you can still use the accelerator
pedal to speed up f or passing. Af ter
completing the pass, take your foot
of f the accelerator pedal. The car
will return to the set cruising speed.
Resting your f oot on the brake or
clutch pedal will cause the cruise
control to cancel.
You can decrease the set cruising
speed in any of these ways:
Press and hold the SET/decel
button. The car will decelerate.
Release the button when you
reach the desired speed.
To slow down in very small
amounts, tap the SET/decel
button repeatedly. Each time you
do this, your car will slow down
about 1 mph (1.6 km/h).
Tap the brake or clutch pedal
lightly with your f oot. The
CRUISE CONTROL light on the
instrument panel will go out.
When the car slows to the desired
speed, press the SET/decel button.
The car will then maintain the
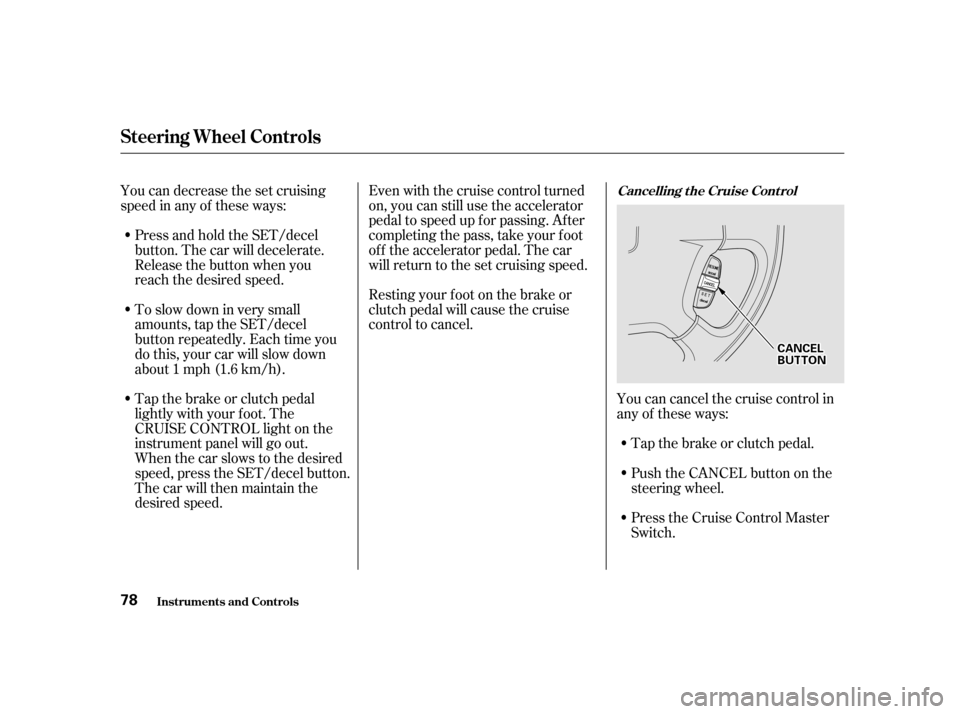
desired speed. Tap the brake or clutch pedal.
Youcancancelthecruisecontrolin
any of these ways:
Push the CANCEL button on the
steering wheel.
Press the Cruise Control Master
Switch.
Inst rument s and Cont rols
Steering Wheel Controls
Cancelling t he Cruise Cont rol
78
CCAANNCCEELLBBUUTTTTOONN