Page 128 of 412
2-51
The main components of your instrument panel are the following:
A. Lamp Controls
B. Air Vents
C. Instrument Panel Cluster
D. Comfort Controls System
E. Audio System
F. Turn Signal/Multifunction LeverG. Horn
H. Convenience Tray
I. Cigarette Lighter
J. Cupholder
K. Ashtray
Page 129 of 412
2-52
Instrument Panel Cluster
United States version shown, Canada similar
Your instrument panel cluster is designed to let you know at a glance how your vehicle is running. You'll know how fast
you're going, how much fuel you're using, and many other things you'll need to know to drive safely and economically.
Page 132 of 412

2-55 Safety Belt Reminder Light
When the key is turned to RUN or START, a tone will
come on for about eight seconds to remind people to
fasten their safety belts, unless the driver's safety belt is
already buckled.
The safety belt light will
also come on and stay on
for about 20 seconds,
then it will flash for
about 55 seconds.
If the driver's belt is already buckled, neither the tone
nor the light will come on.
Air Bag Readiness Light
There is an air bag readiness light on the instrument
panel, which shows AIR BAG or the air bag symbol.
The system checks the air bag's electrical system for
malfunctions. The light tells you if there is an electrical
problem. The system check includes the air bag sensor,
the air bag modules, the wiring and the crash sensing
and diagnostic module. For more information on the
air bag system, see ªAir Bagº in the Index.
United States Canada
This light will come on when you start your vehicle, and it
will flash for a few seconds. Then the light should go out.
This means the system is ready.
If the air bag readiness light stays on after you start the
vehicle or comes on when you are driving, your air bag
system may not work properly. Have your vehicle
serviced right away.
Page 143 of 412
2-66 Daytime Running Lamps Indicator Light
You have this light on the
instrument panel. It will
light whenever the DRL are
on. It is also a reminder to
turn on your headlamps
when driving at night.
Check Gages Light
The CHECK GAGES light
will come on briefly when
you are starting the engine.
If the light comes on and stays on while you are driving,
check your coolant temperature and engine oil pressure
gages to see if they are in the warning zones.
Page 146 of 412

3-2
Comfort Controls
This section tells you how to make your air system
work for you.
With these systems, you can control the heating, cooling
and ventilation in your vehicle.
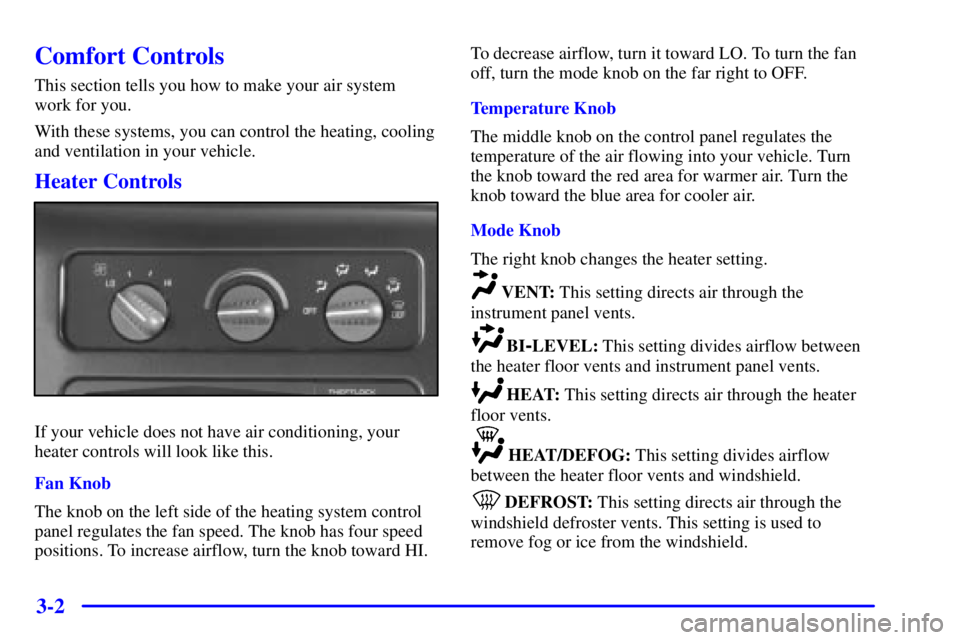
Heater Controls
If your vehicle does not have air conditioning, your
heater controls will look like this.
Fan Knob
The knob on the left side of the heating system control
panel regulates the fan speed. The knob has four speed
positions. To increase airflow, turn the knob toward HI.To decrease airflow, turn it toward LO. To turn the fan
off, turn the mode knob on the far right to OFF.
Temperature Knob
The middle knob on the control panel regulates the
temperature of the air flowing into your vehicle. Turn
the knob toward the red area for warmer air. Turn the
knob toward the blue area for cooler air.
Mode Knob
The right knob changes the heater setting.
VENT: This setting directs air through the
instrument panel vents.
BI-LEVEL: This setting divides airflow between
the heater floor vents and instrument panel vents.
HEAT: This setting directs air through the heater
floor vents.
HEAT/DEFOG: This setting divides airflow
between the heater floor vents and windshield.
DEFROST: This setting directs air through the
windshield defroster vents. This setting is used to
remove fog or ice from the windshield.
Page 148 of 412

3-4
A/C: This setting is used for normal cooling on hot
days. It cools outside air and directs it through the
instrument panel outlets.
BI-LEVEL A/C: This setting divides airflow
between the heater floor vents and instrument panel
vents. The air conditioning compressor will cycle
continuously in this setting as long as the outside air
temperature is warm enough to activate the compressor.
VENT: This setting directs air through the
instrument panel vents.
HEAT: This setting directs air through the heater
floor vents. It is useful for cold weather.
HEAT/DEFOG: This setting divides airflow
between the heater floor vents and the windshield. In the
blended position, the air conditioning compressor is
automatically activated to dehumidify the air.
DEFROST: This setting directs air through the
windshield defroster vents. It is useful when you have
fog or ice on the windshield.
Rear Heater (Without Air Conditioning)
(If Equipped)
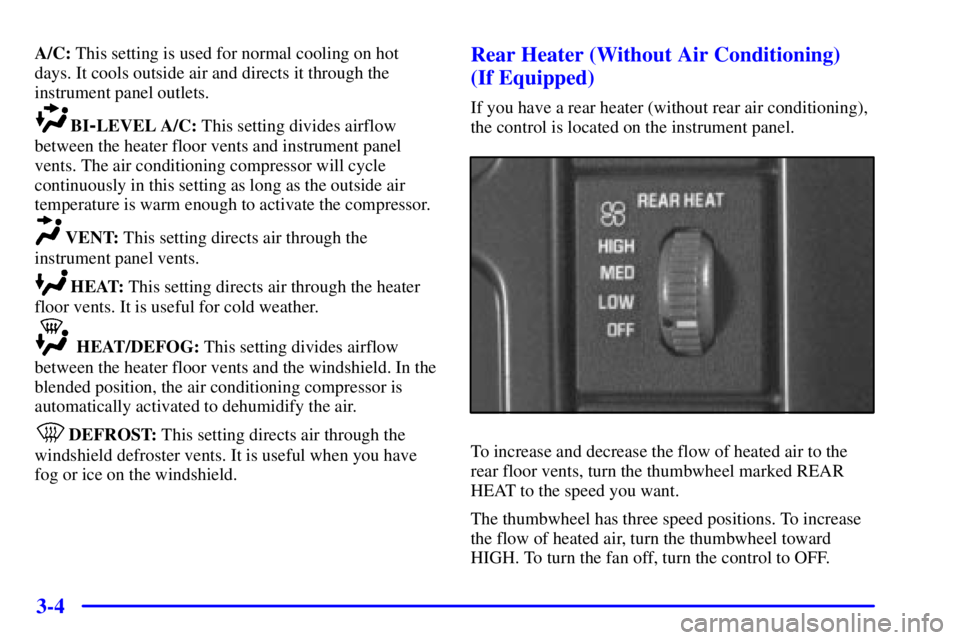
If you have a rear heater (without rear air conditioning),
the control is located on the instrument panel.
To increase and decrease the flow of heated air to the
rear floor vents, turn the thumbwheel marked REAR
HEAT to the speed you want.
The thumbwheel has three speed positions. To increase
the flow of heated air, turn the thumbwheel toward
HIGH. To turn the fan off, turn the control to OFF.
Page 152 of 412

3-8
Do not attach a temporary vehicle license, tape or decals
across the defogger grid on the rear windows. Use care
not to damage the wiring bands that connect the rear
window defogger grid when operating the rear
swing
-out windows (if equipped).
NOTICE:
Don't use a razor blade or something else sharp
on the inside of the rear window. If you do, you
could cut or damage the warming grid, and the
repairs wouldn't be covered by your warranty.
Ventilation System
For mild outside temperatures when little heating or
cooling is needed, use VENT to direct outside air
through your vehicle. Air will flow through the
instrument panel vents.
Your vehicle's flow
-through ventilation system supplies
outside air to the inside of your vehicle when it is
moving. With the side windows closed, air will flow into
the front air inlet grilles at the base of the windshield,
through the vehicle and out the rear air exhaust valve.
Outside air will also enter the vehicle when the heater or
the air conditioning fan is running.
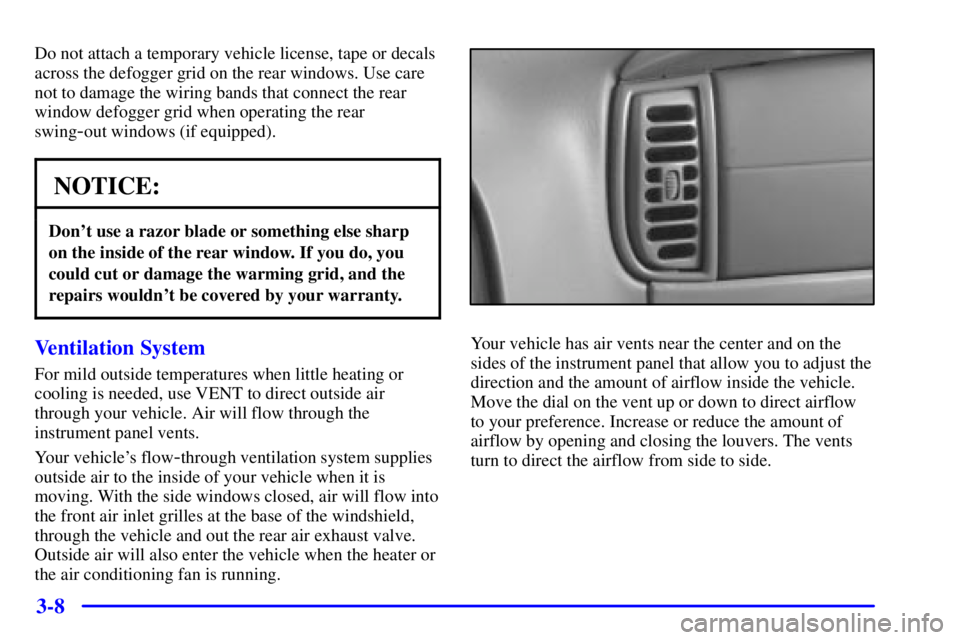
Your vehicle has air vents near the center and on the
sides of the instrument panel that allow you to adjust the
direction and the amount of airflow inside the vehicle.
Move the dial on the vent up or down to direct airflow
to your preference. Increase or reduce the amount of
airflow by opening and closing the louvers. The vents
turn to direct the airflow from side to side.
Page 153 of 412

3-9
When you close a vent, it will increase the flow of air
coming out of any vents that are open.
If you have rear heating or rear air conditioning, you
will have adjustable vents in the rear of the vehicle to
help direct the airflow. The rear air conditioning vents
are located in the headliner at the rear of the vehicle.
The rear heating vents are located next to the second
and third seat on the driver's side of the vehicle, near
the floor. You can move the vents to direct the flow of
air, or close the vents altogether. When you close a vent,
it will increase the flow of air coming out of any vents
that are open.Ventilation Tips
�Keep the hood and front air inlet free of ice, snow, or
any other obstruction (such as leaves). The heater
and defroster will work far better, reducing the
chance of fogging the inside of your windows.
�When you enter a vehicle in cold weather, turn the
blower fan to HI for a few moments before driving
off. This helps clear the intake ducts of snow and
moisture, and reduces the chance of fogging the
inside of your windows.
�Keep the air path under the front seats clear of
objects. This helps air to circulate throughout
your vehicle.
Your vehicle has air vents in the center and on the sides
of your instrument panel.
You can move the vents from side to side or up and
down to direct the flow of air, or close the vents
altogether. When you close a vent, it will increase the
flow of air coming out of any vents that are open.