2001 FORD WINDSTAR parking brake
[x] Cancel search: parking brakePage 10 of 288
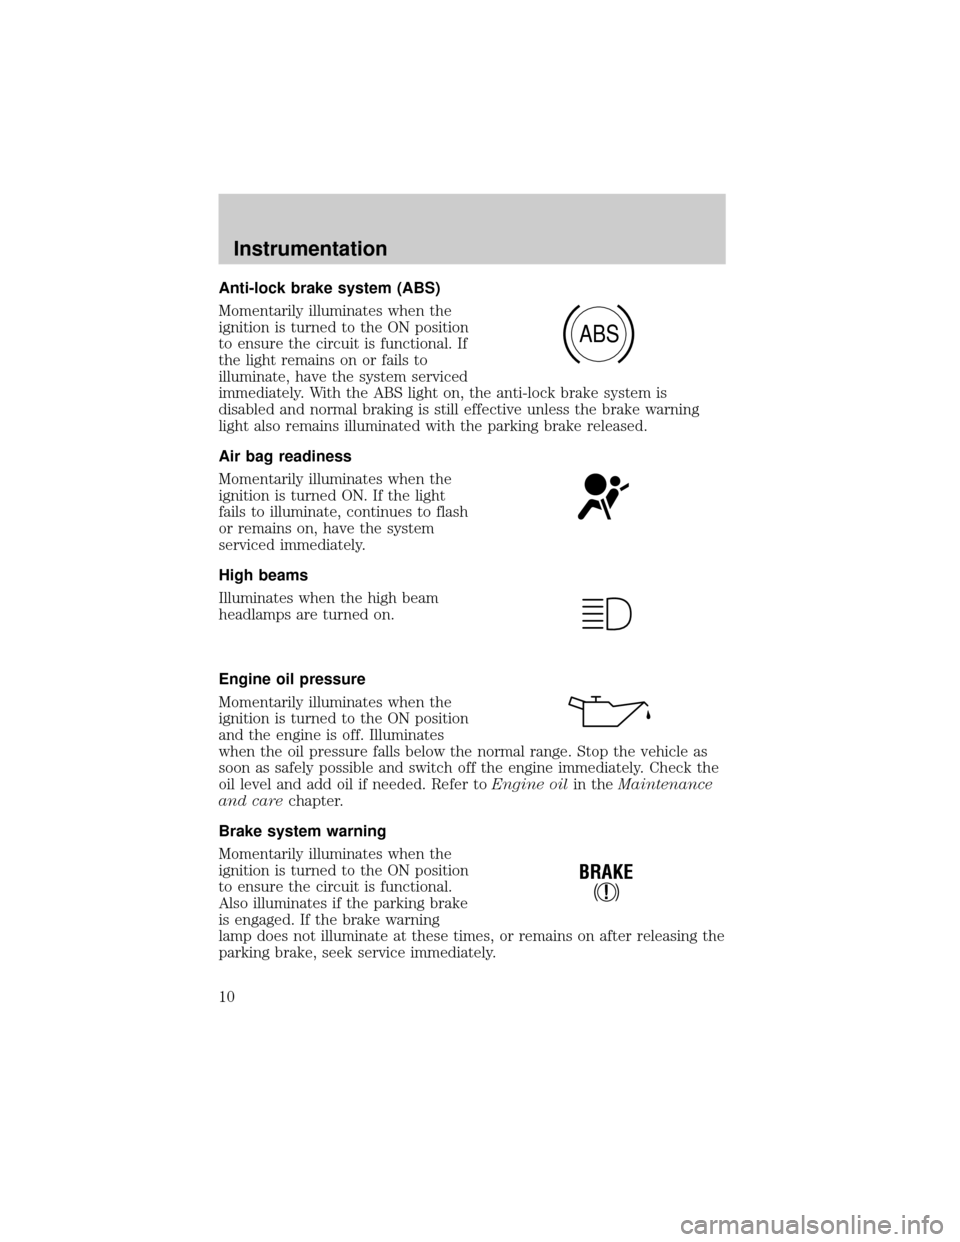
Anti-lock brake system (ABS)
Momentarily illuminates when the
ignition is turned to the ON position
to ensure the circuit is functional. If
the light remains on or fails to
illuminate, have the system serviced
immediately. With the ABS light on, the anti-lock brake system is
disabled and normal braking is still effective unless the brake warning
light also remains illuminated with the parking brake released.
Air bag readiness
Momentarily illuminates when the
ignition is turned ON. If the light
fails to illuminate, continues to flash
or remains on, have the system
serviced immediately.
High beams
Illuminates when the high beam
headlamps are turned on.
Engine oil pressure
Momentarily illuminates when the
ignition is turned to the ON position
and the engine is off. Illuminates
when the oil pressure falls below the normal range. Stop the vehicle as
soon as safely possible and switch off the engine immediately. Check the
oil level and add oil if needed. Refer toEngine oilin theMaintenance
and carechapter.
Brake system warning
Momentarily illuminates when the
ignition is turned to the ON position
to ensure the circuit is functional.
Also illuminates if the parking brake
is engaged. If the brake warning
lamp does not illuminate at these times, or remains on after releasing the
parking brake, seek service immediately.
ABS
!
BRAKE
Instrumentation
10
Page 14 of 288
Belt minder chime
Sounds intermittently to remind you to fasten your safety belts.
For information on the safety belt minder chime, refer to theSeating
and safety restraintschapter.
Supplemental restraint system (SRS) warning chime
For information on the SRS warning chime, refer to theSeating and
safety restraintschapter.
Key-in-ignition warning chime
Sounds when the key is left in the ignition in the OFF/LOCK or ACC
position and the driver's door is opened.
Headlamps on warning chime
Sounds when the headlamps or parking lamps are on, the ignition is off
(and the key is not in the ignition) and the driver's door is opened.
Turn signal chime
Sounds when the turn signal lever has been activated to signal a turn
and not turned off after the vehicle is driven more than 0.8 km (1/2
mile).
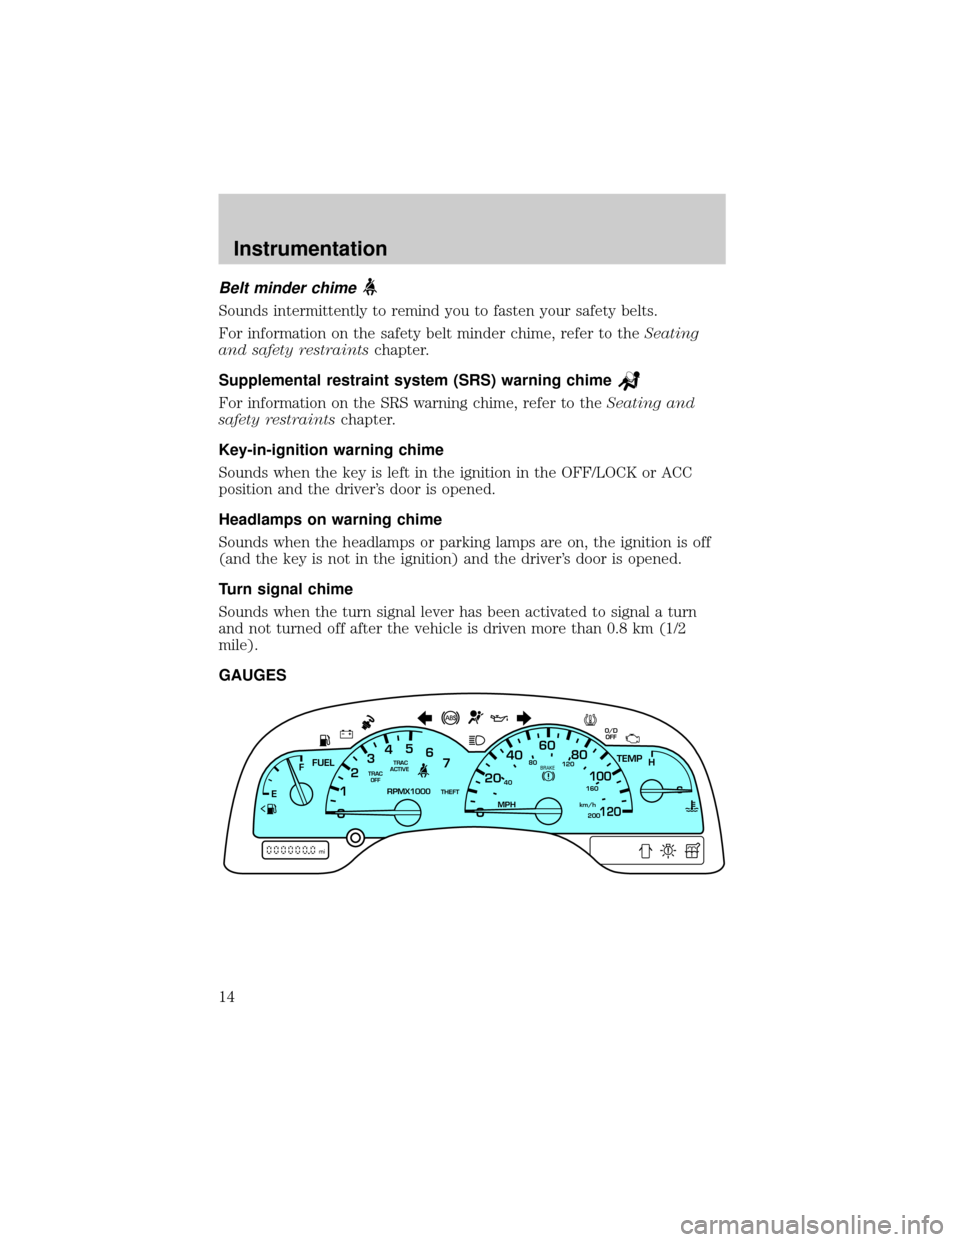
GAUGES
40
4080
120
160
20020
12345
6
760
80100
120MPH RPMX1000 THEFT
TRAC
ACTIVE TRAC
OFFTEMP
H
FFUEL
E
km/h
BRAKE
mi
O/D
OFF
Instrumentation
14
Page 142 of 288
One time disable
Anytime the safety belt is buckled and then unbuckled during an ignition
ON cycle, Belt Minder will be disabled for that ignition cycle only.
Deactivating/activating the belt minder feature
Read steps1-9thoroughly before proceeding with the
deactivation/activation programming procedure.
The Belt Minder feature can be deactivated/activated by performing the
following procedure:
Before following the procedure, make sure that:
²the parking brake is set
²the gearshift is in P (Park) (automatic transmission).
²the ignition switch is in the OFF position
²all vehicle doors are closed
²the driver's safety belt is unbuckled
²the parklamps/headlamps are in OFF position (If vehicle is equipped
with Autolamps, this will not affect the procedure.)
To reduce the risk of injury, do not deactivate/activate the Belt
Minder feature while driving the vehicle.
1. Turn the ignition switch to the RUN (or ON) position. (DO NOT
START THE ENGINE)
2. Wait until the safety belt warning light turns off. (Approximately 1
minute)
²Steps 3±5 must be completed within 60 seconds or the procedure will
have to be repeated.
3. Buckle then unbuckle the safety belt three times, ending with the
safety belt unbuckled. This can be done before or during Belt Minder
warning activation.
4. Turn on the parklamps/headlamps, turn off the parklamps/headlamps.
5. Buckle then unbuckle the safety belt three times, ending with the
safety belt unbuckled.
²After step 5 the safety belt warning light will be turned on for three
seconds.
Seating and safety restraints
142
Page 164 of 288
2. Make sure the headlamps and vehicle accessories are off.
3. Make sure the gearshift is in P
(Park).
4. Make sure the parking brake is
set.
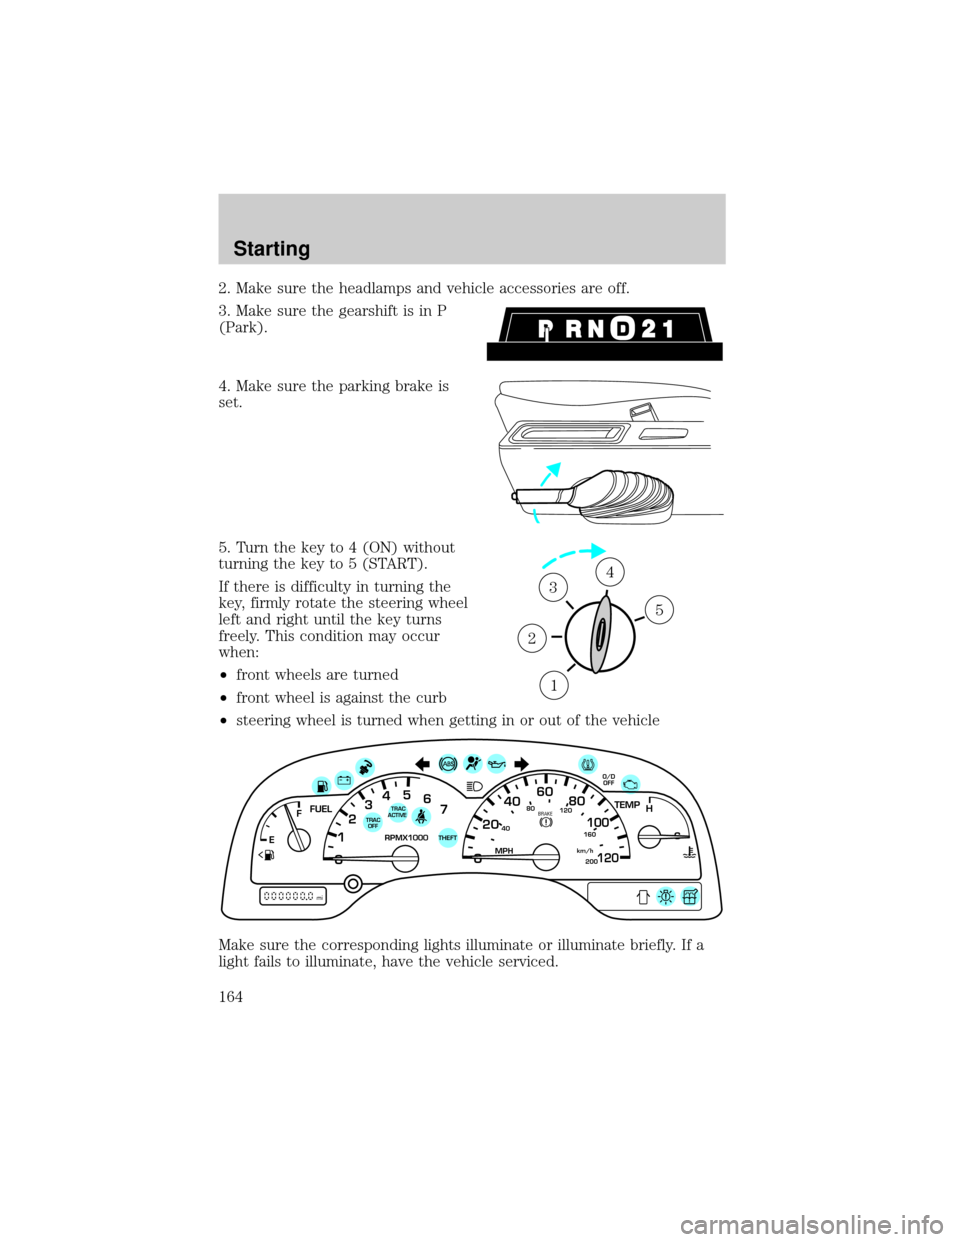
5. Turn the key to 4 (ON) without
turning the key to 5 (START).
If there is difficulty in turning the
key, firmly rotate the steering wheel
left and right until the key turns
freely. This condition may occur
when:
²front wheels are turned
²front wheel is against the curb
²steering wheel is turned when getting in or out of the vehicle
Make sure the corresponding lights illuminate or illuminate briefly. If a
light fails to illuminate, have the vehicle serviced.
1
2
34
5
40
4080
120
160
20020
12345
6
760
80100
120MPH RPMX1000 THEFT
TRAC
ACTIVE TRAC
OFFTEMP
H
FFUEL
E
km/h
BRAKE
mi
O/D
OFF
Starting
164
Page 165 of 288
²If the driver's safety belt is fastened, thelight may not illuminate.
²When the key is turned to the 4 (ON) position, the fuel pump is
actuated for a few seconds equalizing the fuel pressure for proper
starting.
STARTING THE ENGINE
NOTE:Whenever you start your vehicle, release the key as soon as the
engine starts. Excessive cranking could damage the starter.
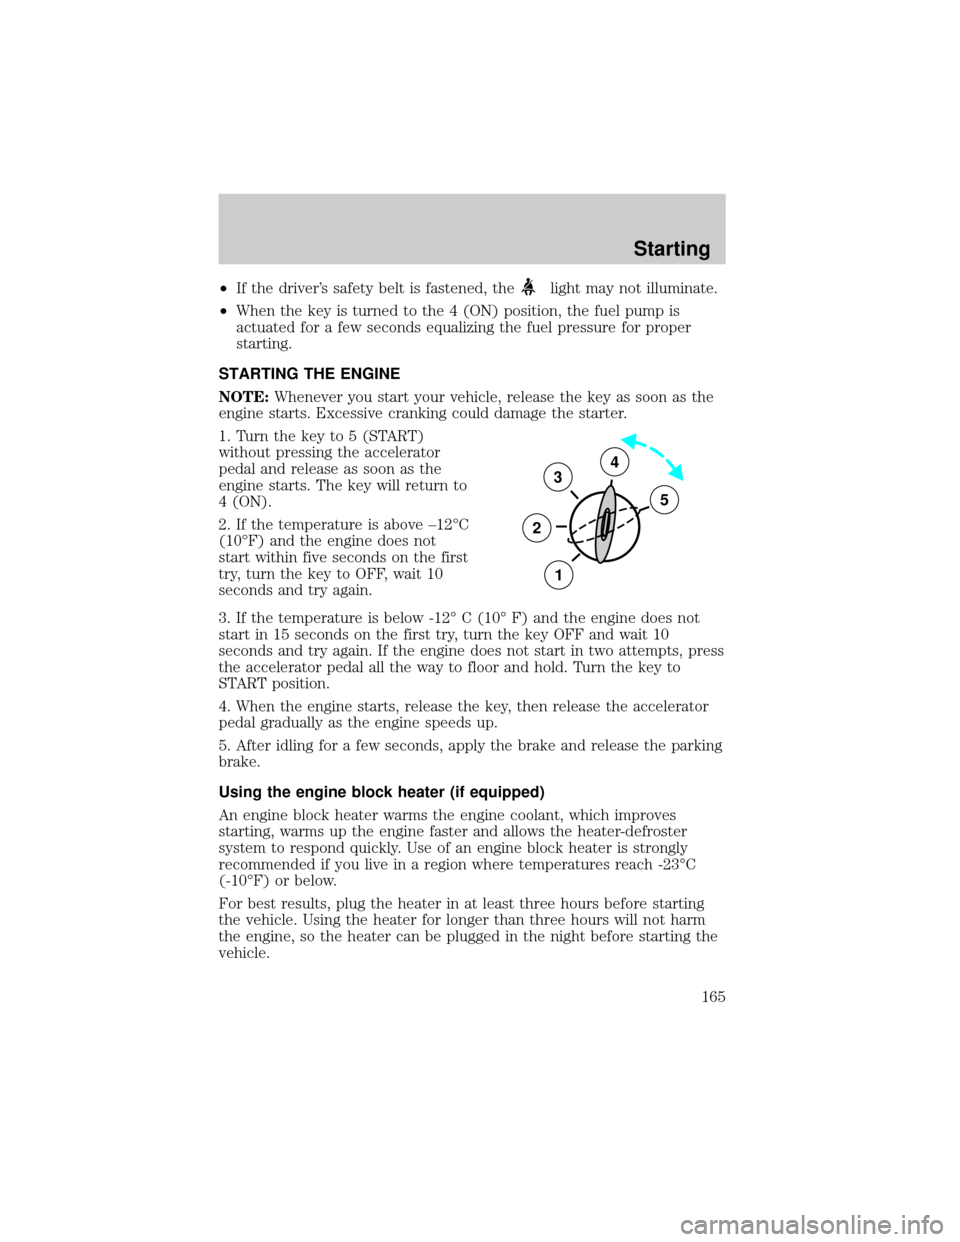
1. Turn the key to 5 (START)
without pressing the accelerator
pedal and release as soon as the
engine starts. The key will return to
4 (ON).
2. If the temperature is above ±12ÉC
(10ÉF) and the engine does not
start within five seconds on the first
try, turn the key to OFF, wait 10
seconds and try again.
3. If the temperature is below -12É C (10É F) and the engine does not
start in 15 seconds on the first try, turn the key OFF and wait 10
seconds and try again. If the engine does not start in two attempts, press
the accelerator pedal all the way to floor and hold. Turn the key to
START position.
4. When the engine starts, release the key, then release the accelerator
pedal gradually as the engine speeds up.
5. After idling for a few seconds, apply the brake and release the parking
brake.
Using the engine block heater (if equipped)
An engine block heater warms the engine coolant, which improves
starting, warms up the engine faster and allows the heater-defroster
system to respond quickly. Use of an engine block heater is strongly
recommended if you live in a region where temperatures reach -23ÉC
(-10ÉF) or below.
For best results, plug the heater in at least three hours before starting
the vehicle. Using the heater for longer than three hours will not harm
the engine, so the heater can be plugged in the night before starting the
vehicle.
3
2
1
5
4
Starting
165
Page 168 of 288
ABS warning lampABS
TheABSwarning lamp in the instrument cluster momentarily illuminates
when the ignition is turned to the ON position. If the light does not
illuminate momentarily at start up or remains on the ABS needs to be
serviced.
With the ABS light on, the anti-lock
brake system is disabled and normal
braking is still effective unless the
brake warning light also remains
illuminated with parking brake
released. (If your brake warning lamp illuminates, have your vehicle
serviced immediately.)
Using ABS
²In an emergency or when maximum efficiency from the four wheel
ABS is required, apply continuous force on the brake. The four wheel
ABS will be activated immediately, thus allowing you to retain full
steering control of your vehicle and, providing there is sufficient
space, will enable you to avoid obstacles and bring the vehicle to a
controlled stop.
²The Anti-Lock system does not decrease the time necessary to apply
the brakes or always reduce stopping distance. Always leave enough
room between your vehicle and the vehicle in front of you to stop.
²We recommend that you familiarize yourself with this braking
technique. However, avoid taking any unnecessary risks.
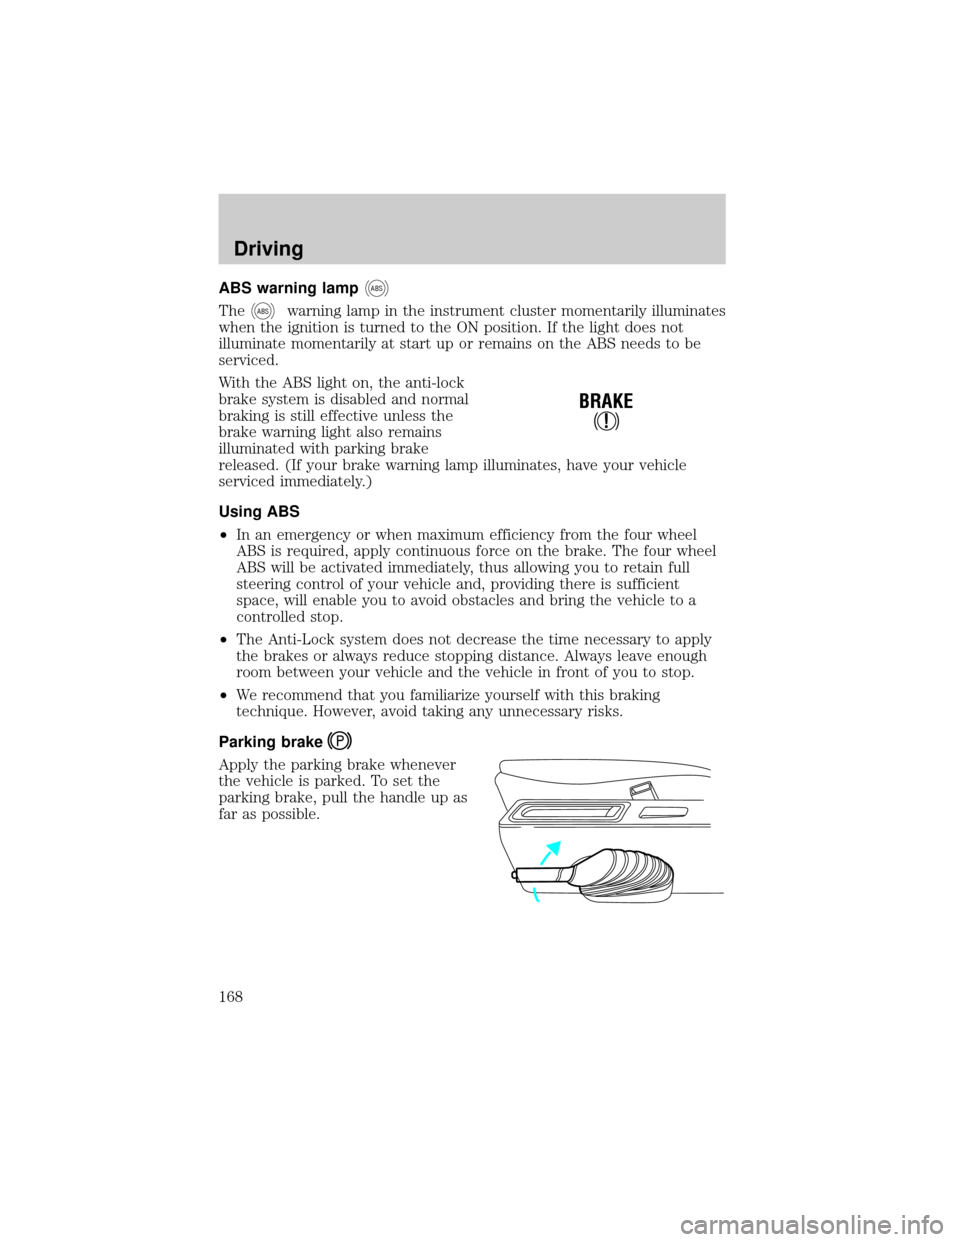
Parking brake
Apply the parking brake whenever
the vehicle is parked. To set the
parking brake, pull the handle up as
far as possible.
!
BRAKE
Driving
168
Page 169 of 288
The BRAKE warning lamp in the
instrument cluster illuminates and
remains illuminated (when the
ignition is turned ON) until the
parking brake is released.
The parking brake is not recommended to stop a moving vehicle.
However, if the normal brakes fail, the parking brake can be used to stop
your vehicle in an emergency. Since the parking brake applies only the
rear brakes, the vehicle's stopping distance will increase greatly and the
handling of your vehicle will be adversely affected.
Always set the parking brake fully and make sure that the
gearshift is securely latched in P (Park) (automatic transaxle).
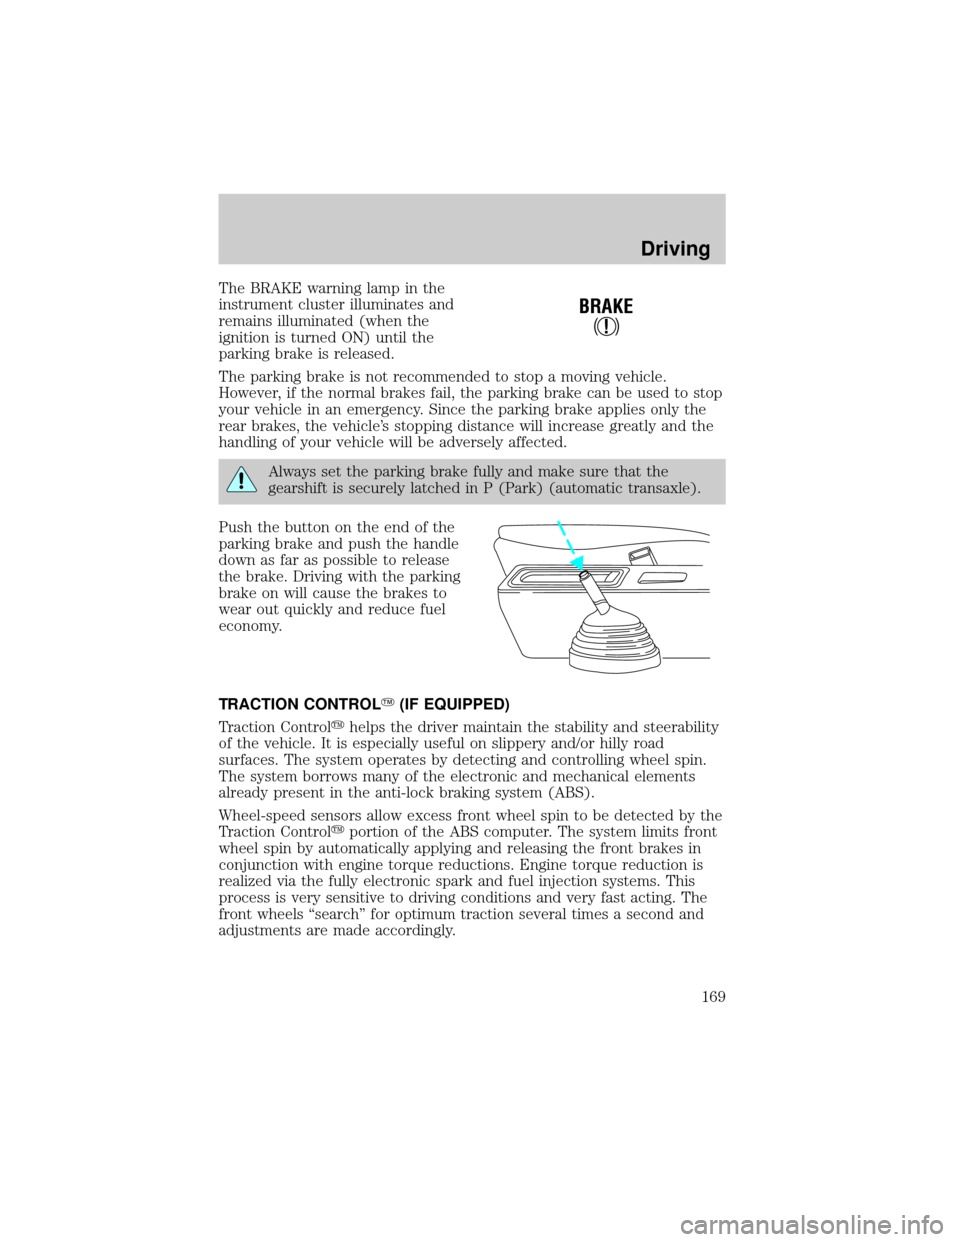
Push the button on the end of the
parking brake and push the handle
down as far as possible to release
the brake. Driving with the parking
brake on will cause the brakes to
wear out quickly and reduce fuel
economy.
TRACTION CONTROLY(IF EQUIPPED)
Traction Controlyhelps the driver maintain the stability and steerability
of the vehicle. It is especially useful on slippery and/or hilly road
surfaces. The system operates by detecting and controlling wheel spin.
The system borrows many of the electronic and mechanical elements
already present in the anti-lock braking system (ABS).
Wheel-speed sensors allow excess front wheel spin to be detected by the
Traction Controlyportion of the ABS computer. The system limits front
wheel spin by automatically applying and releasing the front brakes in
conjunction with engine torque reductions. Engine torque reduction is
realized via the fully electronic spark and fuel injection systems. This
process is very sensitive to driving conditions and very fast acting. The
front wheels ªsearchº for optimum traction several times a second and
adjustments are made accordingly.
!
BRAKE
Driving
169
Page 174 of 288
If the gearshift lever cannot be moved from P (Park) with the brake
pedal depressed, it is possible that a fuse has blown or the vehicle's
brakelamps are not operating properly. Refer toFuses and relaysin the
Roadside emergencieschapter.
Do not drive your vehicle until you verify that the brakelamps
are working.
If your vehicle gets stuck in mud or snow it may be rocked out by
shifting between forward and reverse gears, stopping between shifts, in a
steady pattern. Press lightly on the accelerator in each gear.
Do not rock the vehicle if the engine is not at normal operating
temperature or damage to the transaxle may occur.
Do not rock the vehicle for more than a few minutes or damage
to the transaxle and tires may occur or the engine may overheat.
Always set the parking brake fully and make sure the gearshift is
latched in P (Park). Turn off the ignition whenever you leave
your vehicle.
If the parking brake is fully released, but the brake warning lamp
remains illuminated, the brakes may not be working properly.
See your dealer or a qualified service technician.
Driving with an automatic overdrive transaxle with column
gearshift and O/D off switch
Your automatic transaxle electronically controls the shift feel by using an
adaptive learning strategy. This feature is designed to optimize shift
smoothness. It is normal for your transaxle to shift firmly during the first
few hundred kilometers (miles) of operation until the adaptive strategy
has been learned. The adaptive learning strategy is maintained by power
from the battery. When the battery is disconnected or a new battery is
installed, the transaxle must relearn its adaptive strategy. Optimal
shifting will resume within a few hundred kilometers (miles) of
operation.
Driving
174