2001 FORD WINDSTAR CD player
[x] Cancel search: CD playerPage 57 of 288
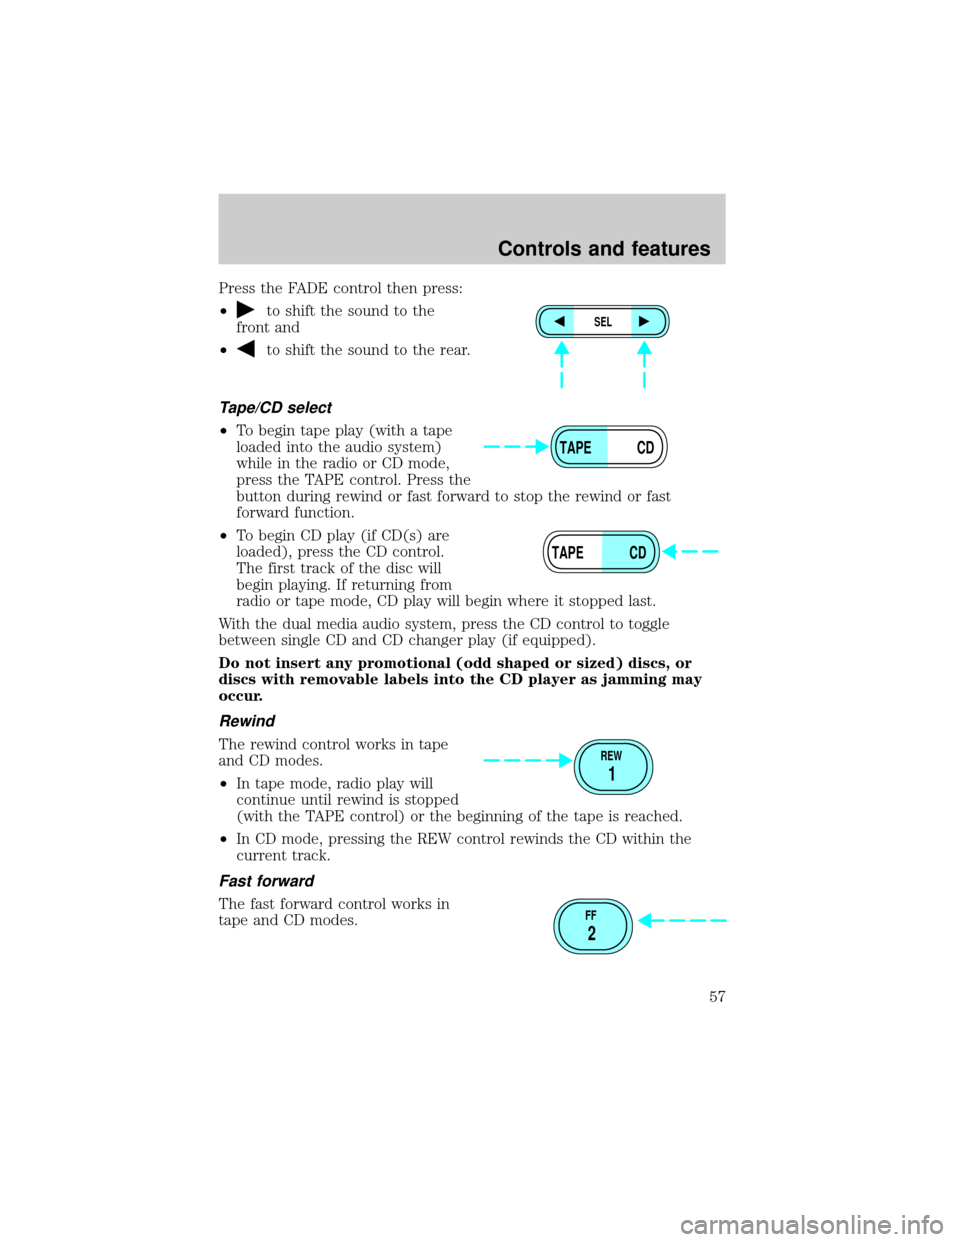
Press the FADE control then press:
²
to shift the sound to the
front and
²
to shift the sound to the rear.
Tape/CD select
²To begin tape play (with a tape
loaded into the audio system)
while in the radio or CD mode,
press the TAPE control. Press the
button during rewind or fast forward to stop the rewind or fast
forward function.
²To begin CD play (if CD(s) are
loaded), press the CD control.
The first track of the disc will
begin playing. If returning from
radio or tape mode, CD play will begin where it stopped last.
With the dual media audio system, press the CD control to toggle
between single CD and CD changer play (if equipped).
Do not insert any promotional (odd shaped or sized) discs, or
discs with removable labels into the CD player as jamming may
occur.
Rewind
The rewind control works in tape
and CD modes.
²In tape mode, radio play will
continue until rewind is stopped
(with the TAPE control) or the beginning of the tape is reached.
²In CD mode, pressing the REW control rewinds the CD within the
current track.
Fast forward
The fast forward control works in
tape and CD modes.
SEL
TAPE CD
TAPE CD
REW
1
FF
2
Controls and features
57
Page 65 of 288
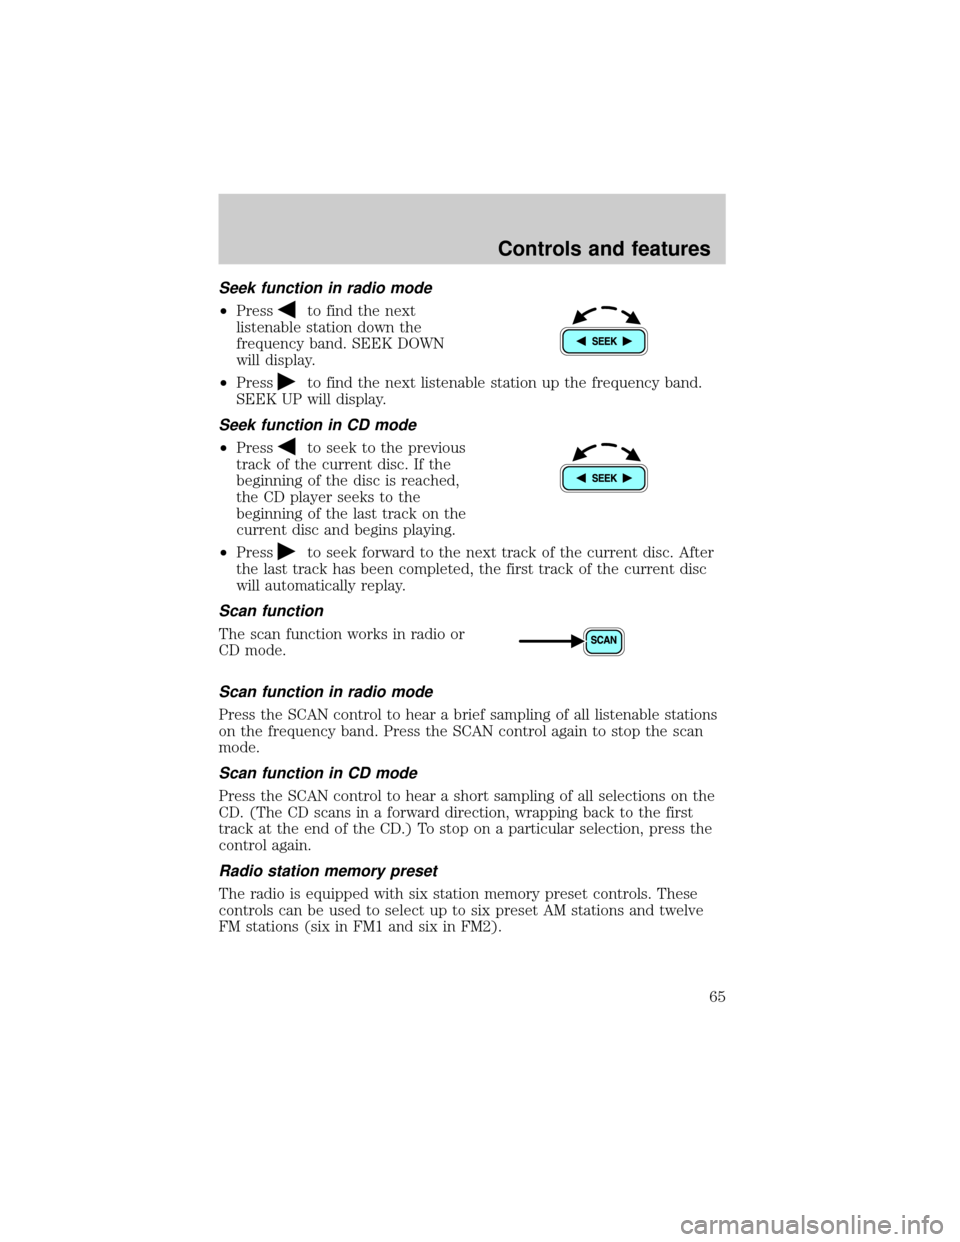
Seek function in radio mode
²Pressto find the next
listenable station down the
frequency band. SEEK DOWN
will display.
²Press
to find the next listenable station up the frequency band.
SEEK UP will display.
Seek function in CD mode
²Pressto seek to the previous
track of the current disc. If the
beginning of the disc is reached,
the CD player seeks to the
beginning of the last track on the
current disc and begins playing.
²Press
to seek forward to the next track of the current disc. After
the last track has been completed, the first track of the current disc
will automatically replay.
Scan function
The scan function works in radio or
CD mode.
Scan function in radio mode
Press the SCAN control to hear a brief sampling of all listenable stations
on the frequency band. Press the SCAN control again to stop the scan
mode.
Scan function in CD mode
Press the SCAN control to hear a short sampling of all selections on the
CD. (The CD scans in a forward direction, wrapping back to the first
track at the end of the CD.) To stop on a particular selection, press the
control again.
Radio station memory preset
The radio is equipped with six station memory preset controls. These
controls can be used to select up to six preset AM stations and twelve
FM stations (six in FM1 and six in FM2).
Controls and features
65
Page 67 of 288
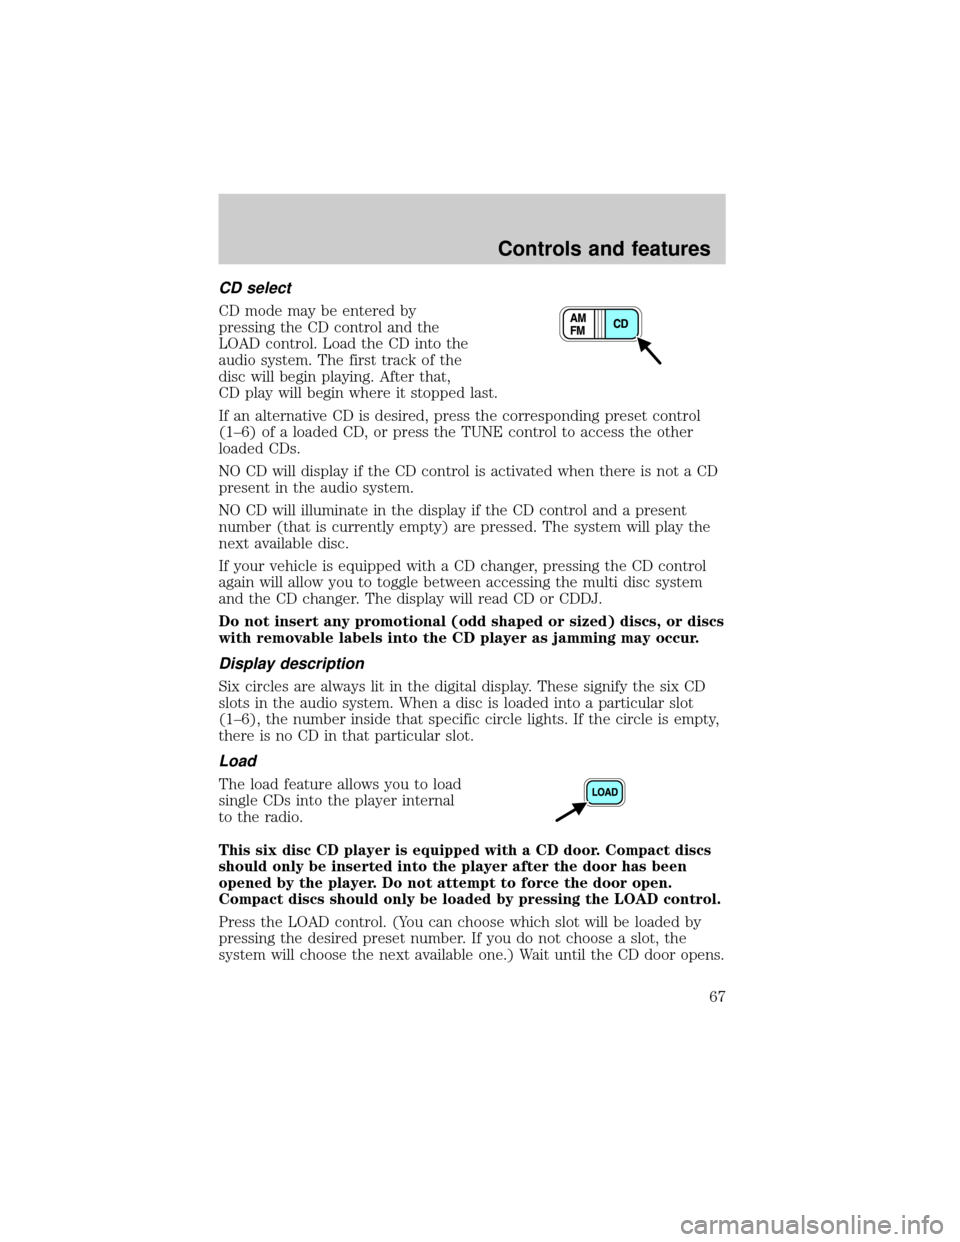
CD select
CD mode may be entered by
pressing the CD control and the
LOAD control. Load the CD into the
audio system. The first track of the
disc will begin playing. After that,
CD play will begin where it stopped last.
If an alternative CD is desired, press the corresponding preset control
(1±6) of a loaded CD, or press the TUNE control to access the other
loaded CDs.
NO CD will display if the CD control is activated when there is not a CD
present in the audio system.
NO CD will illuminate in the display if the CD control and a present
number (that is currently empty) are pressed. The system will play the
next available disc.
If your vehicle is equipped with a CD changer, pressing the CD control
again will allow you to toggle between accessing the multi disc system
and the CD changer. The display will read CD or CDDJ.
Do not insert any promotional (odd shaped or sized) discs, or discs
with removable labels into the CD player as jamming may occur.
Display description
Six circles are always lit in the digital display. These signify the six CD
slots in the audio system. When a disc is loaded into a particular slot
(1±6), the number inside that specific circle lights. If the circle is empty,
there is no CD in that particular slot.
Load
The load feature allows you to load
single CDs into the player internal
to the radio.
This six disc CD player is equipped with a CD door. Compact discs
should only be inserted into the player after the door has been
opened by the player. Do not attempt to force the door open.
Compact discs should only be loaded by pressing the LOAD control.
Press the LOAD control. (You can choose which slot will be loaded by
pressing the desired preset number. If you do not choose a slot, the
system will choose the next available one.) Wait until the CD door opens.
Controls and features
67
Page 68 of 288
Load the CD into the player. LOADING CD# is displayed. When the CD
has been loaded, the door will close and the CD will begin to play. For
example, to load a CD into slot #2, press the LOAD control and then
press preset #2.
Auto load
This feature allows you to autoload
up to 6 discs into the multi disc CD
player internal to the radio.
Press and hold the LOAD control until AUTOLOAD # is displayed. The
CD door will open. Load the desired disc, one at a time. The CD is
loaded into position and the audio system will display CD#. Each time
the CD door opens, INSERT CD# is displayed. The door will close and
the player will move to the next slot after each disc has been loaded.
The process is repeated until all 6 slots are full. The audio system plays
the last CD loaded and the display is updated. If some slots are already
full and autoload is activated, the system will fill all empty slots.
Eject
Press the EJ control to stop and
eject a CD. You can choose which
CD will be ejected by pressing the
EJ control and the desired preset
number (1±6). For example, to eject CD#2, press the EJ control and
then press the preset #2 control. If you do not choose a specific CD, the
player will eject the current CD.
If a CD is ejected and not removed from the door of the CD player, the
player will automatically reload the CD. This feature may be used when
the ignition is ON or OFF.
Auto eject
Press and momentarily hold the EJ
control to engage auto eject. All CDs
which are present in the player will
be ejected one at a time. If a CD is
ejected and not removed from the door of the CD player, the player will
automatically reload the CD. This feature may be used when the ignition
is ON or OFF.
Controls and features
68
Page 74 of 288
Cleaning compact discs
Inspect all discs for contamination before playing. If necessary, clean
discs only with an approved CD cleaner and wipe from the center out to
the edge. Do not use circular motion.
CD and CD changer care
²Handle discs by their edges only. Never touch the playing surface.
²Do not expose discs to direct sunlight or heat sources for extended
periods of time.
²Do not insert more than one disc into each slot of the CD changer
magazine.
Do not insert any promotional (odd shaped or sized) discs, or discs
with removable labels into the CD player as jamming may occur.
Cleaning cassette player (if equipped)
Clean the tape player head with a cassette cleaning cartridge after 10 to
12 hours of play in order to maintain the best sound and operation.
Cassette and cassette player care
²Use only cassettes that are 90 minutes long or less.
²Do not expose tapes to direct sunlight, high humidity, extreme heat or
extreme cold. Allow tapes that may have been exposed to extreme
temperatures to reach a moderate temperature before playing.
²Tighten very loose tapes by inserting a finger or pencil into the hole
and turning the hub.
²Remove loose labels before inserting tapes.
²Do not leave tapes in the cassette player for a long time when not
being played.
Radio frequency information
The Federal Communications Commission (FCC) and the Canadian Radio
and Telecommunications Commission(CRTC) establish the frequencies AM
and FM stations may use for their broadcasts. Allowable frequencies are:
AM 530, 540±1600, 1610 kHz
FM 87.7, 87.9±107.7, 107.9 MHz
Not all frequencies are used in a given area.
Controls and features
74
Page 101 of 288
If you have the optional power sliding door, disable the power sliding
door by pushing the ON/OFF control in the overhead console to the OFF
position. The power sliding door cannot be opened from the rear seat
when both this feature and the child lock are engaged.
If you want to open the sliding door when the child safety lock is on:
²Unlock the sliding door and open the door from the outside.
²If you have the optional power sliding door, press the right or left
hand control on the overhead console to open the door.
CENTER CONSOLE (IF EQUIPPED)
Your vehicle may be equipped with a variety of console features. These
include:
²Utility compartment
²Compact disc changer (if equipped)
²AutovisiontEntertainment System (if equipped)
AutovisionTEntertainment System (if equipped)
Your vehicle may be equipped with an AutovisiontEntertainment
System. This system offers the rear passengers a VHS video cassette
player, a 6.4º LCD video screen, video game inputs and is integrated into
the vehicle audio system. Refer to the AutovisiontEntertainment System
User Manual for operating instructions or call 1-877±848±6434 for
product assistance.
POSITIVE RETENTION FLOOR MAT (IF EQUIPPED)
To install floor mats that have a retention post:
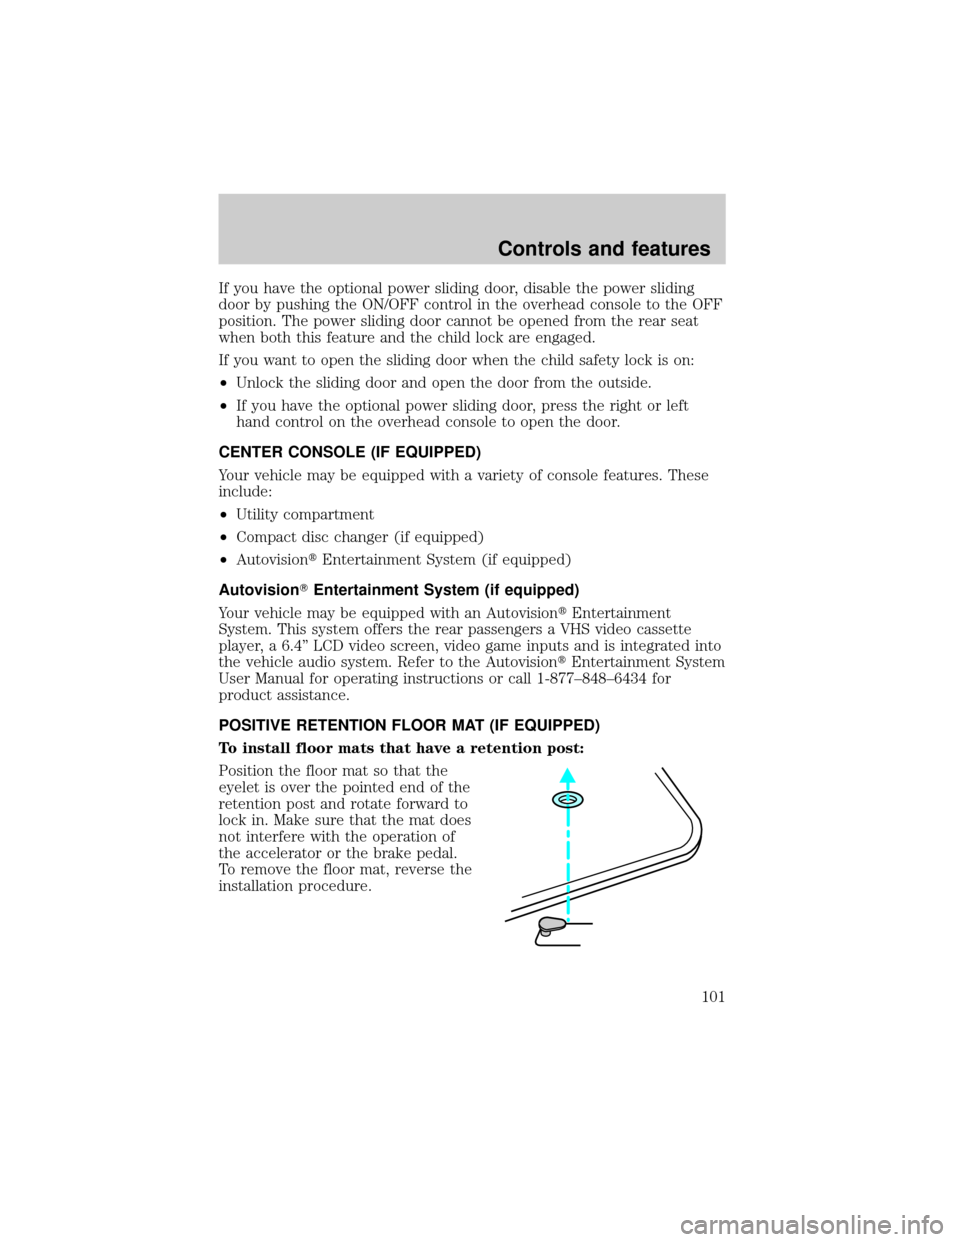
Position the floor mat so that the
eyelet is over the pointed end of the
retention post and rotate forward to
lock in. Make sure that the mat does
not interfere with the operation of
the accelerator or the brake pedal.
To remove the floor mat, reverse the
installation procedure.
Controls and features
101
Page 190 of 288
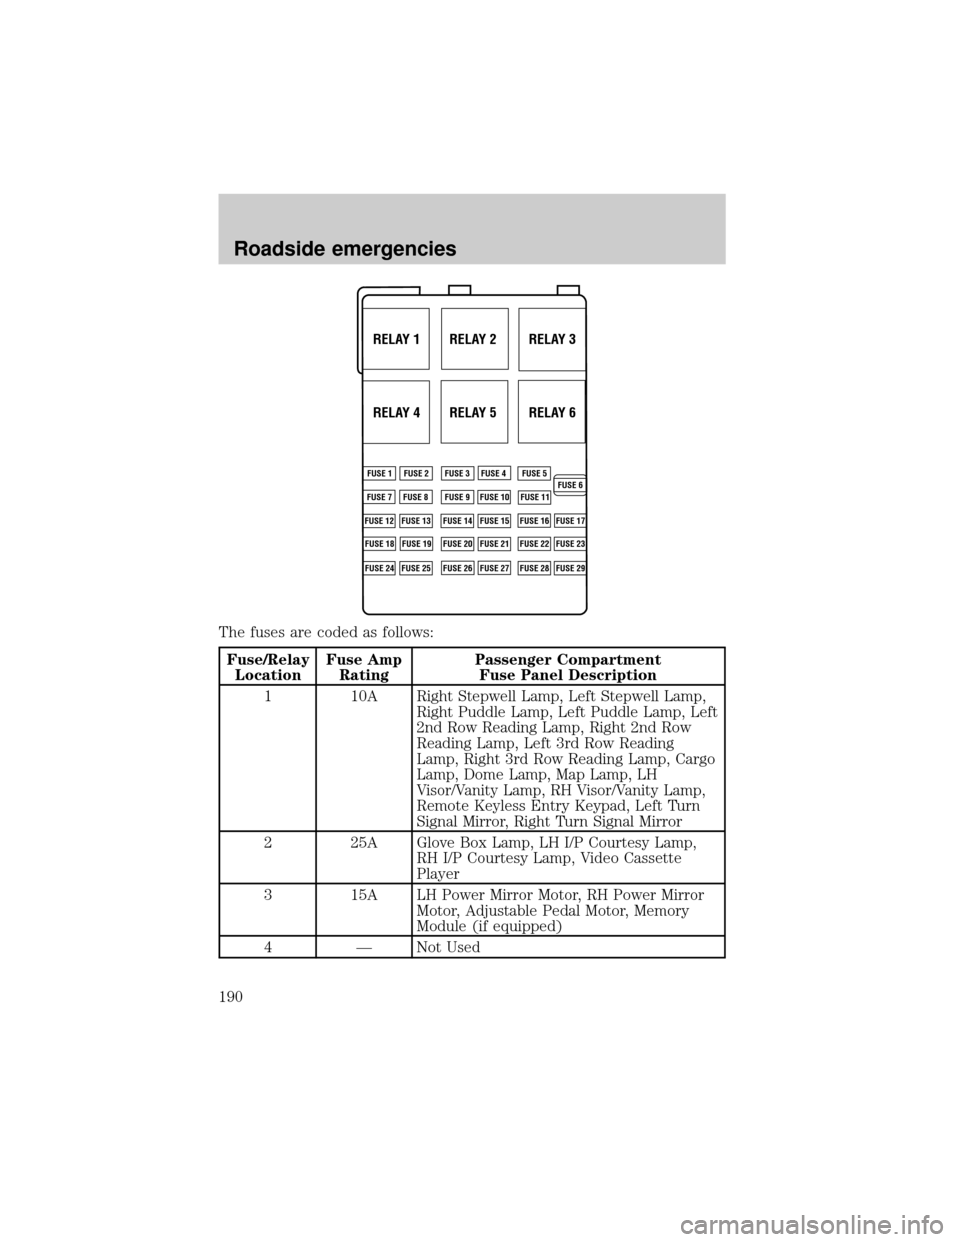
The fuses are coded as follows:
Fuse/Relay
LocationFuse Amp
RatingPassenger Compartment
Fuse Panel Description
1 10A Right Stepwell Lamp, Left Stepwell Lamp,
Right Puddle Lamp, Left Puddle Lamp, Left
2nd Row Reading Lamp, Right 2nd Row
Reading Lamp, Left 3rd Row Reading
Lamp, Right 3rd Row Reading Lamp, Cargo
Lamp, Dome Lamp, Map Lamp, LH
Visor/Vanity Lamp, RH Visor/Vanity Lamp,
Remote Keyless Entry Keypad, Left Turn
Signal Mirror, Right Turn Signal Mirror
2 25A Glove Box Lamp, LH I/P Courtesy Lamp,
RH I/P Courtesy Lamp, Video Cassette
Player
3 15A LH Power Mirror Motor, RH Power Mirror
Motor, Adjustable Pedal Motor, Memory
Module (if equipped)
4 Ð Not Used
RELAY 1 RELAY 2 RELAY 3
RELAY 4 RELAY 5 RELAY 6
FUSE 1
FUSE 7
FUSE 12
FUSE 18
FUSE 24FUSE 8
FUSE 13
FUSE 19
FUSE 25FUSE 9
FUSE 14
FUSE 20
FUSE 26FUSE 10
FUSE 15
FUSE 21
FUSE 27FUSE 11
FUSE 16
FUSE 22
FUSE 28FUSE 17
FUSE 23
FUSE 29 FUSE 2 FUSE 3 FUSE 4 FUSE 5
FUSE 6
Roadside emergencies
190
Page 192 of 288
Fuse/Relay
LocationFuse Amp
RatingPassenger Compartment
Fuse Panel Description
16 10A Cluster
17 20A Cigar Lighter/Powerpoint, Datalink
Connector
18 15A LH Quarter Window Motor, RH Quarter
Window Motor, RH Window Switch
Backlighting, RH Lock Switch Backlighting,
Master Control Switch (LH) Backlighting,
Radio, Video Cassette Player, Liquid Crystal
Display, Front Electronic Module
19 10A Starter Interrupt Relay (coil)
20 Ð Not Used
21 Ð Not Used
22 10A LH Heated Mirror, RH Heated Mirror
23 20A Body Powerpoint, Auxiliary Blower Relay
#1 and #2 Coils
24 Ð Not Used
25 10A Radio (Anti-theft)
26 10A Airbag Module, Passenger airbag
deactivated indicator, Passenger Seat
Weight Pressure sensor ECU
27 Ð Not Used
28 10A Cluster
29 Ð Not Used
Relay 1 Ð Switched System Power Relay #4
Relay 2 Ð Accessory Delay Relay
Relay 3 Ð Front Blower Motor Relay
Relay 4 Ð Switched System Power Relay #3
Relay 5 Ð Rear Defrost Relay
Relay 6 Ð Auxiliary Blower Motor Relay
Power distribution box
The power distribution box is located in the engine compartment. The
power distribution box contains high-current fuses that protect your
vehicle's main electrical systems from overloads.
Roadside emergencies
192