2001 FORD TAURUS change time
[x] Cancel search: change timePage 3 of 256

WARNINGS
Warnings provide information which may reduce the risk of personal
injury and prevent possible damage to others, your vehicle and its
equipment.
BREAKING-IN YOUR VEHICLE
There are no particular guidelines for breaking-in your vehicle. During
the first 1 600 km (1 000 miles) of driving, vary speeds frequently. This is
recommended to give the moving parts a chance to break in.
INFORMATION ABOUT THIS GUIDE
The information found in this guide was in effect at the time of printing.
Ford may change the contents without notice and without incurring
obligation.
EMISSION WARRANTY
The New Vehicle Limited Warranty includes Bumper-to-Bumper
Coverage, Safety Restraint Coverage, Corrosion Coverage, and 7.3L
Power Stroke Diesel Engine Coverage. In addition, your vehicle is eligible
for Emissions Defect and Emissions Performance Warranties. For a
detailed description of what is covered and what is not covered, refer to
theWarranty Guidethat is provided to you along with your Owner's
Guide.
Introduction
3
Page 25 of 256
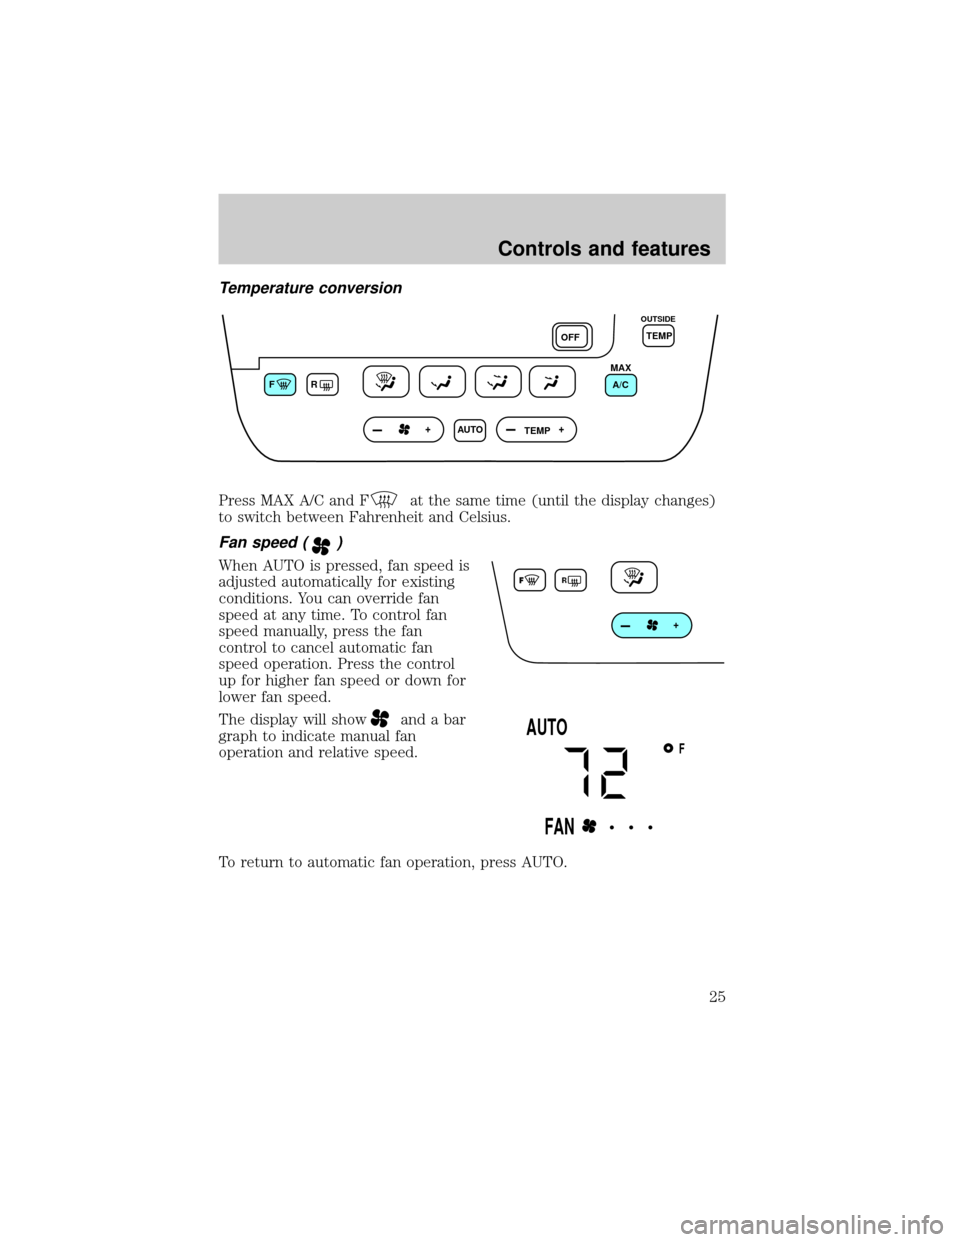
Temperature conversion
Press MAX A/C and Fat the same time (until the display changes)
to switch between Fahrenheit and Celsius.
Fan speed ()
When AUTO is pressed, fan speed is
adjusted automatically for existing
conditions. You can override fan
speed at any time. To control fan
speed manually, press the fan
control to cancel automatic fan
speed operation. Press the control
up for higher fan speed or down for
lower fan speed.
The display will show
and a bar
graph to indicate manual fan
operation and relative speed.
To return to automatic fan operation, press AUTO.
FR
AUTO
TEMPOFFTEMP
MAX
A/C
OUTSIDE
F
AUTO
FAN• • •
Controls and features
25
Page 27 of 256
²(Floor)-Allows for maximum heating by distributing outside air
through the floor ducts. However, the air cannot be cooled below the
outside temperature because the air conditioning does not operate in
this mode.
²
(Panel and floor) -Distributes outside air through the instrument
panel registers and the floor ducts. Heating and air conditioning
capabilities are provided in this mode. The air will be heated or cooled
based on the temperature selection. For added customer comfort, the
air distributed through the floor ducts will be slightly warmer than the
air sent to the instrument panel registers.
²
(Panel)-Distributes outside air through the instrument panel
registers. However, the air cannot be cooled below the outside
temperature because the air conditioning does not operate in this
mode.
²MAX A/C-Uses recirculated air to cool the vehicle. The temperature
will remain unchanged and air will be cooled based on the selected
temperature. To exit, press AUTOMATIC or any other override
controls. MAX A/C is noisier than normal A/C but more economical
and will cool the inside of the vehicle faster. Airflow is from the
instrument panel registers. This mode can also be used to prevent
undesirable odors from entering the vehicle.
²OFF-Outside air is shut out and the fan will not operate. For short
periods of time only, use this mode to reduce undesirable odors from
entering the vehicle.
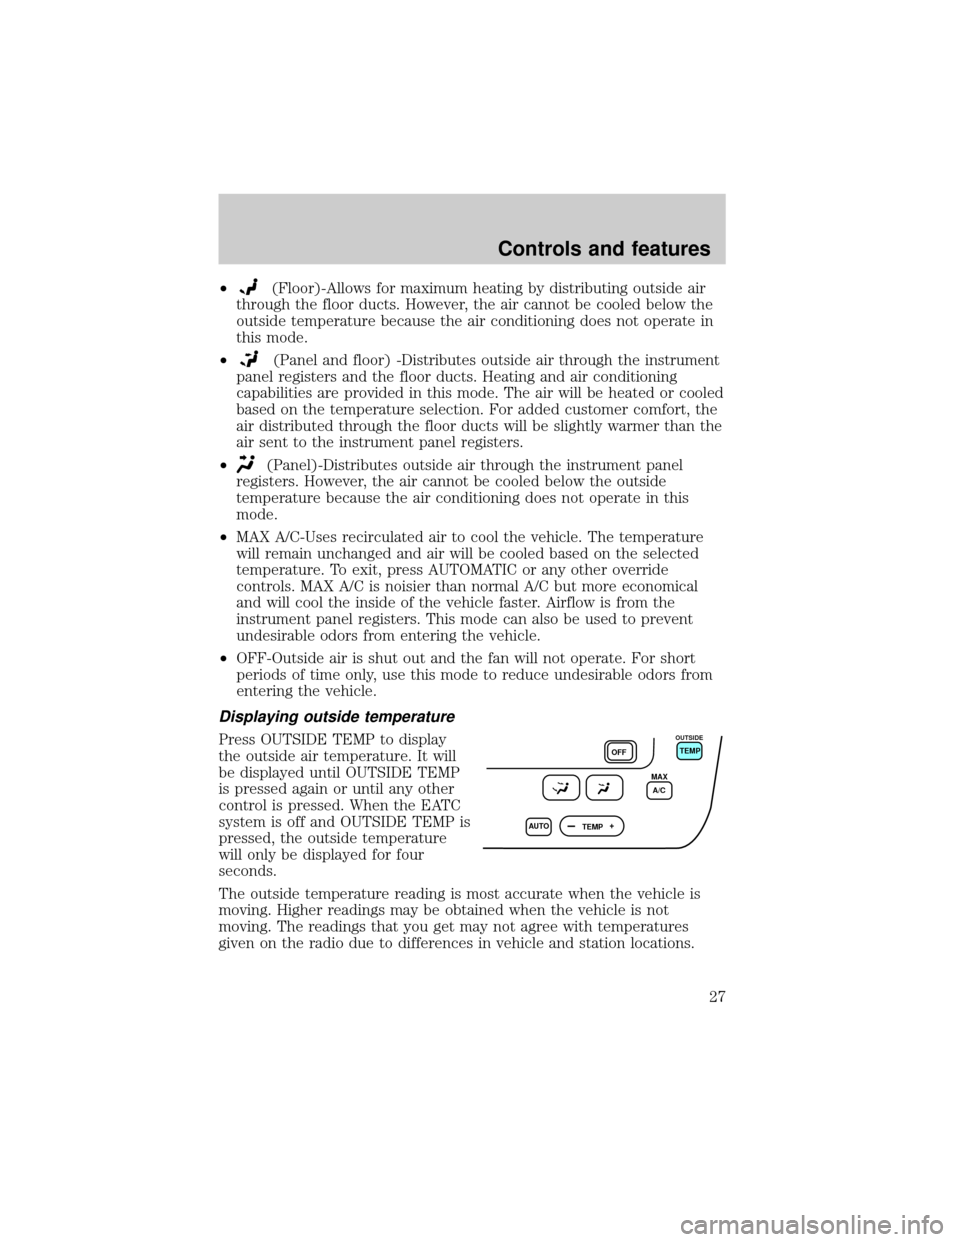
Displaying outside temperature
Press OUTSIDE TEMP to display
the outside air temperature. It will
be displayed until OUTSIDE TEMP
is pressed again or until any other
control is pressed. When the EATC
system is off and OUTSIDE TEMP is
pressed, the outside temperature
will only be displayed for four
seconds.
The outside temperature reading is most accurate when the vehicle is
moving. Higher readings may be obtained when the vehicle is not
moving. The readings that you get may not agree with temperatures
given on the radio due to differences in vehicle and station locations.
AUTO
TEMPOFFTEMP
MAX
A/C
OUTSIDE
Controls and features
27
Page 40 of 256
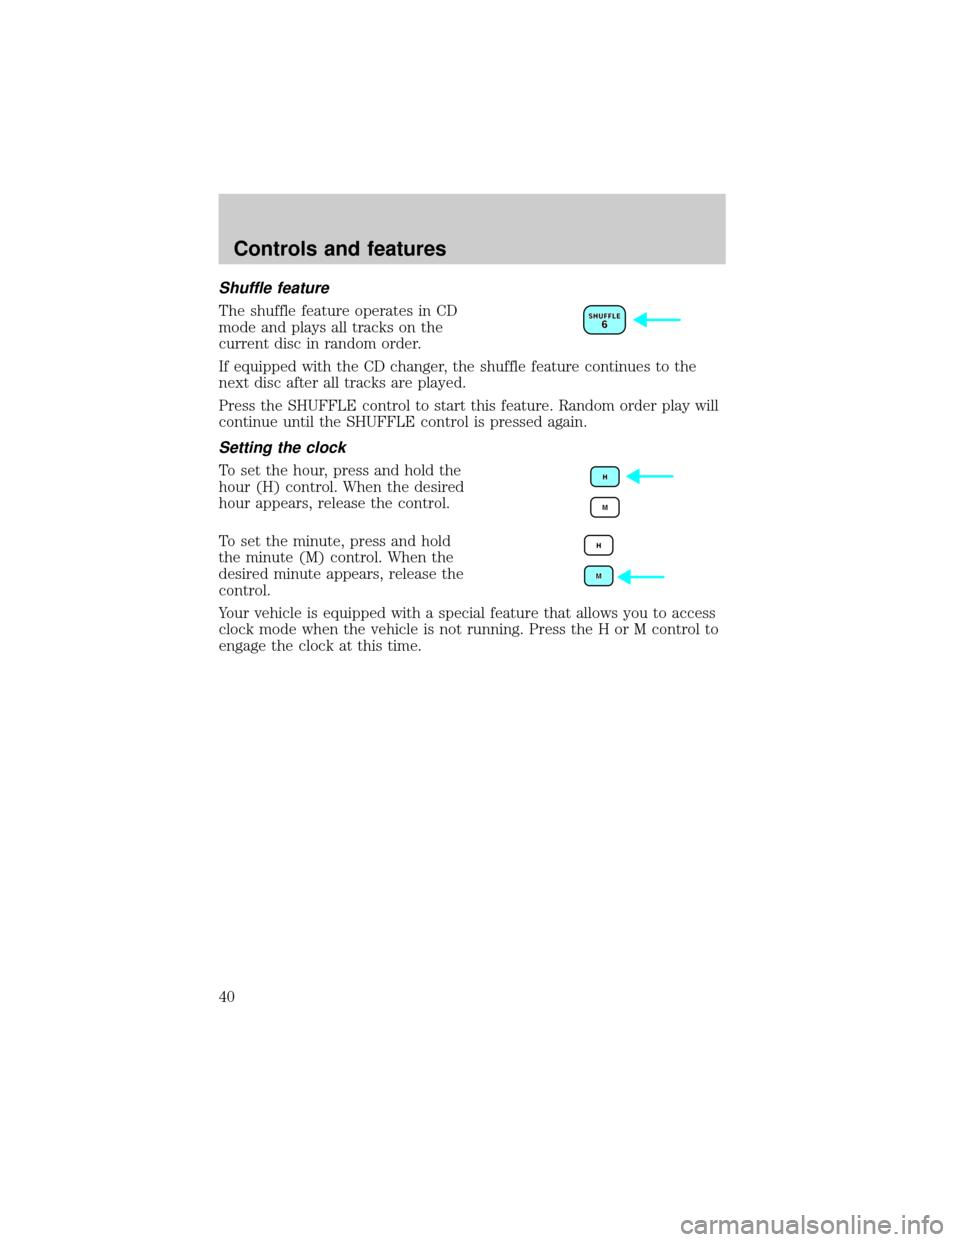
Shuffle feature
The shuffle feature operates in CD
mode and plays all tracks on the
current disc in random order.
If equipped with the CD changer, the shuffle feature continues to the
next disc after all tracks are played.
Press the SHUFFLE control to start this feature. Random order play will
continue until the SHUFFLE control is pressed again.
Setting the clock
To set the hour, press and hold the
hour (H) control. When the desired
hour appears, release the control.
To set the minute, press and hold
the minute (M) control. When the
desired minute appears, release the
control.
Your vehicle is equipped with a special feature that allows you to access
clock mode when the vehicle is not running. Press the H or M control to
engage the clock at this time.
Controls and features
40
Page 46 of 256

Compression adjust
Compression adjust brings soft and
loud CD passages together for a
more consistent listening level.
Press the COMP control to activate and deactivate compression adjust.
Shuffle feature
The shuffle feature operates in CD
mode and plays all tracks on the
current disc in random order.
If equipped with the CD changer, the shuffle feature continues to the
next disc after all tracks are played.
Press the SHUFFLE control to start this feature. Random order play will
continue until the SHUFFLE control is pressed again.
Setting the clock
To set the hour, press and hold the
hour (H) control. When the desired
hour appears, release the control.
To set the minute, press and hold
the minute (M) control. When the
desired minute appears, release the
control.
Your vehicle is equipped with a special feature that allows you to access
clock mode when the vehicle is not running. Press the H or M control to
engage the clock at this time.
Controls and features
46
Page 49 of 256
The CD magazine may be inserted or ejected with the radio power off.
ONLY use the magazine supplied with the CD changer, other types will
damage the unit.
Keep the CD changer door closed. Coins and foreign objects will damage
the CD player and void your audio system warranty.
Do not insert any promotional (odd shaped or sized) discs, or
discs with removable labels into the CD player as jamming may
occur.
Troubleshooting the CD changer (if equipped)
The laser beam used in the compact disc player is harmful to the
eyes. Do not attempt to disassemble the case.
If sound skips:
²You may be traveling on a rough road, playing badly scratched discs or
the disc may be dirty. Skipping will not scratch the discs or damage
the player.
If your changer does not work, it may be that:
²A disc is already loaded where you want to insert a disc.
²The disc is inserted with the label surface downward.
²The disc is dusty or defective.
²The player's internal temperature is above 60ÉC (140ÉF). Allow the
player to cool down before operating.
²A disc with format and dimensions not within industry standards is
inserted.
Cleaning compact discs
Inspect all discs for contamination before playing. If necessary, clean
discs only with an approved CD cleaner and wipe from the center out to
the edge. Do not use circular motion.
CD and CD changer care
²Handle discs by their edges only. Never touch the playing surface.
²Do not expose discs to direct sunlight or heat sources for extended
periods of time.
Controls and features
49
Page 50 of 256

²Do not insert more than one disc into each slot of the CD changer
magazine.
Do not insert any promotional (odd shaped or sized) discs, or
discs with removable labels into the CD player as jamming may
occur.
Cleaning cassette player (if equipped)
Clean the tape player head with a cassette cleaning cartridge after 10 to
12 hours of play in order to maintain the best sound and operation.
Cassette and cassette player care
²Use only cassettes that are 90 minutes long or less.
²Do not expose tapes to direct sunlight, high humidity, extreme heat or
extreme cold. Allow tapes that may have been exposed to extreme
temperatures to reach a moderate temperature before playing.
²Tighten very loose tapes by inserting a finger or pencil into the hole
and turning the hub.
²Remove loose labels before inserting tapes.
²Do not leave tapes in the cassette player for a long time when not
being played.
Radio frequency information
The Federal Communications Commission (FCC) and the Canadian Radio
and Telecommunications Commission(CRTC) establish the frequencies
AM and FM stations may use for their broadcasts. Allowable frequencies
are:
AM 530, 540±1600, 1610 kHz
FM 87.7, 87.9±107.7, 107.9 MHz
Not all frequencies are used in a given area.
Radio reception factors
Three factors can affect radio reception:
²Distance/strength.The further an FM signal travels, the weaker it is.
The listenable range of the average FM station is approximately 40 km
(24 miles). This range can be affected by ªsignal modulation.º Signal
modulation is a process radio stations use to increase their
strength/volume relative to other stations.
Controls and features
50
Page 70 of 256
Changes or modifications not expressly approved by the party
responsible for compliance could void the user's authority to
operate the equipment.
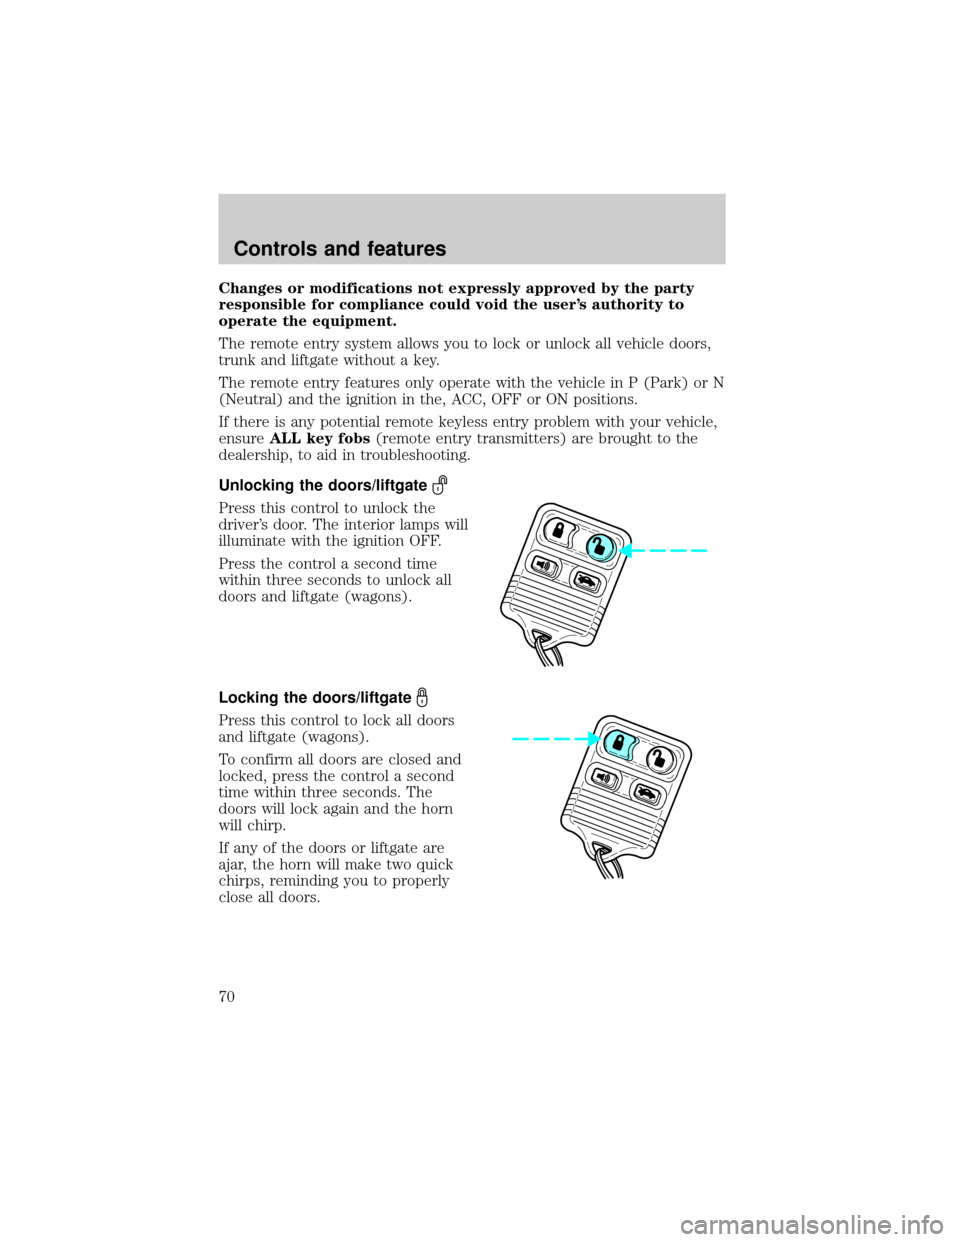
The remote entry system allows you to lock or unlock all vehicle doors,
trunk and liftgate without a key.
The remote entry features only operate with the vehicle in P (Park) or N
(Neutral) and the ignition in the, ACC, OFF or ON positions.
If there is any potential remote keyless entry problem with your vehicle,
ensureALL key fobs(remote entry transmitters) are brought to the
dealership, to aid in troubleshooting.
Unlocking the doors/liftgate
Press this control to unlock the
driver's door. The interior lamps will
illuminate with the ignition OFF.
Press the control a second time
within three seconds to unlock all
doors and liftgate (wagons).
Locking the doors/liftgate
Press this control to lock all doors
and liftgate (wagons).
To confirm all doors are closed and
locked, press the control a second
time within three seconds. The
doors will lock again and the horn
will chirp.
If any of the doors or liftgate are
ajar, the horn will make two quick
chirps, reminding you to properly
close all doors.
Controls and features
70