Page 179 of 288
CHANGING THE TIRES
If you get a flat tire while driving, do not apply the brake heavily.
Instead, gradually decrease your speed. Hold the steering wheel firmly
and slowly move to a safe place on the side of the road.
Spare tire information
Your vehicle may be equipped with a spare tire that can be used as
either a spare or a regular tire. The spare tire is not equipped with wheel
trim. The wheel trim from the original wheel/tire may be used on the
spare.
If your vehicle is equipped with 4WD, a spare tire of a different
size than the road tires should not be used. Such a tire could
result in damage to driveline components and make the vehicle
difficult to control.
Location of the spare tire and tools
The spare tire and tools for your vehicle are stowed in the following
locations:
Tool Location
Spare tire
(pick-up trucks only)Under the vehicle, just forward of the rear
bumper
Jack Regular cab, crew cab and SuperCab
without rear bench seat: Fastened to floor
pan behind rearmost seat on passenger side
SuperCab with rear bench seat: Under rear
bench on passenger side
Jack handle and lug
wrenchOn top of the radiator support at the front
of the engine compartment
Key, spare tire lock
(if equipped)In the glove box
Removing the spare tire (with spare tire carrier only)
1. The following tools are required to remove the spare tire:
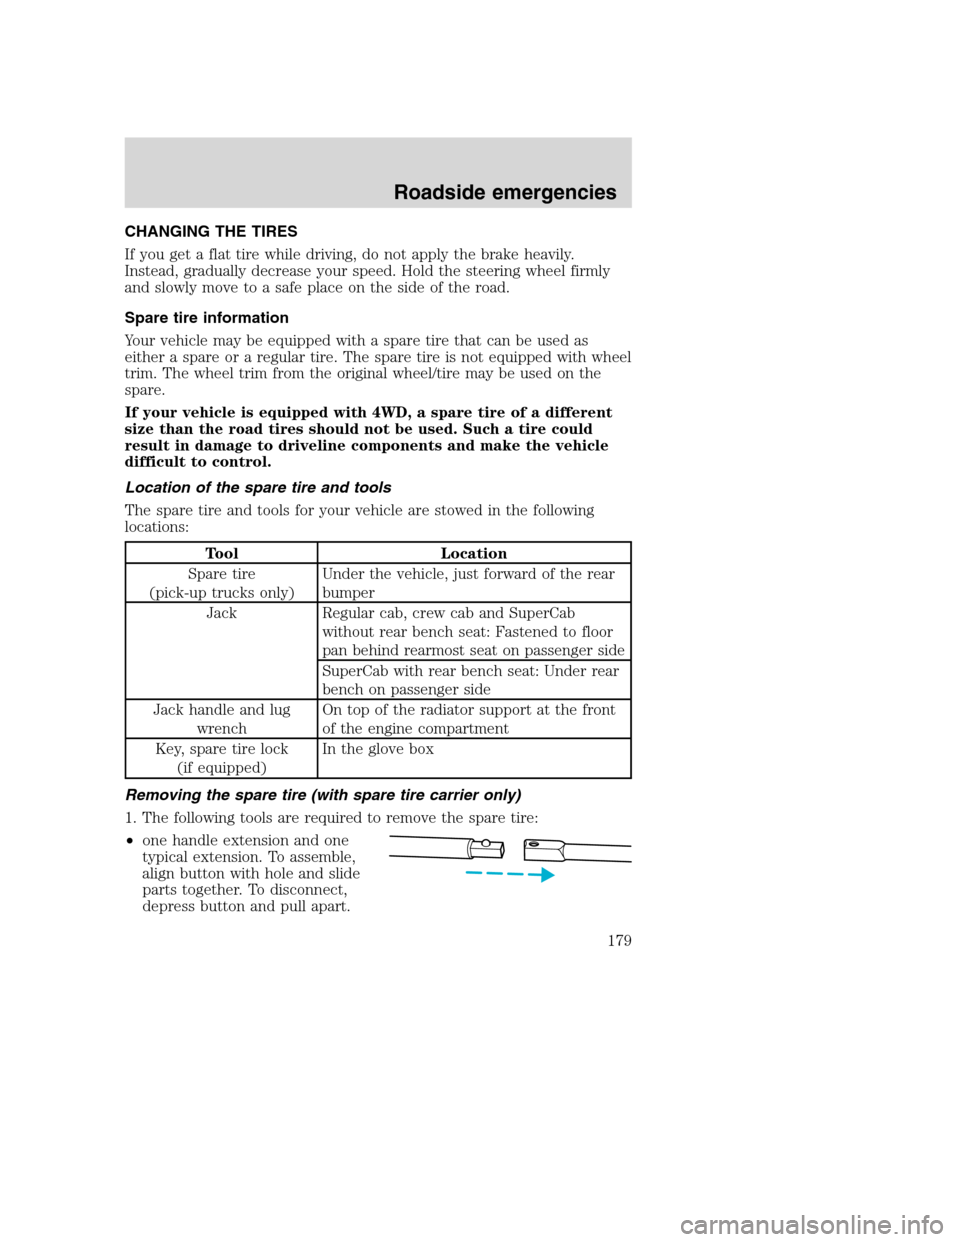
•one handle extension and one
typical extension. To assemble,
align button with hole and slide
parts together. To disconnect,
depress button and pull apart.
Roadside emergencies
179
Page 180 of 288
•one wheel nut wrench. Slide over
square end of jack handle.
2. If equipped, unlock and remove the spare tire lock from the rear
bumper drive tube using the the spare tire lock key and the jack handle.
3. Insert the hooked end of the jack
handle into the rear bumper drive
tube.
The handle will stop moving and
you will feel forward resistance to
turning when properly engaged.
4. Turn the handle counterclockwise
and lower the spare until you can
slide the tire rearward and the cable
is slack.
5. Remove the retainer through the center of the wheel.
Roadside emergencies
180
Page 181 of 288
Stowing the spare tire
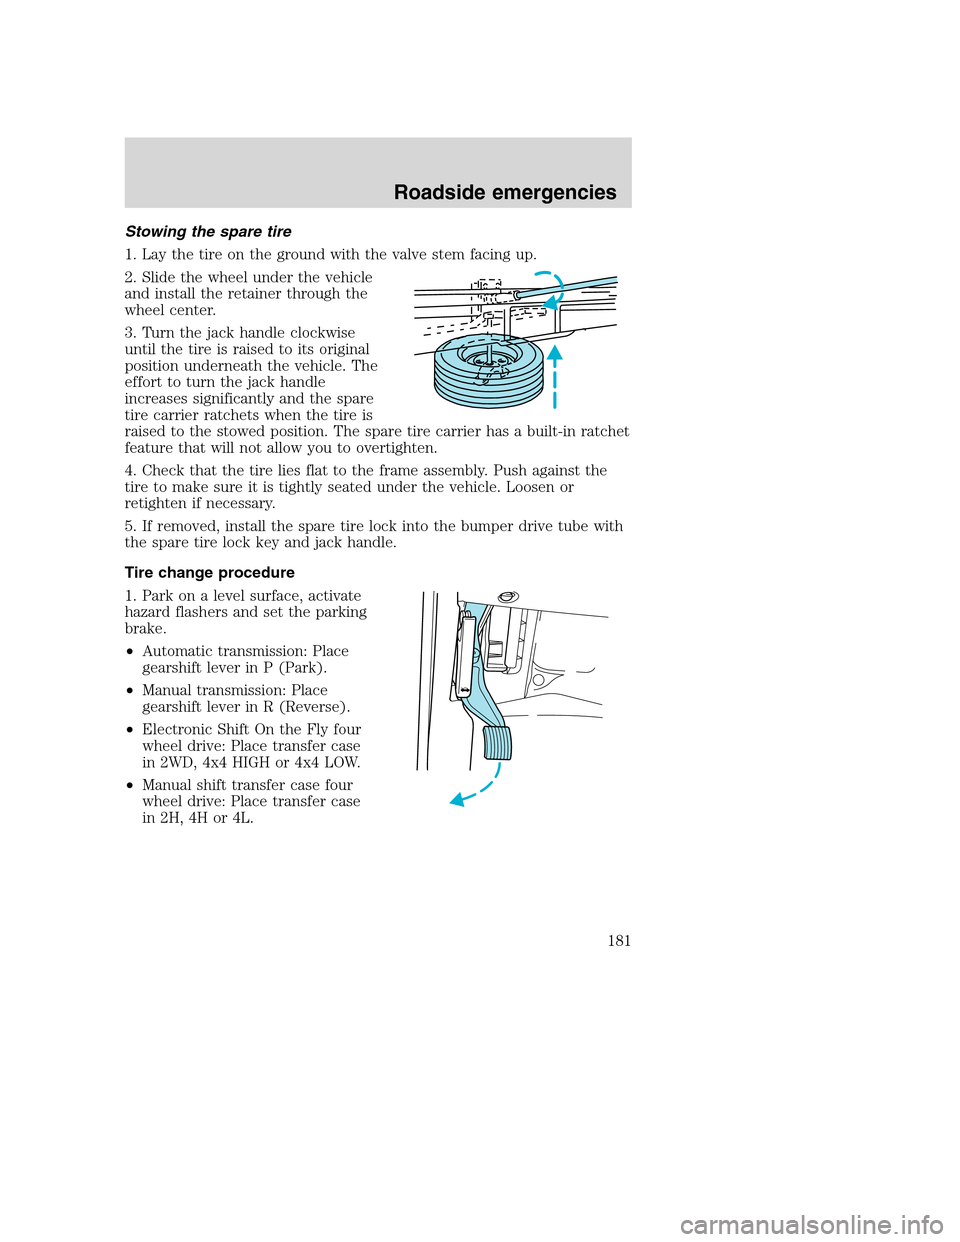
1. Lay the tire on the ground with the valve stem facing up.
2. Slide the wheel under the vehicle
and install the retainer through the
wheel center.
3. Turn the jack handle clockwise
until the tire is raised to its original
position underneath the vehicle. The
effort to turn the jack handle
increases significantly and the spare
tire carrier ratchets when the tire is
raised to the stowed position. The spare tire carrier has a built-in ratchet
feature that will not allow you to overtighten.
4. Check that the tire lies flat to the frame assembly. Push against the
tire to make sure it is tightly seated under the vehicle. Loosen or
retighten if necessary.
5. If removed, install the spare tire lock into the bumper drive tube with
the spare tire lock key and jack handle.
Tire change procedure
1. Park on a level surface, activate
hazard flashers and set the parking
brake.
•Automatic transmission: Place
gearshift lever in P (Park).
•Manual transmission: Place
gearshift lever in R (Reverse).
•Electronic Shift On the Fly four
wheel drive: Place transfer case
in 2WD, 4x4 HIGH or 4x4 LOW.
•Manual shift transfer case four
wheel drive: Place transfer case
in 2H, 4H or 4L.
Roadside emergencies
181
Page 198 of 288
Working with the engine off
•Automatic transmission:
1. Set the parking brake and ensure the gearshift is securely latched in P
(Park).
2. Turn off the engine and remove the key.
3. Block the wheels to prevent the vehicle from moving unexpectedly.
•Manual transmission:
1. Set the parking brake.
2. Depress the clutch and place the gearshift in 1 (First).
3. Turn off the engine and remove the key.
4. Block the wheels to prevent the vehicle from moving unexpectedly.
Working with the engine on
•Automatic transmission:
1. Set the parking brake and ensure the gearshift is securely latched in P
(Park).
2. Block the wheels to prevent the vehicle from moving unexpectedly.
NOTE:Do not start your engine with the air cleaner removed and do not
remove it while the engine is running.
•Manual transmission:
1. Set the parking brake, depress the clutch and place the gearshift in
neutral.
2. Block the wheels to prevent the vehicle from moving unexpectedly.
NOTE:Do not start your engine with the air cleaner removed and do not
remove it while the engine is running.
The cooling fan is automatic and may come on at any time.
Always disconnect the negative terminal of the battery before
working near the fan.
Maintenance and care
198
Page 271 of 288
Ford Multi-Purpose Cleaner*
Motorcraft Car Wash Concentrate
Motorcraft Carlite Glass Cleaner
Ford Spot and Stain Remover*
Ford Super Premium Tire and Trim Dressing
Ford Triple Clean
Ford Ultra-Clear Spray Glass Cleaner (not available in Canada)
* May be sold with the Motorcraft name
FORD ACCESSORIES FOR YOUR VEHICLE
A wide selection of genuine Ford accessories are available for your
vehicle through your local authorized Ford, Lincoln Mercury or Ford of
Canada dealer. These quality accessories have been specifically
engineered to fulfill your automotive needs; they are custom designed to
complement the style and aerodynamic appearance of your vehicle. In
addition, each accessory is made from high quality materials and meets
or exceeds Ford’s rigorous engineering and safety specifications. Ford
Motor Company will repair or replace any properly dealer-installed Ford
accessory found to be defective in factory-supplied materials or
workmanship during the warranty period, as well as any component
damaged by the defective accessory. The accessory will be warranted for
whichever provides you the greatest benefit:
•12 months or 20 000 km (12 000 miles) (whichever occurs first), or
•The remainder of your new vehicle limited warranty.
This means that genuine Ford accessories purchased along with your
new vehicle and installed by the dealer are covered for the full length of
your New Vehicle’s Limited Warranty — 3 years or 60 000 km
(36 000 miles) (whichever occurs first). Contact your dealer for
details and a copy of the warranty.
Not all accessories are available for all models.
Vehicle Security
Remote keyless entry
Styled wheel protector locks
Vehicle security systems
Customer assistance
271
Page 281 of 288
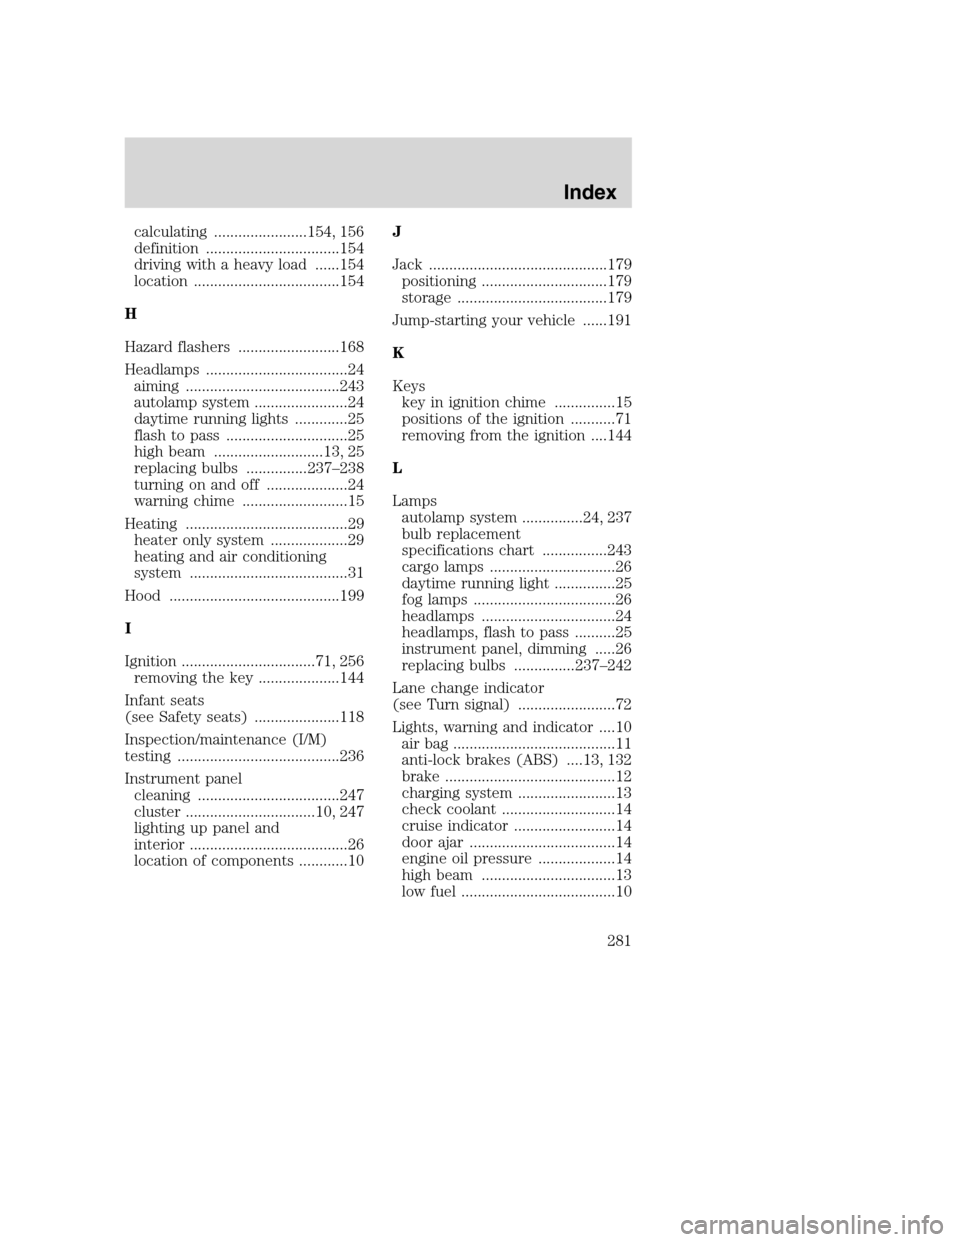
calculating .......................154, 156
definition .................................154
driving with a heavy load ......154
location ....................................154
H
Hazard flashers .........................168
Headlamps ...................................24
aiming ......................................243
autolamp system .......................24
daytime running lights .............25
flash to pass ..............................25
high beam ...........................13, 25
replacing bulbs ...............237–238
turning on and off ....................24
warning chime ..........................15
Heating ........................................29
heater only system ...................29
heating and air conditioning
system .......................................31
Hood ..........................................199
I
Ignition .................................71, 256
removing the key ....................144
Infant seats
(see Safety seats) .....................118
Inspection/maintenance (I/M)
testing ........................................236
Instrument panel
cleaning ...................................247
cluster ................................10, 247
lighting up panel and
interior .......................................26
location of components ............10J
Jack ............................................179
positioning ...............................179
storage .....................................179
Jump-starting your vehicle ......191
K
Keys
key in ignition chime ...............15
positions of the ignition ...........71
removing from the ignition ....144
L
Lamps
autolamp system ...............24, 237
bulb replacement
specifications chart ................243
cargo lamps ...............................26
daytime running light ...............25
fog lamps ...................................26
headlamps .................................24
headlamps, flash to pass ..........25
instrument panel, dimming .....26
replacing bulbs ...............237–242
Lane change indicator
(see Turn signal) ........................72
Lights, warning and indicator ....10
air bag ........................................11
anti-lock brakes (ABS) ....13, 132
brake ..........................................12
charging system ........................13
check coolant ............................14
cruise indicator .........................14
door ajar ....................................14
engine oil pressure ...................14
high beam .................................13
low fuel ......................................10
Index
281
Page:
< prev 1-8 9-16 17-24