Page 238 of 288

Handle a halogen headlamp bulb carefully and keep out of
children’s reach. Grasp the bulb only by its plastic base and do
not touch the glass. The oil from your hand could cause the bulb to
break the next time the headlamps are operated.
6. Insert the glass end of the new bulb into the headlamp assembly.
When the grooves in the plastic base are aligned, push the bulb into the
lamp assembly until the plastic base contacts the rear of the lamp
assembly.
7. Install bulb retaining ring over the plastic base and lock the ring into
the socket by turning it clockwise until you feel a “stop.”
8. Connect the electrical connector into the rear of the plastic base until
it “snaps.”
Replacing headlamp bulbs (sealed beam)
To remove the headlamp bulb:
1. Make sure headlamp switch is in OFF position.
2. Open the hood.
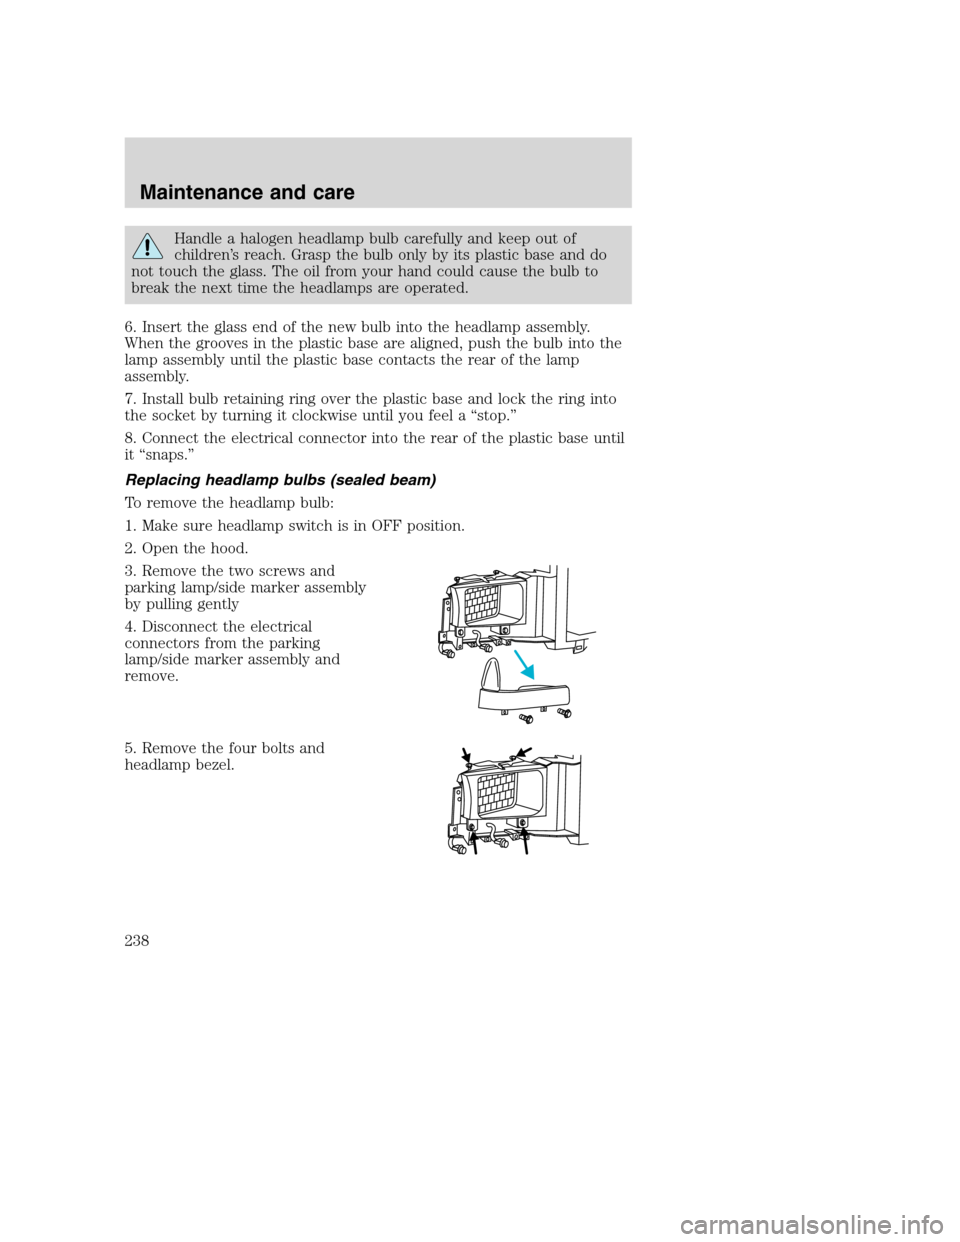
3. Remove the two screws and
parking lamp/side marker assembly
by pulling gently
4. Disconnect the electrical
connectors from the parking
lamp/side marker assembly and
remove.
5. Remove the four bolts and
headlamp bezel.
Maintenance and care
238
Page 239 of 288
6. Remove the four screws and the
headlamp retaining ring from
headlamp.
7. Disconnect the electrical
connector and remove headlamp.
To install the new headlamp, reverse the removal procedure.
Replacing front parking/turn signal bulbs
1. Make sure headlamp switch is in OFF position.
2. Open the hood.
3. Remove the two screws and
carefully disengage parking
lamp/turn signal assembly from the
vehicle.
4. Rotate bulb socket
counterclockwise about
1�4turn and
remove from lamp assembly.
Maintenance and care
239
Page 240 of 288

5. Carefully pull bulb straight out of
the socket and push in the new
bulb.
6. Install the bulb socket in lamp
assembly by turning clockwise.
7. Align the lamp assembly on the
vehicle.
8. Install two screws on parking
lamp/turn signal assembly.
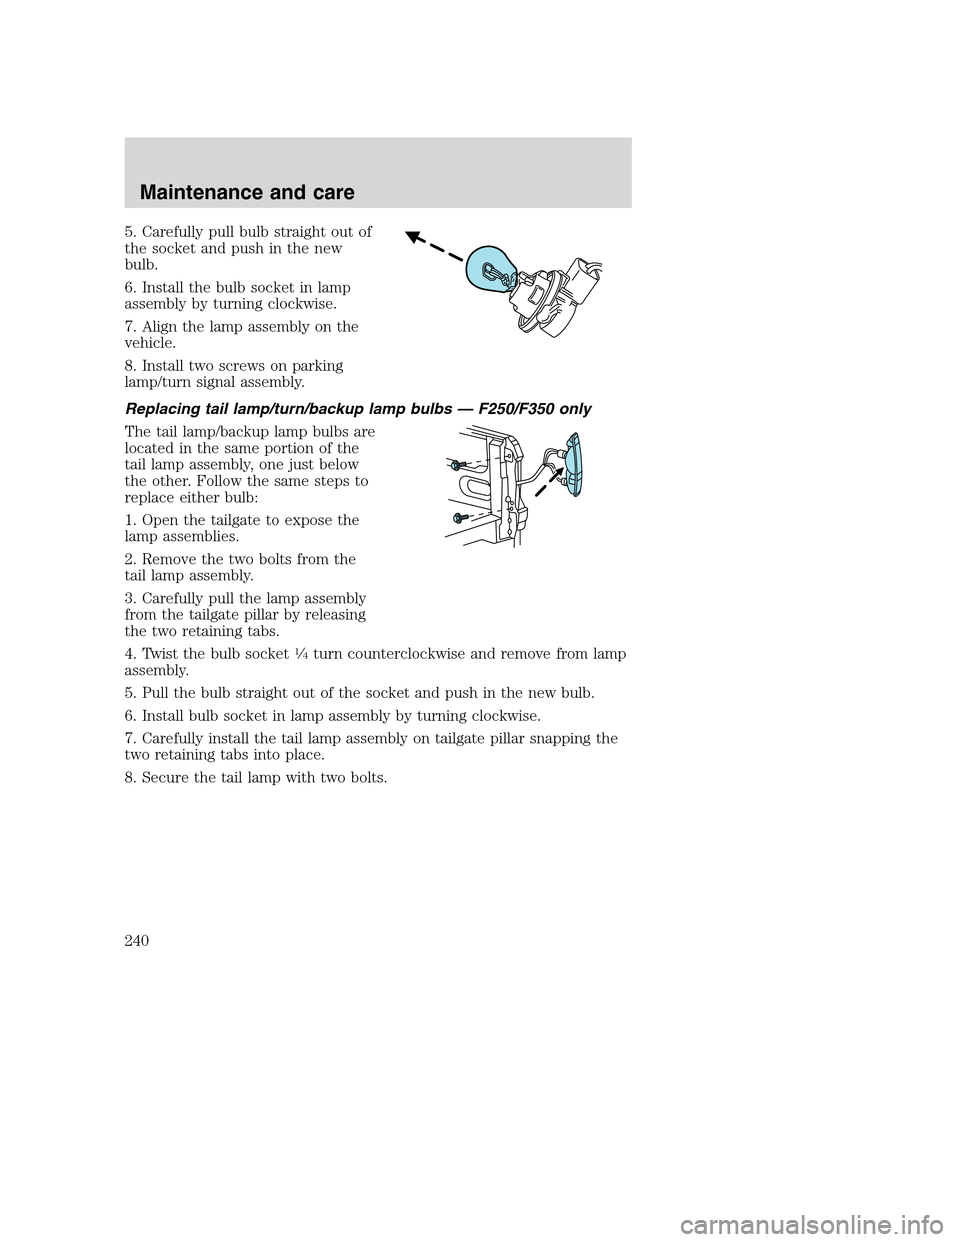
Replacing tail lamp/turn/backup lamp bulbs — F250/F350 only
The tail lamp/backup lamp bulbs are
located in the same portion of the
tail lamp assembly, one just below
the other. Follow the same steps to
replace either bulb:
1. Open the tailgate to expose the
lamp assemblies.
2. Remove the two bolts from the
tail lamp assembly.
3. Carefully pull the lamp assembly
from the tailgate pillar by releasing
the two retaining tabs.
4. Twist the bulb socket
1�4turn counterclockwise and remove from lamp
assembly.
5. Pull the bulb straight out of the socket and push in the new bulb.
6. Install bulb socket in lamp assembly by turning clockwise.
7. Carefully install the tail lamp assembly on tailgate pillar snapping the
two retaining tabs into place.
8. Secure the tail lamp with two bolts.
Maintenance and care
240
Page 241 of 288
Replacing brake/tail/backup lamp bulbs — F450/F550 only
The brake/tail/backup lamp bulbs
are located in the same portion of
the tail lamp assembly. Follow the
same steps to replace either bulb:
1. Remove the four screws and the
lamp lens from lamp assembly.
2. Carefully pull the bulb straight
out of the socket and push in the
new bulb.
3. Install the lens on the lamp
assembly with the four screws.
Replacing cargo lamp and high-mount brakelamp bulbs
To remove the lamp assembly:
1. Remove the two screws and lamp
assembly from vehicle as wiring
permits.
2. Remove the bulb socket by
rotating counterclockwise and
pulling it out of the lamp assembly.
3. Pull the bulb straight out of the
socket and push in the new bulb.
To install the brakelamp assembly:
1. Install the bulb into the lamp
assembly and rotate clockwise.
2. Install the lamp assembly on the vehicle with two screws.
Maintenance and care
241
Page 242 of 288
Replacing roof marker bulbs
To change the cab marker bulbs:
1. Remove the screw and lens from
the lamp assembly.
2. Carefully pull the bulb straight
out of the socket and push in the
new bulb.
3. Install lens on lamp assembly with
screw.
Replacing foglamp bulbs (if equipped)
1. Remove the bulb socket from the
foglamp by turning
counterclockwise.
2. Disconnect the electrical
connector from the foglamp bulb.
3. Connect the new foglamp bulb to the electrical connector.
4. Install the bulb socket in the foglamp by turning clockwise.
Replacing license plate lamp bulbs
The license plate bulbs are located
behind the rear bumper. To change
the license plate lamp bulbs:
1. Reach behind the rear bumper to
locate the bulb.
2. Twist the bulb socket
counterclockwise and carefully pull
to remove it from the lamp
assembly.
3. Pull out the old bulb from the
socket and push in the new bulb.
4. Install the bulb socket in lamp assembly by turning it clockwise.
Maintenance and care
242
Page 246 of 288

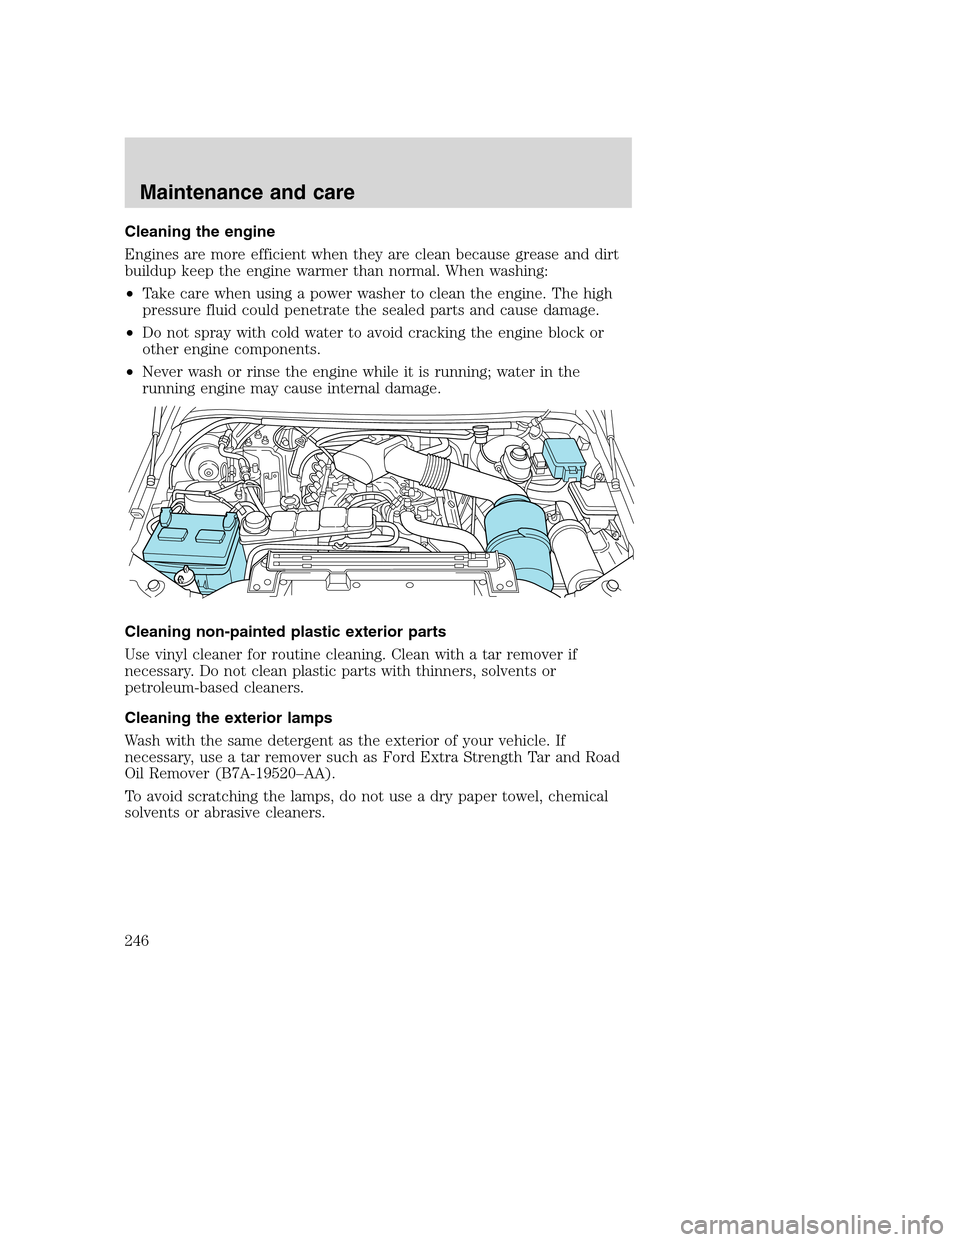
Cleaning the engine
Engines are more efficient when they are clean because grease and dirt
buildup keep the engine warmer than normal. When washing:
•Take care when using a power washer to clean the engine. The high
pressure fluid could penetrate the sealed parts and cause damage.
•Do not spray with cold water to avoid cracking the engine block or
other engine components.
•Never wash or rinse the engine while it is running; water in the
running engine may cause internal damage.
Cleaning non-painted plastic exterior parts
Use vinyl cleaner for routine cleaning. Clean with a tar remover if
necessary. Do not clean plastic parts with thinners, solvents or
petroleum-based cleaners.
Cleaning the exterior lamps
Wash with the same detergent as the exterior of your vehicle. If
necessary, use a tar remover such as Ford Extra Strength Tar and Road
Oil Remover (B7A-19520–AA).
To avoid scratching the lamps, do not use a dry paper towel, chemical
solvents or abrasive cleaners.
Maintenance and care
246
Page 254 of 288
ItemFord part
name or
equivalentFord part
numberFord
specification
Engine oilMotorcraft SAE
5W-20 Super
Premium Motor
OilXO-5W20-QSP WSS-M2C153-H
and API
Certification
Mark
Hinges, latches,
striker plates,
fuel filler door
hinge and seat
tracksMulti-Purpose
GreaseDOAZ-19584-AA
or
F5AZ-19G209-AAESB-M1C93-B or
ESR-M1C159-A
Lock cylindersMotorcraft
penetrating and
lock lubricantMotorcraft XL-1 none
Transmission
/steering/parking
brake linkages
and pivots,
brake and clutch
pedal shaft (if
equipped)Premium
Long-Life GreaseXG-1-C or
XG-1-KESA-M1C75-B
Power steering
fluid and
transfer case
fluid (if
equipped)Motorcraft
MERCON�AT FXT-2-QDX MERCON�
Manual
transmission
(5-speed)Synthetic
MERCON�AT F
2
E6AZ-19582-B MERCON�
Manual
transmission
(6-speed)Motorcraft
MERCON�AT F
2
XT-2-QDX MERCON�
Capacities and specifications
254
Page 262 of 288
Vehicle identification number
The vehicle identification number is
attached to a metal tag and is
located on the driver side
instrument panel. (Please note that
in the graphic XXXX is
representative of your vehicle
identification number.)
Engine number
The engine number (the last eight numbers of the vehicle identification
number) is stamped on the engine block, transmission, frame and
transfer case (if equipped).
XXXXXXXXXXXXXXXXX
Capacities and specifications
262