Page 4 of 88
These are some of the symbols you may see on your vehicle.
Vehicle Symbol Glossary
Safety Alert
See Owner's Guide
Fasten Safety BeltAir Bag-Front
Air Bag-SideChild Seat
Child Seat Installation
WarningChild Seat Tether
Anchorage
Brake SystemAnti-Lock Brake System
Brake Fluid -
Non-Petroleum BasedTraction Control
Master Lighting SwitchHazard Warning Flasher
Fog Lamps-FrontFuse Compartment
Fuel Pump ResetWindshield Wash/Wipe
Windshield
Defrost/DemistRear Window
Defrost/Demist
Power Windows
Front/RearPower Window Lockout
Introduction
4
Page 7 of 88

These temporary malfunctions can be corrected by filling the fuel tank
with high quality fuel of the recommended octane and/or properly
installing and securely tightening the gas cap. After three driving cycles
without these or any other temporary malfunctions present, theService
Engine Soonlight should turn off. (A driving cycle consists of a cold
engine startup followed by mixed city/highway driving.) No additional
vehicle service is required.
If theService Engine Soonlight remains on, have your vehicle serviced
at the first available opportunity.
Light is blinking:
Engine misfire is occurring which could damage your catalytic converter.
You should drive in a moderate fashion (avoid heavy acceleration and
deceleration) and have your vehicle serviced at the first available
opportunity.
Under engine misfire conditions, excessive exhaust temperatures
could damage the catalytic converter, the fuel system, interior
floor coverings or other vehicle components, possibly causing a fire.
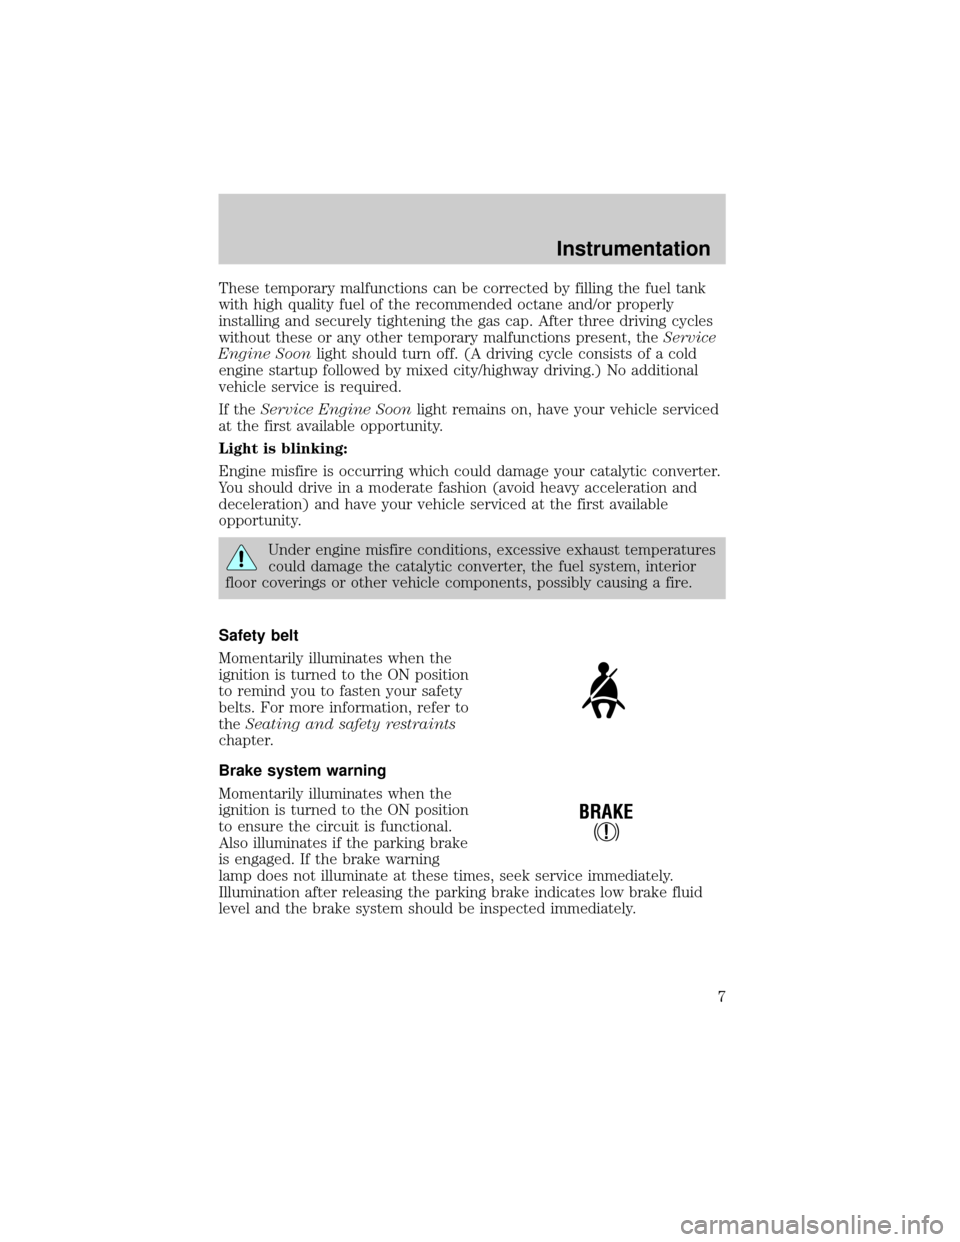
Safety belt
Momentarily illuminates when the
ignition is turned to the ON position
to remind you to fasten your safety
belts. For more information, refer to
theSeating and safety restraints
chapter.
Brake system warning
Momentarily illuminates when the
ignition is turned to the ON position
to ensure the circuit is functional.
Also illuminates if the parking brake
is engaged. If the brake warning
lamp does not illuminate at these times, seek service immediately.
Illumination after releasing the parking brake indicates low brake fluid
level and the brake system should be inspected immediately.
!
BRAKE
Instrumentation
7
Page 9 of 88
Charging system
Illuminates when the ignition is
turned to the ON position and the
engine is off. The light also
illuminates when the battery is not
charging properly, requiring
electrical system service.
Safety belt warning chime
Sounds to remind you to fasten your safety belts.
For information on the safety belt warning chime, refer to theSeating
and safety restraintschapter.
GAUGES
Speedometer
Indicates the current vehicle speed.
0 1020304050
60
70
80
90
10 0
20 km/h
406080
10 0
12 0
14 0
H
L
16 0
MPH
000000
0000
18
8FH
C
E
0 1020304050
60
70
80
90
10 0
20 km/h
406080
10 0
12 0
14 0
16 0
MPH
000000
0000
Instrumentation
9
Page 19 of 88
Important safety precautions
A computer system controls the engine's idle revolutions per minute
(RPM). When the engine starts, the idle RPM runs faster to warm the
engine. If the engine idle speed does not slow down automatically, have
the vehicle checked.
Before starting the vehicle:
1. Make sure all vehicle occupants have buckled their safety belts. For
more information on safety belts and their proper usage, refer to the
Seating and safety restraintschapter.
2. Make sure the vehicle accessories are off.
²Make sure the parking brake is
set.
²Make sure the gearshift is in P
(Park).
3. Turn the key to 4 (ON) without
turning the key to 5 (START).
If there is difficulty in turning the
key, firmly rotate the steering wheel
left and right until the key turns
freely. This condition may occur
when:
²front wheels are turned
²front wheel is against the curb
²steering wheel is turned when getting in or out of the vehicle
1
2
34
5
Starting
19
Page 20 of 88

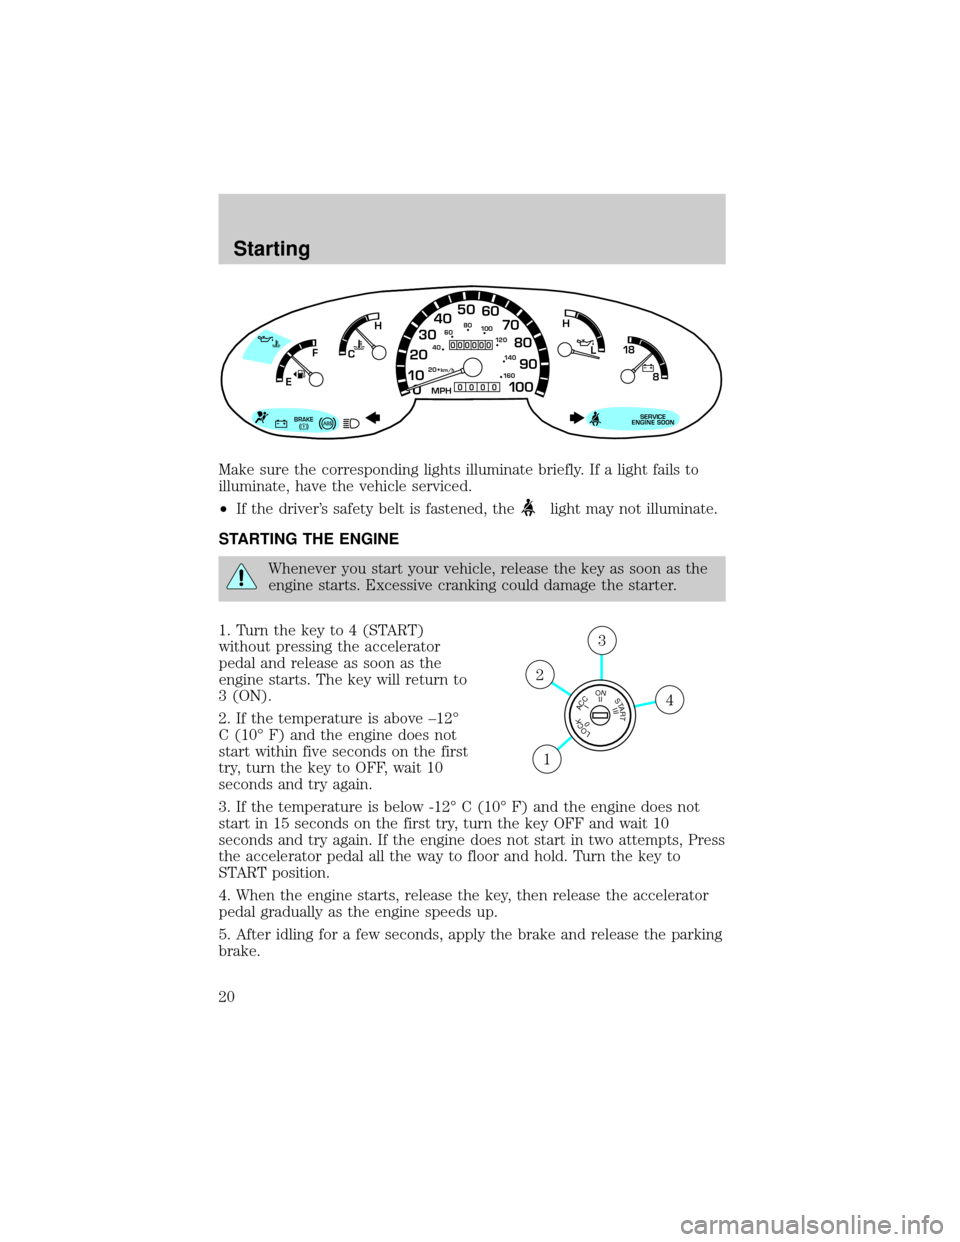
Make sure the corresponding lights illuminate briefly. If a light fails to
illuminate, have the vehicle serviced.
²If the driver's safety belt is fastened, the
light may not illuminate.
STARTING THE ENGINE
Whenever you start your vehicle, release the key as soon as the
engine starts. Excessive cranking could damage the starter.
1. Turn the key to 4 (START)
without pressing the accelerator
pedal and release as soon as the
engine starts. The key will return to
3 (ON).
2. If the temperature is above ±12É
C (10É F) and the engine does not
start within five seconds on the first
try, turn the key to OFF, wait 10
seconds and try again.
3. If the temperature is below -12É C (10É F) and the engine does not
start in 15 seconds on the first try, turn the key OFF and wait 10
seconds and try again. If the engine does not start in two attempts, Press
the accelerator pedal all the way to floor and hold. Turn the key to
START position.
4. When the engine starts, release the key, then release the accelerator
pedal gradually as the engine speeds up.
5. After idling for a few seconds, apply the brake and release the parking
brake.
0 1020304050
60
70
80
90
10 0
20 km/h
406080
10 0
12 0
14 0
H
L
16 0
MPH
000000
0000
BRAKE
18
8
SERVICE
ENGINE SOON
FH
C
E
LOCKACCONSTART0IIIIII4
3
2
1
Starting
20
Page 46 of 88
²4.0L SOHC
5. Ensure that the cables are clear of fan blades, belts, moving parts of
both engines, or any fuel delivery system parts.
Jump starting
1. Start the engine of the booster vehicle and run the engine at
moderately increased speed.
2. Start the engine of the disabled vehicle.
3. Once the disabled vehicle has been started, run both engines for an
additional three minutes before disconnecting the jumper cables.
+–+–
Roadside emergencies
46
Page 49 of 88

WRECKER TOWING
If the vehicle needs towing, a wheel lift or flatbed equipment is
recommended.
If a slingbelt or J-hook method is used, towing the vehicle from the rear
is recommended.
If the vehicle must be towed from the front with a slingbelt or J-hook,
the air dam may be damaged unless it is protected by using a wooden
crossbeam and spacer block assembly.
Although not desired, it is permissible to tow with the rear wheels on the
ground with the speed and distance limitations.
²Place the transmission in N(Neutral).
²Do not exceed a distance of 80 km (50 miles).
²Do not exceed 56 km/h (35 mph) vehicle speed.
If a distance of 80 km (50 miles) and/or a vehicle speed of 56 km/h (35
mph) must be exceeded, the drive shaft must be removed prior to
towing.
To protect the air dam, refer to the following instructions and
illustrations
1. Position the wooden crossbeam and spacer block assembly under the
frame rails, behind the front bumper and air dam.
2. Install the tow chains through the notches in the air dam and below
the crossbeam and spacer block assembly.
3. Hook the tow chains over the curved cradles on the top of the lower
suspension A-arms.
Roadside emergencies
49
Page 70 of 88

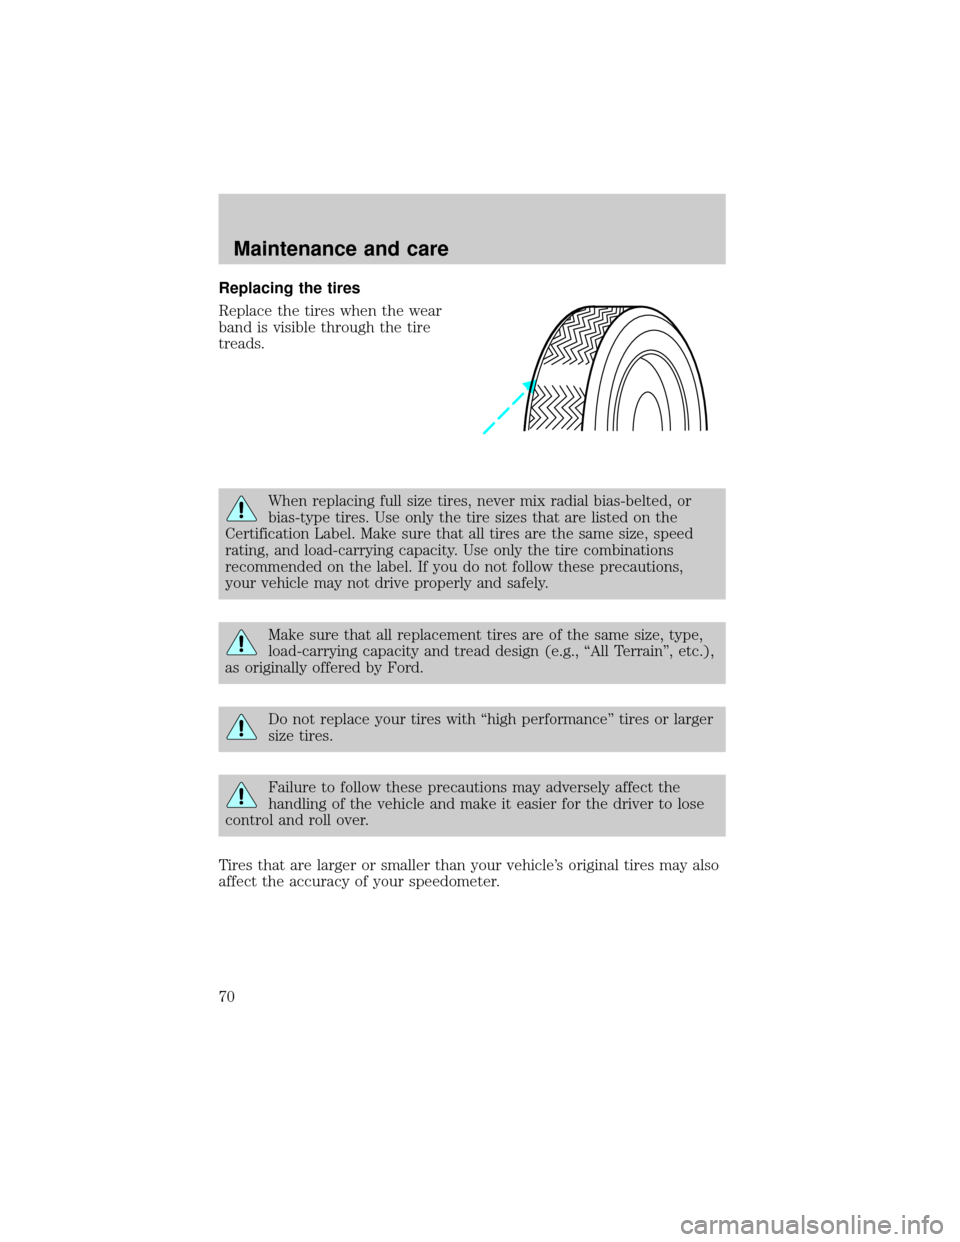
Replacing the tires
Replace the tires when the wear
band is visible through the tire
treads.
When replacing full size tires, never mix radial bias-belted, or
bias-type tires. Use only the tire sizes that are listed on the
Certification Label. Make sure that all tires are the same size, speed
rating, and load-carrying capacity. Use only the tire combinations
recommended on the label. If you do not follow these precautions,
your vehicle may not drive properly and safely.
Make sure that all replacement tires are of the same size, type,
load-carrying capacity and tread design (e.g., ªAll Terrainº, etc.),
as originally offered by Ford.
Do not replace your tires with ªhigh performanceº tires or larger
size tires.
Failure to follow these precautions may adversely affect the
handling of the vehicle and make it easier for the driver to lose
control and roll over.
Tires that are larger or smaller than your vehicle's original tires may also
affect the accuracy of your speedometer.
Maintenance and care
70