2001 FORD F SERIES MOTORHOME AND COMMERCIAL CHASSIS maintenance reset
[x] Cancel search: maintenance resetPage 10 of 104
Fuel reset
Illuminates when the ignition is
turned to the ON position and the
fuel pump shut-off switch has been
triggered. For more information,
refer toFuel pump shut-off switch
in theRoadside emergencieschapter.
High beams
Illuminates when the high beam
headlamps are turned on.
Turn signal
Illuminates when the left or right
turn signal or the hazard lights are
turned on. Refer toBulbsin the
Maintenance and carechapter.
Safety belt warning chime (if equipped)
Sounds to remind you to fasten your safety belts.
Key-in-ignition warning chime (if equipped)
Sounds when the key is left in the ignition in the OFF/LOCK or ACC
position and the driver’s door is opened.
Headlamps on warning chime (if equipped)
Sounds when the headlamps or parking lamps are on, the ignition is off
(and the key is not in the ignition) and the driver’s door is opened.
FUEL
RESET
Instrumentation
10
Page 11 of 104
GAUGES
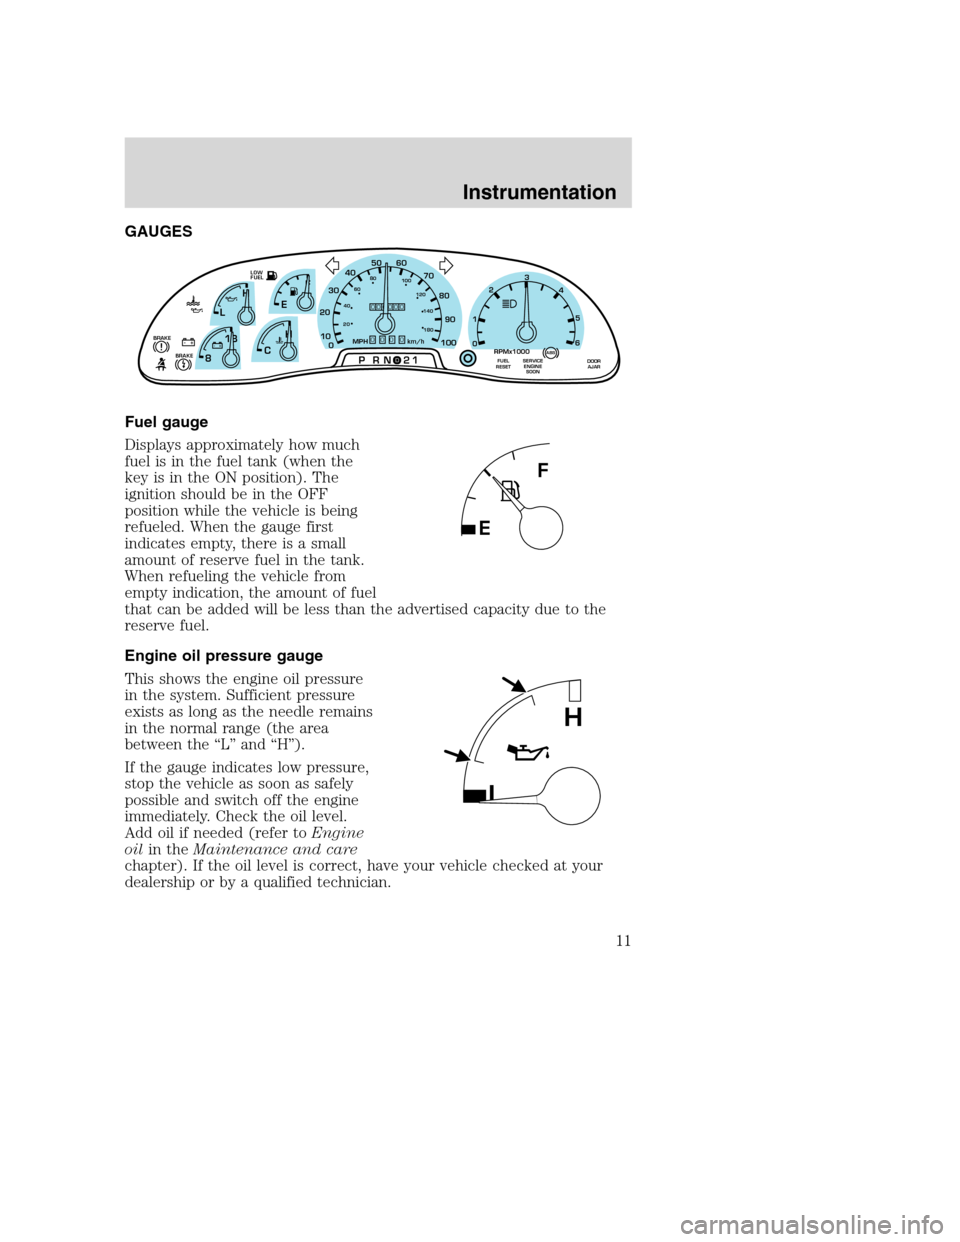
Fuel gauge
Displays approximately how much
fuel is in the fuel tank (when the
key is in the ON position). The
ignition should be in the OFF
position while the vehicle is being
refueled. When the gauge first
indicates empty, there is a small
amount of reserve fuel in the tank.
When refueling the vehicle from
empty indication, the amount of fuel
that can be added will be less than the advertised capacity due to the
reserve fuel.
Engine oil pressure gauge
This shows the engine oil pressure
in the system. Sufficient pressure
exists as long as the needle remains
in the normal range (the area
between the “L” and “H”).
If the gauge indicates low pressure,
stop the vehicle as soon as safely
possible and switch off the engine
immediately. Check the oil level.
Add oil if needed (refer toEngine
oilin theMaintenance and care
chapter). If the oil level is correct, have your vehicle checked at your
dealership or by a qualified technician.
F
E
CH H
L
18
8
PRN 21LOW
FUEL
+ -+ -000000000
0
50
60
70
20
10
0 3040
80
90
100
20406080
100
120
140
180
MPH km/hBRAKE!
1
02
RPMx1000
3
4
5
6
SERVICE
ENGINE
SOONABSFUEL
RESETDOOR
AJARBRAKE
L
H
Instrumentation
11
Page 68 of 104
If you drive in extremely hot climates:
•it is still necessary to maintain the coolant concentration
above 40%.
•NEVER decrease the coolant concentration below 40%.
•decreased engine coolant concentrations below 40% will
decrease the corrosion protection characteristics of the engine
coolant and may cause engine damage.
•decreased engine coolant concentrations below 40% will
decrease the freeze protection characteristics of the engine
coolant and may cause engine damage.
•refer to the chart on the coolant container to ensure the
coolant concentration in your vehicle will provide adequate
protection at the temperatures in which you drive.
Vehicles driven year-round in non-extreme climates should use a 50/50
mixture of engine coolant and distilled water for optimum cooling system
and engine protection.
What you should know about fail-safe cooling
If the engine coolant supply is depleted, this feature allows the vehicle to
be driven temporarily before incremental component damage is incurred.
The “fail-safe” distance depends on ambient temperatures, vehicle load
and terrain.
How fail-safe cooling works
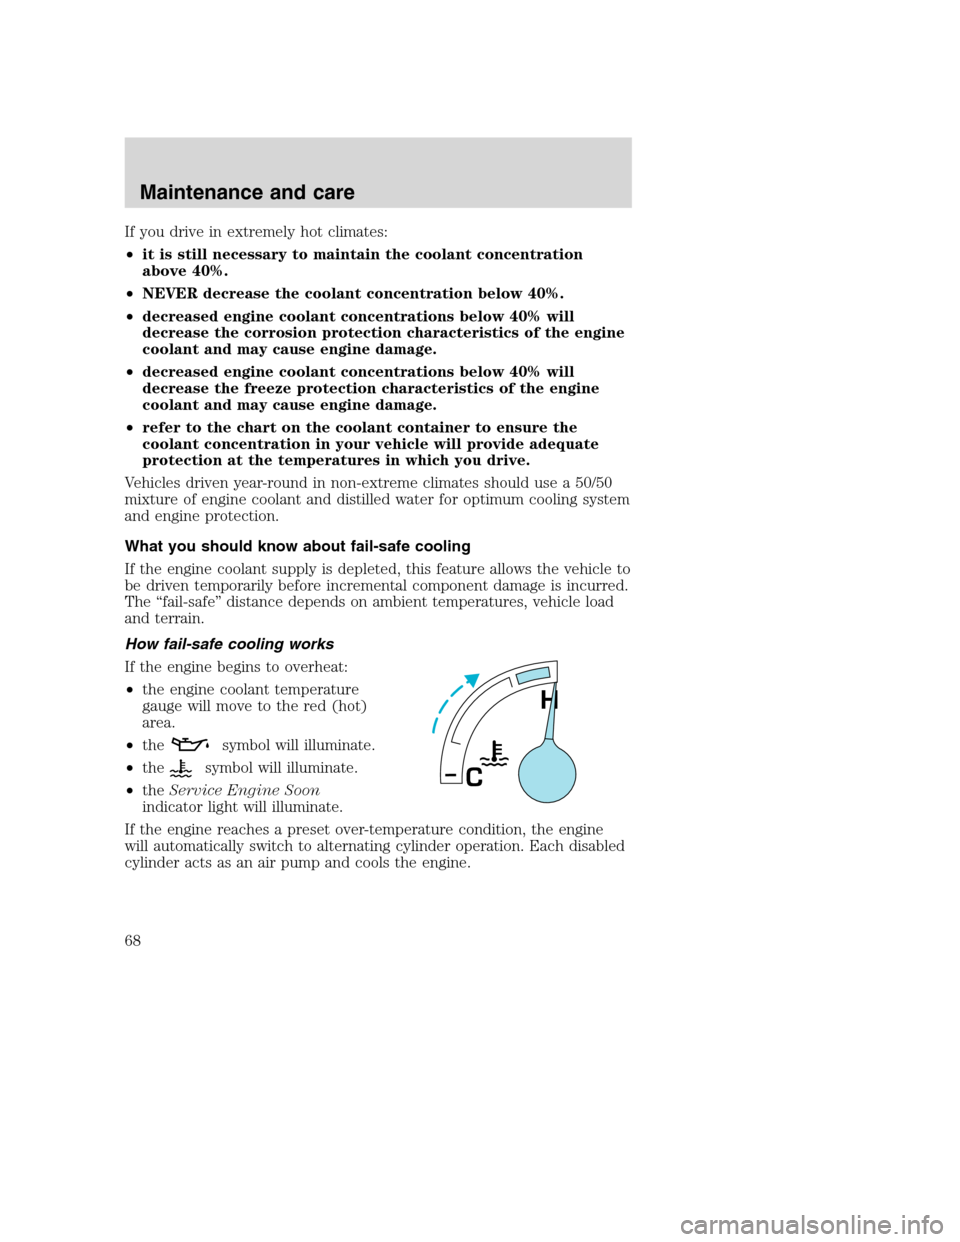
If the engine begins to overheat:
•the engine coolant temperature
gauge will move to the red (hot)
area.
•the
symbol will illuminate.
•the
symbol will illuminate.
•theService Engine Soon
indicator light will illuminate.
If the engine reaches a preset over-temperature condition, the engine
will automatically switch to alternating cylinder operation. Each disabled
cylinder acts as an air pump and cools the engine.
H
C
Maintenance and care
68
Page 75 of 104
Because your vehicle’s engine is also electronically controlled by a
computer, some control conditions are maintained by power from the
battery. When the battery is disconnected or a new battery is installed,
the engine must relearn its idle and fuel trim strategy for optimum
driveability and performance. To begin this process:
1. With the vehicle at a complete stop, set the parking brake.
2. Put the gearshift in P (Park), turn off all accessories and start the
engine.
3. Run the engine until it reaches normal operating temperature.
4. Allow the engine to idle for at least one minute.
5. Turn the A/C on and allow the engine to idle for at least one minute.
6. With your foot on the brake pedal and with the A/C on, put the
vehicle in D (Drive) and allow the engine to idle for at least one minute.
7. Drive the vehicle to complete the relearning process.
•The vehicle may need to be driven 16 km (10 miles) or more to
relearn the idle and fuel trim strategy.
•If you do not allow the engine to relearn its idle trim, the idle
quality of your vehicle may be adversely affected until the idle
trim is eventually relearned.
If the battery has been disconnected or a new battery has been installed,
the clock and the preset radio stations must be reset once the battery is
reconnected.
•Always dispose of automotive
batteries in a responsible manner.
Follow your local authorized
standards for disposal. Call your
local authorized recycling center
to find out more about recycling
automotive batteries.
LEAD
RETURN
RECYCLE
Maintenance and care
75
Page 90 of 104
If other than Ford, Motorcraft or Ford-authorized parts are used for
maintenance replacements or for service of components affecting
emission control, such non-Ford parts should be equivalent to genuine
Ford Motor Company parts in performance and durability.
Do not park, idle, or drive your vehicle in dry grass or other dry
ground cover. The emission system heats up the engine
compartment and exhaust system, which can start a fire.
Illumination of the “Service Engine Soon” light, charging system warning
light or the temperature warning light, fluid leaks, strange odors, smoke
or loss of engine power, could indicate that the emission control system
is not working properly.
Exhaust leaks may result in entry of harmful and potentially
lethal fumes into the passenger compartment.
Do not make any unauthorized changes to your vehicle or engine. By
law, vehicle owners and anyone who manufactures, repairs, services,
sells, leases, trades vehicles, or supervises a fleet of vehicles are not
permitted to intentionally remove an emission control device or prevent
it from working. Information about your vehicle’s emission system is on
the Vehicle Emission Control Information Decal located on or near the
engine. This decal identifies engine displacement and gives some tune up
specifications.
Please consult your “Warranty Guide” for complete emission warranty
information.
Readiness for Inspection/Maintenance (I/M) testing
In some localities, it may be a legal requirement to pass an I/M test of
the on-board diagnostics system. If your “Check Engine/Service Engine
Soon” light is on, refer to the description in theWarning Lights and
Chimessection of theInstrumentationchapter. Your vehicle may not
pass the I/M test with the “Check Engine/Service Engine Soon” light on.
If the vehicle’s powertrain system or its battery has just been serviced,
the on-board diagnostics system is reset to a “not ready for I/M test”
condition. To ready the on-board diagnostics system for I/M testing, a
minimum of 30 minutes of city and highway driving is necessary as
described below:
•First, at least 10 minutes of driving on an expressway or highway.
Maintenance and care
90
Page 102 of 104
warning chime ..........................10
I
Ignition .............................16, 96–97
Inspection/maintenance (I/M)
testing ..........................................90
Instrument panel
cluster ..........................................6
lighting up panel and
interior .......................................16
J
Jack ..............................................48
positioning .................................48
storage .......................................48
Jump-starting your vehicle ........52
K
Keys
key in ignition chime ...............10
positions of the ignition ...........16
L
Lamps
cargo lamps ...............................16
daytime running light ...............15
headlamps .................................15
headlamps, flash to pass ..........16
instrument panel, dimming .....16
replacing bulbs .........................91
Lights, warning and indicator ......6
anti-lock brakes (ABS) ........9, 28
brake ............................................7
charging system ..........................7
check coolant ..............................6
door ajar ......................................9engine oil pressure .....................6
fuel reset ...................................10
high beam .................................10
low fuel ........................................6
safety belt ...................................7
service engine soon ....................8
turn signal indicator .................10
Load limits ...................................33
GAWR ........................................33
GVWR ........................................33
trailer towing ............................33
Lubricant specifications .......95–96
M
Motorcraft parts ....................87, 93
O
Octane rating ..............................82
Odometer .....................................13
Oil (see Engine oil) ....................58
Overdrive .....................................21
P
Parking brake ..............................29
Parts (see Motorcraft parts) ......93
Power distribution box (see
Fuses) ..........................................44
Power steering
fluid, checking and adding ......70
fluid, refill capacity ..................94
fluid, specifications .............95–96
R
Relays ....................................41, 48
2001 Motorhome(mot)
Supplement(supplement)
USA English(fus)
Index
102