2001 FORD F SERIES MOTORHOME AND COMMERCIAL CHASSIS load capacity
[x] Cancel search: load capacityPage 33 of 104
•towing a trailer up or down steep hills.
•additional engine downhill braking is desired. If towing a trailer, refer
toDriving while you towin theTrailer towingsection.
To return to
(Overdrive) mode, press the transmission control switch
(TCS). The TCIL (the word OFF) will no longer be illuminated.
Each time the vehicle is started, the transmission will automatically
return to normal overdrive mode.
Every time the vehicle is shut off and restarted, you must press the
transmission control switch to cancel overdrive operation if driving in
overdrive is not desired.
2 (Second)
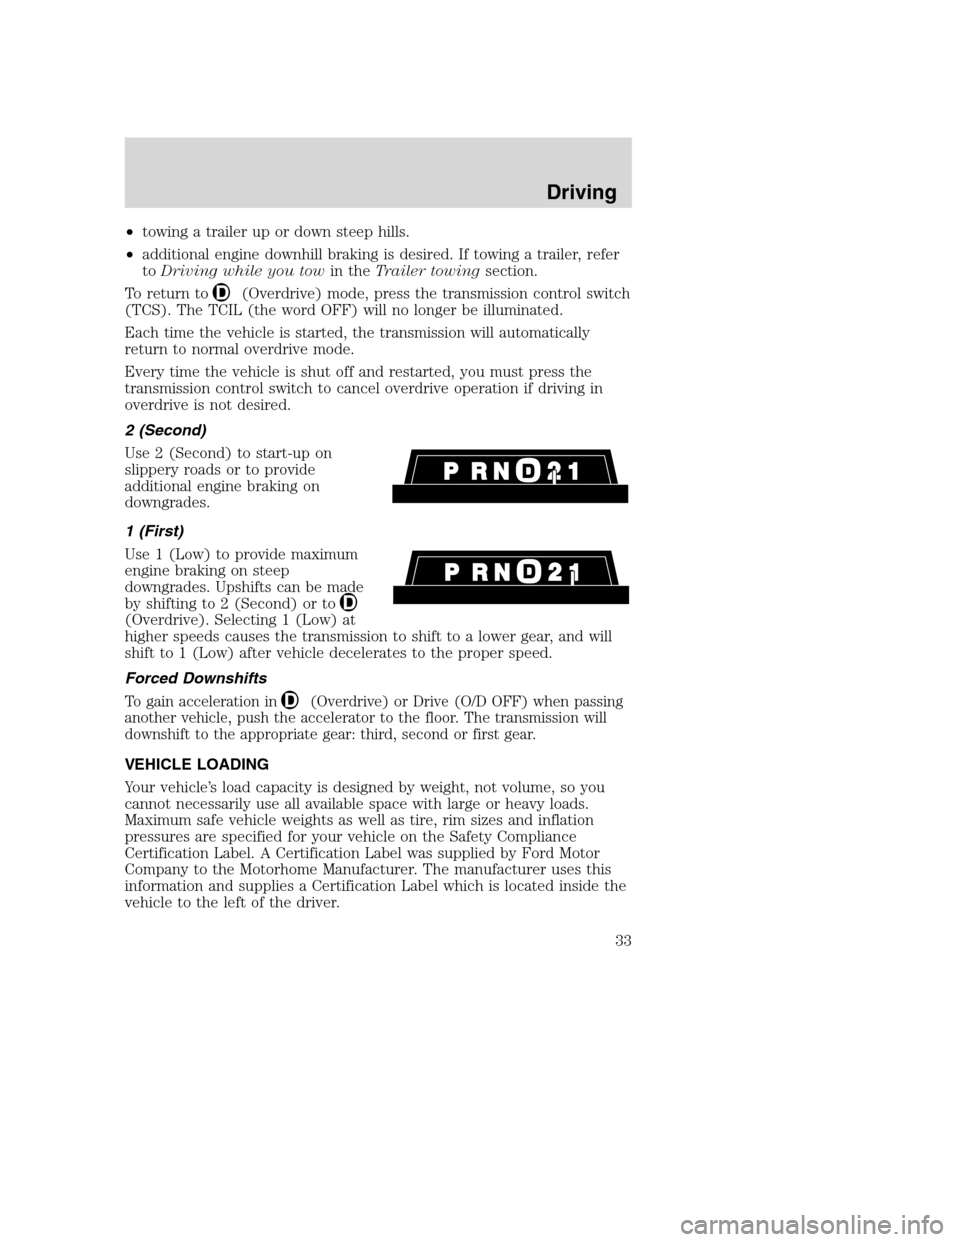
Use 2 (Second) to start-up on
slippery roads or to provide
additional engine braking on
downgrades.
1 (First)
Use 1 (Low) to provide maximum
engine braking on steep
downgrades. Upshifts can be made
by shifting to 2 (Second) or to
(Overdrive). Selecting 1 (Low) at
higher speeds causes the transmission to shift to a lower gear, and will
shift to 1 (Low) after vehicle decelerates to the proper speed.
Forced Downshifts
To gain acceleration in(Overdrive) or Drive (O/D OFF) when passing
another vehicle, push the accelerator to the floor. The transmission will
downshift to the appropriate gear: third, second or first gear.
VEHICLE LOADING
Your vehicle’s load capacity is designed by weight, not volume, so you
cannot necessarily use all available space with large or heavy loads.
Maximum safe vehicle weights as well as tire, rim sizes and inflation
pressures are specified for your vehicle on the Safety Compliance
Certification Label. A Certification Label was supplied by Ford Motor
Company to the Motorhome Manufacturer. The manufacturer uses this
information and supplies a Certification Label which is located inside the
vehicle to the left of the driver.
Driving
33
Page 34 of 104
Before loading a vehicle, familiarize yourself with the following terms:
•Base Curb Weight:Weight of the vehicle including any standard
equipment, fluids, lubricants, etc. It does not include passengers or
aftermarket equipment.
•Payload:Combined maximum allowable weight of cargo, passengers
and optional equipment. The payload equals the gross vehicle weight
rating minus base curb weight.
•GVW (Gross Vehicle Weight):Base curb weight plus payload
weight. The GVW is not a limit or a specification.
•GVWR (Gross Vehicle Weight Rating):Maximum total weight of
the base vehicle, passengers, optional equipment and cargo. The
GVWR is specific to each vehicle and is listed on the Certification
Label, located near the driver’s seat or on the driver’s door pillar.
•GAWR (Gross Axle Weight Rating):Carrying capacity for each axle
system. The GAWR is specific to each vehicle and is listed on the
Certification Label, located near the driver’s seat or on the driver’s
door pillar.
•GCWR (Gross Combined Weight Rating):Maximum combined
weight of towing vehicle (including passengers and cargo) and the
trailer.
•Maximum Trailer Weight Rating:Maximum weight of a trailer the
loaded vehicle (including passengers and cargo) is permitted to tow.
The maximum trailer weight rating is determined by subtracting the
vehicle curb weight for each engine/transmission combination, any
required option weight for trailer towing and the weight of the driver
from the GCWR for the towing vehicle.
•Trailer Weight Range:Specified weight range that the trailer must
fall within that ranges from zero to the maximum trailer weight rating.
Remember to figure in the tongue load of your loaded trailer when
figuring the total weight.
Do not exceed the GVWR or the GAWR specified on the
certification label.
Do not use replacement tires with lower weight capacities than the
originals because they may lower the vehicle’s GVWR and GAWR
limitations. Replacement tires with a higher weight limit than the
originals do not increase the GVWR and GAWR limitations.
Driving
34
Page 78 of 104
Tire rotation
Because your vehicle’s tires perform different jobs, they often wear
differently. To make sure your tires wear evenly and last longer, rotate
them as indicated in the scheduled maintenance guide. If you notice that
the tires wear unevenly, have them checked.
Your front tires should be rotated from side to side. If the spare tire is
used in the rotation, the pattern should be; left front to right front; right
front to the spare and the spare to left front.
Do not rotate the dual tires.
Replacing the tires
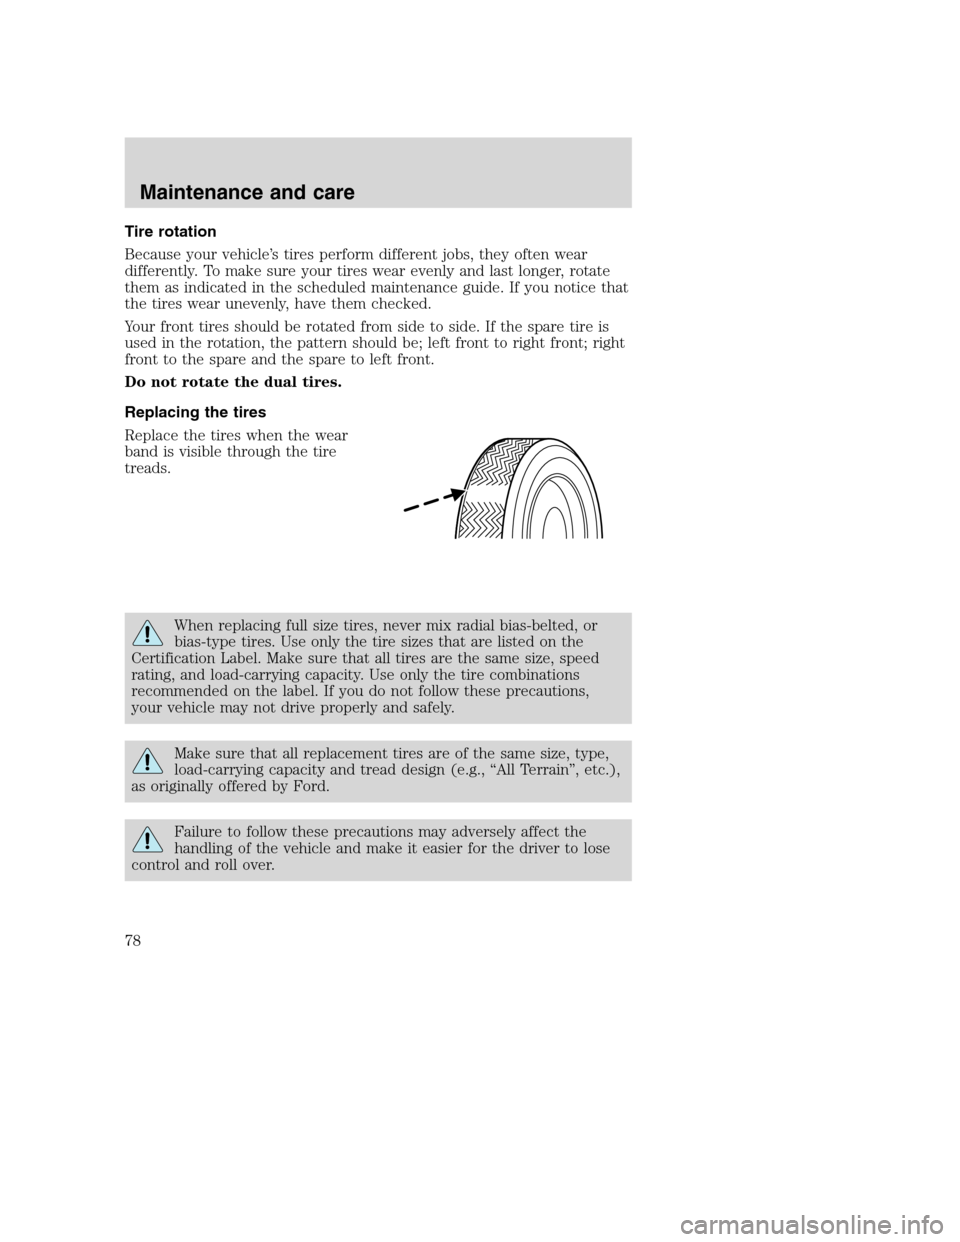
Replace the tires when the wear
band is visible through the tire
treads.
When replacing full size tires, never mix radial bias-belted, or
bias-type tires. Use only the tire sizes that are listed on the
Certification Label. Make sure that all tires are the same size, speed
rating, and load-carrying capacity. Use only the tire combinations
recommended on the label. If you do not follow these precautions,
your vehicle may not drive properly and safely.
Make sure that all replacement tires are of the same size, type,
load-carrying capacity and tread design (e.g., “All Terrain”, etc.),
as originally offered by Ford.
Failure to follow these precautions may adversely affect the
handling of the vehicle and make it easier for the driver to lose
control and roll over.
Maintenance and care
78
Page 84 of 104
Filling the tank
The advertised fuel capacity of the fuel tank on your vehicle is equal to
the rated refill capacity of the fuel tank as listed in theRefill Capacities
section of theCapacities and specificationschapter.
The advertised capacity is the amount of the indicated capacity and the
empty reserve combined. Indicated capacity is the difference in the
amount of fuel in a full tank and a tank when the fuel gauge indicates
empty. Empty reserve is the small amount of fuel remaining in the fuel
tank after the fuel gauge indicates empty.
The amount of usable fuel in the empty reserve varies and should
not be relied upon to increase driving range. When refueling your
vehicle after the fuel gauge indicates empty, you might not be
able to refuel the full amount of the advertised capacity of the
fuel tank due to the empty reserve still present in the tank.
For consistent results when filling the fuel tank:
•Turn the engine/ignition switch to the off position prior to refueling,
an error in the reading will result if the engine is left running.
•Use the same filling rate setting (low — medium — high) each time
the tank is filled.
•Allow no more than 2 automatic click-offs when filling.
•Always use fuel with the recommended octane rating.
•Use a known quality gasoline, preferably a national brand.
•Use the same side of the same pump and have the vehicle facing the
same direction each time you fill up.
•Have the vehicle loading and distribution the same every time.
Your results will be most accurate if your filling method is consistent.
Calculating fuel economy
1. Fill the fuel tank completely and record the initial odometer reading
(in kilometers or miles).
2. Each time you fill the tank, record the amount of fuel added (in liters
or gallons).
3. After at least three to five tank fill-ups, fill the fuel tank and record
the current odometer reading.
4. Subtract your initial odometer reading from the current odometer
reading.
Maintenance and care
84
Page 101 of 104
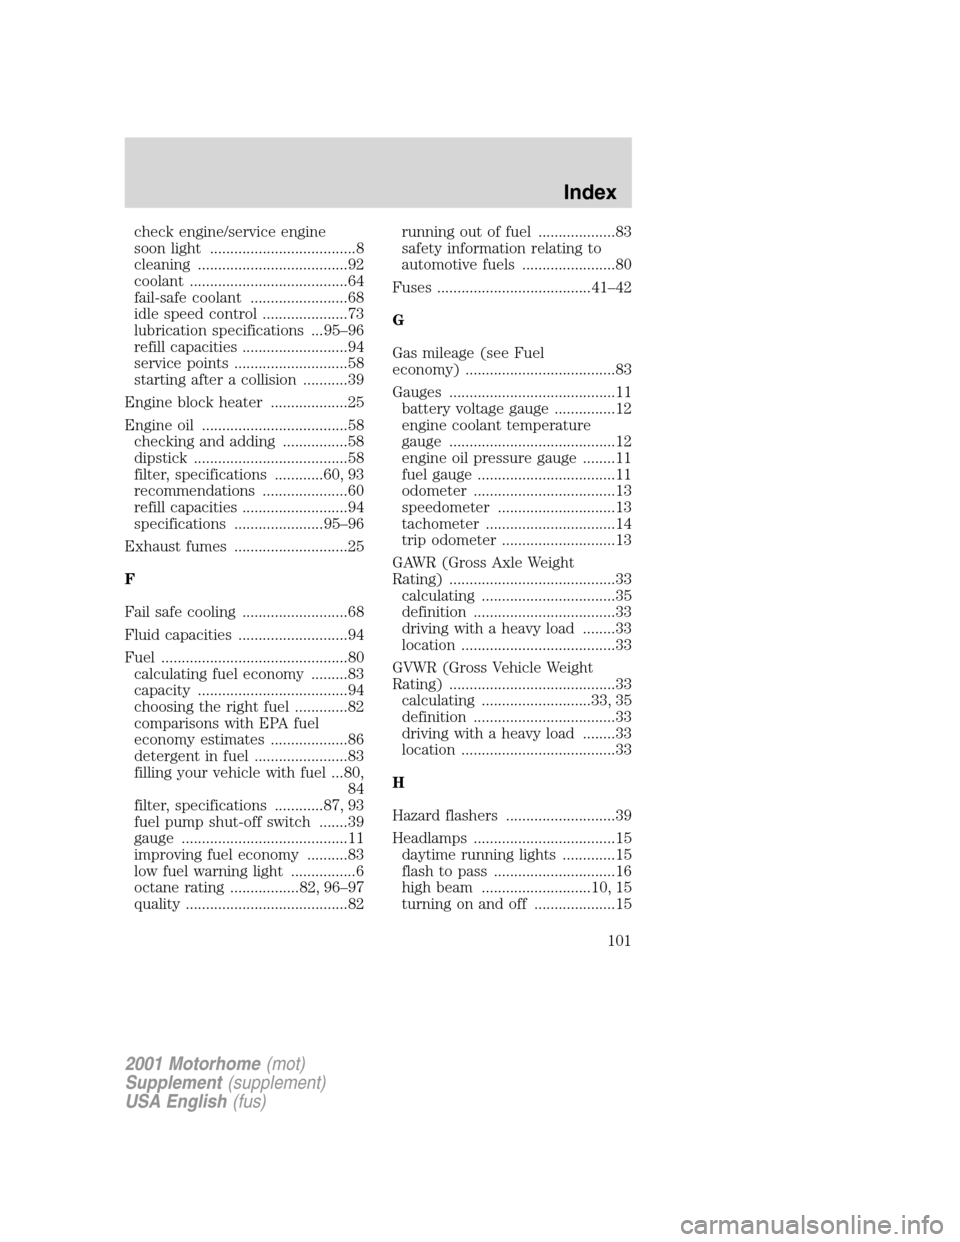
check engine/service engine
soon light ....................................8
cleaning .....................................92
coolant .......................................64
fail-safe coolant ........................68
idle speed control .....................73
lubrication specifications ...95–96
refill capacities ..........................94
service points ............................58
starting after a collision ...........39
Engine block heater ...................25
Engine oil ....................................58
checking and adding ................58
dipstick ......................................58
filter, specifications ............60, 93
recommendations .....................60
refill capacities ..........................94
specifications ......................95–96
Exhaust fumes ............................25
F
Fail safe cooling ..........................68
Fluid capacities ...........................94
Fuel ..............................................80
calculating fuel economy .........83
capacity .....................................94
choosing the right fuel .............82
comparisons with EPA fuel
economy estimates ...................86
detergent in fuel .......................83
filling your vehicle with fuel ...80,
84
filter, specifications ............87, 93
fuel pump shut-off switch .......39
gauge .........................................11
improving fuel economy ..........83
low fuel warning light ................6
octane rating .................82, 96–97
quality ........................................82running out of fuel ...................83
safety information relating to
automotive fuels .......................80
Fuses ......................................41–42
G
Gas mileage (see Fuel
economy) .....................................83
Gauges .........................................11
battery voltage gauge ...............12
engine coolant temperature
gauge .........................................12
engine oil pressure gauge ........11
fuel gauge ..................................11
odometer ...................................13
speedometer .............................13
tachometer ................................14
trip odometer ............................13
GAWR (Gross Axle Weight
Rating) .........................................33
calculating .................................35
definition ...................................33
driving with a heavy load ........33
location ......................................33
GVWR (Gross Vehicle Weight
Rating) .........................................33
calculating ...........................33, 35
definition ...................................33
driving with a heavy load ........33
location ......................................33
H
Hazard flashers ...........................39
Headlamps ...................................15
daytime running lights .............15
flash to pass ..............................16
high beam ...........................10, 15
turning on and off ....................15
2001 Motorhome(mot)
Supplement(supplement)
USA English(fus)
Index
101
Page 102 of 104
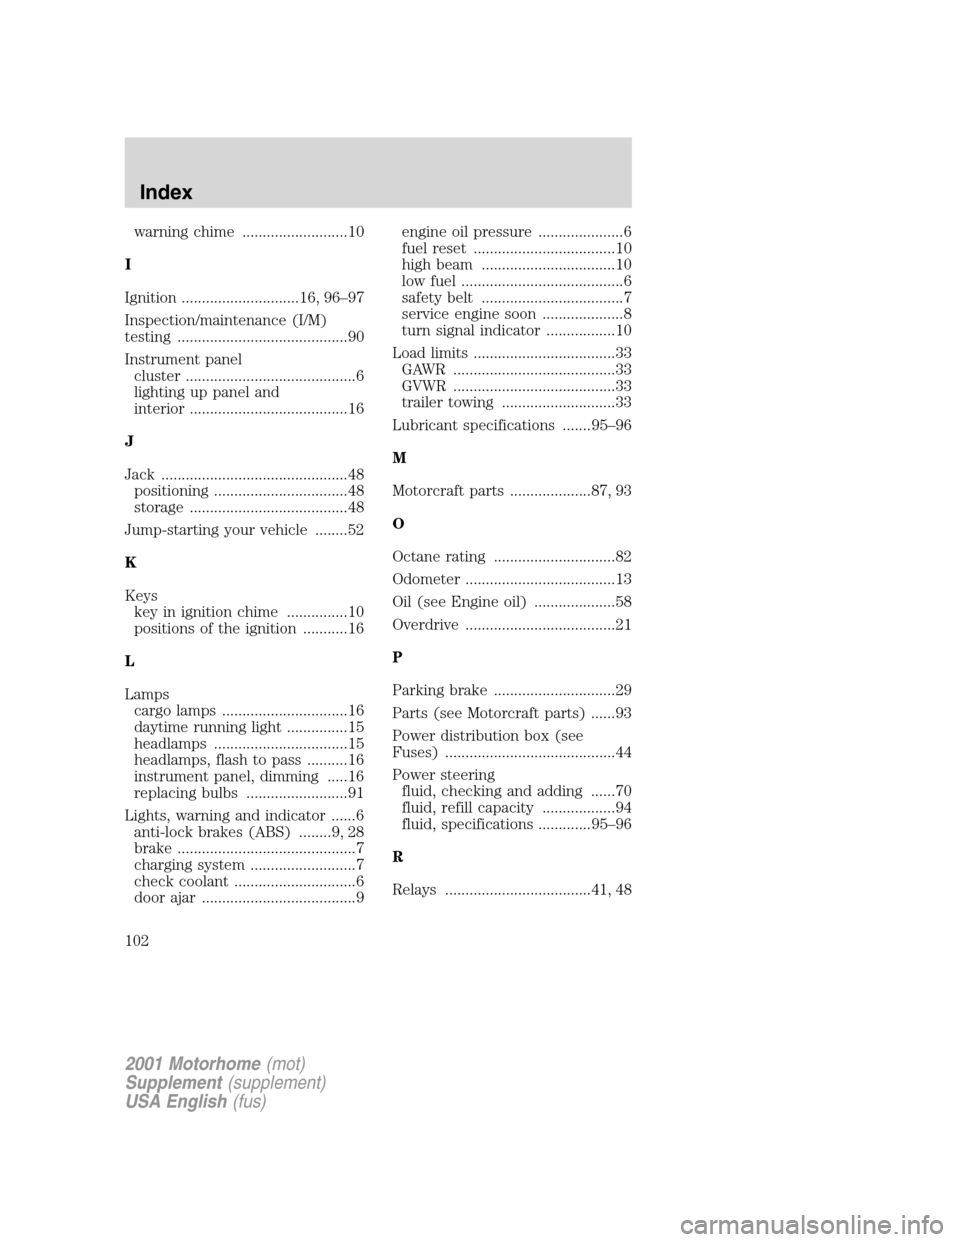
warning chime ..........................10
I
Ignition .............................16, 96–97
Inspection/maintenance (I/M)
testing ..........................................90
Instrument panel
cluster ..........................................6
lighting up panel and
interior .......................................16
J
Jack ..............................................48
positioning .................................48
storage .......................................48
Jump-starting your vehicle ........52
K
Keys
key in ignition chime ...............10
positions of the ignition ...........16
L
Lamps
cargo lamps ...............................16
daytime running light ...............15
headlamps .................................15
headlamps, flash to pass ..........16
instrument panel, dimming .....16
replacing bulbs .........................91
Lights, warning and indicator ......6
anti-lock brakes (ABS) ........9, 28
brake ............................................7
charging system ..........................7
check coolant ..............................6
door ajar ......................................9engine oil pressure .....................6
fuel reset ...................................10
high beam .................................10
low fuel ........................................6
safety belt ...................................7
service engine soon ....................8
turn signal indicator .................10
Load limits ...................................33
GAWR ........................................33
GVWR ........................................33
trailer towing ............................33
Lubricant specifications .......95–96
M
Motorcraft parts ....................87, 93
O
Octane rating ..............................82
Odometer .....................................13
Oil (see Engine oil) ....................58
Overdrive .....................................21
P
Parking brake ..............................29
Parts (see Motorcraft parts) ......93
Power distribution box (see
Fuses) ..........................................44
Power steering
fluid, checking and adding ......70
fluid, refill capacity ..................94
fluid, specifications .............95–96
R
Relays ....................................41, 48
2001 Motorhome(mot)
Supplement(supplement)
USA English(fus)
Index
102