Page 4 of 264
These are some of the symbols you may see on your vehicle.
Vehicle Symbol Glossary
Safety Alert
See Owner's Guide
Fasten Safety BeltAir Bag-Front
Air Bag-SideChild Seat
Child Seat Installation
WarningChild Seat Tether
Anchorage
Brake SystemAnti-Lock Brake System
Brake Fluid -
Non-Petroleum BasedTraction Control
Master Lighting SwitchHazard Warning Flasher
Fog Lamps-FrontFuse Compartment
Fuel Pump ResetWindshield Wash/Wipe
Windshield
Defrost/DemistRear Window
Defrost/Demist
Power Windows
Front/RearPower Window Lockout
Introduction
4
Page 15 of 264
Engine coolant temperature gauge
Indicates the temperature of the
engine coolant. At normal operating
temperature, the needle remains
within the normal area (the area
between the ªHº and ªCº). If it
enters the red section, the engine is
overheating. Stop the vehicle as
soon as safely possible, switch off
the engine immediately and let the
engine cool. Refer toEngine
coolantin theMaintenance and
carechapter.
Never remove the coolant reservoir cap while the engine is
running or hot.
This gauge indicates the temperature of the engine coolant, not the
coolant level. If the coolant is not at its proper level the gauge indication
will not be accurate.
Odometer
Registers the total kilometers
(miles) of the vehicle.
Trip odometer
Registers the kilometers (miles) of
individual journeys. To reset,
depress the control.
C
H
MPH 2060
4080
km/h
00
1
20
160100
140
180
20
MPH 2060
4080
km/h
00
1
20
160100
140
180
20
Instrumentation
15
Page 28 of 264
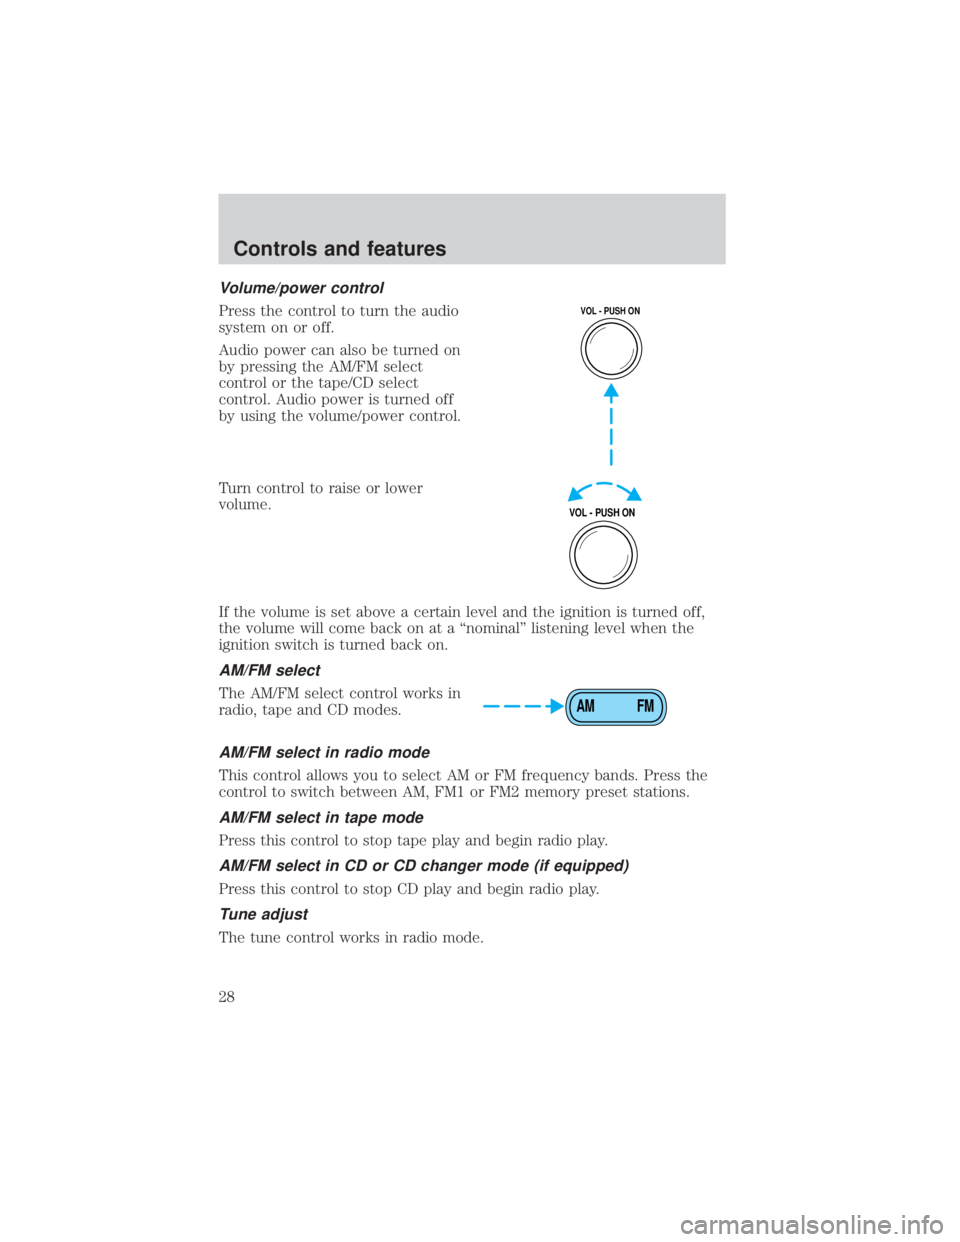
Volume/power control
Press the control to turn the audio
system on or off.
Audio power can also be turned on
by pressing the AM/FM select
control or the tape/CD select
control. Audio power is turned off
by using the volume/power control.
Turn control to raise or lower
volume.
If the volume is set above a certain level and the ignition is turned off,
the volume will come back on at a ªnominalº listening level when the
ignition switch is turned back on.
AM/FM select
The AM/FM select control works in
radio, tape and CD modes.
AM/FM select in radio mode
This control allows you to select AM or FM frequency bands. Press the
control to switch between AM, FM1 or FM2 memory preset stations.
AM/FM select in tape mode
Press this control to stop tape play and begin radio play.
AM/FM select in CD or CD changer mode (if equipped)
Press this control to stop CD play and begin radio play.
Tune adjust
The tune control works in radio mode.
VOL - PUSH ON
VOL - PUSH ON
AM FM
Controls and features
28
Page 30 of 264
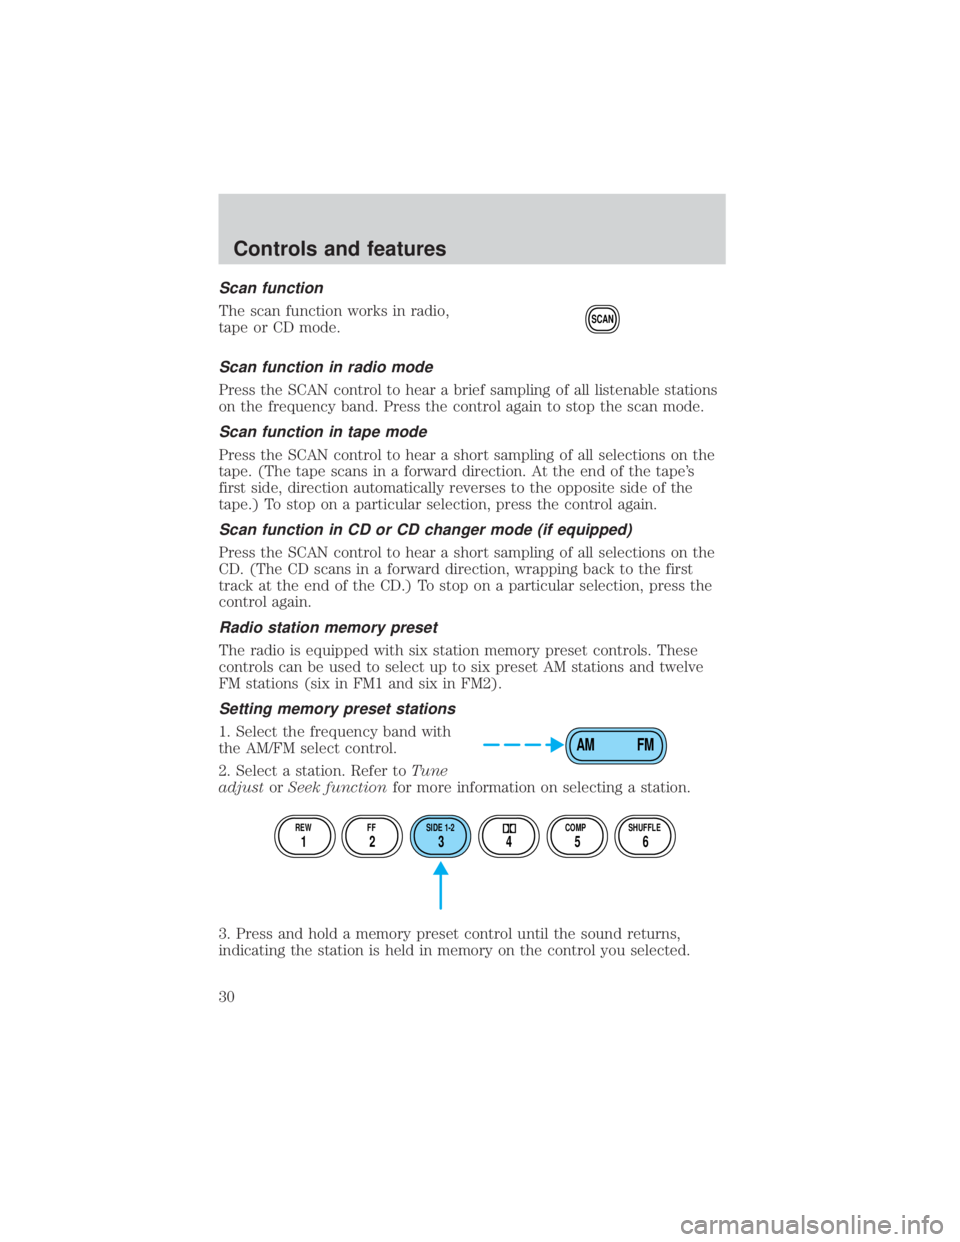
Scan function
The scan function works in radio,
tape or CD mode.
Scan function in radio mode
Press the SCAN control to hear a brief sampling of all listenable stations
on the frequency band. Press the control again to stop the scan mode.
Scan function in tape mode
Press the SCAN control to hear a short sampling of all selections on the
tape. (The tape scans in a forward direction. At the end of the tape's
first side, direction automatically reverses to the opposite side of the
tape.) To stop on a particular selection, press the control again.
Scan function in CD or CD changer mode (if equipped)
Press the SCAN control to hear a short sampling of all selections on the
CD. (The CD scans in a forward direction, wrapping back to the first
track at the end of the CD.) To stop on a particular selection, press the
control again.
Radio station memory preset
The radio is equipped with six station memory preset controls. These
controls can be used to select up to six preset AM stations and twelve
FM stations (six in FM1 and six in FM2).
Setting memory preset stations
1. Select the frequency band with
the AM/FM select control.
2. Select a station. Refer toTune
adjustorSeek functionfor more information on selecting a station.
3. Press and hold a memory preset control until the sound returns,
indicating the station is held in memory on the control you selected.
SCAN
AM FM
REW FF SIDE 1-2 COMP SHUFFLE
12 3456
Controls and features
30
Page 31 of 264
Autoset memory preset
Autoset allows you to set strong radio stations without losing your
original manually set preset stations. This feature is helpful on trips
when you travel between cities with different radio stations.
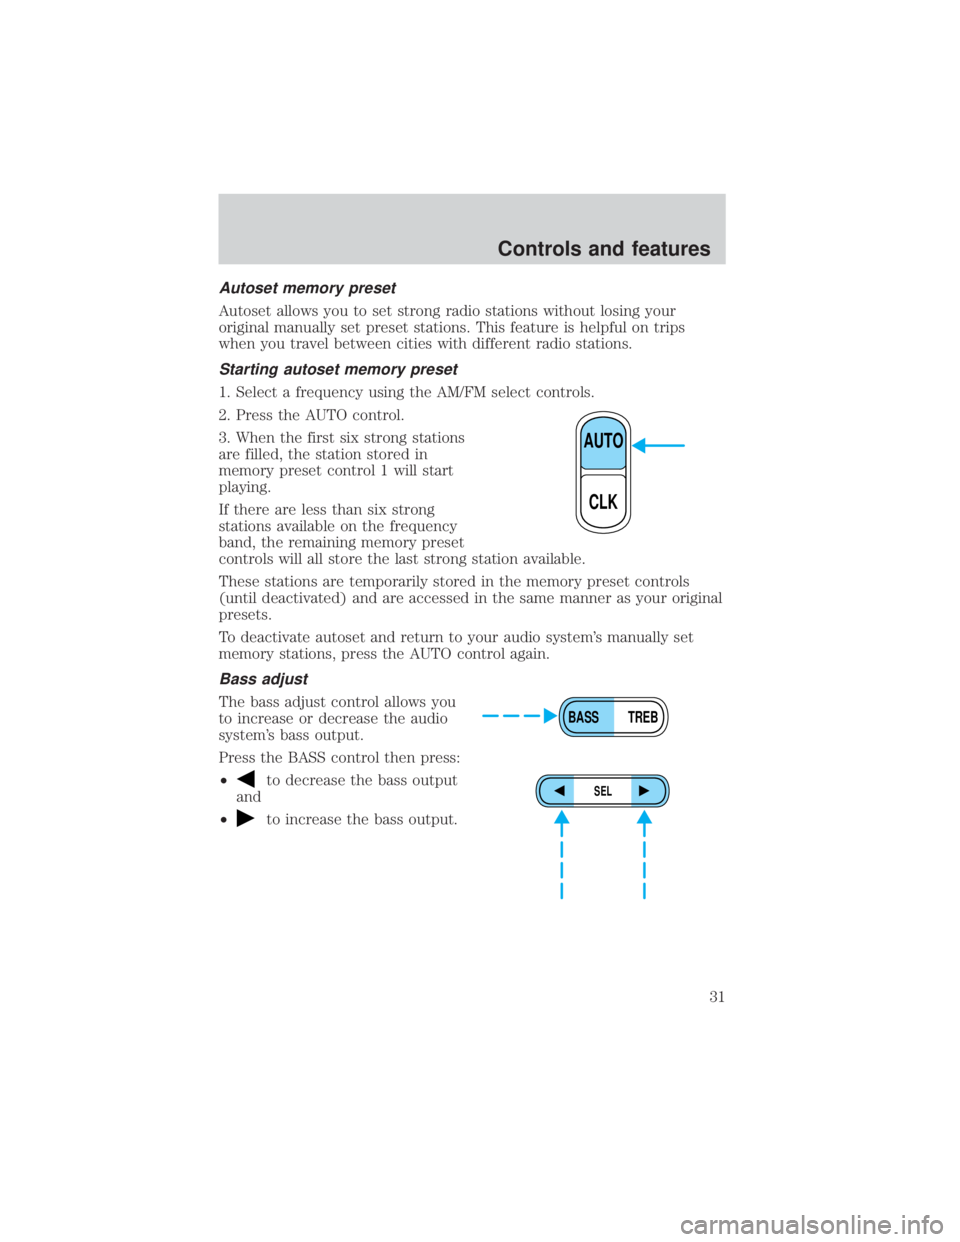
Starting autoset memory preset
1. Select a frequency using the AM/FM select controls.
2. Press the AUTO control.
3. When the first six strong stations
are filled, the station stored in
memory preset control 1 will start
playing.
If there are less than six strong
stations available on the frequency
band, the remaining memory preset
controls will all store the last strong station available.
These stations are temporarily stored in the memory preset controls
(until deactivated) and are accessed in the same manner as your original
presets.
To deactivate autoset and return to your audio system's manually set
memory stations, press the AUTO control again.
Bass adjust
The bass adjust control allows you
to increase or decrease the audio
system's bass output.
Press the BASS control then press:
²
to decrease the bass output
and
²
to increase the bass output.
AUTO
CLK
BASS TREB
SEL
Controls and features
31
Page 38 of 264
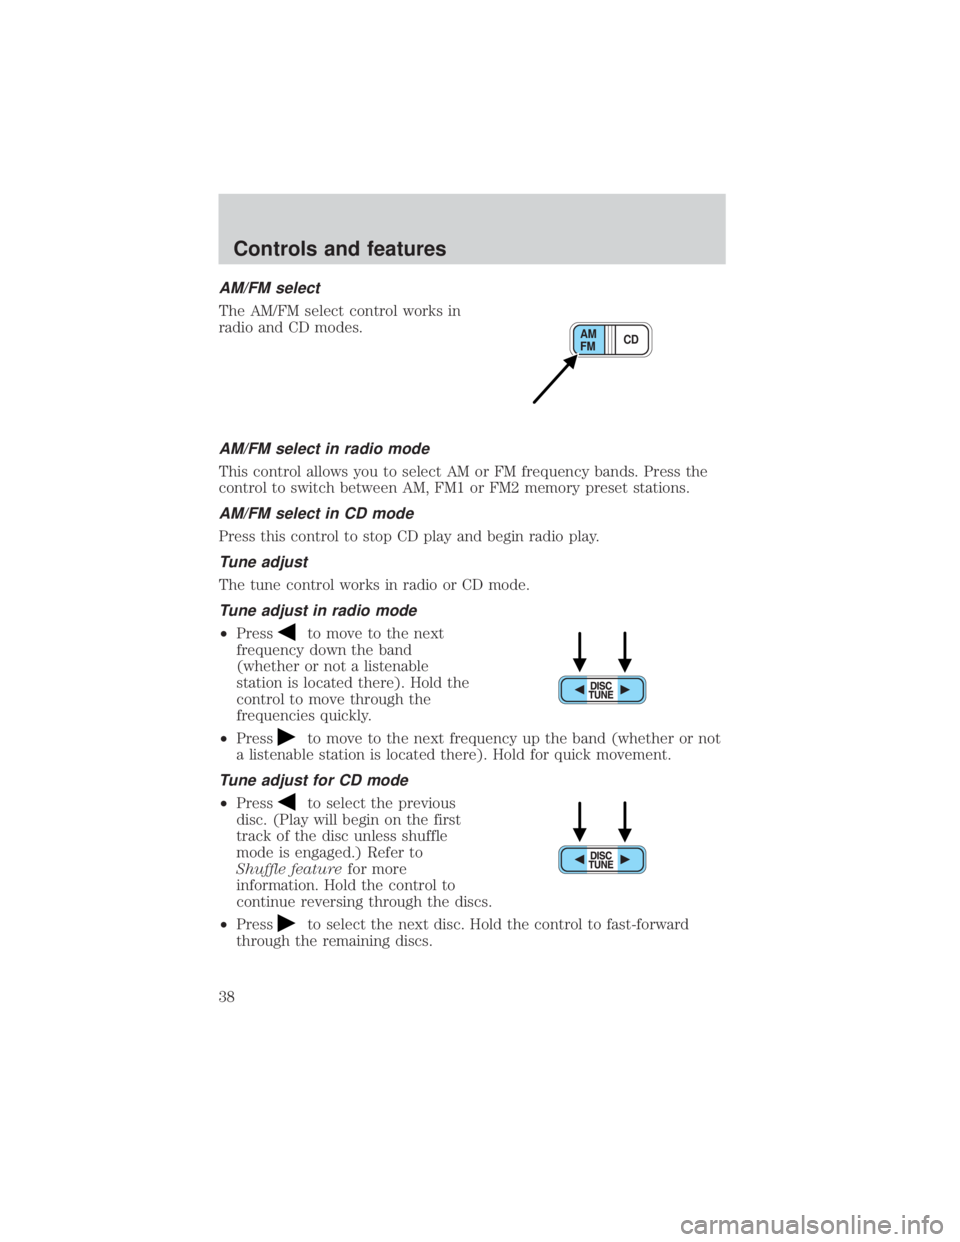
AM/FM select
The AM/FM select control works in
radio and CD modes.
AM/FM select in radio mode
This control allows you to select AM or FM frequency bands. Press the
control to switch between AM, FM1 or FM2 memory preset stations.
AM/FM select in CD mode
Press this control to stop CD play and begin radio play.
Tune adjust
The tune control works in radio or CD mode.
Tune adjust in radio mode
²Pressto move to the next
frequency down the band
(whether or not a listenable
station is located there). Hold the
control to move through the
frequencies quickly.
²Press
to move to the next frequency up the band (whether or not
a listenable station is located there). Hold for quick movement.
Tune adjust for CD mode
²Pressto select the previous
disc. (Play will begin on the first
track of the disc unless shuffle
mode is engaged.) Refer to
Shuffle featurefor more
information. Hold the control to
continue reversing through the discs.
²Press
to select the next disc. Hold the control to fast-forward
through the remaining discs.
CD AM
FM
Controls and features
38
Page 40 of 264
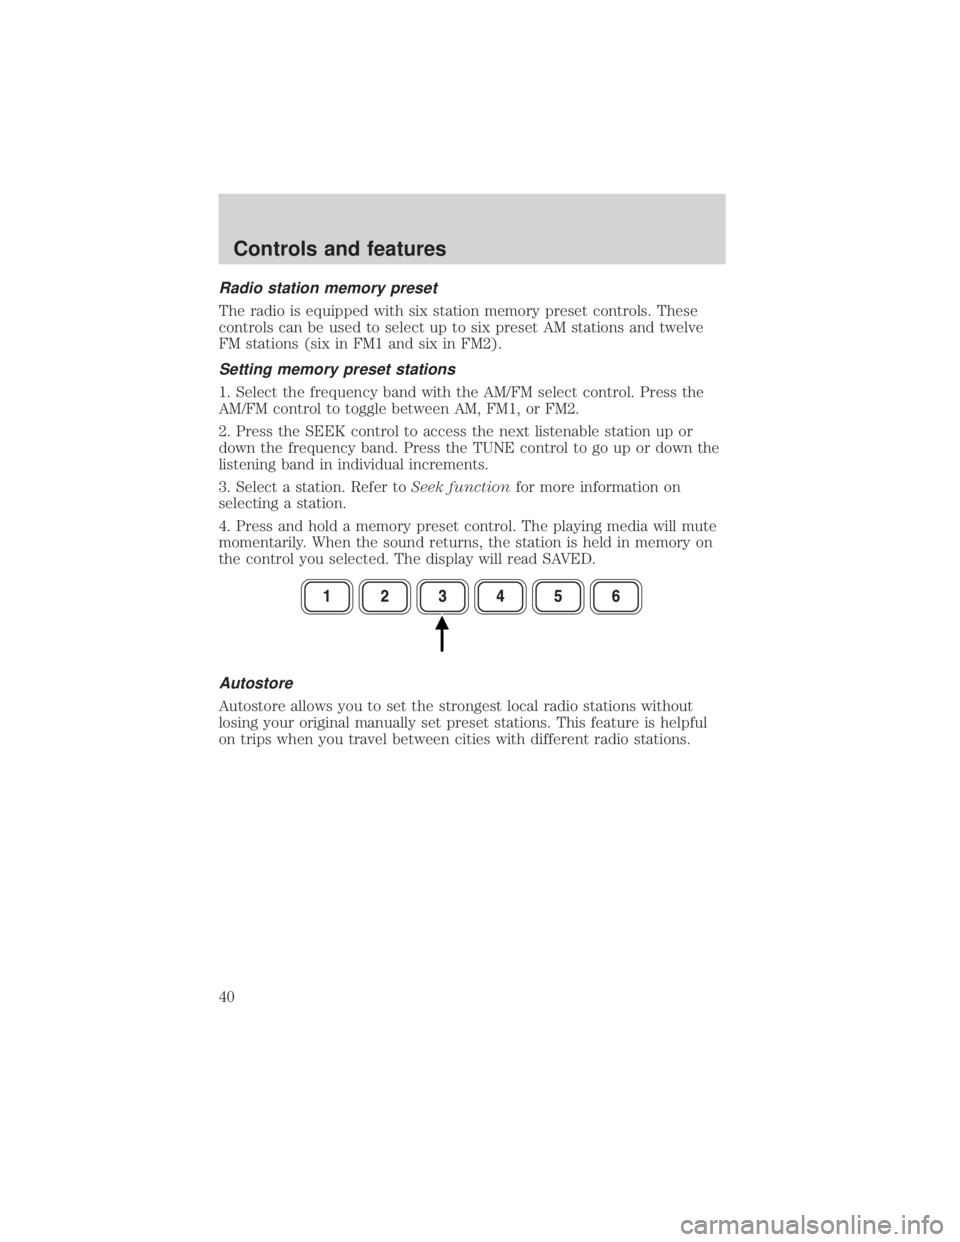
Radio station memory preset
The radio is equipped with six station memory preset controls. These
controls can be used to select up to six preset AM stations and twelve
FM stations (six in FM1 and six in FM2).
Setting memory preset stations
1. Select the frequency band with the AM/FM select control. Press the
AM/FM control to toggle between AM, FM1, or FM2.
2. Press the SEEK control to access the next listenable station up or
down the frequency band. Press the TUNE control to go up or down the
listening band in individual increments.
3. Select a station. Refer toSeek functionfor more information on
selecting a station.
4. Press and hold a memory preset control. The playing media will mute
momentarily. When the sound returns, the station is held in memory on
the control you selected. The display will read SAVED.
Autostore
Autostore allows you to set the strongest local radio stations without
losing your original manually set preset stations. This feature is helpful
on trips when you travel between cities with different radio stations.
Controls and features
40
Page 41 of 264

Starting autostore
1. Press and momentarily hold the AM/FM control.
2. AUTOSET will flash in the display
as the frequency band is scrolled
through.
3. When the six strongest stations
are filled, the station stored in
memory preset control 1 will start playing.
If there are less than six strong stations available on the frequency band,
the remaining memory preset controls will all store the last strong
station available.
To deactivate autoset and return to your audio system's manually set
memory stations, press the AM/FM control again.
CD select
CD mode may be entered by
pressing the CD control and the
LOAD control. Load the CD into the
audio system. The first track of the
disc will begin playing. After that,
CD play will begin where it stopped last.
If an alternative CD is desired, press the corresponding preset control
(1±6) of a loaded CD, or press the TUNE control to access the other
loaded CDs.
NO CD will display if the CD control is activated when there is not a CD
present in the audio system.
NO CD will illuminate in the display if the CD control and a present
number (that is currently empty) are pressed. The system will play the
next available disc.
If your vehicle is equipped with a CD changer, pressing the CD control
again will allow you to toggle between accessing the multi disc system
and the CD changer. The display will read CD or CDDJ.
Do not insert any promotional (odd shaped or sized) discs, or
discs with removable labels into the CD player as jamming may
occur.
Controls and features
41