Page 25 of 264
All rear seat occupants and/or cargo must be properly restrained
and clear of the back window opening before operating the
power down rear window.
Turn control counter-clockwise and
release to lower window all the way
to the full open position.
Turn control clockwise and release
to raise the window all the way to
the full closed position.
Push control once to move window
(up or down) to the vent position
(open approximately 2.00 inches for
cab ventilation). If the window is
already in the vent position and the
control is pressed, no movement will
occur.
Controls and features
25
Page 26 of 264

Normal Operation
If an ªupº command is selected and the ignition is switched to OFF or
START during window travel, the window will:
1. stop if it is between the vent position and fully closed or
2. continue to move up to the vent position if it is between vent and fully
open.
If a ªdownº or ªventº command is selected and the ignition is switched to
OFF or START during window travel, the window will move to the fully
open or vent position, respectively, and then stop.
The ªdownº command is the only one allowed after the ignition has been
switched to OFF or START while the window is moving.
Bounce-Back
When the back window is moving upward and an obstacle interferes with
the window's movement, the back window will reverse direction and
move toward the fully open position. This is known as ªbounce-backº.
Security Override
If, during a bounce-back condition, the control is held in the clockwise
(ªupº) direction for at least two seconds,the back window will travel
up with no bounce-back protection. If the control is released before
the window reaches fully closed or the ignition is switched to OFF or
START, the back window will reverse direction with bounce-back
re-enabled.
The following are possible reasons for using the security override:
²Ice on the window causing a restriction.
²Window unexpectedly reverses.
Position recovery mode
If the window fails to operate in ªnormalº operation mode, the control
can be turned and held in the active position (up or down window
direction) which will move the window in increments of approximately
15mm (0.6 inches) in the selected direction. (The ªventº feature is
inoperable in this mode.) This feature allows the window to be closed.
Once the window has reached the full closed, the window should again
operate in ªnormalº operation mode. If the window still does not operate
correctly, see your dealer for service.
Controls and features
26
Page 35 of 264
Compression adjust
Compression adjust brings soft and
loud CD passages together for a
more consistent listening level.
Press the COMP control to activate
and deactivate compression adjust.
Shuffle feature
The shuffle feature operates in CD
mode (if equipped) and plays all
tracks on the current disc in random
order. If equipped with the CD
changer, the shuffle feature
continues to the next disc after all tracks on the current disc are played.
Press the SHUFFLE control to start this feature. Random order play will
continue until the SHUFFLE control is pressed again.
Setting the clock
To set the hour, press and hold the
CLK control and press SEEK:
²
to decrease hours and
²
to increase hours.
To set the minute, press and hold
the CLK control and press TUNE:
COMP
5
SHUFFLE
6
AUTO
CLK
AUTO
CLK
Controls and features
35
Page 36 of 264
²to decrease minutes and
²
to increase minutes.
If your vehicle has a separate clock,
(other than the digital radio
display), the CLK control will not
function in the above manner.
The CLK control will allow you to
switch between media display mode
(radio station, stereo information,
etc.) and clock display mode (time).
When in clock mode, the media
information will display for 10
seconds, when the radio is turned
on, and then revert to clock
information. Any time that the
media is changed, (new radio station, etc.), the media information will
again display for 10 seconds before reverting back to the clock. In media
mode, the media information will always be displayed.
Mute mode
Press the MUTE control to mute the
playing media. Press the MUTE
control again to return to the
playing media.
AUTO
CLK
EJ
MUTE
Controls and features
36
Page 46 of 264

Menu mode
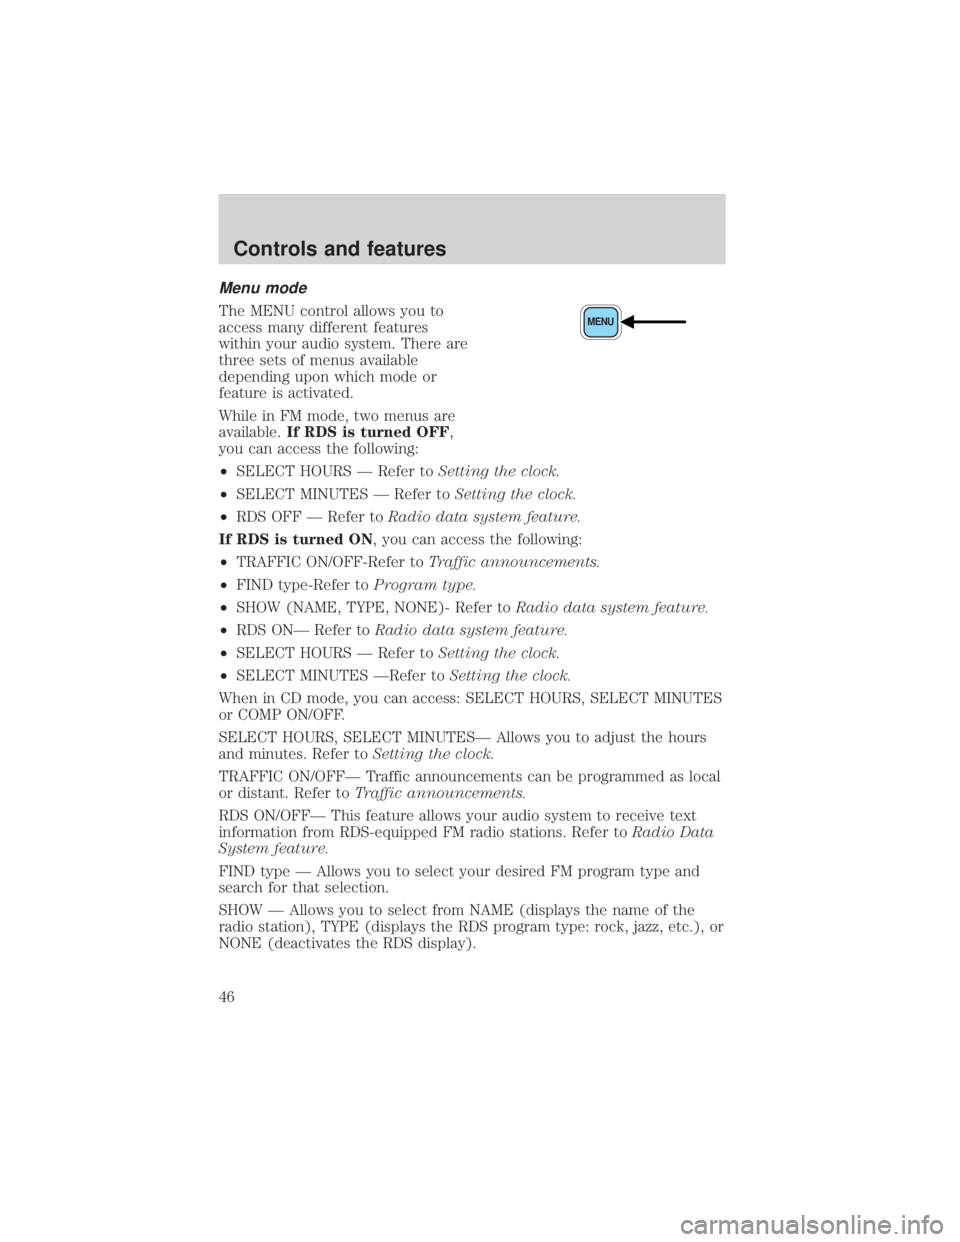
The MENU control allows you to
access many different features
within your audio system. There are
three sets of menus available
depending upon which mode or
feature is activated.
While in FM mode, two menus are
available.If RDS is turned OFF,
you can access the following:
²SELECT HOURS Ð Refer toSetting the clock.
²SELECT MINUTES Ð Refer toSetting the clock.
²RDS OFF Ð Refer toRadio data system feature.
If RDS is turned ON, you can access the following:
²TRAFFIC ON/OFF-Refer toTraffic announcements.
²FIND type-Refer toProgram type.
²SHOW (NAME, TYPE, NONE)- Refer toRadio data system feature.
²RDS ONÐ Refer toRadio data system feature.
²SELECT HOURS Ð Refer toSetting the clock.
²SELECT MINUTES ÐRefer toSetting the clock.
When in CD mode, you can access: SELECT HOURS, SELECT MINUTES
or COMP ON/OFF.
SELECT HOURS, SELECT MINUTESÐ Allows you to adjust the hours
and minutes. Refer toSetting the clock.
TRAFFIC ON/OFFÐ Traffic announcements can be programmed as local
or distant. Refer toTraffic announcements.
RDS ON/OFFÐ This feature allows your audio system to receive text
information from RDS-equipped FM radio stations. Refer toRadio Data
System feature.
FIND type Ð Allows you to select your desired FM program type and
search for that selection.
SHOW Ð Allows you to select from NAME (displays the name of the
radio station), TYPE (displays the RDS program type: rock, jazz, etc.), or
NONE (deactivates the RDS display).MENU
Controls and features
46
Page 50 of 264

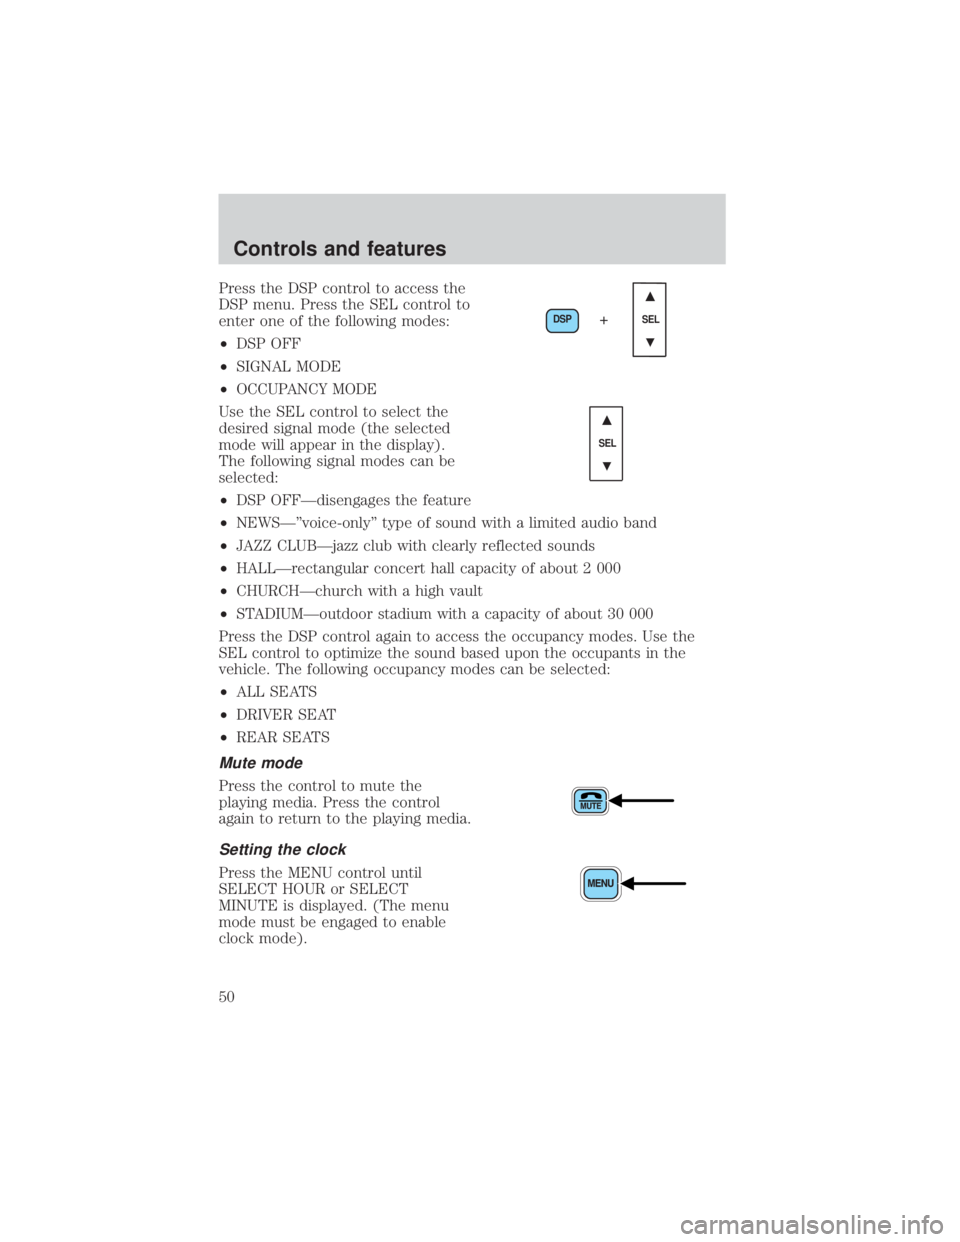
Press the DSP control to access the
DSP menu. Press the SEL control to
enter one of the following modes:
²DSP OFF
²SIGNAL MODE
²OCCUPANCY MODE
Use the SEL control to select the
desired signal mode (the selected
mode will appear in the display).
The following signal modes can be
selected:
²DSP OFFÐdisengages the feature
²NEWSкvoice-onlyº type of sound with a limited audio band
²JAZZ CLUBÐjazz club with clearly reflected sounds
²HALLÐrectangular concert hall capacity of about 2 000
²CHURCHÐchurch with a high vault
²STADIUMÐoutdoor stadium with a capacity of about 30 000
Press the DSP control again to access the occupancy modes. Use the
SEL control to optimize the sound based upon the occupants in the
vehicle. The following occupancy modes can be selected:
²ALL SEATS
²DRIVER SEAT
²REAR SEATS
Mute mode
Press the control to mute the
playing media. Press the control
again to return to the playing media.
Setting the clock
Press the MENU control until
SELECT HOUR or SELECT
MINUTE is displayed. (The menu
mode must be engaged to enable
clock mode).
DSP
SEL+
SEL
Controls and features
50
Page 51 of 264
Use the SEL control to manually set
the time.
²Press
to increase
hours/minutes.
²Press
to decrease
hours/minutes.
Press the MENU control again to disengage the clock mode.
Rear seat controls (if equipped)
The rear seat controls allow the
middle seat passengers to operate
the radio, tape, CD or CD changer
(if equipped).
To turn on the rear seat controls,
press the memory preset controls 3
and 5 at the same time. The
will appear in the display.
Pressing 3 and 5 at the same time
again will turn the rear seat controls
off.
If there is a discrepancy between the rear seat and the front audio
controls, (such as both trying to listen to the same playing media), the
front audio system will receive the desired selection.
SEL
- VOLUME +
MODE
SEEK MEMORY
REW1FF2SIDE 1-23
4COMP5SHUFFLE6
Controls and features
51
Page 78 of 264
Activating Cargo Cage Thief
Deterrent device:
The following procedure can be
done with the cargo cage in the
stowed or extended position.
1. Locate the phillips head screw in
the middle of the vertical brace on
the locking clip.
2. Turn the screw counterclockwise
until you hear an audible click.
3. To deavtivate, turn the screw
clockwise until the locking clip
moves freely.
Controls and features
78