Page 64 of 280
Displaying outside temperature
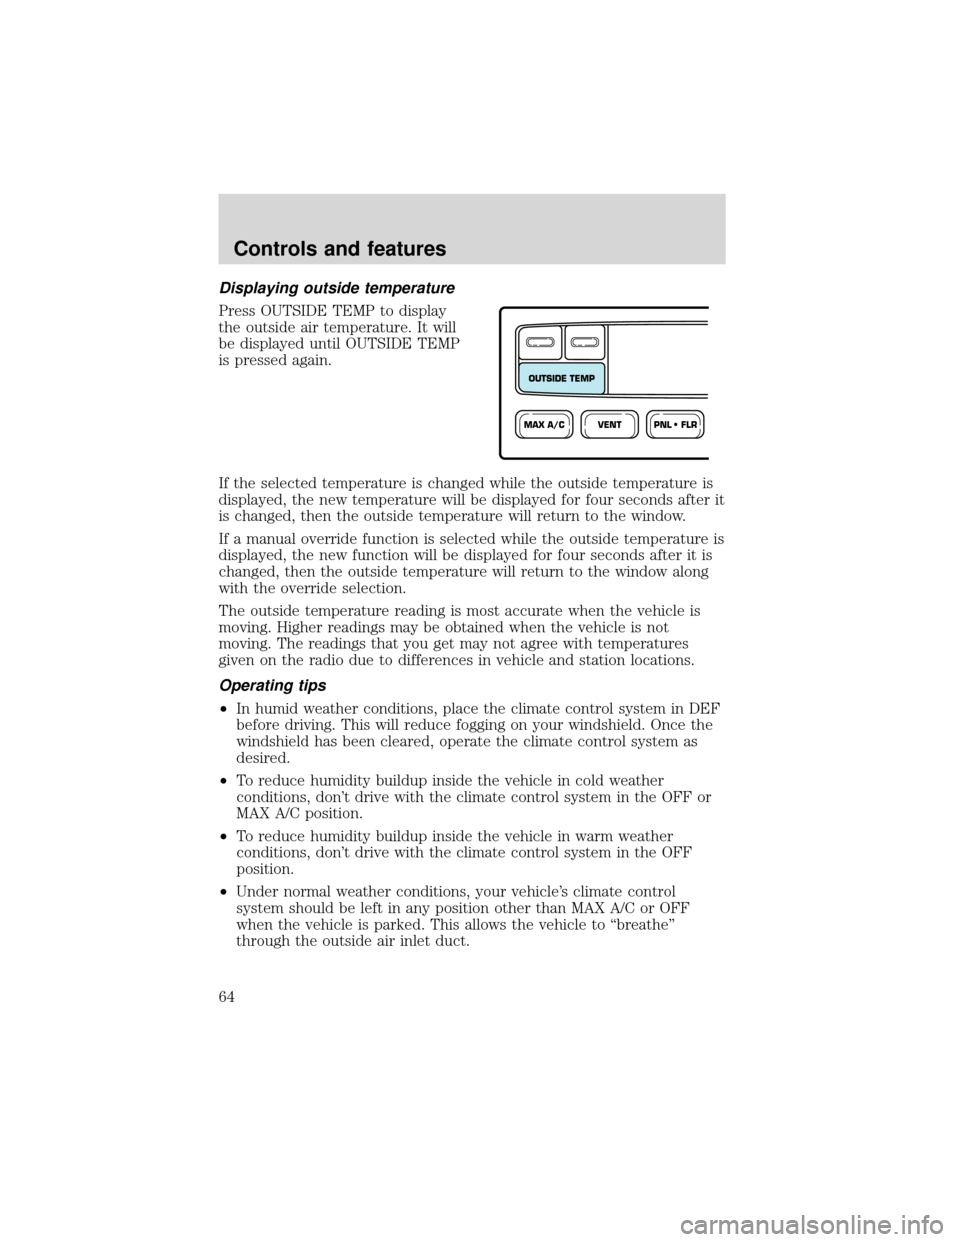
Press OUTSIDE TEMP to display
the outside air temperature. It will
be displayed until OUTSIDE TEMP
is pressed again.
If the selected temperature is changed while the outside temperature is
displayed, the new temperature will be displayed for four seconds after it
is changed, then the outside temperature will return to the window.
If a manual override function is selected while the outside temperature is
displayed, the new function will be displayed for four seconds after it is
changed, then the outside temperature will return to the window along
with the override selection.
The outside temperature reading is most accurate when the vehicle is
moving. Higher readings may be obtained when the vehicle is not
moving. The readings that you get may not agree with temperatures
given on the radio due to differences in vehicle and station locations.
Operating tips
•In humid weather conditions, place the climate control system in DEF
before driving. This will reduce fogging on your windshield. Once the
windshield has been cleared, operate the climate control system as
desired.
•To reduce humidity buildup inside the vehicle in cold weather
conditions, don’t drive with the climate control system in the OFF or
MAX A/C position.
•To reduce humidity buildup inside the vehicle in warm weather
conditions, don’t drive with the climate control system in the OFF
position.
•Under normal weather conditions, your vehicle’s climate control
system should be left in any position other than MAX A/C or OFF
when the vehicle is parked. This allows the vehicle to“breathe”
through the outside air inlet duct.
VENTPNL • FLRMAX A/C
OUTSIDE TEMP
Controls and features
64
Page 78 of 280
Trip computer
For information on the trip computer, refer toTrip computerin the
Instrumentationchapter.
Electronic compass (if equipped)
The compass reading may be affected when you drive near large
buildings, bridges, power lines and powerful broadcast antennas.
Magnetic or metallic objects placed in, on or near the vehicle may also
affect compass accuracy.
Usually, when something affects the compass readings, the compass will
correct itself after a few days of operating your vehicle in normal
conditions. If the compass still appears to be inaccurate, a manual
calibration may be necessary. Refer toCompass calibration
adjustment.
Most geographic areas (zones) have a magnetic north compass point that
varies slightly from the northerly direction on maps. This variation is four
degrees between adjacent zones and will become noticeable as the
vehicle crosses multiple zones. A correct zone setting will eliminate this
error. Refer toCompass zone adjustment.
Electronic compass/temperature display (without trip computer)
Outside air temperature
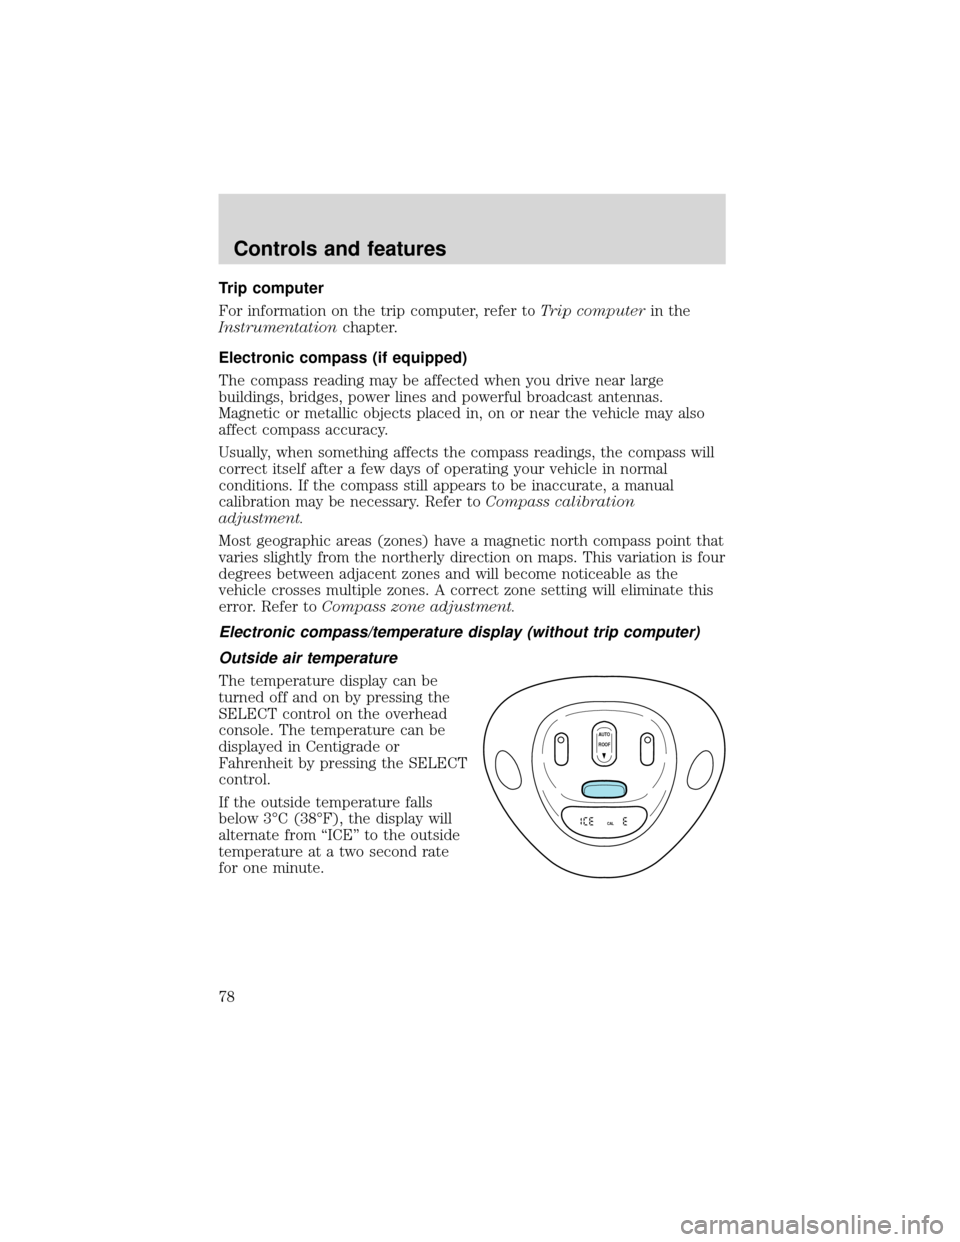
The temperature display can be
turned off and on by pressing the
SELECT control on the overhead
console. The temperature can be
displayed in Centigrade or
Fahrenheit by pressing the SELECT
control.
If the outside temperature falls
below 3°C (38°F), the display will
alternate from“ICE”to the outside
temperature at a two second rate
for one minute.
AUTO
CAL
ROOF
Controls and features
78
Page 79 of 280
Compass zone adjustment
1. Determine which magnetic zone
you are in for your geographic
location by referring to the zone
map.
With trip computer
2. Locate the compass module
mounted on the center rear view
mirror post.
3. Turn ignition to the ON position.
4. Press and hold the RESET button
on top of the compass module until
the message display in the trip
computer shows the current zone
setting.
5. Release the RESET button.
6. Press the RESET button until the correct zone is displayed on the trip
computer.
1
2
3
4
5
6
7891011121314 15
Controls and features
79
Page 80 of 280
Without trip computer
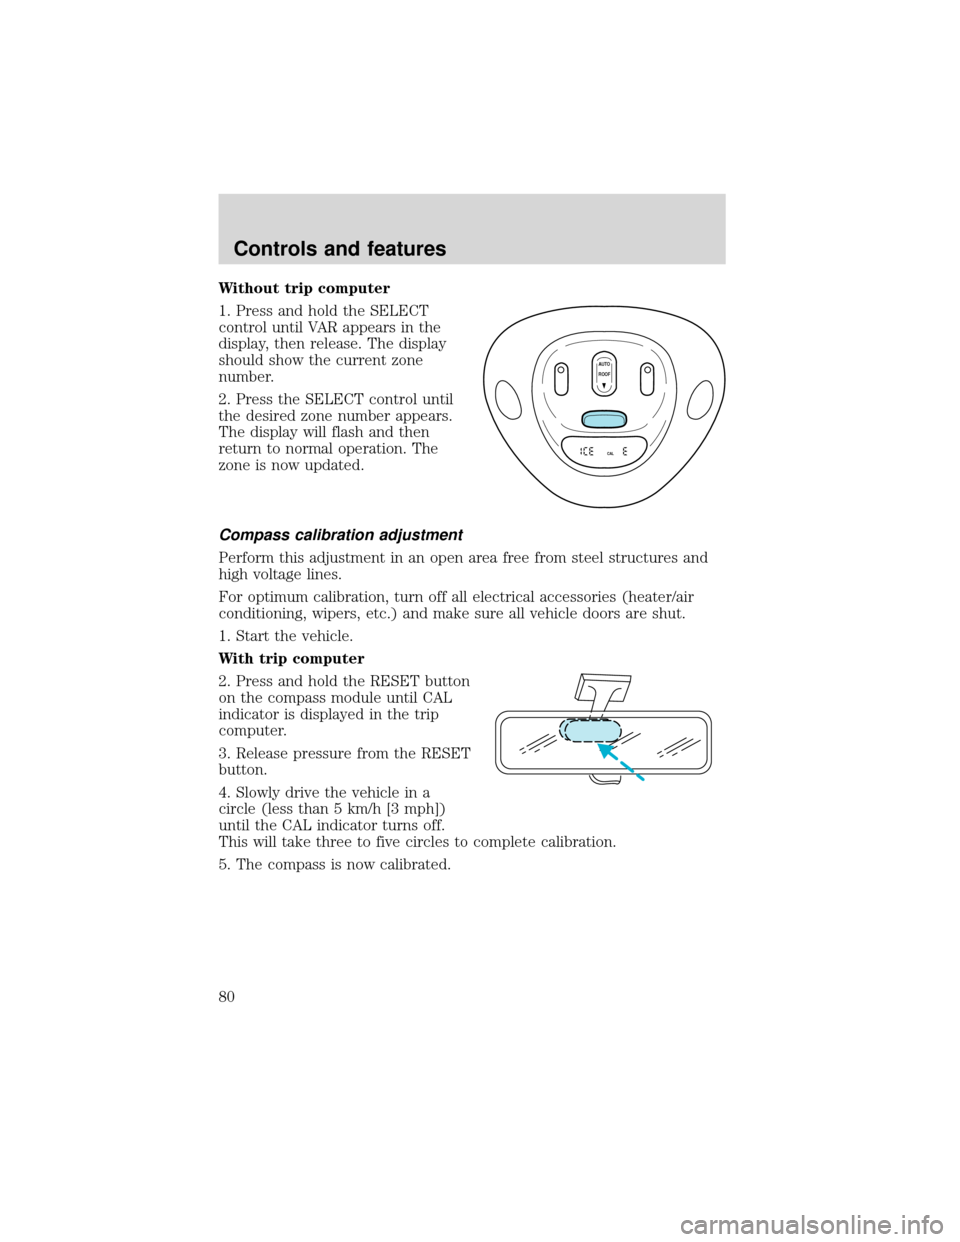
1. Press and hold the SELECT
control until VAR appears in the
display, then release. The display
should show the current zone
number.
2. Press the SELECT control until
the desired zone number appears.
The display will flash and then
return to normal operation. The
zone is now updated.
Compass calibration adjustment
Perform this adjustment in an open area free from steel structures and
high voltage lines.
For optimum calibration, turn off all electrical accessories (heater/air
conditioning, wipers, etc.) and make sure all vehicle doors are shut.
1. Start the vehicle.
With trip computer
2. Press and hold the RESET button
on the compass module until CAL
indicator is displayed in the trip
computer.
3. Release pressure from the RESET
button.
4. Slowly drive the vehicle in a
circle (less than 5 km/h [3 mph])
until the CAL indicator turns off.
This will take three to five circles to complete calibration.
5. The compass is now calibrated.
AUTO
CAL
ROOF
Controls and features
80
Page 81 of 280
Without trip computer
1. Press and hold the SELECT
control until CAL appears in the
display (approximately eight
seconds) and release.
2. Drive the vehicle slowly (less
than 5 km/h [3 mph]) in circles until
CAL indicator turns off in about 2–3
complete circles.
3. The compass is now calibrated.
Power quarter rear windows (if equipped)
•With out a moon roof
•With a moon roof
AUTO
CAL
ROOF
RESET
VENTV
E
N
T
MODE E/M
VENT VENTROOF
Controls and features
81
Page 161 of 280
R (Reverse)
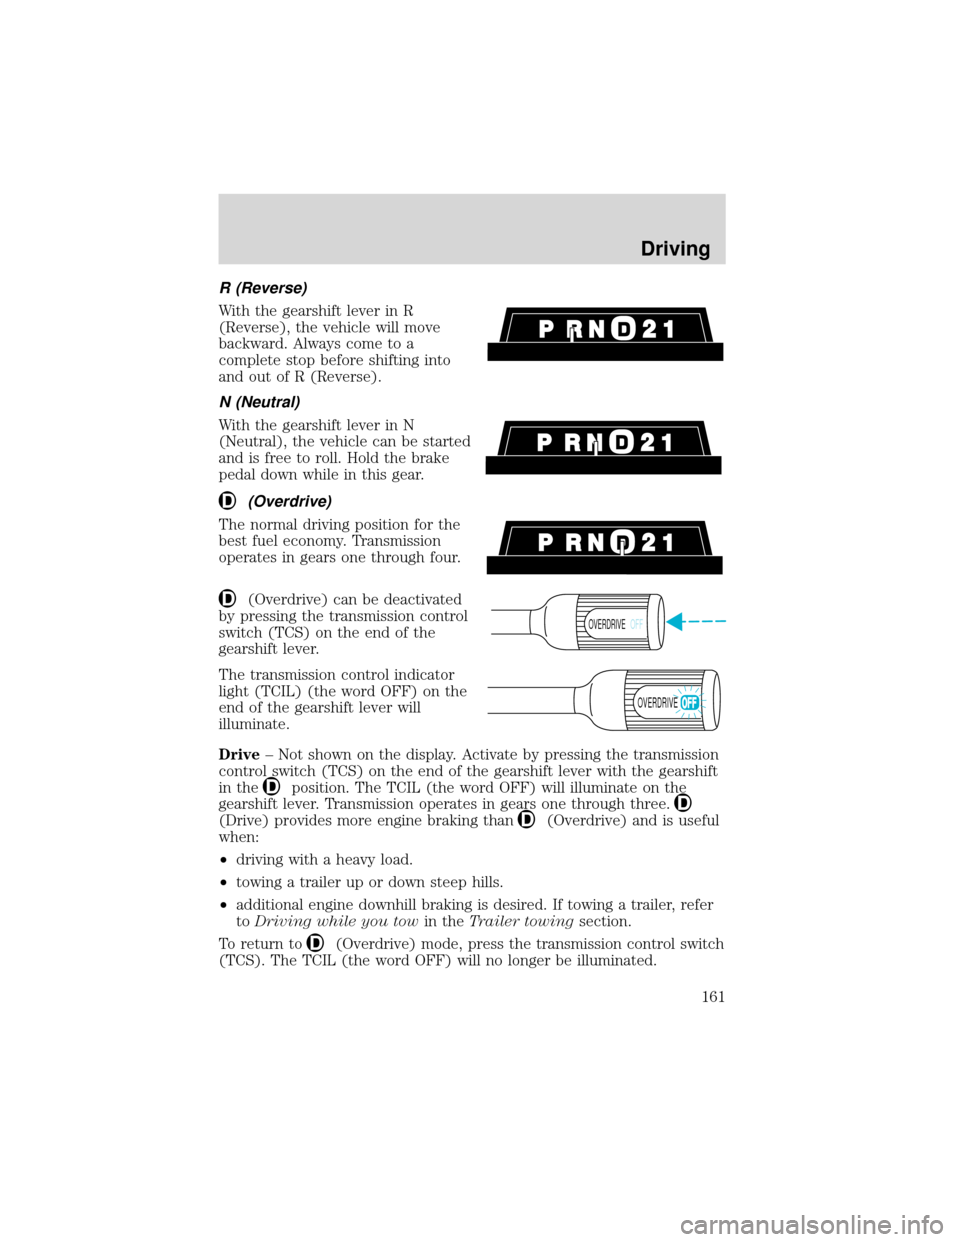
With the gearshift lever in R
(Reverse), the vehicle will move
backward. Always come to a
complete stop before shifting into
and out of R (Reverse).
N (Neutral)
With the gearshift lever in N
(Neutral), the vehicle can be started
and is free to roll. Hold the brake
pedal down while in this gear.
(Overdrive)
The normal driving position for the
best fuel economy. Transmission
operates in gears one through four.
(Overdrive) can be deactivated
by pressing the transmission control
switch (TCS) on the end of the
gearshift lever.
The transmission control indicator
light (TCIL) (the word OFF) on the
end of the gearshift lever will
illuminate.
Drive–Not shown on the display. Activate by pressing the transmission
control switch (TCS) on the end of the gearshift lever with the gearshift
in the
position. The TCIL (the word OFF) will illuminate on the
gearshift lever. Transmission operates in gears one through three.
(Drive) provides more engine braking than(Overdrive) and is useful
when:
•driving with a heavy load.
•towing a trailer up or down steep hills.
•additional engine downhill braking is desired. If towing a trailer, refer
toDriving while you towin theTrailer towingsection.
To return to
(Overdrive) mode, press the transmission control switch
(TCS). The TCIL (the word OFF) will no longer be illuminated.
OVERDRIVEOFF
OVERDRIVE
Driving
161
Page 230 of 280
Fuel quality
If you are experiencing starting, rough idle or hesitation driveability
problems during a cold start, try a different brand of“Regular”unleaded
gasoline.“Premium”unleaded gasoline is not recommended (particularly
in the United States) because it may cause these problems to become
more pronounced. If the problems persist, see your dealer or a qualified
service technician.
It should not be necessary to add any aftermarket products to your fuel
tank if you continue to use high quality fuel of the recommended octane
rating. Aftermarket products could cause damage to the fuel system.
Repairs to correct the effects of using an aftermarket product in your
fuel may not be covered by your warranty.
Many of the world’s automakers
issued the World-wide Fuel Charter
that recommends gasoline
specifications to provide improved
performance and emission control
system protection for your vehicle.
Gasolines that meet the World-wide
Fuel Charter should be used when
available. Ask your fuel supplier
about gasolines that meet the
World-wide Fuel Charter. In Canada,
look for fuels that display theAuto Makers’Choice�logo.
Cleaner air
Ford endorses the use of reformulated“cleaner-burning”gasolines to
improve air quality.
Running out of fuel
Avoid running out of fuel because this situation may have an adverse
affect on powertrain components.
If you have run out of fuel:
•You may need to cycle the ignition from OFF to ON several times after
refueling, to allow the fuel system to pump the fuel from the tank to
the engine.
•Your“Service Engine Soon”indicator may come on. For more
information on the“Service Engine Soon”indicator, refer to the
Instrumentationchapter.
Maintenance and care
230
Page 267 of 280
Protection and appearance equipment
Air bag anti-theft locks
Cargo liners, interior
Carpet floor mats
Door edge guards
Fender flares
Flat splash guards
Front end covers (full and sport)
Hood deflectors
Inside mirror with compass display
Inside mirror with compass and temperature display
Leather steering wheel
Locking gas cap
Molded splash guards
Molded vinyl floor mats
Moonroof deflector
Outside signal mirror (requires power mirrors)
Rear air deflectors
Side window air deflectors
Spare tire lock
Truck cover
Underbody security lighting
Carpeted floor mats
Wheels
For maximum vehicle performance, keep the following information in
mind when adding accessories or equipment to your vehicle:
•When adding accessories, equipment, passengers and luggage to your
vehicle, do not exceed the total weight capacity of the vehicle or of
the front or rear axle (GVWR or GAWR as indicated on the Safety
compliance certification label). Consult your dealer for specific weight
information.
Customer assistance
267
Page:
< prev 1-8 9-16 17-24