Page 59 of 280
•If your vehicle has been parked with the windows closed during warm
weather conditions, the air conditioner will perform more efficiently in
cooling the vehicle if driven for two or three minutes with the
windows open. This will force most of the hot, stale air out of the
vehicle. Once the vehicle has been“aired out”, operate the climate
control system as desired.
•Don’t put objects under the front seat that will interfere with the
airflow to the back seats.
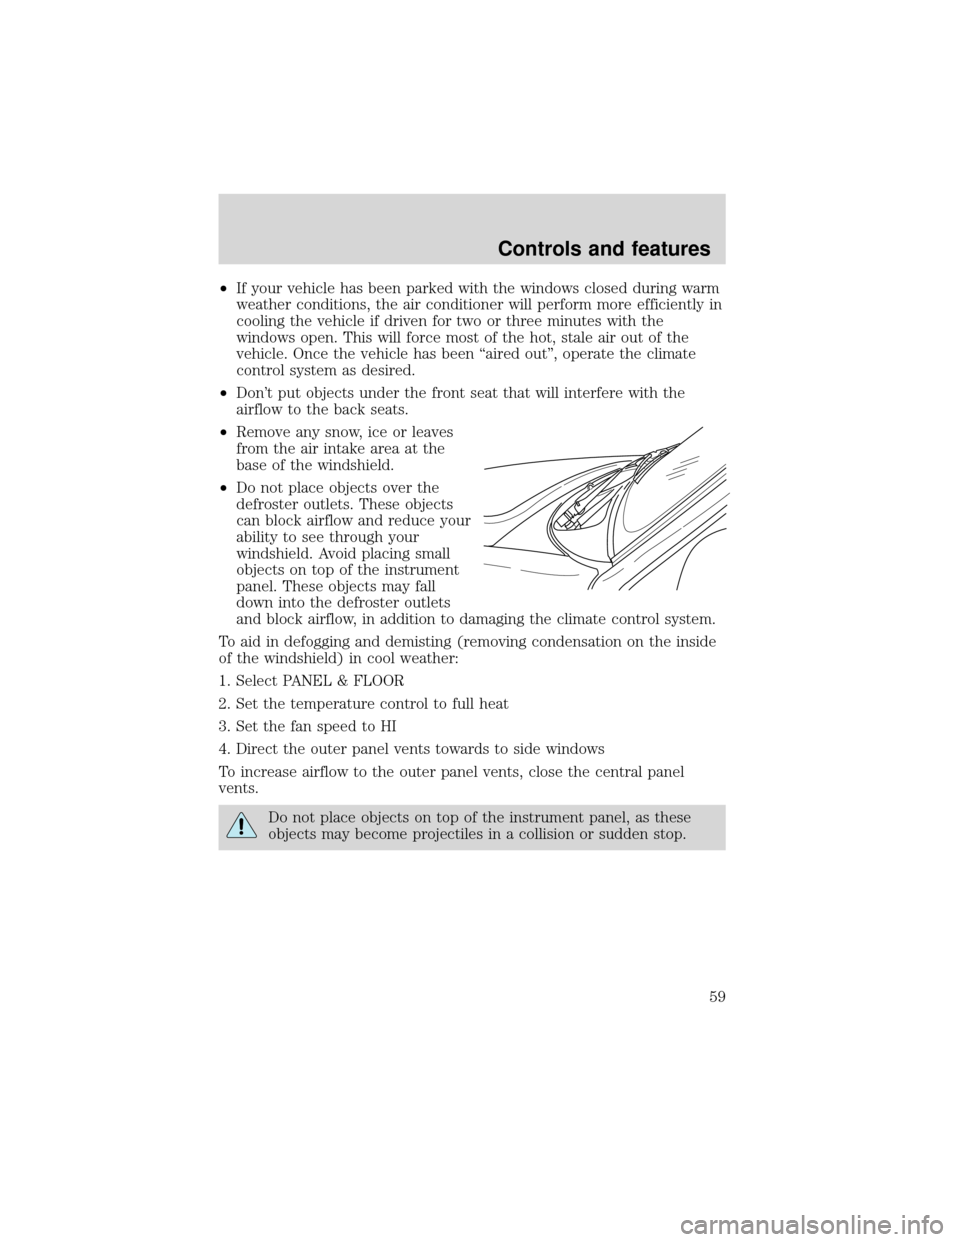
•Remove any snow, ice or leaves
from the air intake area at the
base of the windshield.
•Do not place objects over the
defroster outlets. These objects
can block airflow and reduce your
ability to see through your
windshield. Avoid placing small
objects on top of the instrument
panel. These objects may fall
down into the defroster outlets
and block airflow, in addition to damaging the climate control system.
To aid in defogging and demisting (removing condensation on the inside
of the windshield) in cool weather:
1. Select PANEL & FLOOR
2. Set the temperature control to full heat
3. Set the fan speed to HI
4. Direct the outer panel vents towards to side windows
To increase airflow to the outer panel vents, close the central panel
vents.
Do not place objects on top of the instrument panel, as these
objects may become projectiles in a collision or sudden stop.
Controls and features
59
Page 65 of 280
•Under snowy or dirty weather conditions, your vehicle’s climate
control system should be left in the OFF position when the vehicle is
parked. This allows the climate control system to be free from
contamination of outside pollutants.
•If your vehicle has been parked with the windows closed during warm
weather conditions, the air conditioner will perform more efficiently in
cooling the vehicle if driven for two or three minutes with the
windows open. This will force most of the hot, stale air out of the
vehicle. Once the vehicle has been“aired out”, operate the climate
control system as desired.
•Don’t put objects under the front seat that will interfere with the
airflow to the back seats.
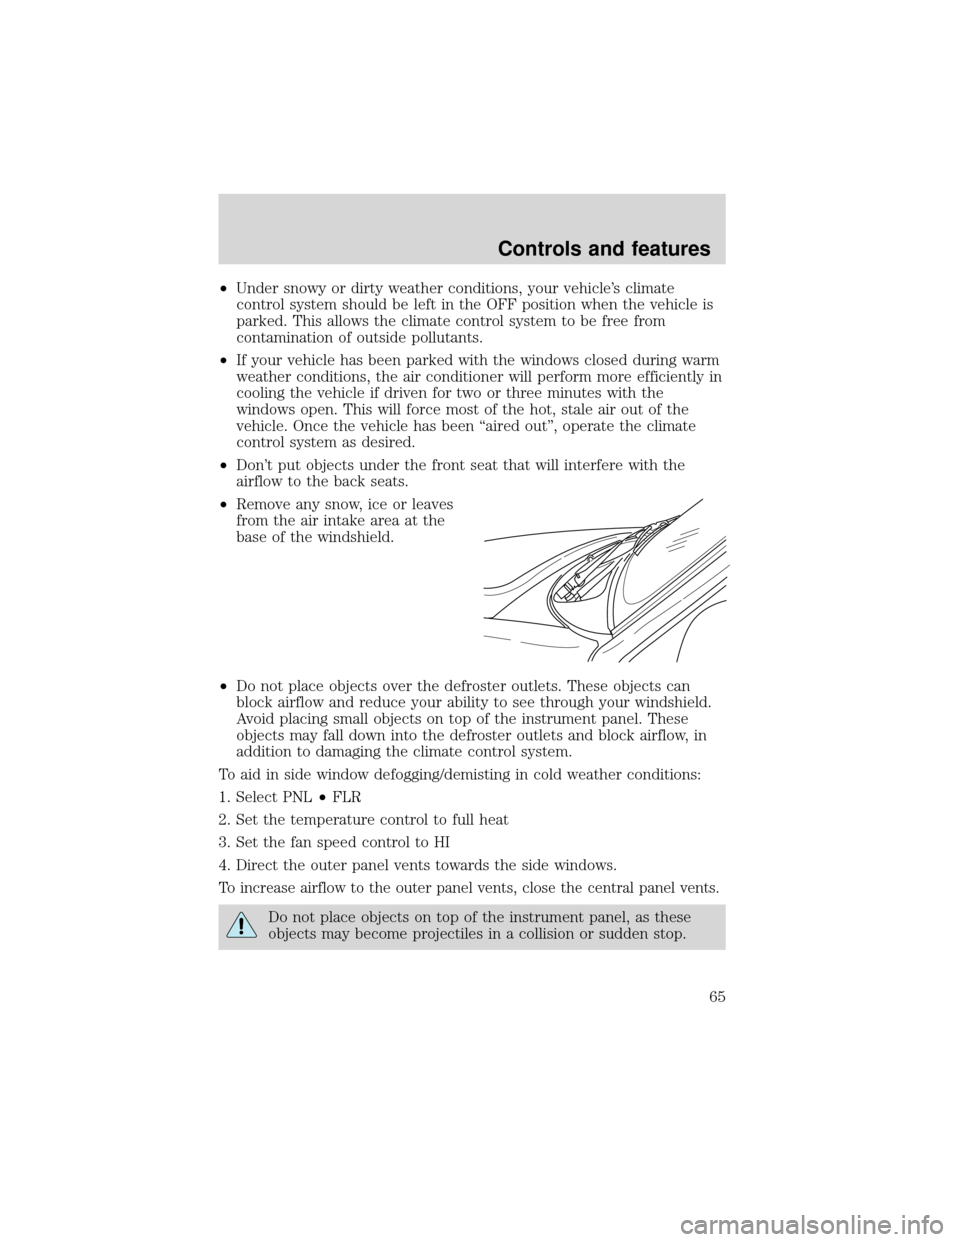
•Remove any snow, ice or leaves
from the air intake area at the
base of the windshield.
•Do not place objects over the defroster outlets. These objects can
block airflow and reduce your ability to see through your windshield.
Avoid placing small objects on top of the instrument panel. These
objects may fall down into the defroster outlets and block airflow, in
addition to damaging the climate control system.
To aid in side window defogging/demisting in cold weather conditions:
1. Select PNL•FLR
2. Set the temperature control to full heat
3. Set the fan speed control to HI
4. Direct the outer panel vents towards the side windows.
To increase airflow to the outer panel vents, close the central panel vents.
Do not place objects on top of the instrument panel, as these
objects may become projectiles in a collision or sudden stop.
Controls and features
65
Page 73 of 280
Indicator light
This light comes on when either the
SET ACCEL or RES controls are
pressed. The vehicle speed must be
at or above 48 km/h (30 mph). It turns off when the speed control OFF
control is pressed, the brake or clutch is applied, or the ignition is turned
to the OFF position.
TILT STEERING
Pull the tilt steering control toward
you to move the steering wheel up
or down. Hold the control while
adjusting the wheel to the desired
position, then release the control.
Never adjust the steering wheel when the vehicle is moving.
HAZARD FLASHER
For information on the hazard flasher control, refer toHazard flasherin
theRoadside emergencieschapter.
CRUISE
Controls and features
73
Page 77 of 280
One-touch moon roof (if equipped)
With trip computer
Without trip computer
•Press and release the rear portion of the moon roof control to open.
•Press and hold (as desired) the front portion of the moon roof control
to close.
•To halt motion at any point during one-touch opening, press the
control a second time.
•The moon roof has a sliding shade that can be manually opened or
closed when the glass panel is shut.
•To close the shade, pull it toward the front of the vehicle.
Do not let children play with the moon roof. They may seriously
hurt themselves.
VENT VENTROOF
AUTO
ROOF
Controls and features
77
Page 94 of 280
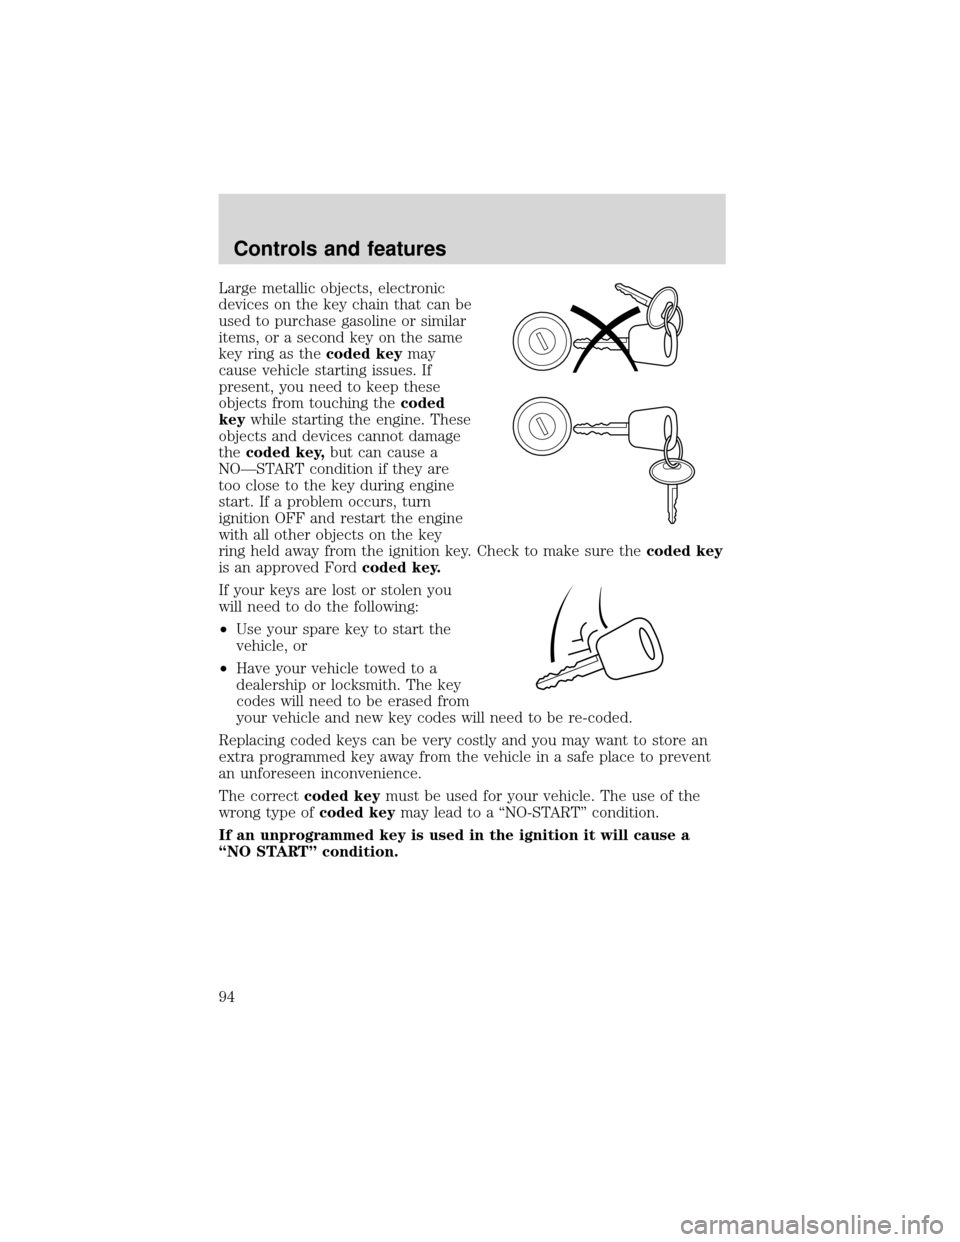
Large metallic objects, electronic
devices on the key chain that can be
used to purchase gasoline or similar
items, or a second key on the same
key ring as thecoded keymay
cause vehicle starting issues. If
present, you need to keep these
objects from touching thecoded
keywhile starting the engine. These
objects and devices cannot damage
thecoded key,but can cause a
NO—START condition if they are
too close to the key during engine
start. If a problem occurs, turn
ignition OFF and restart the engine
with all other objects on the key
ring held away from the ignition key. Check to make sure thecoded key
is an approved Fordcoded key.
If your keys are lost or stolen you
will need to do the following:
•Use your spare key to start the
vehicle, or
•Have your vehicle towed to a
dealership or locksmith. The key
codes will need to be erased from
your vehicle and new key codes will need to be re-coded.
Replacing coded keys can be very costly and you may want to store an
extra programmed key away from the vehicle in a safe place to prevent
an unforeseen inconvenience.
The correctcoded keymust be used for your vehicle. The use of the
wrong type ofcoded keymay lead to a“NO-START”condition.
If an unprogrammed key is used in the ignition it will cause a
“NO START”condition.
Controls and features
94
Page 97 of 280
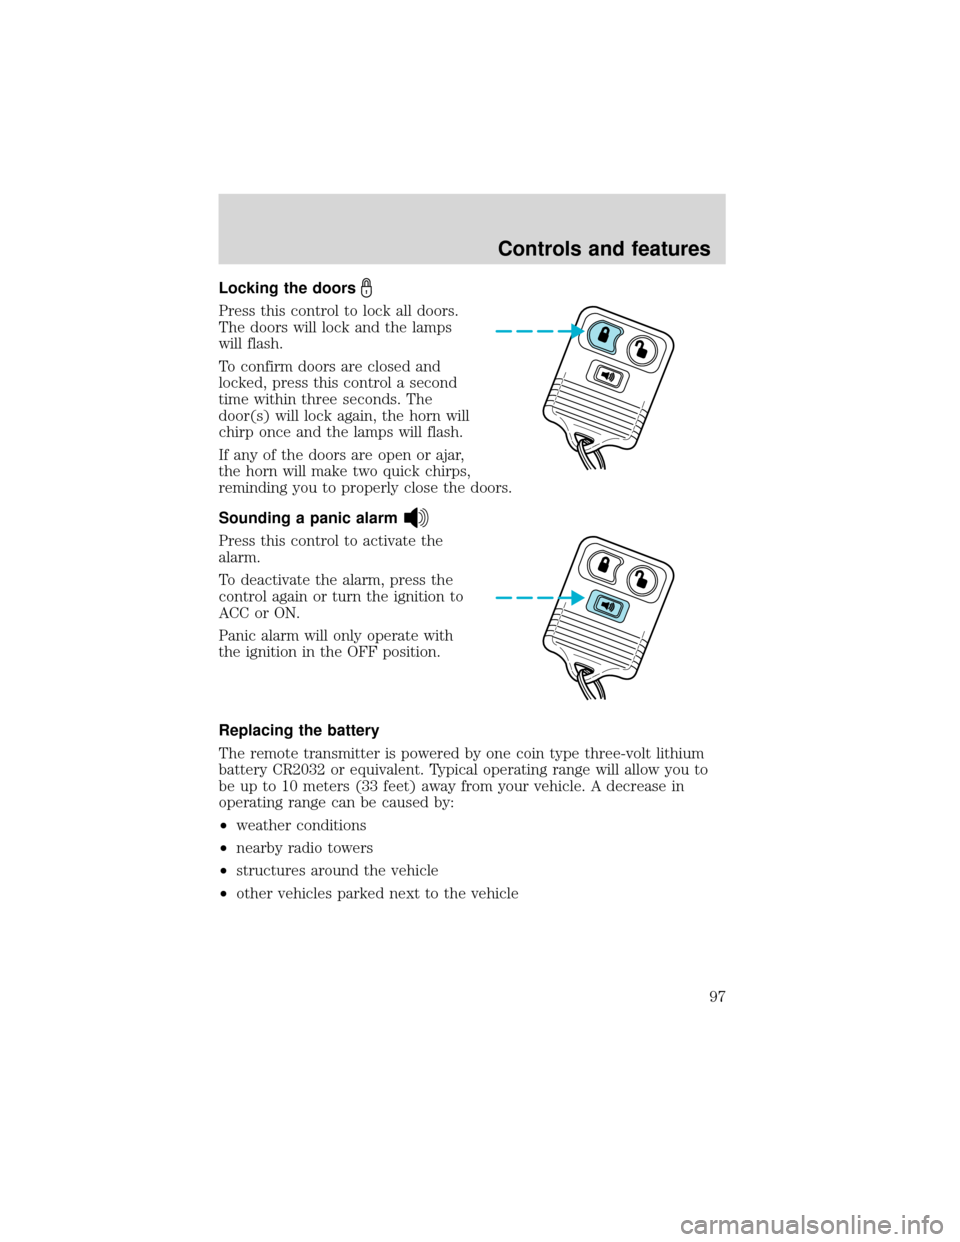
Locking the doors
Press this control to lock all doors.
The doors will lock and the lamps
will flash.
To confirm doors are closed and
locked, press this control a second
time within three seconds. The
door(s) will lock again, the horn will
chirp once and the lamps will flash.
If any of the doors are open or ajar,
the horn will make two quick chirps,
reminding you to properly close the doors.
Sounding a panic alarm
Press this control to activate the
alarm.
To deactivate the alarm, press the
control again or turn the ignition to
ACC or ON.
Panic alarm will only operate with
the ignition in the OFF position.
Replacing the battery
The remote transmitter is powered by one coin type three-volt lithium
battery CR2032 or equivalent. Typical operating range will allow you to
be up to 10 meters (33 feet) away from your vehicle. A decrease in
operating range can be caused by:
•weather conditions
•nearby radio towers
•structures around the vehicle
•other vehicles parked next to the vehicle
Controls and features
97
Page 106 of 280
Using the armrest (if equipped)
Push the release control to move
the armrest up or down.
Using the manual lumbar support
Turn the lumbar support control
toward the front of vehicle to move
the lumbar support forward for
more direct support.
Turn the lumbar support control
toward the rear of vehicle to move
the lumbar support back for less
direct support.
Adjusting the front power seat (if equipped)
Never adjust the driver’s seat or seatback when the vehicle is
moving.
Do not pile cargo higher than the seatbacks to avoid injuring
people in a collision or sudden stop.
Always drive and ride with your seatback upright and the lap
belt snug and low across the hips.
Seating and safety restraints
106
Page 109 of 280
REAR SEATS
Adjustable head restraints
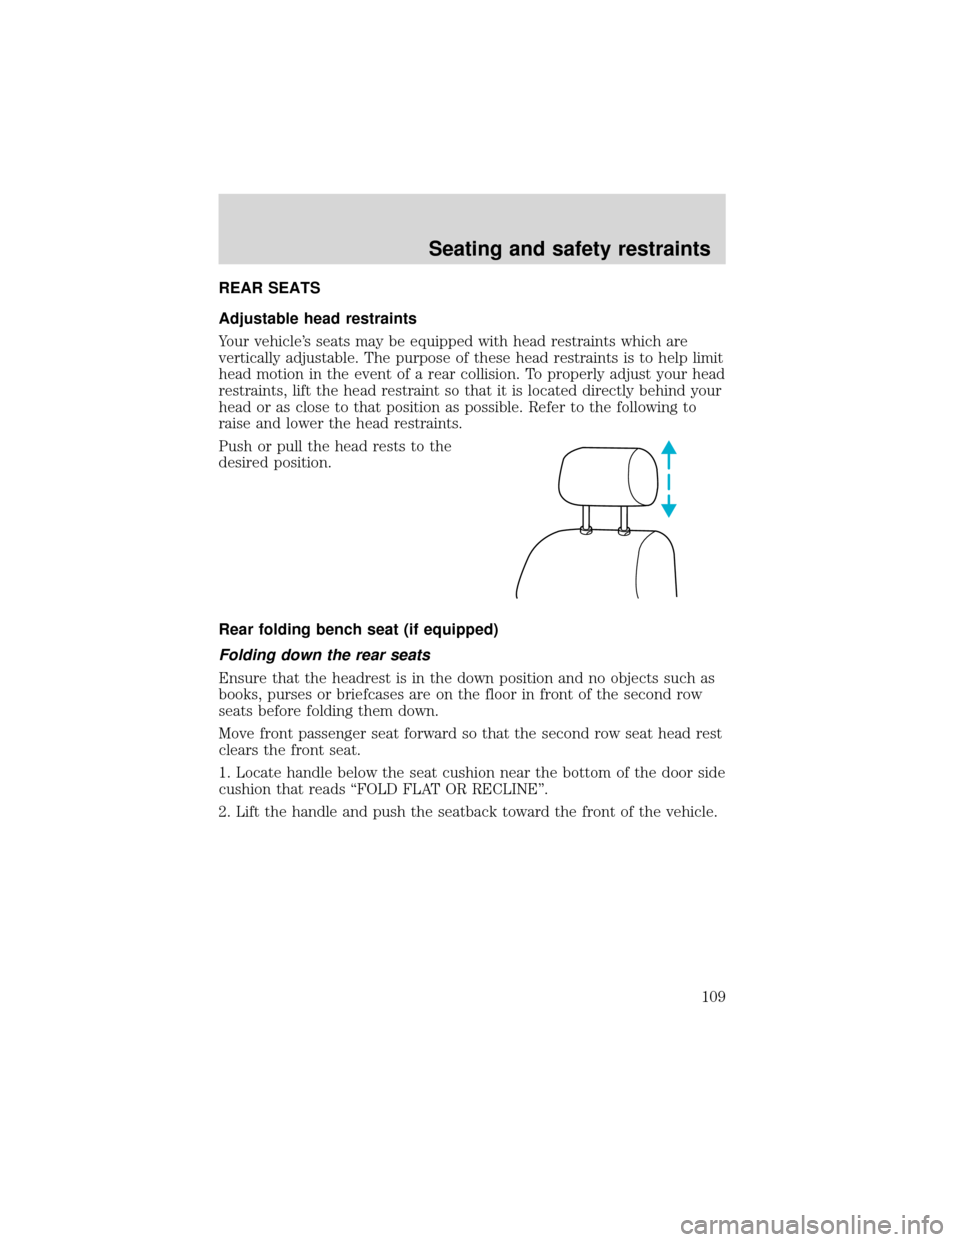
Your vehicle’s seats may be equipped with head restraints which are
vertically adjustable. The purpose of these head restraints is to help limit
head motion in the event of a rear collision. To properly adjust your head
restraints, lift the head restraint so that it is located directly behind your
head or as close to that position as possible. Refer to the following to
raise and lower the head restraints.
Push or pull the head rests to the
desired position.
Rear folding bench seat (if equipped)
Folding down the rear seats
Ensure that the headrest is in the down position and no objects such as
books, purses or briefcases are on the floor in front of the second row
seats before folding them down.
Move front passenger seat forward so that the second row seat head rest
clears the front seat.
1. Locate handle below the seat cushion near the bottom of the door side
cushion that reads“FOLD FLAT OR RECLINE”.
2. Lift the handle and push the seatback toward the front of the vehicle.
Seating and safety restraints
109