Page 22 of 280
Always remember to turn on your headlamps at dusk or during
inclement weather. The Daytime Running Lamp (DRL) system
does not activate with your tail lamps and generally may not provide
adequate lighting during these conditions. Failure to activate your
headlamps under these conditions may result in a collision.
Foglamp control (if equipped)
The headlamp control also operates
the foglamps. The foglamps can be
turned on only when the headlamp
control is in the
position and
the high beams are not turned on.
Pull headlamp control towards you
to turn foglamps on. The foglamp
indicator light
will illuminate.
PANEL DIMMER CONTROL
Use to adjust the brightness of the
instrument panel during headlamp
and parklamp operation.
•Rotate up to brighten.
•Rotate down to dim.
•Rotate to full up position (past
detent) to turn on interior lamps.
•Rotate to full down position (past
detent) to turn off interior lamps.
A
Controls and features
22
Page 23 of 280

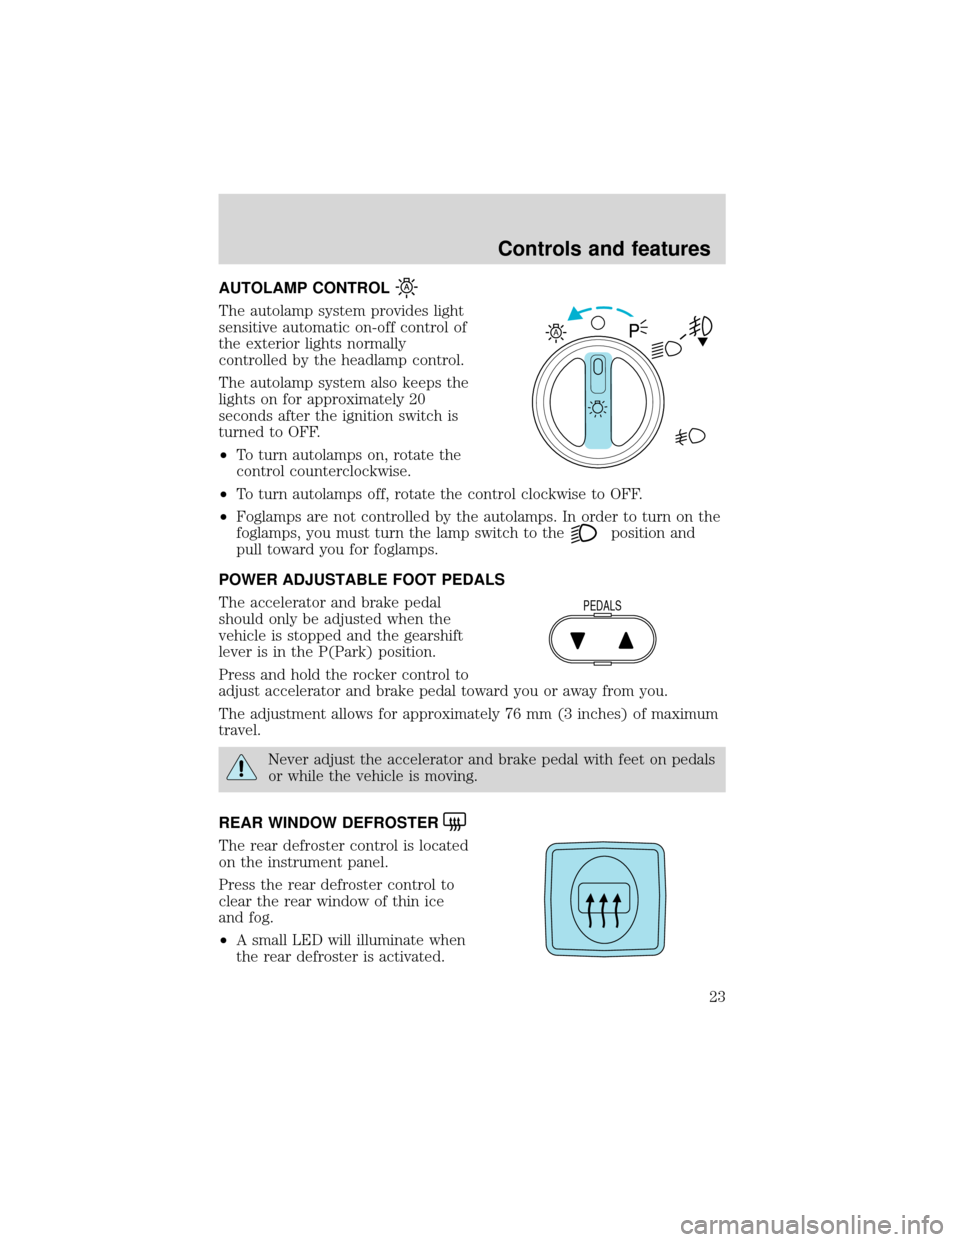
AUTOLAMP CONTROL
The autolamp system provides light
sensitive automatic on-off control of
the exterior lights normally
controlled by the headlamp control.
The autolamp system also keeps the
lights on for approximately 20
seconds after the ignition switch is
turned to OFF.
•To turn autolamps on, rotate the
control counterclockwise.
•To turn autolamps off, rotate the control clockwise to OFF.
•Foglamps are not controlled by the autolamps. In order to turn on the
foglamps, you must turn the lamp switch to the
position and
pull toward you for foglamps.
POWER ADJUSTABLE FOOT PEDALS
The accelerator and brake pedal
should only be adjusted when the
vehicle is stopped and the gearshift
lever is in the P(Park) position.
Press and hold the rocker control to
adjust accelerator and brake pedal toward you or away from you.
The adjustment allows for approximately 76 mm (3 inches) of maximum
travel.
Never adjust the accelerator and brake pedal with feet on pedals
or while the vehicle is moving.
REAR WINDOW DEFROSTER
The rear defroster control is located
on the instrument panel.
Press the rear defroster control to
clear the rear window of thin ice
and fog.
•A small LED will illuminate when
the rear defroster is activated.
A
PEDALS
Controls and features
23
Page 26 of 280

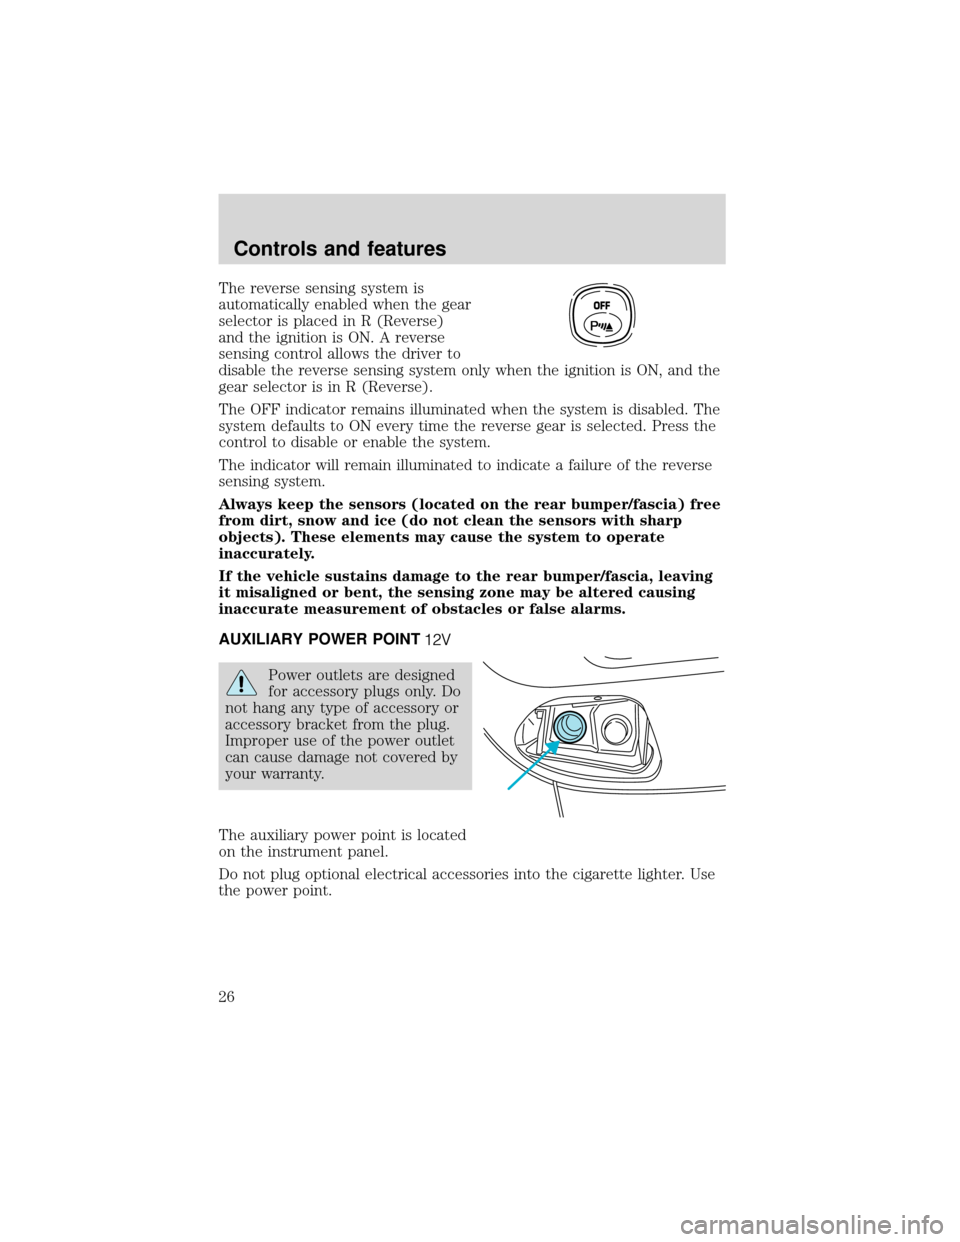
The reverse sensing system is
automatically enabled when the gear
selector is placed in R (Reverse)
and the ignition is ON. A reverse
sensing control allows the driver to
disable the reverse sensing system only when the ignition is ON, and the
gear selector is in R (Reverse).
The OFF indicator remains illuminated when the system is disabled. The
system defaults to ON every time the reverse gear is selected. Press the
control to disable or enable the system.
The indicator will remain illuminated to indicate a failure of the reverse
sensing system.
Always keep the sensors (located on the rear bumper/fascia) free
from dirt, snow and ice (do not clean the sensors with sharp
objects). These elements may cause the system to operate
inaccurately.
If the vehicle sustains damage to the rear bumper/fascia, leaving
it misaligned or bent, the sensing zone may be altered causing
inaccurate measurement of obstacles or false alarms.
AUXILIARY POWER POINT
Power outlets are designed
for accessory plugs only. Do
not hang any type of accessory or
accessory bracket from the plug.
Improper use of the power outlet
can cause damage not covered by
your warranty.
The auxiliary power point is located
on the instrument panel.
Do not plug optional electrical accessories into the cigarette lighter. Use
the power point.
OFF
Controls and features
26
Page 27 of 280
Power outlets are designed
for accessory plugs only. Do
not hang any type of accessory or
accessory bracket from the plug.
Improper use of the power outlet
can cause damage not covered by
your warranty.
A second auxiliary power point is
located on the lower rear side of the
console. The power point is
accessible from the rear seats.
USING YOUR AUDIO SYSTEM
Your audio system is equipped with selective lighting, a unique lighting
strategy. This lighting feature is operable when the headlamps are
illuminated. During the operation of any selected mode, lighting for the
individual function controls will either illuminate or turn off. Those
controls which have a function for the specific mode of operation
selected will be lit, while the controls which have no function for that
mode will be turned off.
Controls and features
27
Page 29 of 280
Volume/power control
Press the control to turn the audio
system on or off.
Turn the control to raise or lower
volume.
If the volume is set above a certain level and the ignition is turned off,
the volume will come back on at a“nominal”listening level when the
ignition switch is turned back on.
Speed sensitive volume (if equipped)
With this feature, radio volume automatically changes slightly with
vehicle speed to compensate for road and wind noise.
The recommended level for speed sensitive volume is from level 1
through level 3. Level 0 turns the speed sensitive volume off and level 7
is the maximum setting.
With the radio on, press and hold
the volume control for five seconds,
until the display reads SPEED VOL,
then press:
VOL
PUSH ON
VOL
PUSH ON
VOL
PUSH ON
Controls and features
29
Page 40 of 280
Premium AM/FM Stereo/Single CD Radio
Your audio system is equipped with selective lighting, a unique lighting
strategy. This lighting feature is operable when the headlamps are
illuminated. During the operation of any selected mode, lighting for the
individual function controls will either illuminate or turn off. Those
controls which have a function for the specific mode of operation
selected will be lit, while the controls which have no function for that
mode will be turned off.
Volume/power control
Press the control to turn the audio
system on or off.
CD
SCAN
VOL
PUSH ON
REW
1
FF
234
COMP
5
SHUFF
6
RDS EJ
AUTO
TUNE
SEEK
SEL
BAL
FADE
MUTE
FM AMBASS
TREB
Controls and features
40
Page 41 of 280
Turn the control to raise or lower
volume.
If the volume is set above a certain level and the ignition is turned off,
the volume will come back on at a“nominal”listening level when the
ignition switch is turned back on.
Speed sensitive volume (if equipped)
With this feature, radio volume changes automatically and slightly with
vehicle speed to compensate for road and wind noise.
The recommended level for speed sensitive volume is from level 1
through level 3. Level 0 turns the speed sensitive volume off and level 7
is the maximum setting.
With the radio on, press and hold
the volume control for five seconds,
then press:
•
to increase volume
compensation
•
to decrease or shut off the
volume compensation
AM/FM select
The AM/FM select control works in
radio, tape and CD changer modes
(if equipped).
VOL
PUSH ON
SEL
FM AM
Controls and features
41
Page 55 of 280

Cleaning compact discs
Inspect all discs for contamination before playing. If necessary, clean
discs only with an approved CD cleaner and wipe from the center out to
the edge. Do not use circular motion.
CD and CD changer care
•Handle discs by their edges only. Never touch the playing surface.
•Do not expose discs to direct sunlight or heat sources for extended
periods of time.
•Do not insert more than one disc into each slot of the CD changer
magazine.
Do not insert any promotional (odd shaped or sized) discs, or discs
with removable labels into the CD player as jamming may occur.
Cleaning cassette player (if equipped)
Clean the tape player head with a cassette cleaning cartridge after 10 to
12 hours of play in order to maintain the best sound and operation.
Cassette and cassette player care
•Use only cassettes that are 90 minutes long or less.
•Do not expose tapes to direct sunlight, high humidity, extreme heat or
extreme cold. Allow tapes that may have been exposed to extreme
temperatures to reach a moderate temperature before playing.
•Tighten very loose tapes by inserting a finger or pencil into the hole
and turning the hub.
•Remove loose labels before inserting tapes.
•Do not leave tapes in the cassette player for a long time when not
being played.
Radio frequency information
The Federal Communications Commission (FCC) and the Canadian Radio
and Telecommunications Commission(CRTC) establish the frequencies AM
and FM stations may use for their broadcasts. Allowable frequencies are:
AM 530, 540–1600, 1610 kHz
FM 87.7, 87.9–107.7, 107.9 MHz
Not all frequencies are used in a given area.
Controls and features
55