2001 FORD EXPEDITION air condition
[x] Cancel search: air conditionPage 63 of 280
economical and will cool the inside of the vehicle faster. Airflow is
from the instrument panel registers. This mode can also be used to
prevent undesirable odors from entering the vehicle.
•VENT-Distributes outside air through the instrument panel registers.
However, the air cannot be cooled below the outside temperature
because the air conditioning does not operate in this mode.
•PNL•FLR-Distributes outside air through the instrument panel
registers and the floor ducts. Heating and air conditioning capabilities
are provided in this mode. The air will be heated or cooled based on
the temperature selection. For added customer comfort, the air
distributed through the floor ducts will be slightly warmer than the air
sent to the instrument panel registers.
•FLOOR-Allows for maximum heating by distributing outside air
through the floor ducts. However, the air cannot be cooled below the
outside temperature because the air conditioning does not operate this
mode.
•FLR•DEF-Distributes outside air through the windshield defroster
ducts and the floor ducts. Heating and air conditioning capabilities are
provided in this mode. The air will be heated or cooled based on the
temperature selection. For added customer comfort, the air
distributed through the floor ducts will be slightly warmer than the air
sent to the windshield defroster ducts. If the temperature is about 6°C
(43°F) or higher, the air conditioner will automatically dehumidify the
air to reduce fogging.
•DEF
-Distributes outside air through the windshield defroster
ducts. It can be used to clear ice or fog from the windshield. If the
outside air temperature is about 6°C (43°F) or higher, the air
conditioner will automatically dehumidify the air to reduce fogging.
•OFF-Outside air is shut out and the fan will not operate. For short
periods of time only, use this mode to reduce undesirable odors from
entering the vehicle.
Controls and features
63
Page 64 of 280
Displaying outside temperature
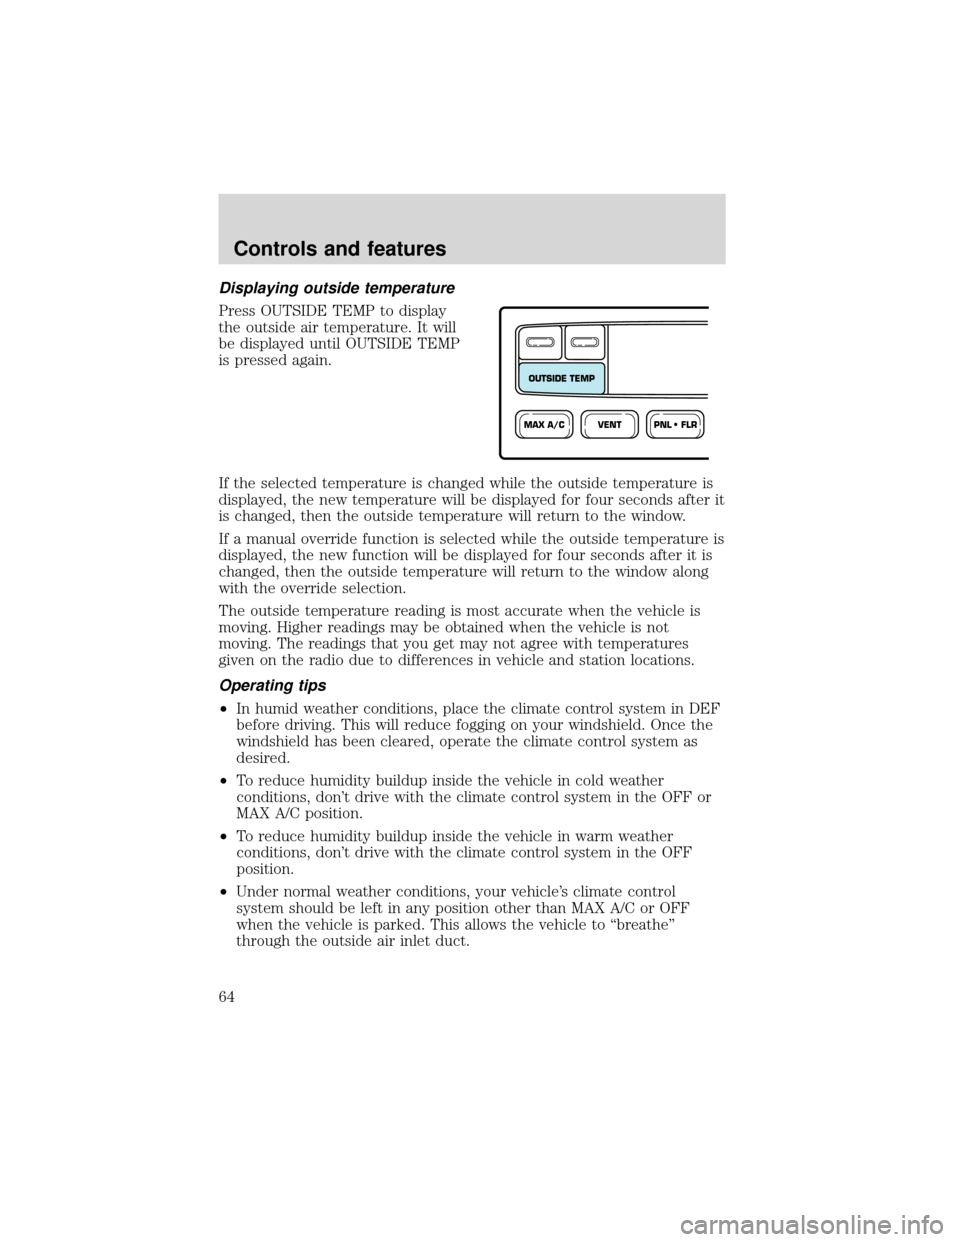
Press OUTSIDE TEMP to display
the outside air temperature. It will
be displayed until OUTSIDE TEMP
is pressed again.
If the selected temperature is changed while the outside temperature is
displayed, the new temperature will be displayed for four seconds after it
is changed, then the outside temperature will return to the window.
If a manual override function is selected while the outside temperature is
displayed, the new function will be displayed for four seconds after it is
changed, then the outside temperature will return to the window along
with the override selection.
The outside temperature reading is most accurate when the vehicle is
moving. Higher readings may be obtained when the vehicle is not
moving. The readings that you get may not agree with temperatures
given on the radio due to differences in vehicle and station locations.
Operating tips
•In humid weather conditions, place the climate control system in DEF
before driving. This will reduce fogging on your windshield. Once the
windshield has been cleared, operate the climate control system as
desired.
•To reduce humidity buildup inside the vehicle in cold weather
conditions, don’t drive with the climate control system in the OFF or
MAX A/C position.
•To reduce humidity buildup inside the vehicle in warm weather
conditions, don’t drive with the climate control system in the OFF
position.
•Under normal weather conditions, your vehicle’s climate control
system should be left in any position other than MAX A/C or OFF
when the vehicle is parked. This allows the vehicle to“breathe”
through the outside air inlet duct.
VENTPNL • FLRMAX A/C
OUTSIDE TEMP
Controls and features
64
Page 65 of 280
•Under snowy or dirty weather conditions, your vehicle’s climate
control system should be left in the OFF position when the vehicle is
parked. This allows the climate control system to be free from
contamination of outside pollutants.
•If your vehicle has been parked with the windows closed during warm
weather conditions, the air conditioner will perform more efficiently in
cooling the vehicle if driven for two or three minutes with the
windows open. This will force most of the hot, stale air out of the
vehicle. Once the vehicle has been“aired out”, operate the climate
control system as desired.
•Don’t put objects under the front seat that will interfere with the
airflow to the back seats.
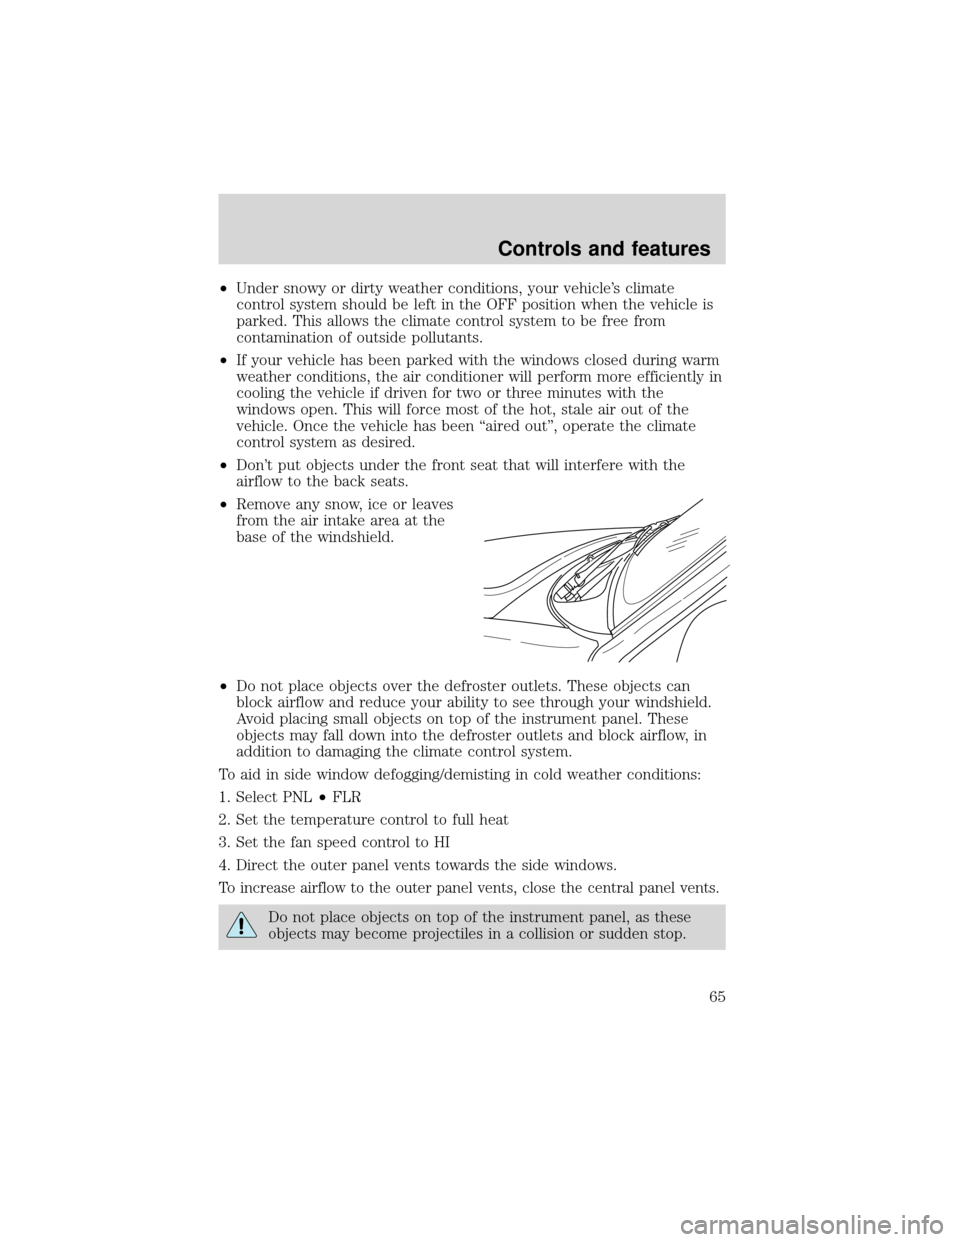
•Remove any snow, ice or leaves
from the air intake area at the
base of the windshield.
•Do not place objects over the defroster outlets. These objects can
block airflow and reduce your ability to see through your windshield.
Avoid placing small objects on top of the instrument panel. These
objects may fall down into the defroster outlets and block airflow, in
addition to damaging the climate control system.
To aid in side window defogging/demisting in cold weather conditions:
1. Select PNL•FLR
2. Set the temperature control to full heat
3. Set the fan speed control to HI
4. Direct the outer panel vents towards the side windows.
To increase airflow to the outer panel vents, close the central panel vents.
Do not place objects on top of the instrument panel, as these
objects may become projectiles in a collision or sudden stop.
Controls and features
65
Page 78 of 280
Trip computer
For information on the trip computer, refer toTrip computerin the
Instrumentationchapter.
Electronic compass (if equipped)
The compass reading may be affected when you drive near large
buildings, bridges, power lines and powerful broadcast antennas.
Magnetic or metallic objects placed in, on or near the vehicle may also
affect compass accuracy.
Usually, when something affects the compass readings, the compass will
correct itself after a few days of operating your vehicle in normal
conditions. If the compass still appears to be inaccurate, a manual
calibration may be necessary. Refer toCompass calibration
adjustment.
Most geographic areas (zones) have a magnetic north compass point that
varies slightly from the northerly direction on maps. This variation is four
degrees between adjacent zones and will become noticeable as the
vehicle crosses multiple zones. A correct zone setting will eliminate this
error. Refer toCompass zone adjustment.
Electronic compass/temperature display (without trip computer)
Outside air temperature
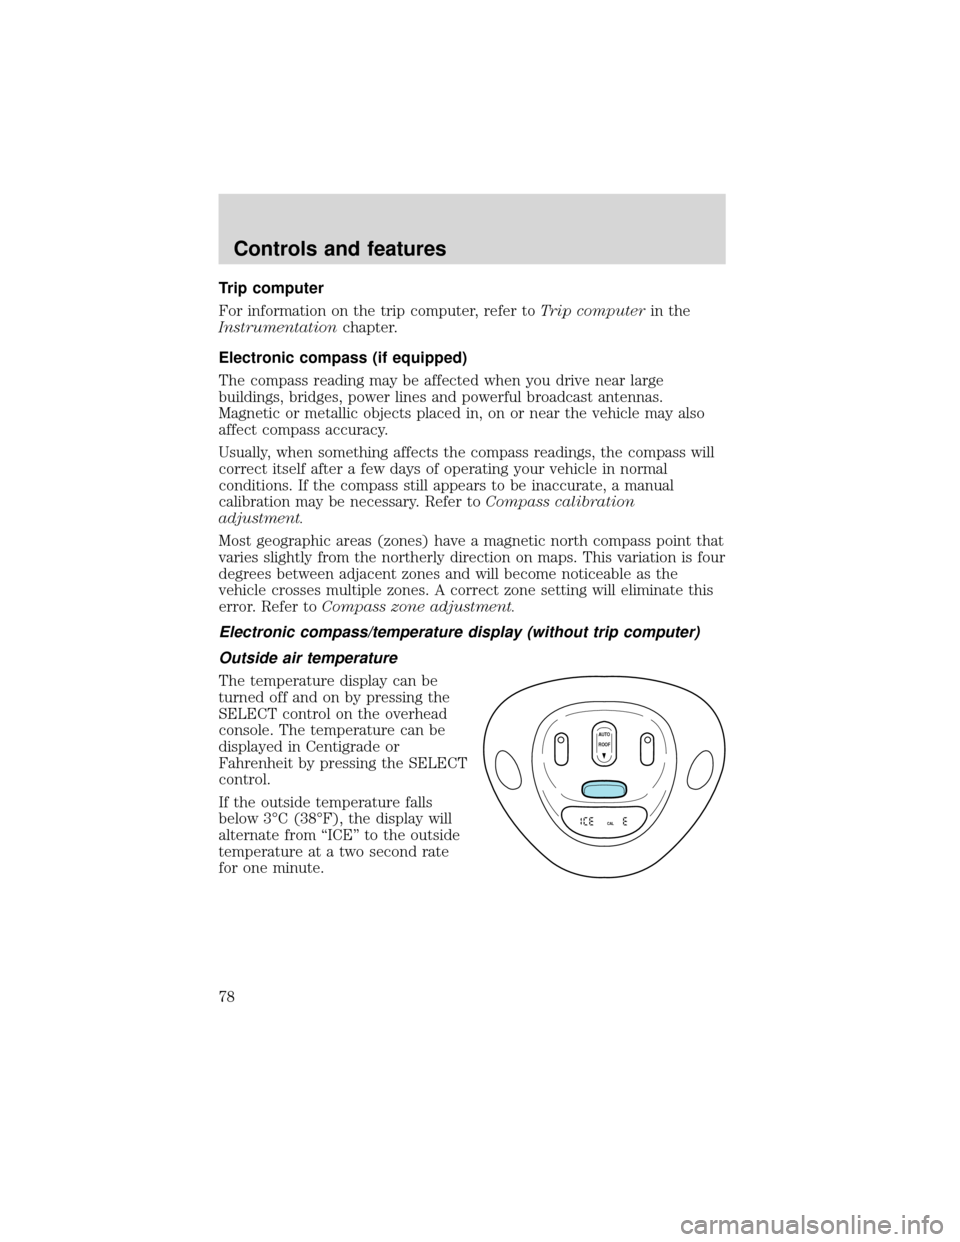
The temperature display can be
turned off and on by pressing the
SELECT control on the overhead
console. The temperature can be
displayed in Centigrade or
Fahrenheit by pressing the SELECT
control.
If the outside temperature falls
below 3°C (38°F), the display will
alternate from“ICE”to the outside
temperature at a two second rate
for one minute.
AUTO
CAL
ROOF
Controls and features
78
Page 80 of 280
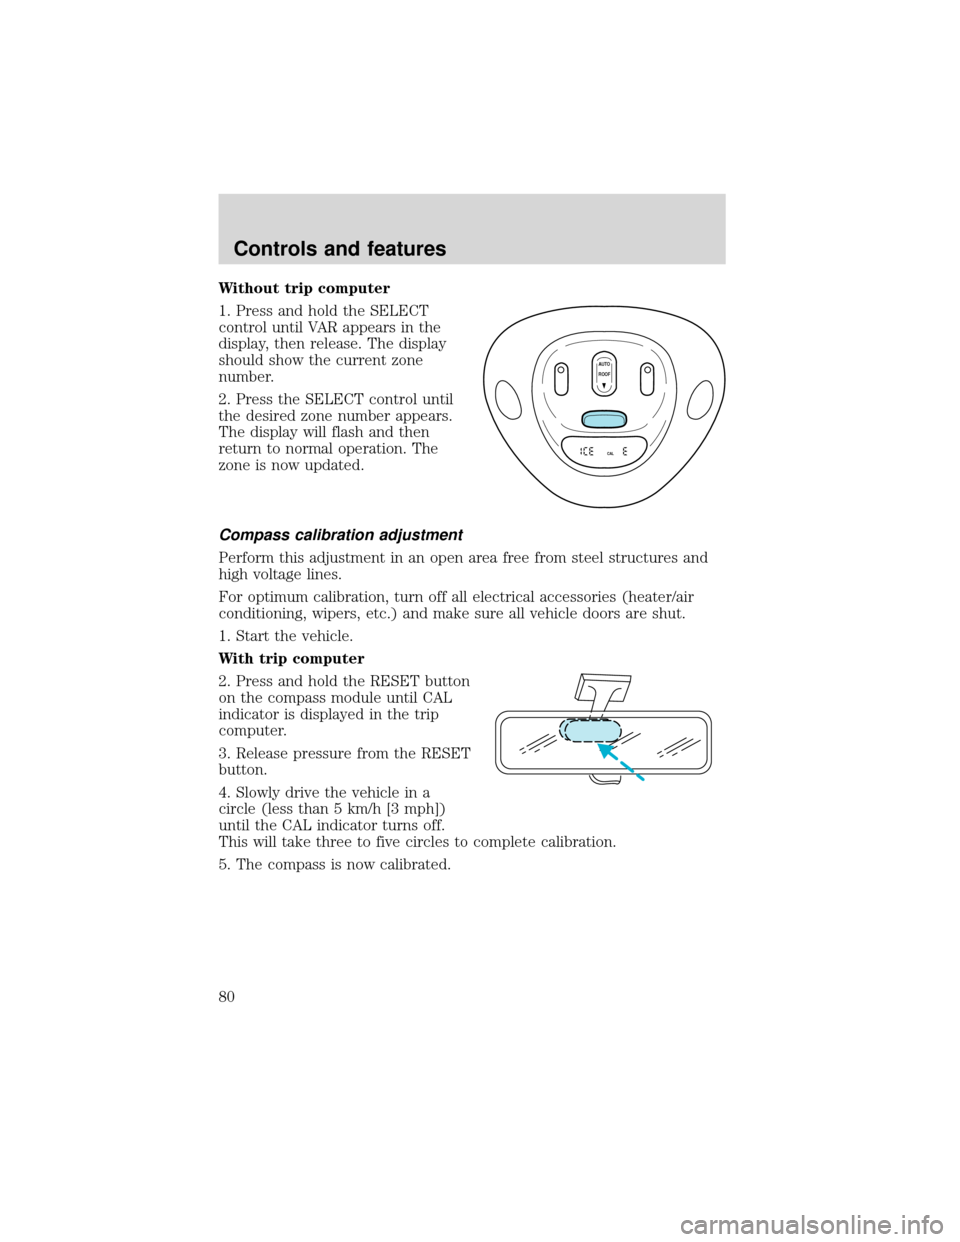
Without trip computer
1. Press and hold the SELECT
control until VAR appears in the
display, then release. The display
should show the current zone
number.
2. Press the SELECT control until
the desired zone number appears.
The display will flash and then
return to normal operation. The
zone is now updated.
Compass calibration adjustment
Perform this adjustment in an open area free from steel structures and
high voltage lines.
For optimum calibration, turn off all electrical accessories (heater/air
conditioning, wipers, etc.) and make sure all vehicle doors are shut.
1. Start the vehicle.
With trip computer
2. Press and hold the RESET button
on the compass module until CAL
indicator is displayed in the trip
computer.
3. Release pressure from the RESET
button.
4. Slowly drive the vehicle in a
circle (less than 5 km/h [3 mph])
until the CAL indicator turns off.
This will take three to five circles to complete calibration.
5. The compass is now calibrated.
AUTO
CAL
ROOF
Controls and features
80
Page 121 of 280
Disconnect the combination lap/shoulder belt and allow it to retract
completely to disengage the automatic locking mode and activate the
vehicle sensitive (emergency) locking mode.
After any vehicle collision, the front passenger outboard seat belt
system must be checked by a qualified technician to verify that
the“automatic locking retractor”feature for child seats is still
functioning properly. In addition, all seat belts should be checked for
proper function.
BELT AND RETRACTOR ASSEMBLY MUST BE REPLACED if
the seat belt assembly“automatic locking retractor”feature or
any other seat belt function is not operating properly when checked
according to the procedures in Workshop Manual.
Failure to replace the Belt and Retractor assembly could
increase the risk of injury in collisions.
Safety belt pretensioner
Your vehicle is equipped with safety belt pretensioners at the driver and
front passenger seating positions.
The safety belt pretensioner is a device which removes excess webbing
from the safety belt system. The safety belt pretensioner uses the same
crash sensor system as the front air bag supplemental restraint system
(SRS). When the safety belt pretensioner deploys, webbing from the lap
and shoulder belt is tightened. The driver and front passenger seat belt
system (including retractors, buckles and height adjusters) must be
replaced if the vehicle is involved in a collision that results in
deployment of front air bags and safety belt pretensioners. Refer to the
Safety belt maintenancesection in this chapter.
Failure to replace the safety belt assembly under the above
conditions could result in severe personal injuries in the event of
a collision.
Seating and safety restraints
121
Page 128 of 280
Failure to inspect and if necessary replace the safety belt
assembly under the above conditions could result in severe
personal injuries in the event of a collision.
Refer toCleaning and maintaining the safety beltsin the
Maintenacne and Caresection.
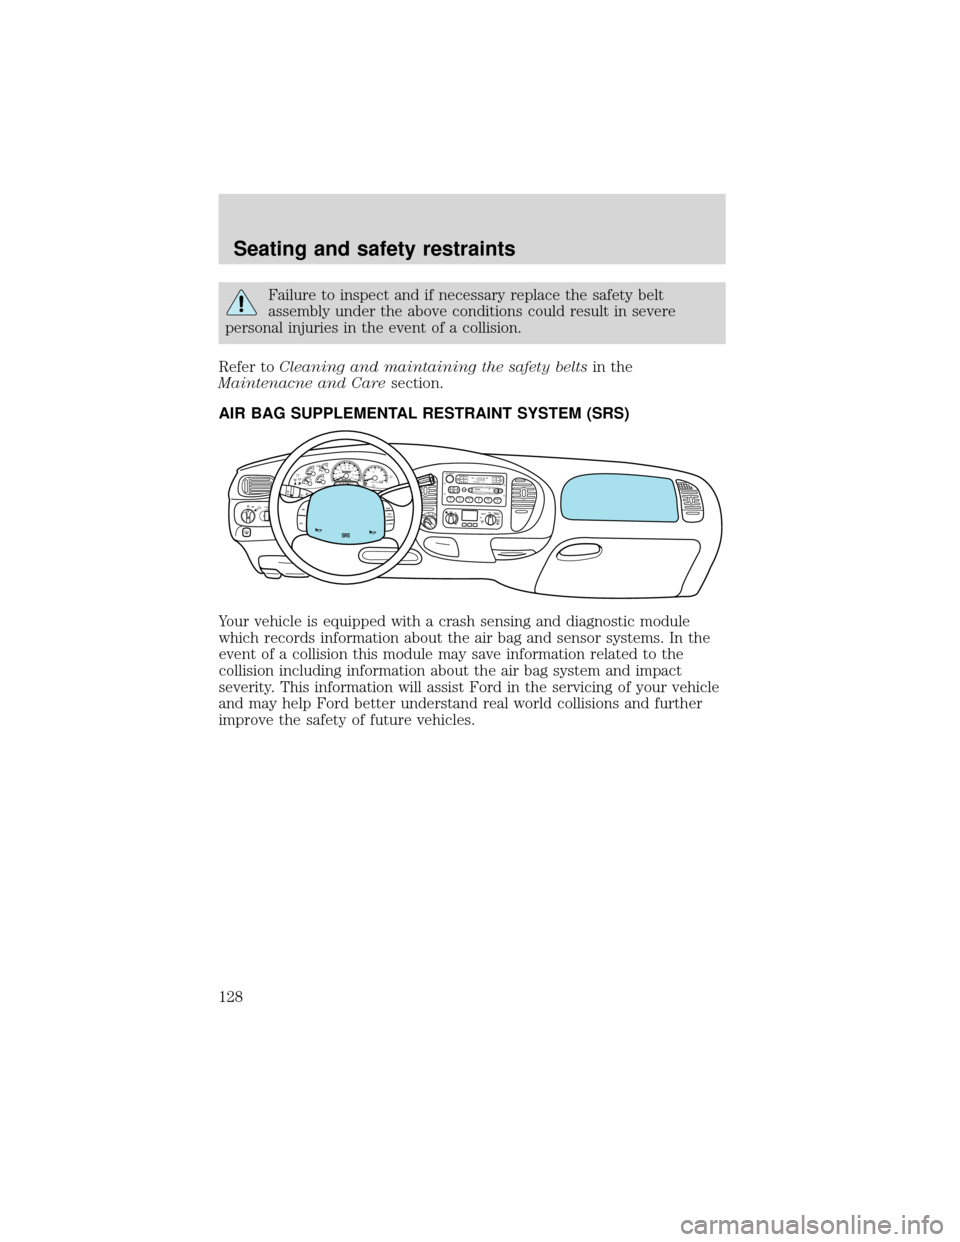
AIR BAG SUPPLEMENTAL RESTRAINT SYSTEM (SRS)
Your vehicle is equipped with a crash sensing and diagnostic module
which records information about the air bag and sensor systems. In the
event of a collision this module may save information related to the
collision including information about the air bag system and impact
severity. This information will assist Ford in the servicing of your vehicle
and may help Ford better understand real world collisions and further
improve the safety of future vehicles.
FOR
SCANEJ
REWFF SIDE 1-2COMPS
H
U
F
F
L
ETAPE CDDISCSB
A
S
ST
R
E
BB
A
LF
A
D
EA
U
T
O
S
E
TVOL - PUSH ONSEEKT
U
N
EAM
FM
12 3456fwDOLBY B NRFM1STDOOR
AJAR
BRAKEF
E
H H
18
820
10304050
60
70
80
90
10020 406080
100
120
140
160
MPH km/h00000000
012PRN 21RPMx1000CHECK
ENGINE THEFT3
4
5
6CHECK
SUSPLOW
FUEL
ABS
PPULL
FOGPANEL
DIM4H
A4WD4LF
L
O
O
R
P
A
N
E
LL
O
H
IC
O
O
LW
A
R
MD
E
F F
L
R
&
D
E
F P
A
N
E
L
&
F
L
O
O
R O
F
FP
A
N
E
LL
O
H
IF
L
R
&
D
E
F P
A
N
E
L
&
F
L
O
O
R O
F
FM
A
X
A
C A
C
F
LO
O
RF
A
N
O
VE
R
D
R
IVE
SRS
ON
OFFRES
SET
ACCELC
O
A
S
T
Seating and safety restraints
128
Page 133 of 280
The RCM (restraints control module) monitors its own internal circuits
and the supplemental air bag electrical system warning (including the
impact sensors, the system wiring, the air bag system readiness light, the
air bag back up power and the air bag ignitors).
Determining if the system is operational
The SRS uses a readiness light in the instrument cluster or a tone to
indicate the condition of the system. Refer to theAir bag readiness
section in theInstrumentationchapter. Routine maintenance of the air
bag is not required.
A difficulty with the system is indicated by one or more of the following:
•The readiness light will either
flash or stay lit.
•The readiness light will not
illuminate immediately after ignition is turned on.
•A series of five beeps will be heard. The tone pattern will repeat
periodically until the problem and/or light are repaired.
If any of these things happen, even intermittently, have the SRS serviced
at your dealership or by a qualified technician immediately. Unless
serviced, the system may not function properly in the event of a
collision.
Disposal of air bags and air bag equipped vehicles
(including pretensioners)
For disposal of air bags or air bag equipped vehicles, see your local
dealership or qualified technician. Air bags MUST BE disposed of by
qualified personnel.
Seating and safety restraints
133