Page 4 of 468
ii
Table of Contents
Windows
Keys and Door Locks
Keyless Entry System (If Equipped)
Tailgate
Automatic Transmission
Manual Transmission
Four-Wheel Drive Operation (If Equipped)
Parking Brake
Tilt Wheel (If Equipped)
Turn Signal/Multifunction LeverWindshield Wipers
Cruise Control
Exterior and Interior Lamps
Mirrors
Storage Compartments
Accessory Power Outlets
OnStar® System (Option)
Instrument Panel, Warning Lights and Gages
Message Center Seats and Seat Controls
Safety BeltsAir Bag System
Restraint Systems for Children
Section
1
Section
2
Seats and Restraint Systems
Features and Controls
Page 135 of 468

2-52
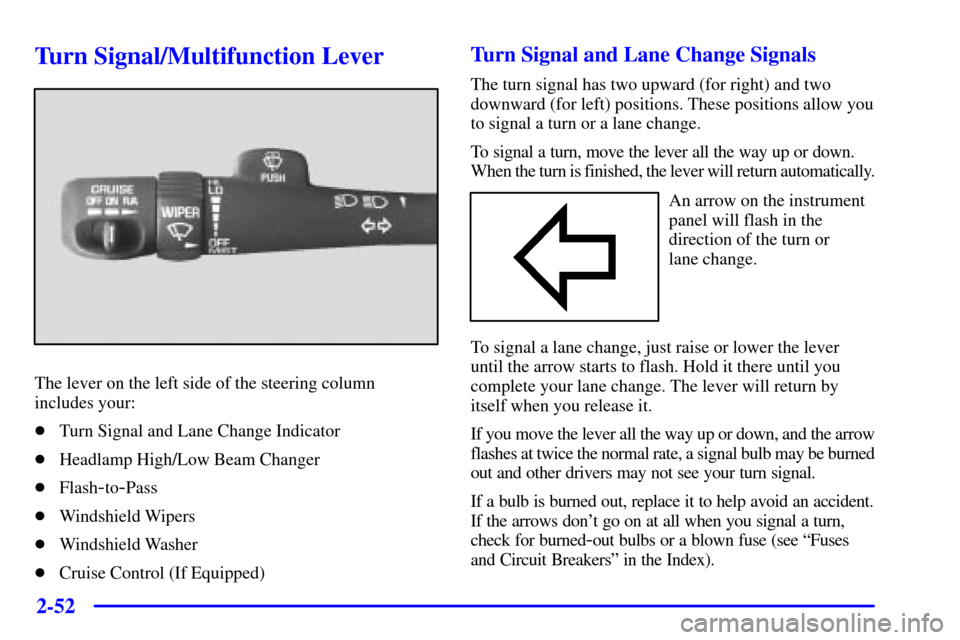
Turn Signal/Multifunction Lever
The lever on the left side of the steering column
includes your:
�Turn Signal and Lane Change Indicator
�Headlamp High/Low Beam Changer
�Flash
-to-Pass
�Windshield Wipers
�Windshield Washer
�Cruise Control (If Equipped)
Turn Signal and Lane Change Signals
The turn signal has two upward (for right) and two
downward (for left) positions. These positions allow you
to signal a turn or a lane change.
To signal a turn, move the lever all the way up or down.
When the turn is finished, the lever will return automatically.
An arrow on the instrument
panel will flash in the
direction of the turn or
lane change.
To signal a lane change, just raise or lower the lever
until the arrow starts to flash. Hold it there until you
complete your lane change. The lever will return by
itself when you release it.
If you move the lever all the way up or down, and the arrow
flashes at twice the normal rate, a signal bulb may be burned
out and other drivers may not see your turn signal.
If a bulb is burned out, replace it to help avoid an accident.
If the arrows don't go on at all when you signal a turn,
check for burned
-out bulbs or a blown fuse (see ªFuses
and Circuit Breakersº in the Index).
Page 138 of 468
2-55
Cruise Control
With cruise control, you can
maintain a speed of about
25 mph (40 km/h) or more
without keeping your foot
on the accelerator.
This can really help on long trips. Cruise control does
not work at speeds below about 25 mph (40 km/h).
If you apply your brakes, or press the clutch pedal
(if equipped), the cruise control will disengage.CAUTION:
�Cruise control can be dangerous where you
can't drive safely at a steady speed. So,
don't use your cruise control on winding
roads or in heavy traffic.
�Cruise control can be dangerous on
slippery roads. On such roads, fast changes
in tire traction can cause needless wheel
spinning, and you could lose control.
Don't use cruise control on slippery roads.
Page 139 of 468

2-56
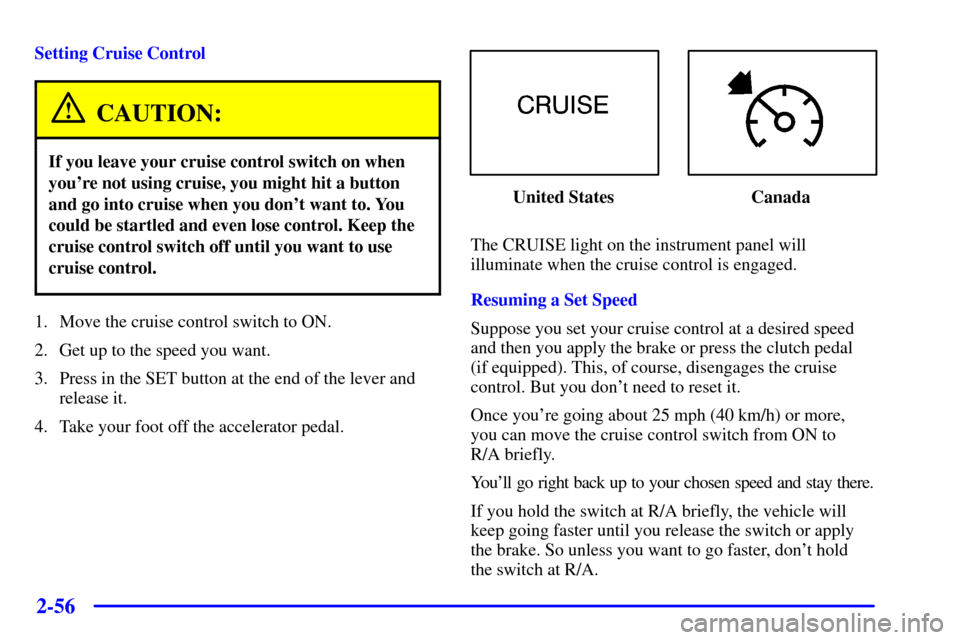
Setting Cruise Control
CAUTION:
If you leave your cruise control switch on when
you're not using cruise, you might hit a button
and go into cruise when you don't want to. You
could be startled and even lose control. Keep the
cruise control switch off until you want to use
cruise control.
1. Move the cruise control switch to ON.
2. Get up to the speed you want.
3. Press in the SET button at the end of the lever and
release it.
4. Take your foot off the accelerator pedal.
United States Canada
The CRUISE light on the instrument panel will
illuminate when the cruise control is engaged.
Resuming a Set Speed
Suppose you set your cruise control at a desired speed
and then you apply the brake or press the clutch pedal
(if equipped). This, of course, disengages the cruise
control. But you don't need to reset it.
Once you're going about 25 mph (40 km/h) or more,
you can move the cruise control switch from ON to
R/A briefly.
You'll go right back up to your chosen speed and stay there.
If you hold the switch at R/A briefly, the vehicle will
keep going faster until you release the switch or apply
the brake. So unless you want to go faster, don't hold
the switch at R/A.
Page 140 of 468

2-57
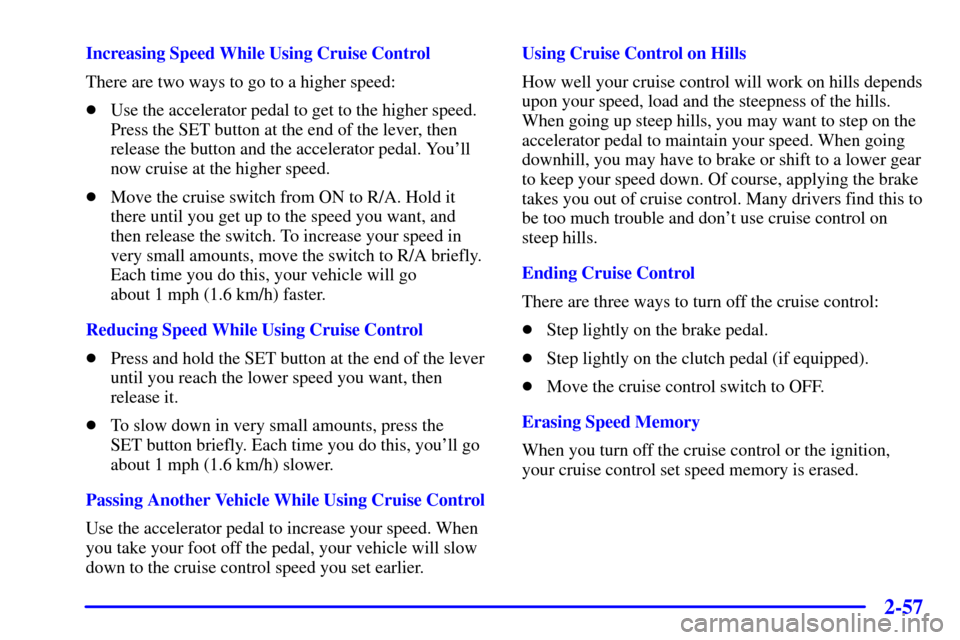
Increasing Speed While Using Cruise Control
There are two ways to go to a higher speed:
�Use the accelerator pedal to get to the higher speed.
Press the SET button at the end of the lever, then
release the button and the accelerator pedal. You'll
now cruise at the higher speed.
�Move the cruise switch from ON to R/A. Hold it
there until you get up to the speed you want, and
then release the switch. To increase your speed in
very small amounts, move the switch to R/A briefly.
Each time you do this, your vehicle will go
about 1 mph (1.6 km/h) faster.
Reducing Speed While Using Cruise Control
�Press and hold the SET button at the end of the lever
until you reach the lower speed you want, then
release it.
�To slow down in very small amounts, press the
SET button briefly. Each time you do this, you'll go
about 1 mph (1.6 km/h) slower.
Passing Another Vehicle While Using Cruise Control
Use the accelerator pedal to increase your speed. When
you take your foot off the pedal, your vehicle will slow
down to the cruise control speed you set earlier.Using Cruise Control on Hills
How well your cruise control will work on hills depends
upon your speed, load and the steepness of the hills.
When going up steep hills, you may want to step on the
accelerator pedal to maintain your speed. When going
downhill, you may have to brake or shift to a lower gear
to keep your speed down. Of course, applying the brake
takes you out of cruise control. Many drivers find this to
be too much trouble and don't use cruise control on
steep hills.
Ending Cruise Control
There are three ways to turn off the cruise control:
�Step lightly on the brake pedal.
�Step lightly on the clutch pedal (if equipped).
�Move the cruise control switch to OFF.
Erasing Speed Memory
When you turn off the cruise control or the ignition,
your cruise control set speed memory is erased.
Page 180 of 468
2-97
CAUTION:
Don't keep driving if the oil pressure is low.
If you do, your engine can become so hot that it
catches fire. You or others could be burned.
Check your oil as soon as possible and have your
vehicle serviced.
NOTICE:
Damage to your engine from neglected oil
problems can be costly and is not covered by
your warranty.
Cruise Light (If Equipped)
United States Canada
The CRUISE light comes on whenever you set your
cruise control. See ªCruise Controlº in the Index.
4WD Light (If Equipped)
The 4WD indicator will
light up when you shift a
manual transfer case into
four
-wheel drive and the
front axle engages.
Some delay between shifting and the indicator's lighting
is normal.
See ªFour
-Wheel Driveº in the Index for more information.
Page 232 of 468

4-10
The Traction Assist System may operate on dry roads
under some conditions. When this happens, you may
notice a reduction in acceleration. This is normal and
doesn't mean there's a problem with your vehicle.
Examples of these conditions include a hard acceleration
in a turn, an abrupt upshift or downshift of the
transmission or driving on rough roads.
If your vehicle is in cruise control when the TAS begins
to limit wheel spin, the cruise control will automatically
disengage. When road conditions allow you to safely
use it again, you may re
-engage the cruise control.
See ªCruise Controlº in the Index.
When the TRACTION
OFF light is on, the TAS
is off and will not limit
wheel spin. Adjust your
driving accordingly.The TRACTION OFF light will come on under the
following conditions:
�The Traction Assist System is turned off, either by
pressing the TAS on/off button or turning off the
automatic engagement feature of the TAS.
�The transmission is in FIRST (1); TAS will not
operate in this gear. This is normal.
�The vehicle is driven on a severely rough road.
When the vehicle leaves the rough surface, slows
down or stops, the light will go off and TAS will be
on again. This is normal.
�A Traction Assist System, Anti-Lock Brake System
or engine
-related problem has been detected and the
vehicle needs service.
See ªTraction Off Lightº in the Index.
The Traction Assist System, as delivered from the
factory, will automatically come on whenever you start
your vehicle. To limit wheel spin, especially in slippery
road conditions, you should always leave the system on.
But you can turn the TAS off if you ever need to.
You should turn the TAS off if your vehicle ever gets
stuck in sand, mud or snow and rocking the vehicle is
required. See ªRocking Your Vehicleº in the Index.
Page 305 of 468

4-83
Using PTO speed control in Preset Mode
(Factory Setting):
1. Engage the PTO.
2. Select PARK (P) or NEUTRAL (N) range.
Apply the parking brake in NEUTRAL (N) is
selected. Torque Converter Clutch (TCC) lockup is
not available in NEUTRAL (N) and is available only
in PARK when engine speed is above 1100 rpm.
3. Make sure your foot is off the brake pedal
(and off the clutch on vehicles equipped with a
manual transmission). Select the desired engine
speed for PTO operation. Please read the following
Preset Mode information regarding operation.
Preset Mode: PTO speed control mode is used for
stationary applications. This mode provides a default
standby speed of 800 or 850 rpm (depending on the
engine/transmission combination) and two default PTO
control speeds which follow:
�PTO Fast Idle Speed of 1250 rpm, or
�PTO Fast Idle Resume Speed of 1700 rpm.
Standby speed (800/850 rpm) is not to be used as a
PTO control speed. Vehicles not equipped with cruise
control will not have the resume speed capability.Using PTO speed control in Variable Mode (Mobile):
1. Engage the PTO.
2. Vehicle speed must be greater than 5 mph for vehicles
equipped with gasoline engines or greater than 0 mph
for vehicles equipped with diesel engines.
3. Make sure your foot is off the brake pedal
(and off the clutch for vehicles equipped with a
manual transmission).
4. Select the desired engine speed (with the foot pedal)
and select SET on the PTO switch or with the
cruise control.
Using PTO speed control in Variable
Mode (Stationary):
1. Engage the PTO.
2. Vehicle speed must be less than 5 mph for vehicles
equipped with gasoline engines or at 0 mph for
vehicles equipped with diesel engines.
3. Make sure your foot is off the brake pedal
(and off the clutch for vehicles equipped with a
manual transmission).
4. Select the desired engine speed (with the foot pedal)
and select SET on the PTO switch or with the
cruise control.