Page 4 of 351
Table of Contents
Windows
Keys and Door Locks
Remote Keyless Entry System
Remote Trunk Release
Automatic Transaxle
Parking Brake
Tilt Wheel
Turn Signal/Multifunction Lever
Windshield WipersCruise Control (If Equipped)
Exterior and Interior Lamps
Mirrors
Storage Compartments
Convenience Net (If Equipped)
Accessory Power Outlet
Sunroof (Option)
Instrument Panel, Warning Lights and Gages Seats and Seat Controls
Safety BeltsSupplemental Restraint System (SRS)
Restraint Systems for Children
Section
1
Section
2
Seats and Restraint Systems
Features and Controls
ii
Page 11 of 351

ix
For example,
these symbols
are used on an
original battery:
CAUTION
POSSIBLE
INJURY
PROTECT
EYES BY
SHIELDING
CAUSTIC
BATTERY
ACID COULD
CAUSE
BURNS
AVOID
SPARKS OR
FLAMES
SPARK OR
FLAME
COULD
EXPLODE
BATTERY
These symbols
are important for
you and your
passengers
whenever your
vehicle is driven:
CHILD
RESTRAINT
TOP STRAP
ANCHOR
DOOR LOCK
UNLOCK
FASTEN
SEAT
BELTS
POWER
WINDOW
AIR BAG
These symbols
have to do with
your lamps:
MASTER
LIGHTING
SWITCH
TURN
SIGNALS
PARKING
LAMPS
HAZARD
WARNING
FLASHER
DAYTIME
RUNNING
LAMPS
FOG LAMPS
These symbols
are on some of
your controls:
WINDSHIELD
WIPER
WINDSHIELD
WASHER
WINDSHIELD
DEFROSTER
REAR
WINDOW
DEFOGGER
VENTILATING
FAN
These symbols
are used on
warning and
indicator lights:
ENGINE
COOLANT
TEMP
BATTERY
CHARGING
SYSTEM
BRAKE
COOLANT
ENGINE OIL
PRESSURE
ANTI-LOCK
BRAKES
Here are some
other symbols
you may see:
FUSE
LIGHTER
HORN
FUEL
Vehicle Symbols
These are some of the symbols you may find on your vehicle. Also see ªWarning Lights and Gagesº in the Index.
Page 66 of 351

2-
2-1
Section 2 Features and Controls
Here you can learn about the many standard and optional features on your vehicle, and information on starting,
shifting and braking. Also explained are the instrument panel and the warning systems that tell you if everything is
working properly
-- and what to do if you have a problem.
2
-2 Windows
2
-4 Keys
2
-6 Door Locks
2
-10 Remote Keyless Entry System (If Equipped)
2
-14 Trunk
2
-17 Theft
2
-18 Passlock�
2-18 New Vehicle ªBreak-Inº
2
-19 Ignition Positions
2
-20 Starting Your Engine
2
-21 Engine Coolant Heater (Option)
2
-22 Automatic Transaxle Operation
2
-26 Parking Brake
2
-27 Shifting Into PARK (P)
2
-29 Shifting Out of PARK (P)
2
-29 Parking Over Things That Burn2
-30 Engine Exhaust
2
-30 Running Your Engine While You're Parked
2
-31 Tilt Wheel
2
-32 Turn Signal/Multifunction Lever
2
-39 Exterior Lamps
2
-41 Interior Lamps
2
-42 Mirrors
2
-44 Storage Compartments
2
-45 Ashtray and Cigarette Lighter
2
-45 Sun Visors
2
-46 Accessory Power Outlet
2
-46 Garment Hook
2
-47 Sunroof (Option)
2
-48 The Instrument Panel -- Your
Information System
2
-52 Warning Lights, Gages and Indicators
Page 84 of 351

2-19
Ignition Positions
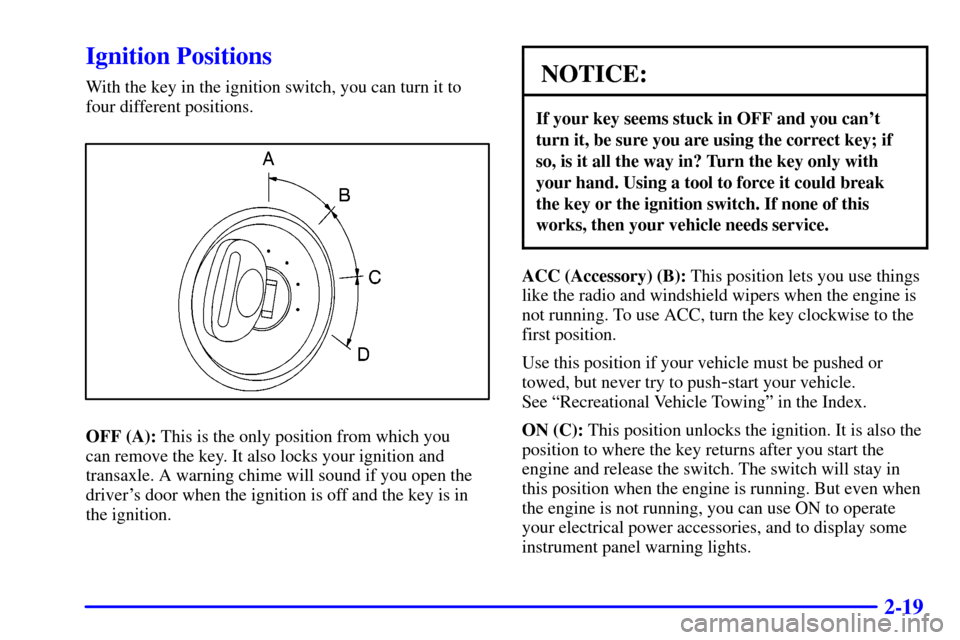
With the key in the ignition switch, you can turn it to
four different positions.
OFF (A): This is the only position from which you
can remove the key. It also locks your ignition and
transaxle. A warning chime will sound if you open the
driver's door when the ignition is off and the key is in
the ignition.
NOTICE:
If your key seems stuck in OFF and you can't
turn it, be sure you are using the correct key; if
so, is it all the way in? Turn the key only with
your hand. Using a tool to force it could break
the key or the ignition switch. If none of this
works, then your vehicle needs service.
ACC (Accessory) (B): This position lets you use things
like the radio and windshield wipers when the engine is
not running. To use ACC, turn the key clockwise to the
first position.
Use this position if your vehicle must be pushed or
towed, but never try to push
-start your vehicle.
See ªRecreational Vehicle Towingº in the Index.
ON (C): This position unlocks the ignition. It is also the
position to where the key returns after you start the
engine and release the switch. The switch will stay in
this position when the engine is running. But even when
the engine is not running, you can use ON to operate
your electrical power accessories, and to display some
instrument panel warning lights.
Page 91 of 351

2-26 Second-Gear Start
Your vehicle is equipped with a second-gear start
feature. Place the shift lever in SECOND (2) gear to
provide more traction when you are starting on ice
or other slippery surfaces. The transaxle will be in
SECOND (2) gear when the vehicle begins to move.
After starting in SECOND (2) gear, place the shift lever
in THIRD (3) or AUTOMATIC OVERDRIVE (D).
This feature is only for improved traction only when
the road surface is slippery and is not intended for
continuous use or when the vehicle is stuck in sand,
mud, ice, snow or gravel.
Parking Brake
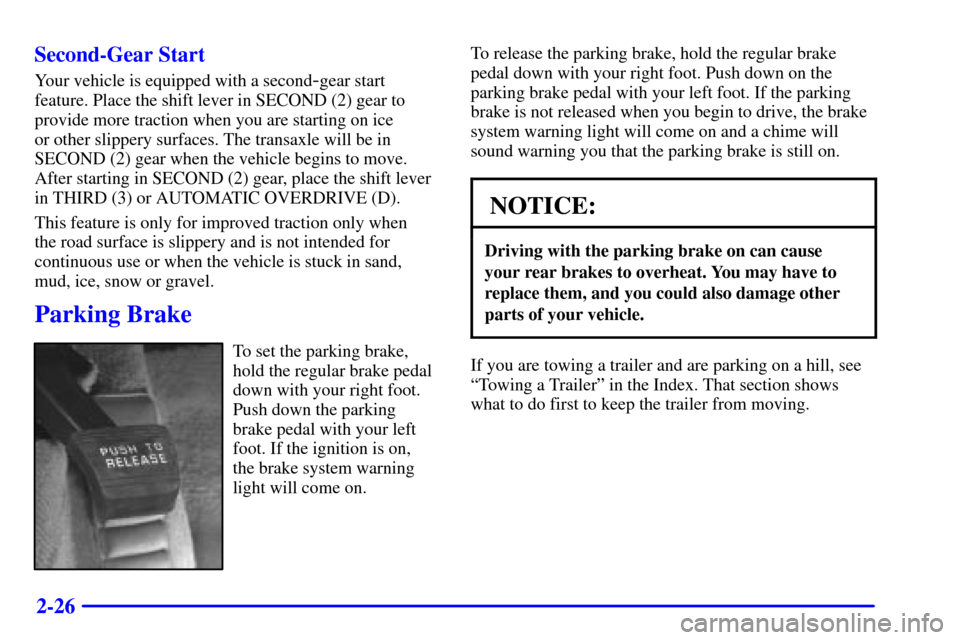
To set the parking brake,
hold the regular brake pedal
down with your right foot.
Push down the parking
brake pedal with your left
foot. If the ignition is on,
the brake system warning
light will come on.To release the parking brake, hold the regular brake
pedal down with your right foot. Push down on the
parking brake pedal with your left foot. If the parking
brake is not released when you begin to drive, the brake
system warning light will come on and a chime will
sound warning you that the parking brake is still on.
NOTICE:
Driving with the parking brake on can cause
your rear brakes to overheat. You may have to
replace them, and you could also damage other
parts of your vehicle.
If you are towing a trailer and are parking on a hill, see
ªTowing a Trailerº in the Index. That section shows
what to do first to keep the trailer from moving.
Page 99 of 351

2-34 Headlamp High/Low-Beam Changer
To change the headlamps from low beam to high beam,
push the turn signal/multifunction lever away from you.
When the high beams are
on, a light on the instrument
panel cluster also will be on
if the ignition is in ON.
To change the headlamps from high beam to low beam,
pull the turn signal lever toward you.
Lamps On Reminder
If you open the driver's door and turn off the
ignition while leaving the lamps on, you will hear a
warning chime.
Flash-to-Pass
This feature lets you use your high-beam headlamps to
signal a driver in front of you that you want to pass.
To use it, pull the turn signal/multifunction lever toward
you until the high
-beam headlamps come on, then
release the lever to turn them off.
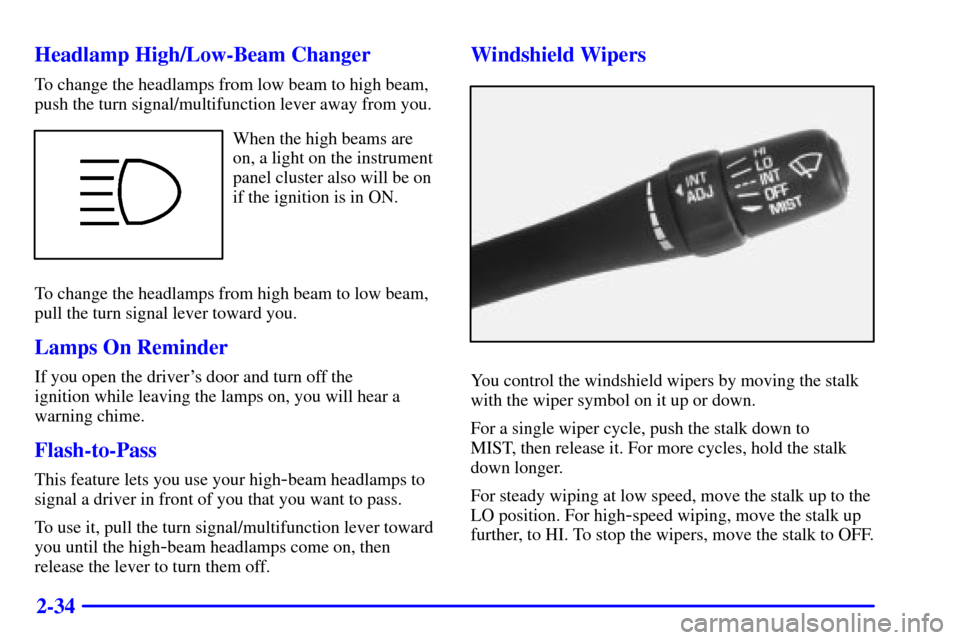
Windshield Wipers
You control the windshield wipers by moving the stalk
with the wiper symbol on it up or down.
For a single wiper cycle, push the stalk down to
MIST, then release it. For more cycles, hold the stalk
down longer.
For steady wiping at low speed, move the stalk up to the
LO position. For high
-speed wiping, move the stalk up
further, to HI. To stop the wipers, move the stalk to OFF.
Page 114 of 351
2-49
The main components of your instrument panel are the following:
A. Side Window Defogger Vents
B. Vent Outlets
C. Instrument Panel Brightness Control
D. Fog Lamp Button (If Equipped)
E. Turn Signal/Multifunction Lever
F. Cruise Control Buttons (If Equipped)
G. Instrument Panel Cluster
H. Windshield Wiper/Washer Lever
I. Ignition Switch
J. Hazard Warning Flashers Button
K. Instrument Panel Fuse BlocksL. Instrument Panel Cupholder
M. Remote Trunk Release Button
N. Hood Release
O. Tilt Wheel Lever
P. Parking Brake
Q. Horn
R. Audio System
S. Cigarette Lighter
T. Ashtray
U. Accessory Power Outlet
V. Climate Control System
Page 115 of 351
2-50
Instrument Panel Cluster
Your instrument panel cluster is designed to let you know at a glance how your vehicle is running. You'll know how
fast you're going, how much fuel you're using, and many other things you will need to drive safely and economically.
Your vehicle is equipped with this instrument panel cluster, which includes indicator warning lights and gages that are
explained on the following pages.
United States version shown, Canada similar