Page 2 of 448
Courtesy
Transportation
Every
2001 Blazer
under warranty is
backed with the
following
services:1-800-CHEV-USA
(For vehicles purchased in Canada,
call
1-800-268-6800)
that provides in an emergency:
Free lockout assistance
Free dead-battery assistance
Free out-of-fuel assistance
Free flat-tire change
Emergency towing
®
1-800-CHEV-USA
(For vehicles purchased in Canada,
call
1-800-268-6800)
Page 4 of 448
Table of Contents
Windows
Keys and Door Locks
Remote Keyless Entry System (If Equipped)
Endgate/Liftgate
Automatic Transmission (If Equipped)
Manual Transmission (If Equipped)
Four-Wheel Drive (If Equipped)
Parking Brake
Tilt Wheel
Turn Signal/Multifunction Lever
Windshield WipersCruise Control
Exterior and Interior Lamps
Mirrors
Storage Compartments
Luggage Carrier (If Equipped)
Accessory Power Outlets
OnStar® System (If Equipped)
Sunroof (If Equipped)
HomeLink® Transmitter (If Equipped)
Instrument Panel, Warning Lights and Gages Seats and Seat Controls
Safety BeltsAir Bag Systems
Restraint Systems for Children
Section
1
Section
2
Seats and Restraint Systems
Features and Controls
ii
Page 5 of 448
Comfort Controls and Audio Systems
Your Driving and the Road
Table of Contents (cont'd)
Your Driving, the Road and Your Vehicle
Defensive Driving
Drunken Driving
Control of a Vehicle
Braking
SteeringDriving Tips for Various Road Conditions
Off-Road Driving
Recreational Vehicle Towing
Loading Your Vehicle
Towing a Trailer Heating and Air Conditioning
Setting the Radio Clock
Radio/Cassette Player/CD PlayerRadio Theft-Deterrent Feature
Steering Wheel Controls (If Equipped)
Hazard Warning Flashers
Jump Starting
Towing Your VehicleEngine Overheating
Changing a Flat Tire
If You're Stuck
Problems on the Road
iii
Section
5
Section
4
Section
3
Page 11 of 448

ix
For example,
these symbols
are used on an
original battery:
CAUTION
POSSIBLE
INJURY
PROTECT
EYES BY
SHIELDING
CAUSTIC
BATTERY
ACID COULD
CAUSE
BURNS
AVOID
SPARKS OR
FLAMES
SPARK OR
FLAME
COULD
EXPLODE
BATTERY
These symbols
are important for
you and your
passengers
whenever your
vehicle is driven:
CHILD
RESTRAINT
TOP STRAP
ANCHOR
DOOR LOCK
UNLOCK
FASTEN
SEAT
BELTS
POWER
WINDOW
AIR BAG
These symbols
have to do with
your lamps:
MASTER
LIGHTING
SWITCH
TURN
SIGNALS
PARKING
LAMPS
HAZARD
WARNING
FLASHER
DAYTIME
RUNNING
LAMPS
FOG LAMPS
These symbols
are on some of
your controls:
WINDSHIELD
WIPER
WINDSHIELD
WASHER
WINDSHIELD
DEFROSTER
REAR
WINDOW
DEFOGGER
VENTILATING
FAN
These symbols
are used on
warning and
indicator lights:
ENGINE
COOLANT
TEMP
BATTERY
CHARGING
SYSTEM
BRAKE
COOLANT
ENGINE OIL
PRESSURE
ANTI-LOCK
BRAKES
Here are some
other symbols
you may see:
FUSE
LIGHTER
HORN
FUEL
Vehicle Symbols
These are some of the symbols you may find on your vehicle. Also see ªWarning Lights and Gagesº in the Index.
Page 14 of 448
1-2
Seats and Seat Controls
This section tells you about the seats -- how to adjust
them, and fold them up and down.
Manual Front Seat
CAUTION:
You can lose control of the vehicle if you try to
adjust a manual driver's seat while the vehicle is
moving. The sudden movement could startle and
confuse you, or make you push a pedal when you
don't want to. Adjust the driver's seat only when
the vehicle is not moving.
Move the lever located under the front of the manual
seat up to unlock it. Slide the seat to where you want it.
Then release the lever and try to move the seat with your
body to make sure the seat is locked into place.
Page 15 of 448
1-3 Manual Lumbar Support (If Equipped)
If your vehicle has this
feature, there will be a knob
on the outboard side of the
driver's and passenger's
bucket seats.
Turn the knob counterclockwise to increase lumbar
support and clockwise to decrease lumbar support.
Power Seats (If Equipped)
If your vehicle has this feature, there will be a control on
the outboard side of your seat.
Horizontal Control: Raise or lower the front of the
seat by raising or lowering the forward edge of
the control.
Raise or lower the rear of the seat by raising or lowering
the rear edge of the control. Move the seat forward or
rearward by moving the whole control toward the
front or the rear of the vehicle.
Page 16 of 448

1-4
Moving the whole control up or down raises or lowers
the whole seat.
Vertical Control: Move the reclining front seatback
forward or rearward by moving the control toward the
front or rear of the vehicle.
Power Lumbar Control (If Equipped)
If your vehicle has this
feature, it is located on the
outboard side of the seat(s).
Press and hold the front of the control until you have
the desired lumbar support. To decrease lumbar support,
press and hold the rear of the control.
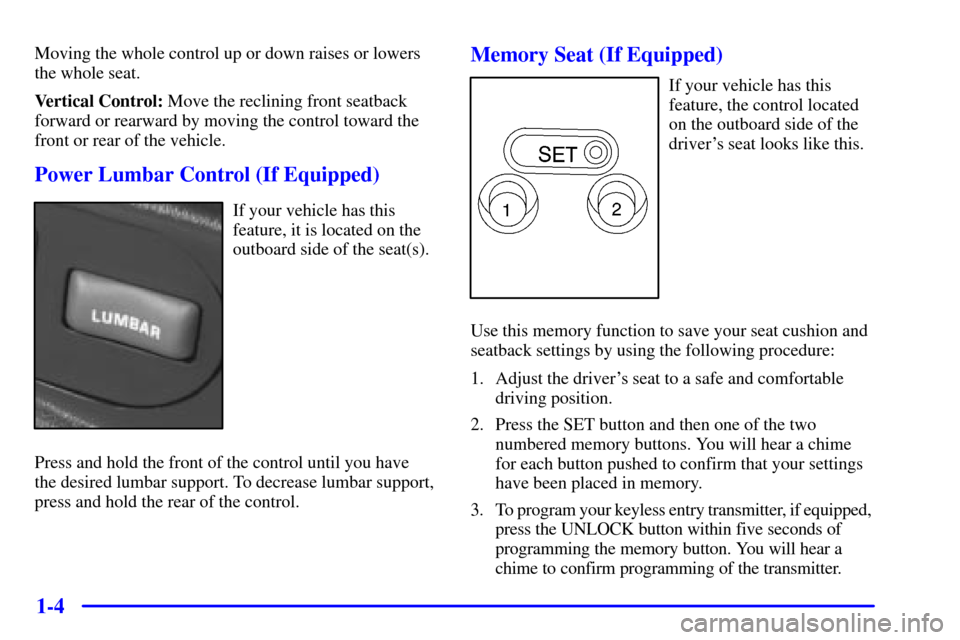
Memory Seat (If Equipped)
If your vehicle has this
feature, the control located
on the outboard side of the
driver's seat looks like this.
Use this memory function to save your seat cushion and
seatback settings by using the following procedure:
1. Adjust the driver's seat to a safe and comfortable
driving position.
2. Press the SET button and then one of the two
numbered memory buttons. You will hear a chime
for each button pushed to confirm that your settings
have been placed in memory.
3. To program your keyless entry transmitter, if equipped,
press the UNLOCK button within five seconds of
programming the memory button. You will hear a
chime to confirm programming of the transmitter.
Page 17 of 448

1-5
When your vehicle is in PARK (P) for an automatic
transmission or the parking brake is engaged for a
manual transmission, push and release the numbered
memory button you just stored. The seat will move to
the set position. You will hear one chime.
Pressing the UNLOCK button of a keyless entry
transmitter will adjust the seat to the corresponding
stored memory position. You will hear one chime.
Repeat Steps 1 and 2 to readjust the seat. The transmitter
need not be reprogrammed unless it needs to correspond
to the other numbered memory button.
To set the seat for a second driver, follow the previous
steps, but use the other numbered button and the other
keyless entry transmitter.
If there is a third driver, use the seat adjuster switch to
adjust the seat. Pressing any of the seat adjuster switches,
the SET button or pressing the desired memory button
twice will cause the seat to stop moving.
If you push the numbered button to adjust the seat
and start the vehicle while the seat is still adjusting,
adjustment will pause while the ignition is in START.
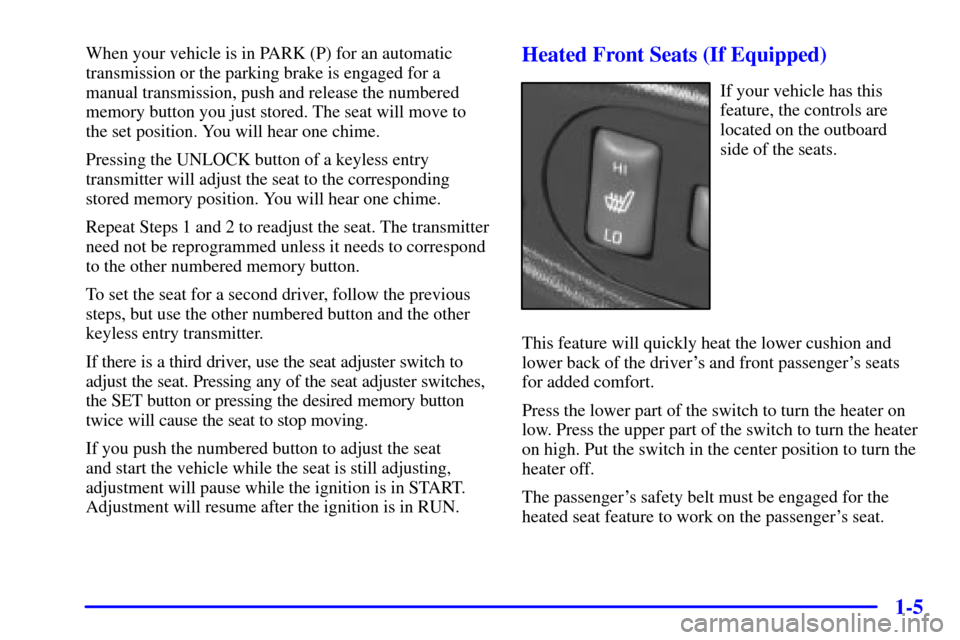
Adjustment will resume after the ignition is in RUN.Heated Front Seats (If Equipped)
If your vehicle has this
feature, the controls are
located on the outboard
side of the seats.
This feature will quickly heat the lower cushion and
lower back of the driver's and front passenger's seats
for added comfort.
Press the lower part of the switch to turn the heater on
low. Press the upper part of the switch to turn the heater
on high. Put the switch in the center position to turn the
heater off.
The passenger's safety belt must be engaged for the
heated seat feature to work on the passenger's seat.