Page 278 of 448

5-4
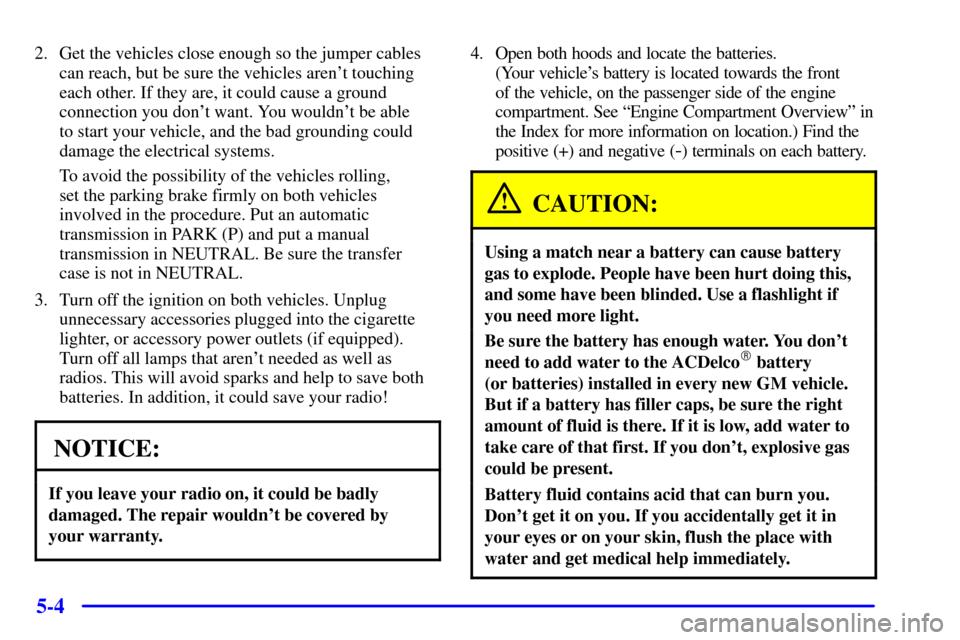
2. Get the vehicles close enough so the jumper cables
can reach, but be sure the vehicles aren't touching
each other. If they are, it could cause a ground
connection you don't want. You wouldn't be able
to start your vehicle, and the bad grounding could
damage the electrical systems.
To avoid the possibility of the vehicles rolling,
set the parking brake firmly on both vehicles
involved in the procedure. Put an automatic
transmission in PARK (P) and put a manual
transmission in NEUTRAL. Be sure the transfer
case is not in NEUTRAL.
3. Turn off the ignition on both vehicles. Unplug
unnecessary accessories plugged into the cigarette
lighter, or accessory power outlets (if equipped).
Turn off all lamps that aren't needed as well as
radios. This will avoid sparks and help to save both
batteries. In addition, it could save your radio!
NOTICE:
If you leave your radio on, it could be badly
damaged. The repair wouldn't be covered by
your warranty.
4. Open both hoods and locate the batteries.
(Your vehicle's battery is located towards the front
of the vehicle, on the passenger side of the engine
compartment. See ªEngine Compartment Overviewº in
the Index for more information on location.) Find the
positive (+) and negative (
-) terminals on each battery.
CAUTION:
Using a match near a battery can cause battery
gas to explode. People have been hurt doing this,
and some have been blinded. Use a flashlight if
you need more light.
Be sure the battery has enough water. You don't
need to add water to the ACDelco� battery
(or batteries) installed in every new GM vehicle.
But if a battery has filler caps, be sure the right
amount of fluid is there. If it is low, add water to
take care of that first. If you don't, explosive gas
could be present.
Battery fluid contains acid that can burn you.
Don't get it on you. If you accidentally get it in
your eyes or on your skin, flush the place with
water and get medical help immediately.
Page 279 of 448
5-5
CAUTION:
Fans or other moving engine parts can injure you
badly. Keep your hands away from moving parts
once the engine is running.
5. Check that the jumper cables don't have loose or
missing insulation. If they do, you could get a shock.
The vehicles could be damaged too.
Before you connect the cables, here are some
basic things you should know. Positive (+) will go
to positive (+) and negative (
-) will go to a heavy,
unpainted metal engine part. Don't connect
positive (+) to negative (
-) or you'll get a short that
would damage the battery and maybe other parts too.
And don't connect the negative (
-) to negative (-).
6. Connect the red
positive (+) cable to
the positive (+) terminal
of the vehicle with the
dead battery.
7. Don't let the other
end touch metal.
Connect it to the
positive (+) terminal
of the good battery.
Page 280 of 448
5-6
8. Now connect the black
negative (
-) cable to
the good battery's
negative (
-) terminal.
Don't let the other end touch anything until the next
step. The other end of the negative (
-) cable doesn't
go to the dead battery. It goes to a heavy, unpainted
metal part on the engine of the vehicle with the
dead battery.
9. Attach the cable at least
18 inches (45 cm) away
from the dead battery,
but not near engine parts
that move. The electrical
connection is just as
good there, but the
chance of sparks getting
back to the battery is
much less.
10. Now start the vehicle with the good battery and run
the engine for a while.
11. Try to start the vehicle with the dead battery. If it won't
start after a few tries, make sure all connections are
good. If it still won't start, it probably needs service.
Page 281 of 448
5-7
12. Remove the cables in reverse order following the
diagram and directions below to prevent electrical
shorting. Take care that they don't touch each
other or any other metal.
Jumper Cable Removal
A. Heavy, Unpainted Metal Engine Part
B. Good Battery
C. Dead BatteryTo disconnect the jumper cables from both vehicles,
do the following:
1. Disconnect the black negative (
-) cable from the
heavy, unpainted metal engine part on the vehicle
with the dead battery.
2. Disconnect the black negative (
-) cable from the
negative (
-) battery terminal on the vehicle with the
good battery.
3. Disconnect the red positive (+) cable from the
positive (+) battery terminal on the vehicle with the
good battery.
4. Disconnect the red positive (+) cable from the
positive battery terminal of the other vehicle.
Page 308 of 448

6-
6-1
Section 6 Service and Appearance Care
Here you will find information about the care of your vehicle. This section begins with service and fuel information,
and then it shows how to check important fluid and lubricant levels. There is also technical information about your
vehicle, and a part devoted to its appearance care.
6
-2 Service
6
-3 Fuel
6
-5 Fuels in Foreign Countries
6
-6 Filling Your Tank
6
-8 Filling a Portable Fuel Container
6
-8 Checking Things Under the Hood
6
-11 Engine Oil
6
-16 Engine Air Cleaner/Filter
6
-17 Automatic Transmission Fluid
6
-20 Manual Transmission Fluid
6
-21 Hydraulic Clutch
6
-22 Rear Axle
6
-22 Four-Wheel Drive
6
-24 Engine Coolant
6
-27 Radiator Pressure Cap
6
-28 Power Steering Fluid
6
-28 Windshield Washer Fluid6
-30 Brakes
6
-34 Battery
6
-35 Bulb Replacement
6
-42 Windshield Wiper Blade Replacement
6
-44 Tires
6
-53 Appearance Care
6
-53 Cleaning the Inside of Your Vehicle
6
-56 Care of Safety Belts
6
-57 Cleaning the Outside of Your Vehicle
6
-61 GM Vehicle Care/Appearance Materials
6
-62 Vehicle Identification Number (VIN)
6
-62 Service Parts Identification Label
6
-63 Electrical System
6
-72 Replacement Bulbs
6
-72 Capacities and Specifications
6
-73 Normal Maintenance Replacement Parts
Page 317 of 448
6-10 Engine Compartment Overview
When you lift the hood, you'll see these items:
A. Battery
B. Coolant Recovery Tank
C. Engine Oil Dipstick
D. Engine Oil FillE. Automatic
Transmission Dipstick
F. Power Steering Reservoir
G. Brake Master CylinderH. Engine Air Cleaner/Filter
I. Fuse Block
J. Windshield Washer
Fluid Reservoir
Page 341 of 448

6-34
Battery
Your new vehicle comes with a maintenance free
ACDelco� battery. When it's time for a new battery,
get one that has the replacement number shown on the
original battery's label. We recommend an ACDelco
battery. See ªEngine Compartment Overviewº in the
Index for battery location.
WARNING: Battery posts, terminals and related
accessories contain lead and lead compounds, chemicals
known to the State of California to cause cancer and
reproductive harm. Wash hands after handling.
Vehicle Storage
If you're not going to drive your vehicle for 25 days or
more, remove the black, negative (
-) cable from the
battery. This will help keep your battery from
running down.
CAUTION:
Batteries have acid that can burn you and gas
that can explode. You can be badly hurt if you
aren't careful. See ªJump Startingº in the Index
for tips on working around a battery without
getting hurt.
Contact your dealer to learn how to prepare your vehicle
for longer storage periods.
Also, for your audio system, see ªTheft
-Deterrent
Featureº in the Index.
Page 372 of 448
6-65
Fuse/Circuit
BreakerUsage
3 Cruise Control Module and
Switch, Body Control Module,
Heated Seats
4 Gages, Body Control Module,
Instrument Panel Cluster
5 Parking Lamps, Power Window
Switch, Body Control Module,
Ashtray Lamp
6 Steering Wheel Radio Controls
7 Headlamps Switch, Body Control
Module, Headlamp Relay
8 Courtesy Lamps, Battery
Run
-Down Protection
9 HVAC Control Head (Manual)
10 Turn Signal
11 Cluster, Engine Control Module
12 Interior LightsFuse/Circuit
BreakerUsage
13 Auxiliary Power
14 Power Locks Motor
15 4WD Switch, Engine Controls
(VCM, PCM, Transmission)
16 Supplemental Inflatable Restraint
17 Front Wiper
18 Steering Wheel Radio Controls
19 Radio, Battery
20 Amplifier
21 HVAC (Manual),
HVAC I (Automatic),
HVAC Sensors (Automatic)
22 Anti
-Lock Brakes
23 Rear Wiper
24 Radio, Ignition