Page 25 of 195
25n
IndexDataTechnologyRepairsCar careControlsOverview
Hazard warning flashers Warning triangle
*
Activating and deactivating: press
button.
The button flashes rhythmically when
the hazard warning flashers are on.
To help you locate the button in an
emergency, the button is also illumi-
nated whenever the vehicle's lamps are
on.
The turn signal function takes
precedence over the hazard
warning flasher function. Starting from
ignition key position 1, you are there-
fore able to use the turn signal, even if
the hazard warning flashers have been
activated.<
The hazard warning triangle is readily
accessible. It is stored in the container
for the onboard tool kit mounted in the
luggage compartment lid.
To open the container, loosen the wing
nut.
Always observe all legal regula-
tions requiring a warning triangle
to be carried in the vehicle.<
Page 26 of 195

26n
Refueling Fuel filler door
Before filling the tank, shut off the
engine. If you do not, fuel cannot
be filled into the tank and the "Service
Engine Soon" lamp may come on.<
Press on the rear edge of the fuel filler
door to open and close it.
To unlock the filler door if the central
locking system fails, refer to page 161.
When handling fuels, comply with
all of the applicable safety precau-
tions and regulations pertaining to
fuels.
Never carry spare fuel containers in
your vehicle. Whether empty or full,
these containers can leak, cause an
explosion, or lead to fire in the event of
a collision.<
Simple and friendly to the
environment
Open the filler cap carefully to
prevent fuel from spraying out.
Fuel spray may cause injury.<
Keep the filler cap in the bracket
attached to the fuel filler door.
When refueling, insert the filler nozzle
completely into the filler pipe. Pulling
the nozzle out of the pipe during refu-
eling
>results in premature pump shutoff
>and will reduce the effect of the vapor
recovery system on the pump.
The fuel tank is full, whenever the fuel
nozzle shuts off the first time, as is
specified for proper service.
Tank capacity, refer to page 181.
Close the fuel cap carefully after
refueling until a "click" is heard.
While closing, be sure not to squeeze
the strap which is fastened to the cap.
A loose or missing cap will activate the
"Service Engine Soon" warning lamp.<
Page 27 of 195

27n
IndexDataTechnologyRepairsCar careControlsOverview
Fuel specifications Tire inflation pressuresThe engine uses lead-free gasoline
only.
Required fuel:
>Premium Unleaded Gasoline,
min. 91 AKI.
AKI = Anti Knock Index
Do not use leaded fuels. The use
of leaded fuels will cause perma-
nent damage to the system's oxygen
sensor and the catalytic converter.<
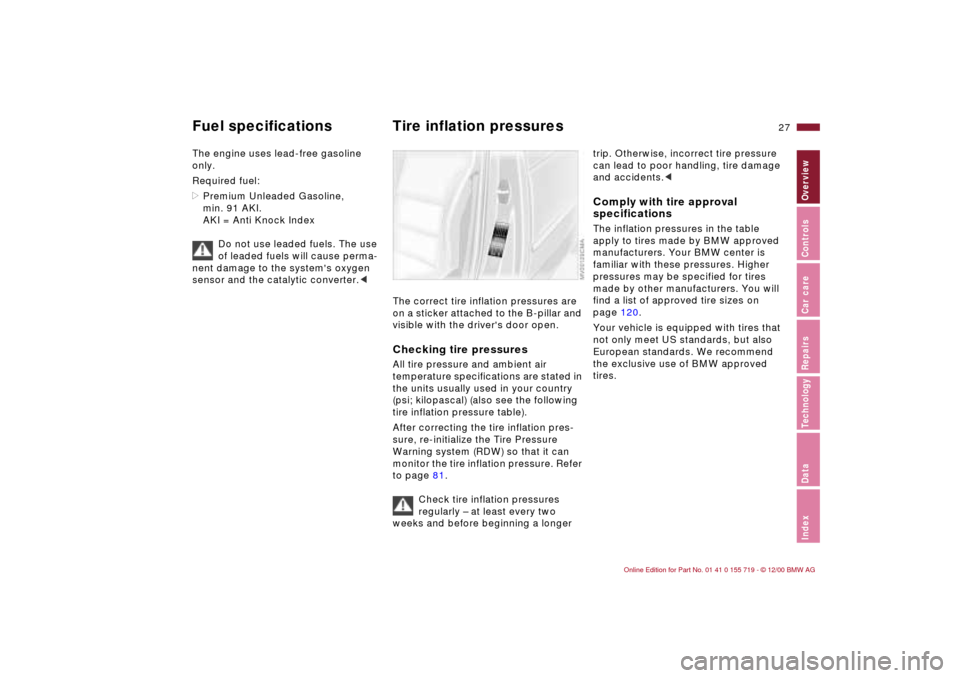
The correct tire inflation pressures are
on a sticker attached to the B-pillar and
visible with the driver's door open.Checking tire pressuresAll tire pressure and ambient air
temperature specifications are stated in
the units usually used in your country
(psi; kilopascal) (also see the following
tire inflation pressure table).
After correcting the tire inflation pres-
sure, re-initialize the Tire Pressure
Warning system (RDW) so that it can
monitor the tire inflation pressure. Refer
to page 81.
Check tire inflation pressures
regularly – at least every two
weeks and before beginning a longer
trip. Otherwise, incorrect tire pressure
can lead to poor handling, tire damage
and accidents.< Comply with tire approval
specifications The inflation pressures in the table
apply to tires made by BMW approved
manufacturers. Your BMW center is
familiar with these pressures. Higher
pressures may be specified for tires
made by other manufacturers. You will
find a list of approved tire sizes on
page 120.
Your vehicle is equipped with tires that
not only meet US standards, but also
European standards. We recommend
the exclusive use of BMW approved
tires.
Page 28 of 195
28n
BMW Tires
All pressure specifications in
the table are indicated in psi
(kilopascal) with cold tires
(cold = ambient temperature)
225/45 ZR 18 33 (230) - 41 (280) -
255/40 ZR 18 - 35 (240) - 48 (330)
M3 convertible 225/40 ZR 19 33 (230) - 41 (280) -
255/35 ZR 19 - 35 (240) - 48 (330)
225/45 R 17 91H M+S 33 (230) 38 (260) 36 (250) 46 (320)
Tire inflation pressures
Page 29 of 195
29n
IndexDataTechnologyRepairsCar careControlsOverview
Page 30 of 195
30n
Locks and security systems:
Keys32
Electronic vehicle
immobilizer33
Central locking system33
Opening and closing – via the
door lock34
Opening and closing – via the
remote control35
Opening and closing – from
inside38
Luggage compartment lid39
Luggage compartment40
Alarm system42
Electric power windows44
Convertible top45
Adjustments:
Seats48
Mirrors52
Seat and mirror memory54
Steering wheel55
Car Memory, Key Memory55
Passenger safety systems:
Safety belts57
Transporting children safely58
Airbags61
Rollover protection system64
Controls
Page 31 of 195

Overview
Controls and features
Operation, care
and maintenance
Owner service procedures
Technical data
Index Advanced technology
31n
IndexDataTechnologyRepairsCar careControlsOverview
Driving:
Steering/Ignition lock66
Starting the engine66
Switching off the engine67
Parking brake67
Manual transmission68
Turn signal indicator/Headlamp
flasher69
Washer/Wiper system69
Rear window defroster71
Cruise control71
Everything under control:
Odometer73
Tachometer73
Engine oil temperature gauge73
Fuel gauge74
Coolant temperature gauge74
Service Interval Display75
Check Control76
Clock76
Computer77
Technology for driving comfort
and safety:
Park Distance Control (PDC)79
Dynamic Stability Control
(DSC)80
Tire Pressure Warning (RDW)81
M Engine dynamics control83Lamps:
Side lamps/Low beam
headlamps84
Instrument lighting84
High beams/Parking lamps85
Fog lamps85
Interior lamps86
Reading lamps86
Controlling the climate
for pleasant driving:
Automatic climate control88
Heated seats93
Cabin convenience:
Glove compartment94
Storage compartments95
Cellular phone96
Ashtray, front96
Cigarette lighter97
Ashtray, rear97
Loading and transporting
cargo:
Ski bag98
Cargo loading100
Roof-mounted luggage rack for
the hardtop101
Page 32 of 195

32n
KeysThe key set1 Master key with remote control
This key sets the functions for Key
Memory. Refer to page 55.
You can also identify individual keys
by applying the colored decals that
you received when accepting delivery
of your vehicle.
There is an extended-life battery
in every master key with remote
control that is charged automatically in
the ignition lock as you drive. For this
reason, if you have a master key with
remote control that is otherwise not
used, use that key at least once every
year while driving for an extended
period to charge the battery. Refer to
page 35 as well.<
2 Spare key for storage in a safe place,
such as in your wallet.
This key is not intended for constant
use
3 Door key
The locks for the luggage compart-
ment lid and the glove compartment
cannot be operated with this key –
this is recommended for valet
parking, for instance.
Replacement keysare available exclusively through your
BMW center. Since the keys are part of
a security system, vehicle ownership
must be checked before a replacement
key can be issued (refer to "Electronic
vehicle immobilizer" on page 33).
When picking up the replacement
key, take along all master keys
with remote control and spare keys
belonging to the vehicle. Whenever you
receive a new replacement key, turn
that key to position 2 in the ignition lock
once (ignition switched on) and then
back. This allows the electronic vehicle
immobilizer to "recognize" the new
key.<