2001 BMW 540I SEDAN buttons
[x] Cancel search: buttonsPage 38 of 238
38n
Central locking system Opening and closing – from the outsideThe conceptThe central locking system is ready for
operation as soon as you close the front
doors. The system engages and re-
leases the locks on the
>doors
>luggage compartment lid/tailgate
and rear window
*
>fuel filler door.
The central locking system can be
operated
>from outside via the driver's door lock
as well as via the remote control
>from inside via the central locking
system button.
The fuel filler door remains unlocked
when you activate the system from in-
side the vehicle (refer to page 42). The
anti-theft system is automatically armed
whenever you activate the central lock-
ing system from outside the vehicle.
The alarm system is also activated or
deactivated.
If looked from inside, the central locking
system unlocks automatically (only
those doors which were not locked
separately with the safety lock buttons)
in the event of an accident. Refer to
page 42. In addition, the hazard warn-
ing flashers and interior lamps come on.
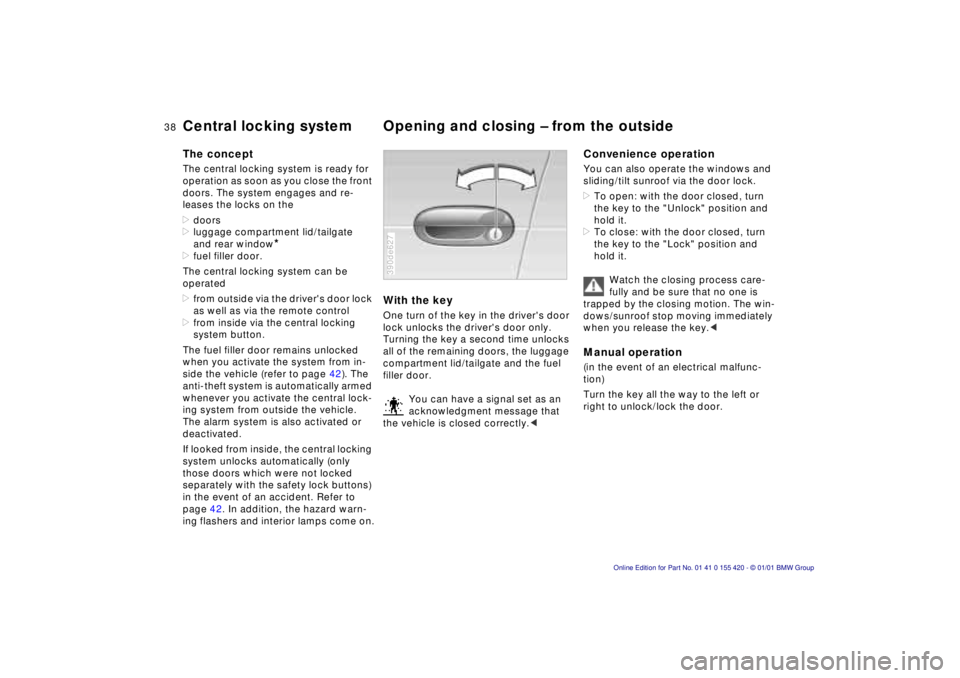
With the keyOne turn of the key in the driver's door
lock unlocks the driver's door only.
Turning the key a second time unlocks
all of the remaining doors, the luggage
compartment lid/tailgate and the fuel
filler door.
You can have a signal set as an
acknowledgment message that
the vehicle is closed correctly.<390de627
Convenience operationYou can also operate the windows and
sliding/tilt sunroof via the door lock.
>To open: with the door closed, turn
the key to the "Unlock" position and
hold it.
>To close: with the door closed, turn
the key to the "Lock" position and
hold it.
Watch the closing process care-
fully and be sure that no one is
trapped by the closing motion. The win-
dows/sunroof stop moving immediately
when you release the key.< Manual operation (in the event of an electrical malfunc-
tion)
Turn the key all the way to the left or
right to unlock/lock the door.
Page 42 of 238
42n
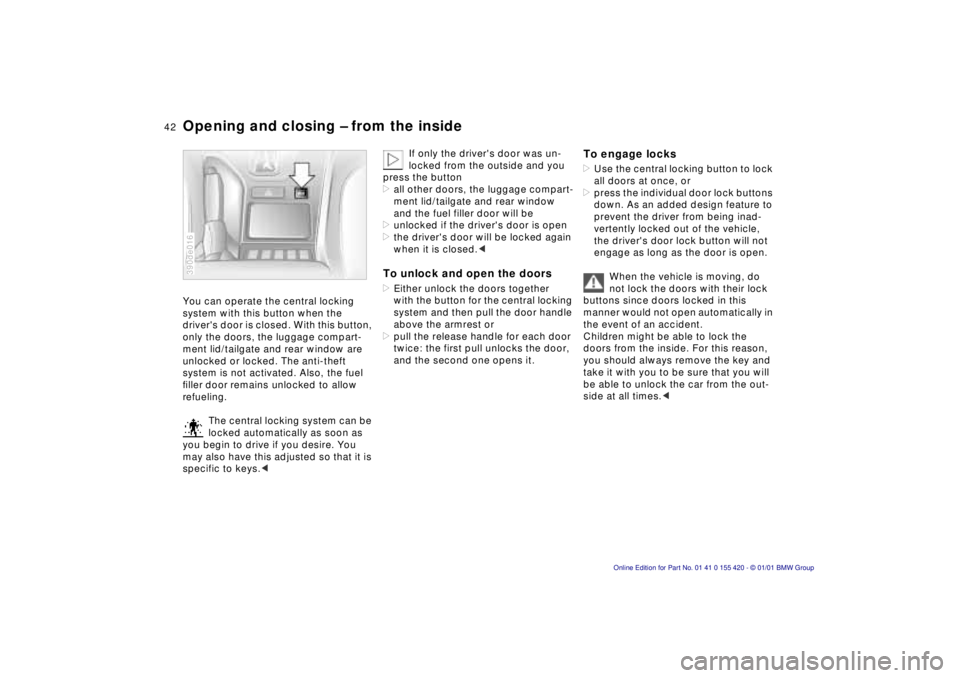
Opening and closing – from the insideYou can operate the central locking
system with this button when the
driver's door is closed. With this button,
only the doors, the luggage compart-
ment lid/tailgate and rear window are
unlocked or locked. The anti-theft
system is not activated. Also, the fuel
filler door remains unlocked to allow
refueling.
The central locking system can be
locked automatically as soon as
you begin to drive if you desire. You
may also have this adjusted so that it is
specific to keys.< 390de016
If only the driver's door was un-
locked from the outside and you
press the button
>all other doors, the luggage compart-
ment lid/tailgate and rear window
and the fuel filler door will be
>unlocked if the driver's door is open
>the driver's door will be locked again
when it is closed.<
To unlock and open the doors>Either unlock the doors together
with the button for the central locking
system and then pull the door handle
above the armrest or
>pull the release handle for each door
twice: the first pull unlocks the door,
and the second one opens it.
To engage locks>Use the central locking button to lock
all doors at once, or
>press the individual door lock buttons
down. As an added design feature to
prevent the driver from being inad-
vertently locked out of the vehicle,
the driver's door lock button will not
engage as long as the door is open.
When the vehicle is moving, do
not lock the doors with their lock
buttons since doors locked in this
manner would not open automatically in
the event of an accident.
Children might be able to lock the
doors from the inside. For this reason,
you should always remove the key and
take it with you to be sure that you will
be able to unlock the car from the out-
side at all times.<
Page 58 of 238
58n
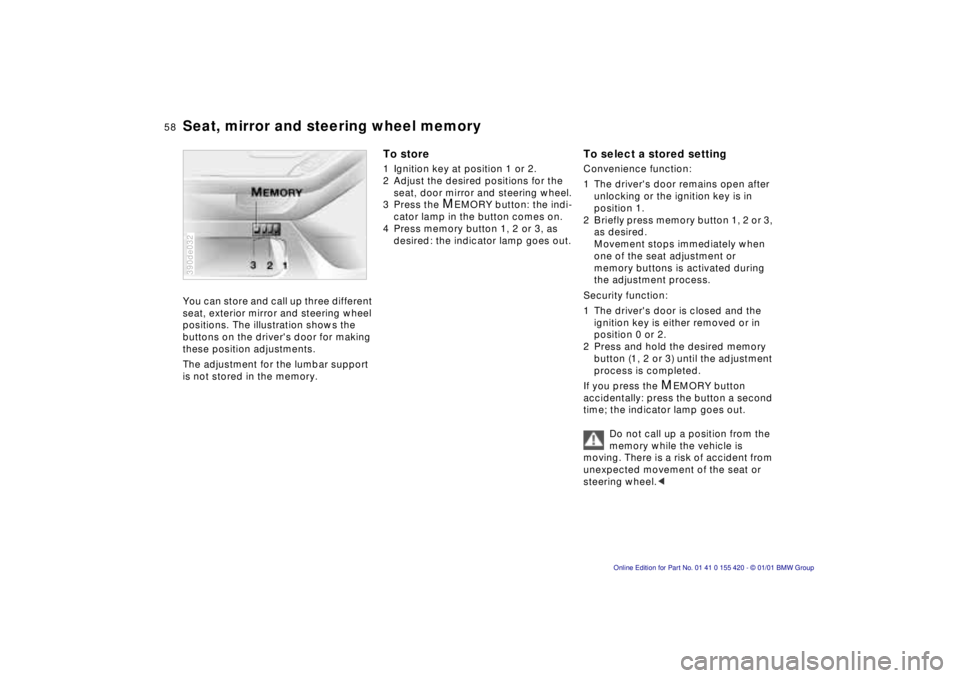
Seat, mirror and steering wheel memoryYou can store and call up three different
seat, exterior mirror and steering wheel
positions. The illustration shows the
buttons on the driver's door for making
these position adjustments.
The adjustment for the lumbar support
is not stored in the memory.390de032
To store1 Ignition key at position 1 or 2.
2 Adjust the desired positions for the
seat, door mirror and steering wheel.
3 Press the
M
EMORY button: the indi-
cator lamp in the button comes on.
4 Press memory button 1, 2 or 3, as
desired: the indicator lamp goes out.
To select a stored settingConvenience function:
1 The driver's door remains open after
unlocking or the ignition key is in
position 1.
2 Briefly press memory button 1, 2 or 3,
as desired.
Movement stops immediately when
one of the seat adjustment or
memory buttons is activated during
the adjustment process.
Security function:
1 The driver's door is closed and the
ignition key is either removed or in
position 0 or 2.
2 Press and hold the desired memory
button (1, 2 or 3) until the adjustment
process is completed.
If you press the
M
EMORY button
accidentally: press the button a second
time; the indicator lamp goes out.
Do not call up a position from the
memory while the vehicle is
moving. There is a risk of accident from
unexpected movement of the seat or
steering wheel.<
Page 91 of 238
IndexDataTechnologyRepairsCar careControlsOverview
91n
Multi-Information Display (MID)
*
Central displayThe MID serves as the central display
and operation for the following onboard
systems:
>Digital clock (e. g. time display, date)
>Audio systems (radio, cassette, CD)
>Computer ( e.g. fuel consumption,
cruising range)
>Cellular phone ( e.g. dialing)
You will find explanations and notes
for operating the digital clock and the
computer on the following pages.
Please refer to the separate Owner's
Manual for operating the audio
systems, the cellular phone and the
onboard monitor.
Any unrealistic numerical entries
will not be accepted.
All stored data will be lost if the power
supply is interrupted. Time display,
switch-on times for independent
heating and ventilation, distance and
cruise control speed limit may have to
be reset once the power supply has
been re-established.<
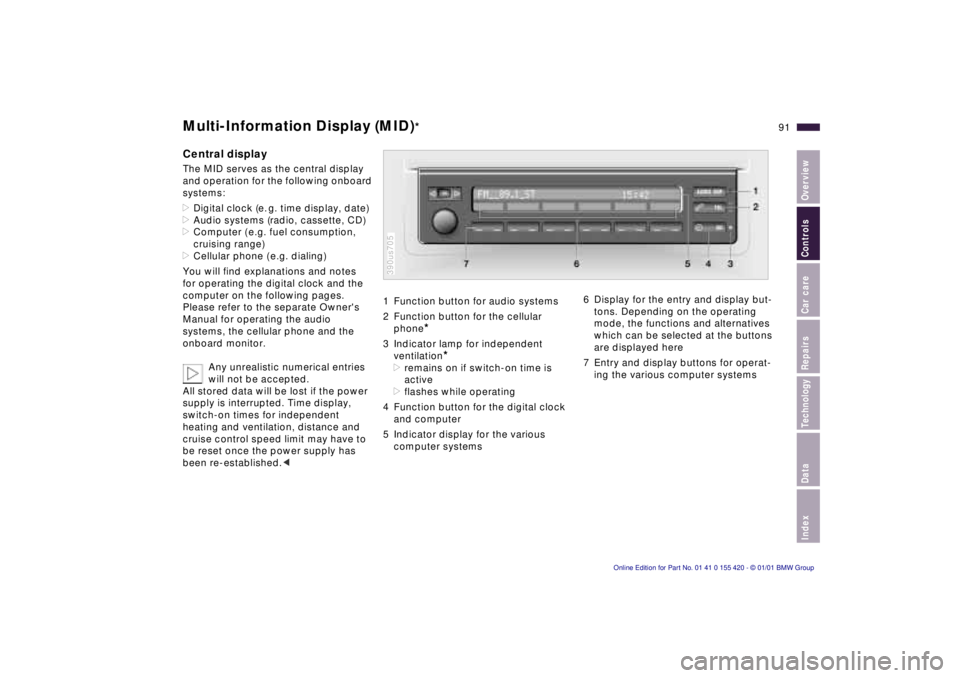
1 Function button for audio systems
2 Function button for the cellular
phone
*
3 Indicator lamp for independent
ventilation
*
>remains on if switch-on time is
active
>flashes while operating
4 Function button for the digital clock
and computer
5 Indicator display for the various
computer systems390us705
6 Display for the entry and display but-
tons. Depending on the operating
mode, the functions and alternatives
which can be selected at the buttons
are displayed here
7 Entry and display buttons for operat-
ing the various computer systems
Page 93 of 238
IndexDataTechnologyRepairsCar careControlsOverview
93n
Digital clock in the MID
*
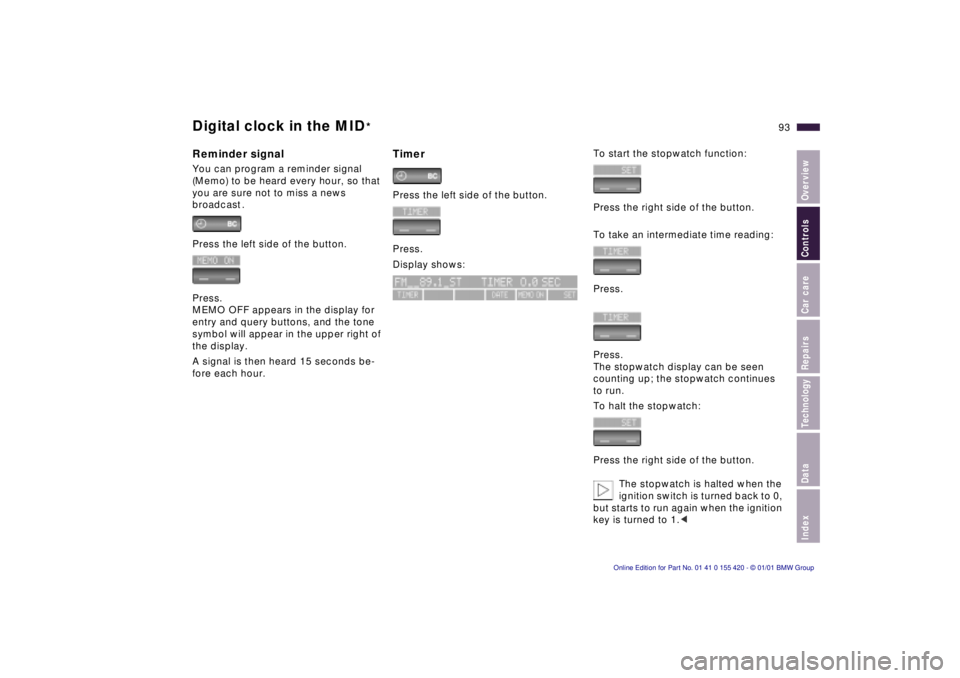
Reminder signalYou can program a reminder signal
(Memo) to be heard every hour, so that
you are sure not to miss a news
broadcast .
Press the left side of the button.
Press.
MEMO OFF appears in the display for
entry and query buttons, and the tone
symbol will appear in the upper right of
the display.
A signal is then heard 15 seconds be-
fore each hour.
TimerPress the left side of the button.
Press.
Display shows:
To start the stopwatch function:
Press the right side of the button.
To take an intermediate time reading:
Press.
Press.
The stopwatch display can be seen
counting up; the stopwatch continues
to run.
To halt the stopwatch:
Press the right side of the button.
The stopwatch is halted when the
ignition switch is turned back to 0,
but starts to run again when the ignition
key is turned to 1.<
Page 95 of 238
IndexDataTechnologyRepairsCar careControlsOverview
95n
Computer in the MID
*
Only make inputs when the
vehicle is standing still – to avoid
endangering yourself or other road
users.<
Computer calculations begin at the
start of the journey.
Information can also be called up in the
display by remote control, refer to
page 99.
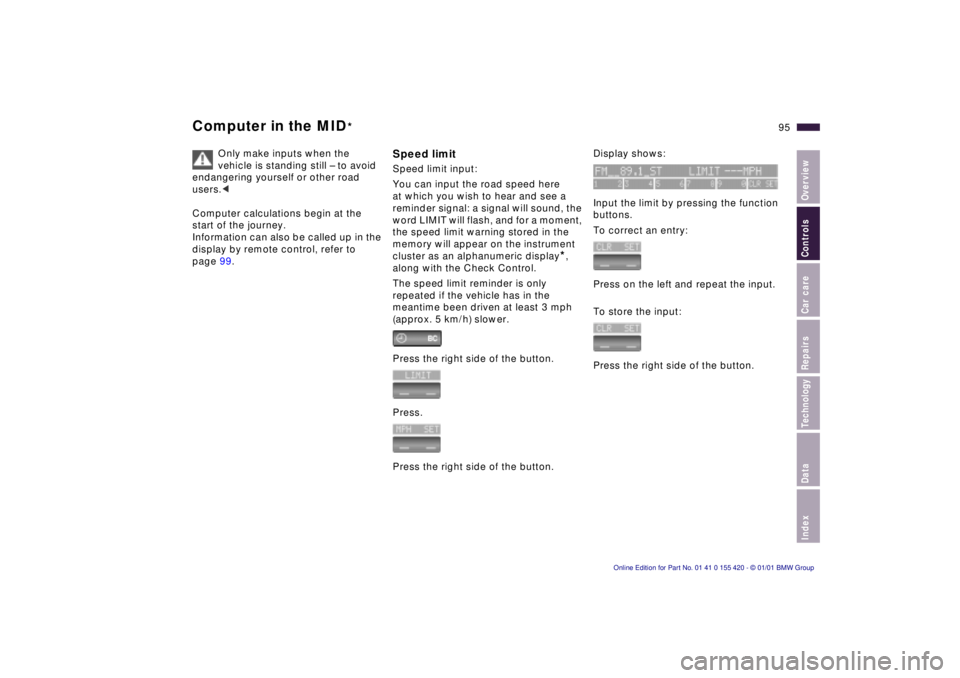
Speed limitSpeed limit input:
You can input the road speed here
at which you wish to hear and see a
reminder signal: a signal will sound, the
word LIMIT will flash, and for a moment,
the speed limit warning stored in the
memory will appear on the instrument
cluster as an alphanumeric display
*,
along with the Check Control.
The speed limit reminder is only
repeated if the vehicle has in the
meantime been driven at least 3 mph
(approx. 5 km/h) slower.
Press the right side of the button.
Press.
Press the right side of the button.
Display shows:
Input the limit by pressing the function
buttons.
To correct an entry:
Press on the left and repeat the input.
To store the input:
Press the right side of the button.
Page 96 of 238
96n
Computer in the MID
*
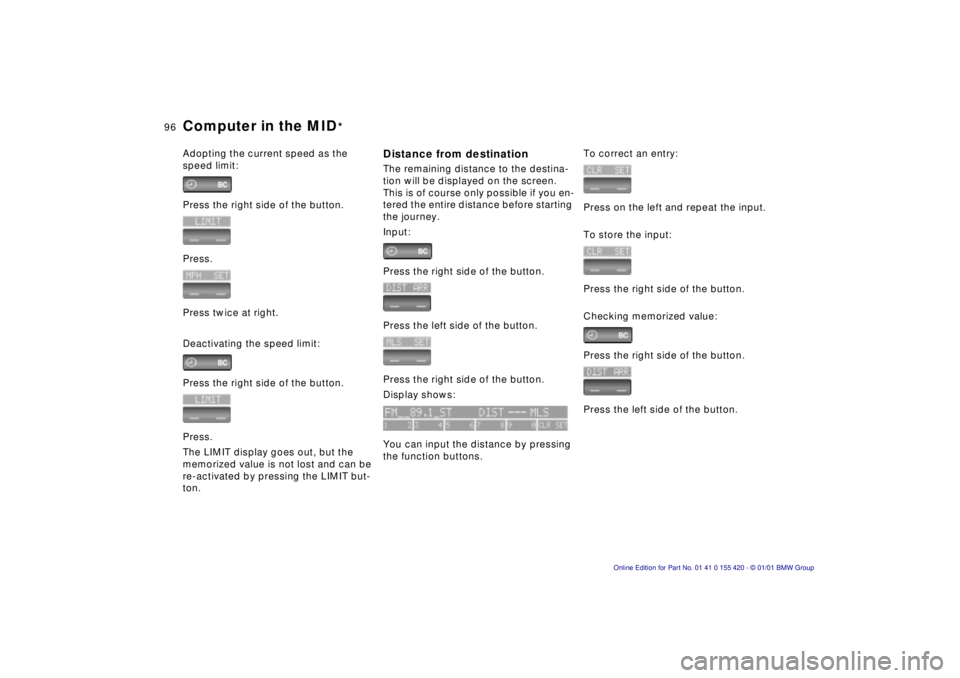
Adopting the current speed as the
speed limit:
Press the right side of the button.
Press.
Press twice at right.
Deactivating the speed limit:
Press the right side of the button.
Press.
The LIMIT display goes out, but the
memorized value is not lost and can be
re-activated by pressing the LIMIT but-
ton.
Distance from destinationThe remaining distance to the destina-
tion will be displayed on the screen.
This is of course only possible if you en-
tered the entire distance before starting
the journey.
Input:
Press the right side of the button.
Press the left side of the button.
Press the right side of the button.
Display shows:
You can input the distance by pressing
the function buttons.
To correct an entry:
Press on the left and repeat the input.
To store the input:
Press the right side of the button.
Checking memorized value:
Press the right side of the button.
Press the left side of the button.
Page 98 of 238
98n
Computer in the MID
*
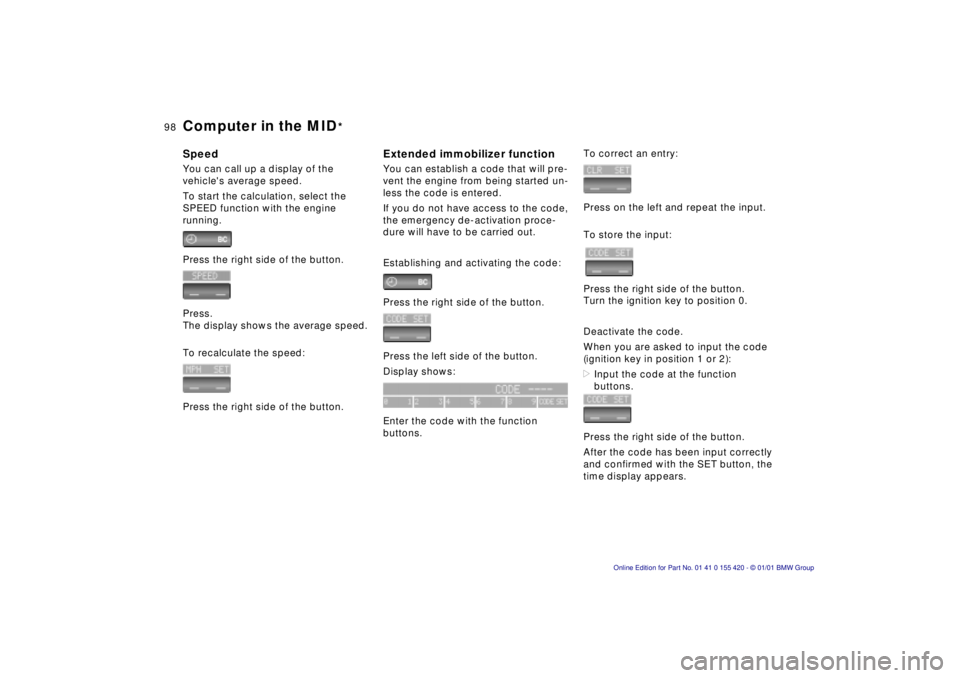
SpeedYou can call up a display of the
vehicle's average speed.
To start the calculation, select the
SPEED function with the engine
running.
Press the right side of the button.
Press.
The display shows the average speed.
To recalculate the speed:
Press the right side of the button.
Extended immobilizer functionYou can establish a code that will pre-
vent the engine from being started un-
less the code is entered.
If you do not have access to the code,
the emergency de-activation proce-
dure will have to be carried out.
Establishing and activating the code:
Press the right side of the button.
Press the left side of the button.
Display shows:
Enter the code with the function
buttons.
To correct an entry:
Press on the left and repeat the input.
To store the input:
Press the right side of the button.
Turn the ignition key to position 0.
Deactivate the code.
When you are asked to input the code
(ignition key in position 1 or 2):
>Input the code at the function
buttons.
Press the right side of the button.
After the code has been input correctly
and confirmed with the SET button, the
time display appears.