Page 152 of 203

152n
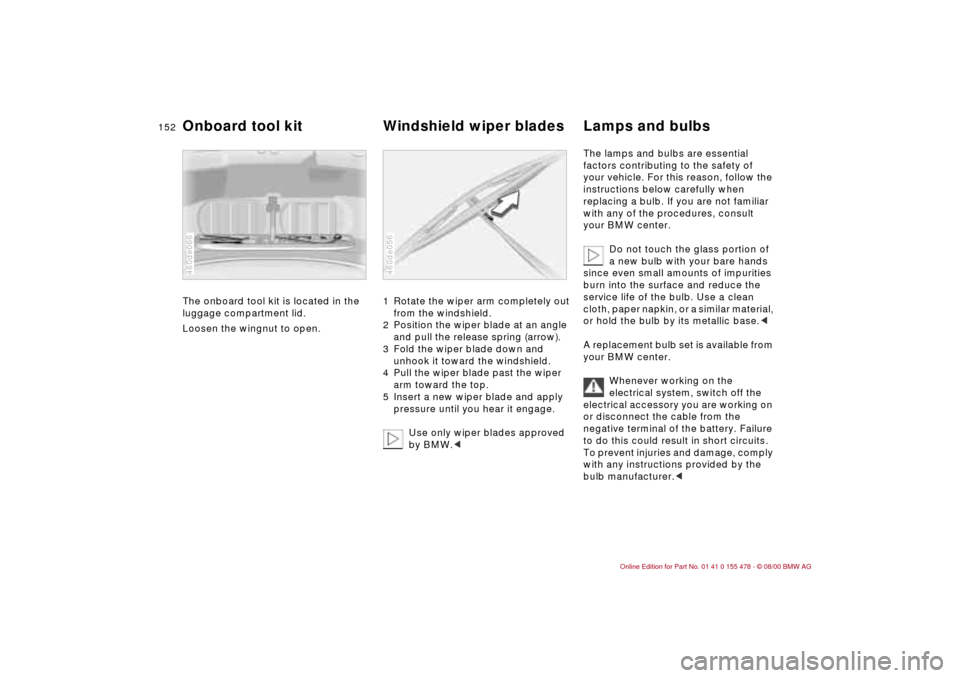
The onboard tool kit is located in the
luggage compartment lid.
Loosen the wingnut to open.
460de066
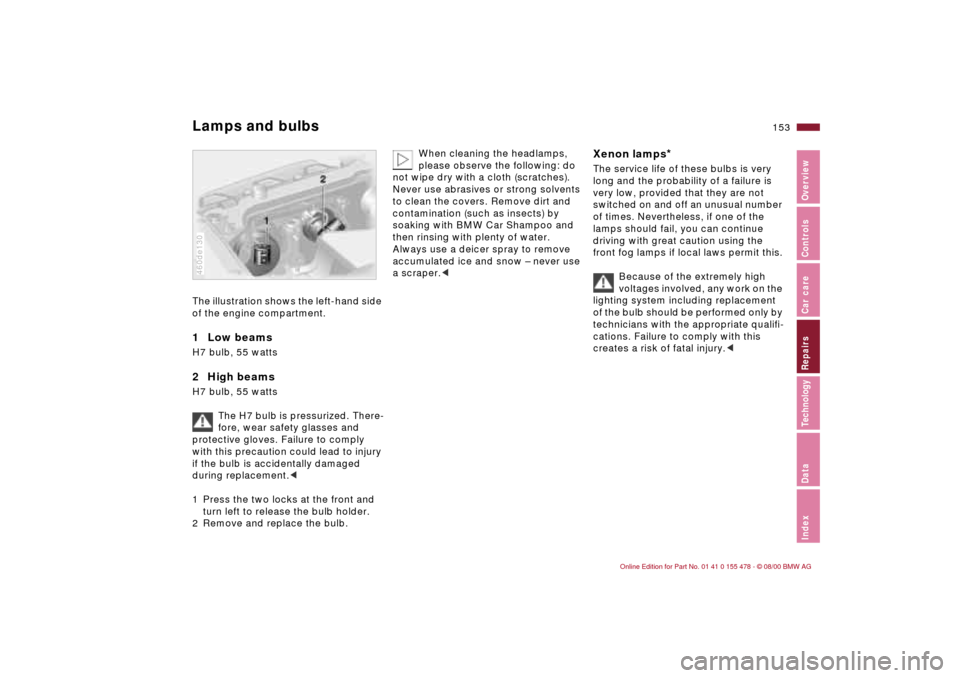
1 Rotate the wiper arm completely out
from the windshield.
2 Position the wiper blade at an angle
and pull the release spring (arrow).
3 Fold the wiper blade down and
unhook it toward the windshield.
4 Pull the wiper blade past the wiper
arm toward the top.
5 Insert a new wiper blade and apply
pressure until you hear it engage.
Use only wiper blades approved
by BMW.<460de056
The lamps and bulbs are essential
factors contributing to the safety of
your vehicle. For this reason, follow the
instructions below carefully when
replacing a bulb. If you are not familiar
with any of the procedures, consult
your BMW center.
Do not touch the glass portion of
a new bulb with your bare hands
since even small amounts of impurities
burn into the surface and reduce the
service life of the bulb. Use a clean
cloth, paper napkin, or a similar material,
or hold the bulb by its metallic base.<
A replacement bulb set is available from
your BMW center.
Whenever working on the
electrical system, switch off the
electrical accessory you are working on
or disconnect the cable from the
negative terminal of the battery. Failure
to do this could result in short circuits.
To prevent injuries and damage, comply
with any instructions provided by the
bulb manufacturer.<
Onboard tool kit Windshield wiper blades Lamps and bulbs
Page 153 of 203

153n
IndexDataTechnologyRepairsCar careControlsOverview
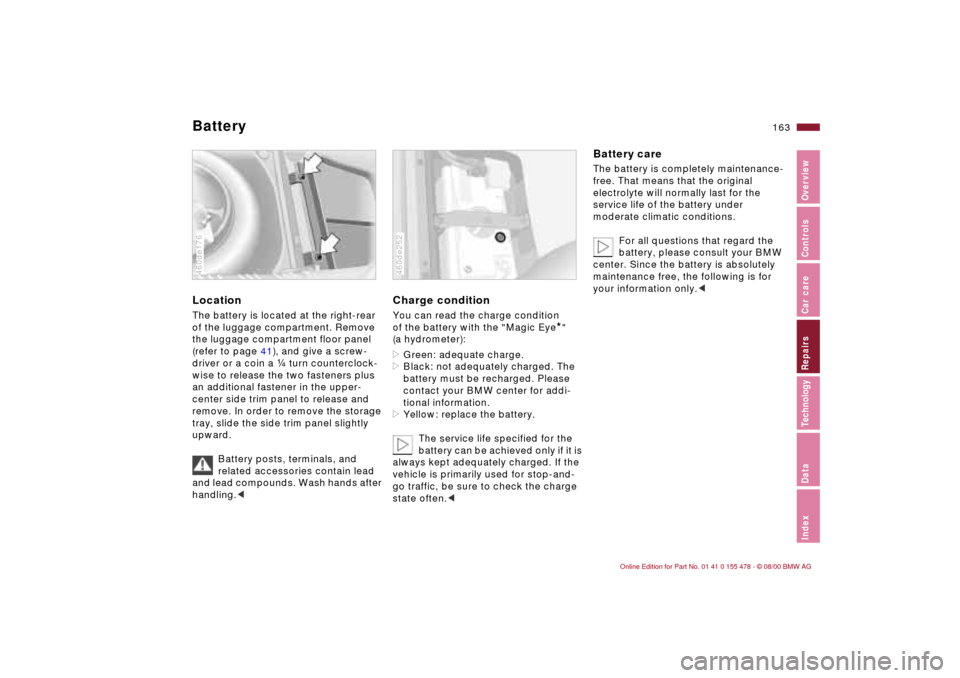
Lamps and bulbsThe illustration shows the left-hand side
of the engine compartment.1 Low beams H7 bulb, 55 watts2 High beamsH7 bulb, 55 watts
The H7 bulb is pressurized. There-
fore, wear safety glasses and
protective gloves. Failure to comply
with this precaution could lead to injury
if the bulb is accidentally damaged
during replacement.<
1 Press the two locks at the front and
turn left to release the bulb holder.
2 Remove and replace the bulb.460de130
When cleaning the headlamps,
please observe the following: do
not wipe dry with a cloth (scratches).
Never use abrasives or strong solvents
to clean the covers. Remove dirt and
contamination (such as insects) by
soaking with BMW Car Shampoo and
then rinsing with plenty of water.
Always use a deicer spray to remove
accumulated ice and snow Ð never use
a scraper.<
Xenon lamps
*
The service life of these bulbs is very
long and the probability of a failure is
very low, provided that they are not
switched on and off an unusual number
of times. Nevertheless, if one of the
lamps should fail, you can continue
driving with great caution using the
front fog lamps if local laws permit this.
Because of the extremely high
voltages involved, any work on the
lighting system including replacement
of the bulb should be performed only by
technicians with the appropriate qualifi-
cations. Failure to comply with this
creates a risk of fatal injury.<
Page 163 of 203

163n
IndexDataTechnologyRepairsCar careControlsOverview
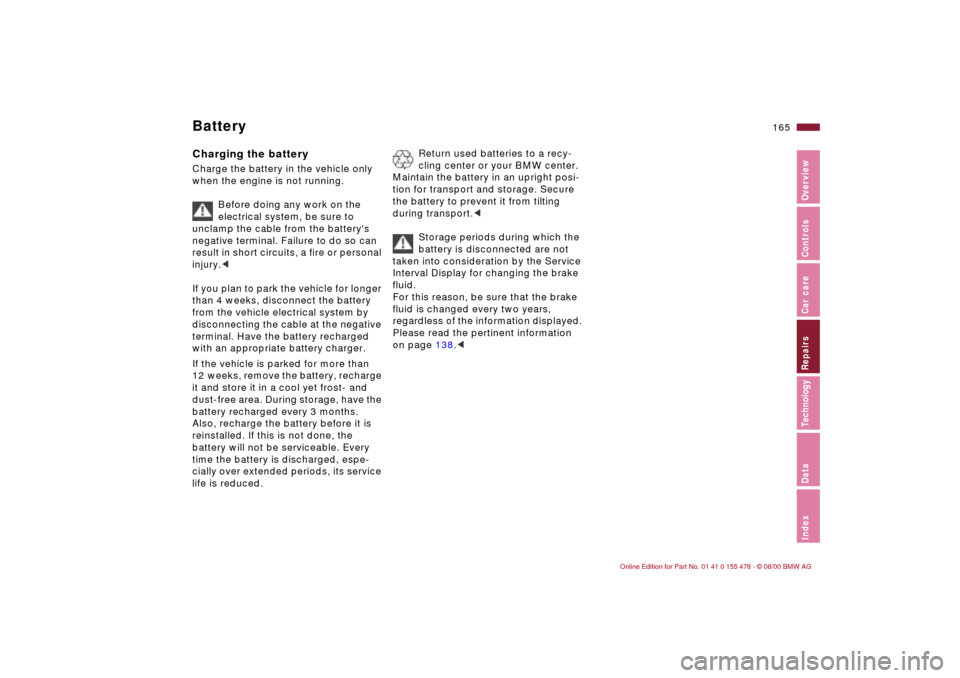
Battery LocationThe battery is located at the right-rear
of the luggage compartment. Remove
the luggage compartment floor panel
(refer to page 41), and give a screw-
driver or a coin a f turn counterclock-
wise to release the two fasteners plus
an additional fastener in the upper-
center side trim panel to release and
remove. In order to remove the storage
tray, slide the side trim panel slightly
upward.
Battery posts, terminals, and
related accessories contain lead
and lead compounds. Wash hands after
handling.<460de176
Charge conditionYou can read the charge condition
of the battery with the "Magic Eye
*"
(a hydrometer):
>Green: adequate charge.
>Black: not adequately charged. The
battery must be recharged. Please
contact your BMW center for addi-
tional information.
>Yellow: replace the battery.
The service life specified for the
battery can be achieved only if it is
always kept adequately charged. If the
vehicle is primarily used for stop-and-
go traffic, be sure to check the charge
state often.<
460de252
Battery careThe battery is completely maintenance-
free. That means that the original
electrolyte will normally last for the
service life of the battery under
moderate climatic conditions.
For all questions that regard the
battery, please consult your BMW
center. Since the battery is absolutely
maintenance free, the following is for
your information only.<
Page 165 of 203

165n
IndexDataTechnologyRepairsCar careControlsOverview
BatteryCharging the battery Charge the battery in the vehicle only
when the engine is not running.
Before doing any work on the
electrical system, be sure to
unclamp the cable from the battery's
negative terminal. Failure to do so can
result in short circuits, a fire or personal
injury.<
If you plan to park the vehicle for longer
than 4 weeks, disconnect the battery
from the vehicle electrical system by
disconnecting the cable at the negative
terminal. Have the battery recharged
with an appropriate battery charger.
If the vehicle is parked for more than
12 weeks, remove the battery, recharge
it and store it in a cool yet frost- and
dust-free area. During storage, have the
battery recharged every 3 months.
Also, recharge the battery before it is
reinstalled. If this is not done, the
battery will not be serviceable. Every
time the battery is discharged, espe-
cially over extended periods, its service
life is reduced.
Return used batteries to a recy-
cling center or your BMW center.
Maintain the battery in an upright posi-
tion for transport and storage. Secure
the battery to prevent it from tilting
during transport.<
Storage periods during which the
battery is disconnected are not
taken into consideration by the Service
Interval Display for changing the brake
fluid.
For this reason, be sure that the brake
fluid is changed every two years,
regardless of the information displayed.
Please read the pertinent information
on page 138.<
Page 173 of 203
Overview
Controls and features
Operation, care
and maintenance
Owner service procedures
Technical data
Index Advanced technology
173n
IndexDataTechnologyRepairsCar careControlsOverview
Adaptive Transmission Control
(ATC)174
Airbags175
Automatic Stability Control plus
Traction (ASC+T)/Dynamic
Stability Control (DSC)175
Radio reception176
Safety belt tensioner176
Interior rearview mirror
with automatic dimming
feature177
Rain sensor178
Tire Pressure Control (RDC)179
Self-diagnostics180
Xenon lamps181
Technol-
Page 183 of 203
Overview
Controls and features
Operation, care
and maintenance
Owner service procedures
Technical data
Index Advanced technology
183n
IndexDataTechnologyRepairsCar careControlsOverview
Engine data184
Dimensions185
Weights186
Capacities187
Electrical system188
V-belts188
Data
Page 191 of 203
Overview
Controls and features
Operation, care
and maintenance
Owner service procedures
Technical data
Index Advanced technology
191n
IndexDataTechnologyRepairsCar careControlsOverview
Everything from A to Z192
Owner service procedures199
Index
Page 195 of 203

Everything from A to Z
195n
IndexDataTechnologyRepairsCar careControlsOverview
Interior motion
sensor36,43
Interior rearview mirror53
automatic dimming
feature53,177
Interlock63
Intermittent wipe70 J
Jack159
Jump-starting168 K
Key Memory54
Keys32
with remote control32 L
Lamp switch87
Lamps152
LAMPS ON warning87
Lashing eyes108
LATCH attachment of the
child seat60
Leather care145
Length185
License plate lamp, bulb
replacement157
Lift the floor panel up and
hook it41 Light switch87
Light-alloy wheel127
Lighter105
Loads, securing108
Load-securing devices108
Louvers90,96
Low beams87
bulb replacement153
Lug bolts161
Lug wrench160
Luggage compartment41
capacity186
floor mat41
remote control37
secure separately39
Luggage compartment
lamps, bulb
replacement158
Luggage compartment
lid39
emergency release39
Luggage compartment
lighting39
Luggage rack109
Lumbar support49
M
M+S tires126
Maintenance76
Malfunction displays77
Manual transmission66 Manually controlled
recirculated-air99
Memory51
MFL (Multi-function steering
wheel)24
Microfilter93,166
Mirror memory51
Mirrors52
Mobile phones121
Modifications,
technical6,148
Multi-function steering
wheel (MFL)24
N
Navigation system, refer to
the Onboard Monitor
Owner's Manual
Neckrest48 O
OBD interface socket149
Obstruction protection44
Odometer75
Oil
additives135
capacity187
consumption135
dipstick135
quality136
specifications136
viscosity136 Oil change intervals, refer to
the Service and Warranty
Information Booklet/
Warranty and Service
Guide Booklet
Oil filter change187
Oil level
check135
indicator lamp20
Oil pressure, indicator
lamp20
OILSERVICE76
Onboard tool kit152
Opening and closing
from the inside38
from the outside34
Outside temperature
display78
P
Paint blemishes142
Paint, care142
Paintwork
minor repairs143
waxing143
Park Distance Control
(PDC)81
Parking aid81
Parking brake65
Parking lamps88
Parking, winter120