2001 BMW 325i SEDAN lock
[x] Cancel search: lockPage 53 of 211
53n
IndexDataTechnologyRepairsCar careControlsOverview
Mirrors Car Memory, Key Memory Interior rearview mirror with
automatic dimming feature
*
By responding to the effects of ambient
light and the glare from following traffic,
this mirror automatically dims through
an infinitely variable range.
The mirror switches to its clear,
undimmed mode whenever the trans-
mission is placed in reverse gear
(selector lever in "Reverse").
To ensure that the mirror continues to
operate properly, keep the two photo-
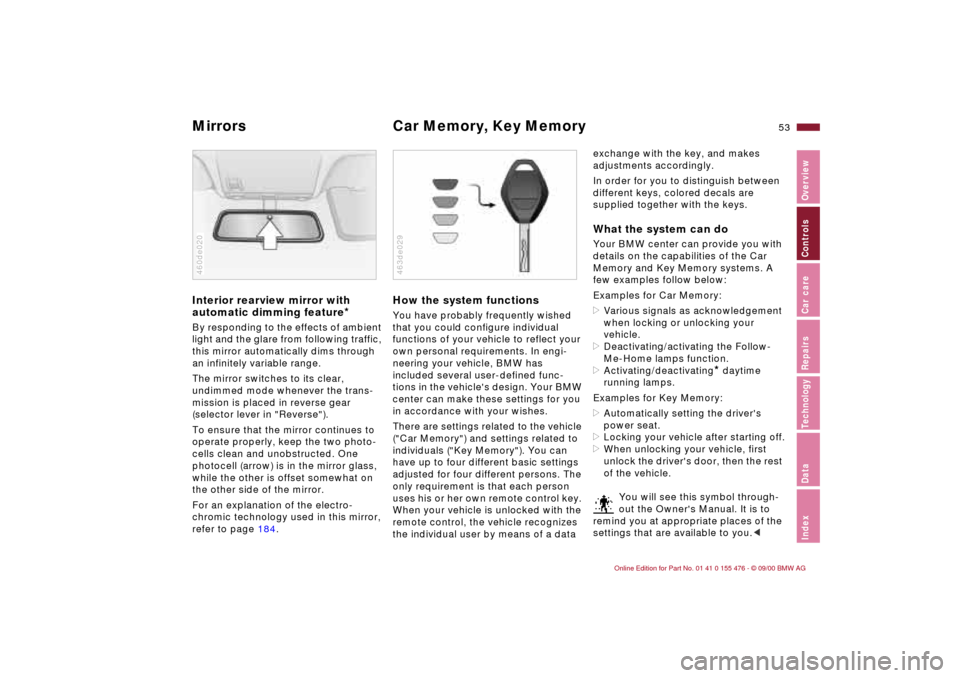
cells clean and unobstructed. One
photocell (arrow) is in the mirror glass,
while the other is offset somewhat on
the other side of the mirror.
For an explanation of the electro-
chromic technology used in this mirror,
refer to page 184.460de020
How the system functionsYou have probably frequently wished
that you could configure individual
functions of your vehicle to reflect your
own personal requirements. In engi-
neering your vehicle, BMW has
included several user-defined func-
tions in the vehicle's design. Your BMW
center can make these settings for you
in accordance with your wishes.
There are settings related to the vehicle
("Car Memory") and settings related to
individuals ("Key Memory"). You can
have up to four different basic settings
adjusted for four different persons. The
only requirement is that each person
uses his or her own remote control key.
When your vehicle is unlocked with the
remote control, the vehicle recognizes
the individual user by means of a data 463de029
exchange with the key, and makes
adjustments accordingly.
In order for you to distinguish between
different keys, colored decals are
supplied together with the keys.What the system can doYour BMW center can provide you with
details on the capabilities of the Car
Memory and Key Memory systems. A
few examples follow below:
Examples for Car Memory:
>Various signals as acknowledgement
when locking or unlocking your
vehicle.
>Deactivating/activating the Follow-
Me-Home lamps function.
>Activating/deactivating
* daytime
running lamps.
Examples for Key Memory:
>Automatically setting the driver's
power seat.
>Locking your vehicle after starting off.
>When unlocking your vehicle, first
unlock the driver's door, then the rest
of the vehicle.
You will see this symbol through-
out the Owner's Manual. It is to
remind you at appropriate places of the
settings that are available to you.<
Page 56 of 211
56n
Airbags
The side airbags in the rear
passenger area
* of your vehicle
may already have been deactivated
either at the time of manufacture or by a
BMW center. You may have them acti-
vated if you desire to do so. Please
contact your BMW center for additional
information.<
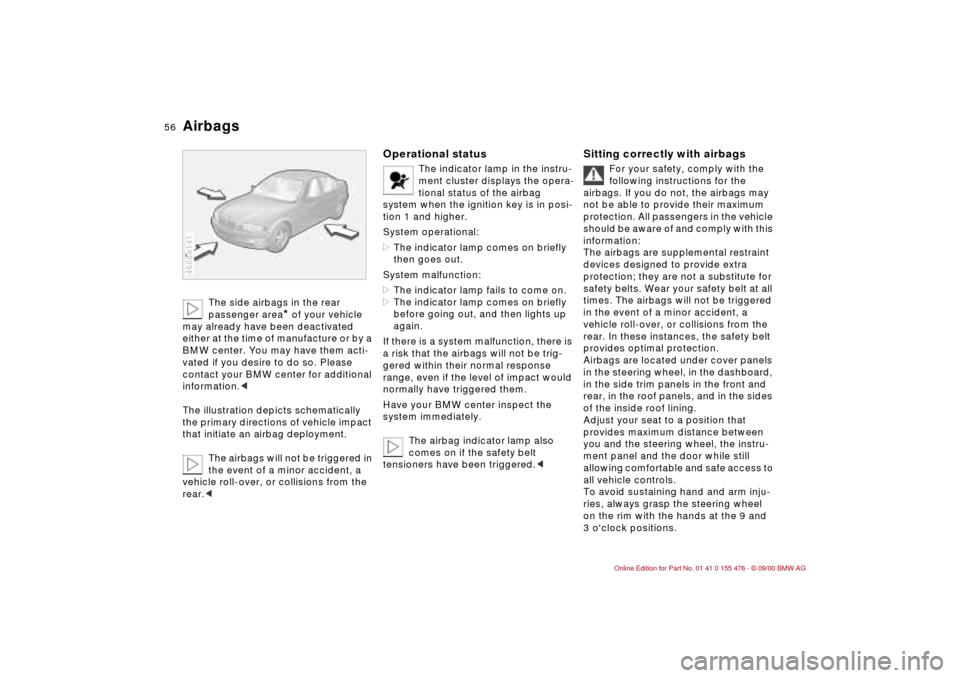
The illustration depicts schematically
the primary directions of vehicle impact
that initiate an airbag deployment.
The airbags will not be triggered in
the event of a minor accident, a
vehicle roll-over, or collisions from the
rear.c
460de141
Operational status
The indicator lamp in the instru-
ment cluster displays the opera-
tional status of the airbag
system when the ignition key is in posi-
tion 1 and higher.
System operational:
>The indicator lamp comes on briefly
then goes out.
System malfunction:
>The indicator lamp fails to come on.
>The indicator lamp comes on briefly
before going out, and then lights up
again.
If there is a system malfunction, there is
a risk that the airbags will not be trig-
gered within their normal response
range, even if the level of impact would
normally have triggered them.
Have your BMW center inspect the
system immediately.
The airbag indicator lamp also
comes on if the safety belt
tensioners have been triggered.<
Sitting correctly with airbags
For your safety, comply with the
following instructions for the
airbags. If you do not, the airbags may
not be able to provide their maximum
protection. All passengers in the vehicle
should be aware of and comply with this
information:
The airbags are supplemental restraint
devices designed to provide extra
protection; they are not a substitute for
safety belts. Wear your safety belt at all
times. The airbags will not be triggered
in the event of a minor accident, a
vehicle roll-over, or collisions from the
rear. In these instances, the safety belt
provides optimal protection.
Airbags are located under cover panels
in the steering wheel, in the dashboard,
in the side trim panels in the front and
rear, in the roof panels, and in the sides
of the inside roof lining.
Adjust your seat to a position that
provides maximum distance between
you and the steering wheel, the instru-
ment panel and the door while still
allowing comfortable and safe access to
all vehicle controls.
To avoid sustaining hand and arm inju-
ries, always grasp the steering wheel
on the rim with the hands at the 9 and
3 o'clock positions.
Page 59 of 211
59n
IndexDataTechnologyRepairsCar careControlsOverview
Transporting children safely LATCH attachment of the child
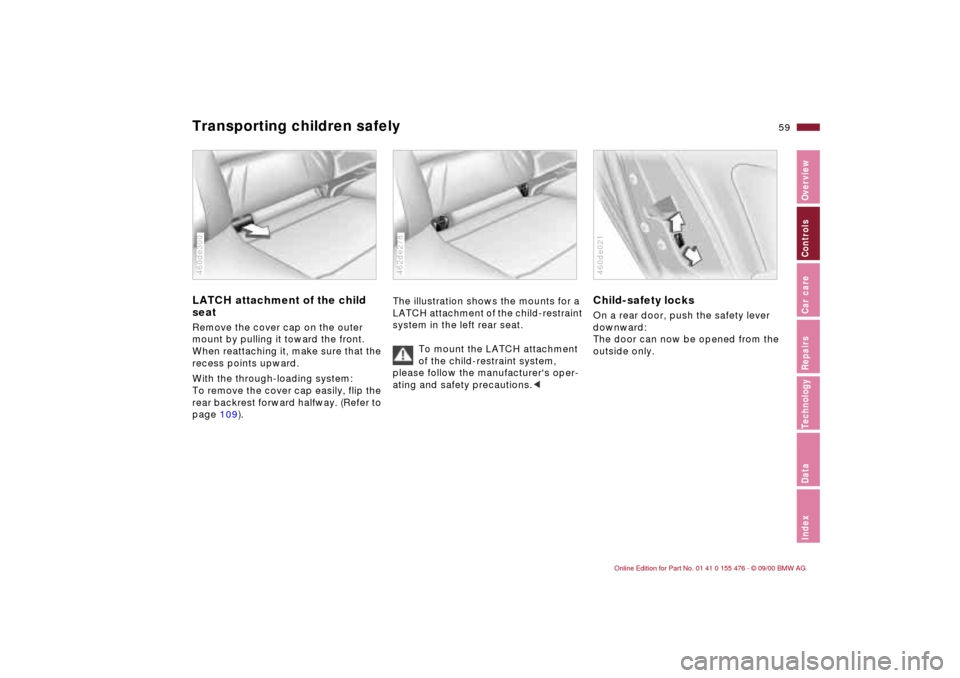
seatRemove the cover cap on the outer
mount by pulling it toward the front.
When reattaching it, make sure that the
recess points upward.
With the through-loading system:
To remove the cover cap easily, flip the
rear backrest forward halfway. (Refer to
page 109).460de300
The illustration shows the mounts for a
LATCH attachment of the child-restraint
system in the left rear seat.
To mount the LATCH attachment
of the child-restraint system,
please follow the manufacturer's oper-
ating and safety precautions.<462de278
Child-safety locksOn a rear door, push the safety lever
downward:
The door can now be opened from the
outside only.460de021
Page 61 of 211
61n
IndexDataTechnologyRepairsCar careControlsOverview
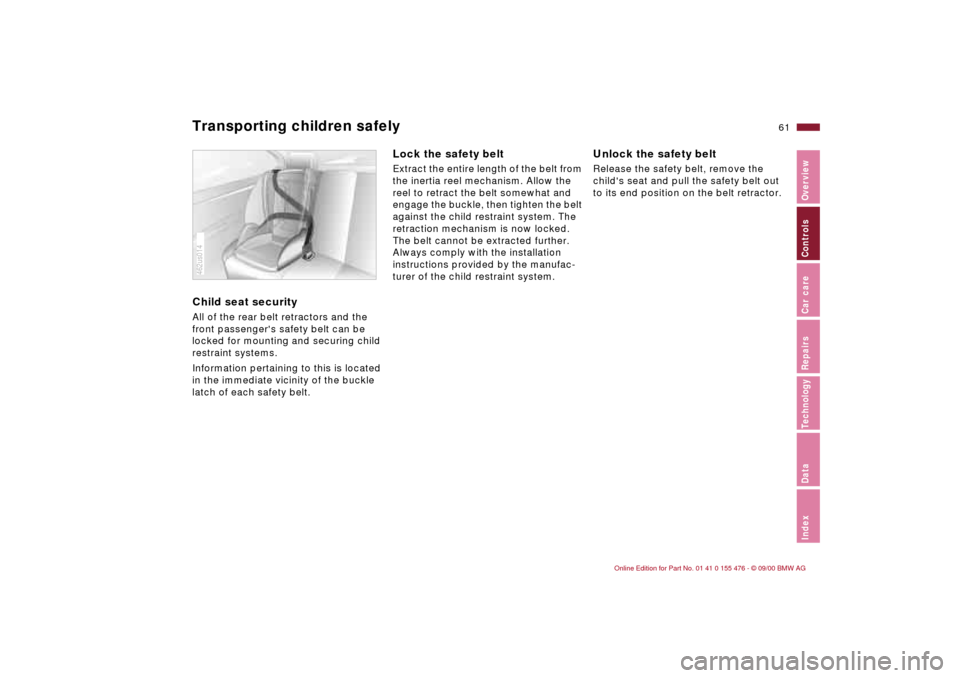
Transporting children safelyChild seat securityAll of the rear belt retractors and the
front passenger's safety belt can be
locked for mounting and securing child
restraint systems.
Information pertaining to this is located
in the immediate vicinity of the buckle
latch of each safety belt.462us014
Lock the safety beltExtract the entire length of the belt from
the inertia reel mechanism. Allow the
reel to retract the belt somewhat and
engage the buckle, then tighten the belt
against the child restraint system. The
retraction mechanism is now locked.
The belt cannot be extracted further.
Always comply with the installation
instructions provided by the manufac-
turer of the child restraint system.
Unlock the safety beltRelease the safety belt, remove the
child's seat and pull the safety belt out
to its end position on the belt retractor.
Page 62 of 211
62n
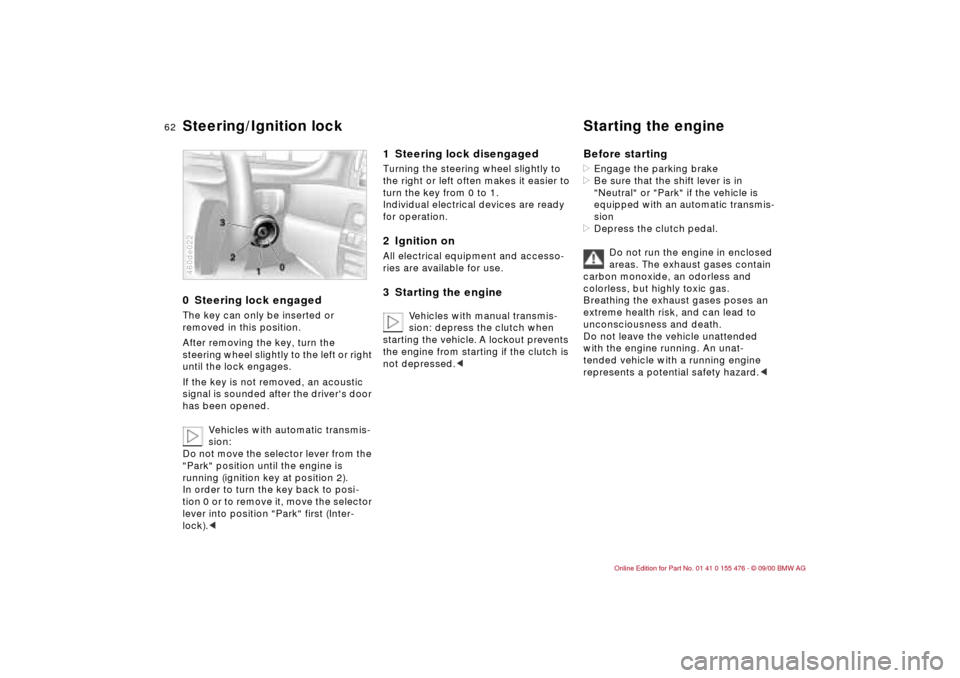
0 Steering lock engaged The key can only be inserted or
removed in this position.
After removing the key, turn the
steering wheel slightly to the left or right
until the lock engages.
If the key is not removed, an acoustic
signal is sounded after the driver's door
has been opened.
Vehicles with automatic transmis-
sion:
Do not move the selector lever from the
"Park" position until the engine is
running (ignition key at position 2).
In order to turn the key back to posi-
tion 0 or to remove it, move the selector
lever into position "Park" first (Inter-
lock).<460de022
1 Steering lock disengaged Turning the steering wheel slightly to
the right or left often makes it easier to
turn the key from 0 to 1.
Individual electrical devices are ready
for operation.2 Ignition onAll electrical equipment and accesso-
ries are available for use.3 Starting the engine
Vehicles with manual transmis-
sion: depress the clutch when
starting the vehicle. A lockout prevents
the engine from starting if the clutch is
not depressed.c
Before starting>Engage the parking brake
>Be sure that the shift lever is in
"Neutral" or "Park" if the vehicle is
equipped with an automatic transmis-
sion
>Depress the clutch pedal.
Do not run the engine in enclosed
areas. The exhaust gases contain
carbon monoxide, an odorless and
colorless, but highly toxic gas.
Breathing the exhaust gases poses an
extreme health risk, and can lead to
unconsciousness and death.
Do not leave the vehicle unattended
with the engine running. An unat-
tended vehicle with a running engine
represents a potential safety hazard.<
Steering/Ignition lock Starting the engine
Page 63 of 211
63n
IndexDataTechnologyRepairsCar careControlsOverview
Starting the engine Switching off the engine Do not press the accelerator pedal
while starting the engine.
Do not actuate the starter for too
short a time, but do not turn it for
more than approx. 20 seconds. Release
the ignition key immediately when the
engine starts.
Do not allow the engine to warm up by
leaving it running while the vehicle
remains stationary. Instead, begin
driving immediately at a moderate
engine speed.<
If the engine does not start on the first
attempt (if it is very hot or cold, for
instance):
>Press the accelerator pedal halfway
down while engaging the starter.
Cold start at extremely low tempera-
tures, from approx. +5 7 (-15 6)
and at elevations above 3,300 feet
(above 1,000 meters):
>On the first start attempt, engage the
starter for a longer period (approx.
10 seconds).
>Press the accelerator pedal halfway
down while engaging the starter.
Engine idle speed is controlled by the
engine computer system. Increased
speeds at startup are normal and
should decrease as the engine warms
up. If engine speed does not decrease,
service is required.
To prevent the battery from
discharging, always deactivate elec-
trical devices that are not in use. Switch
the ignition off when the vehicle is not
being driven.Turn the ignition key to position 1 or 0.
Do not remove the ignition key
while the vehicle is still moving.
If you did so, the steering lock would
engage when the steering wheel is
turned.
When you leave the vehicle, always
remove the ignition key and engage the
steering lock.
Vehicles with manual transmission:
Always engage the parking brake when
parking on slopes and inclined
surfaces. Placing the lever in 1st gear
or reverse may not provide adequate
resistance to rolling.
Vehicles with automatic transmission:
Place the selector lever in "Park."<
Page 64 of 211
64n
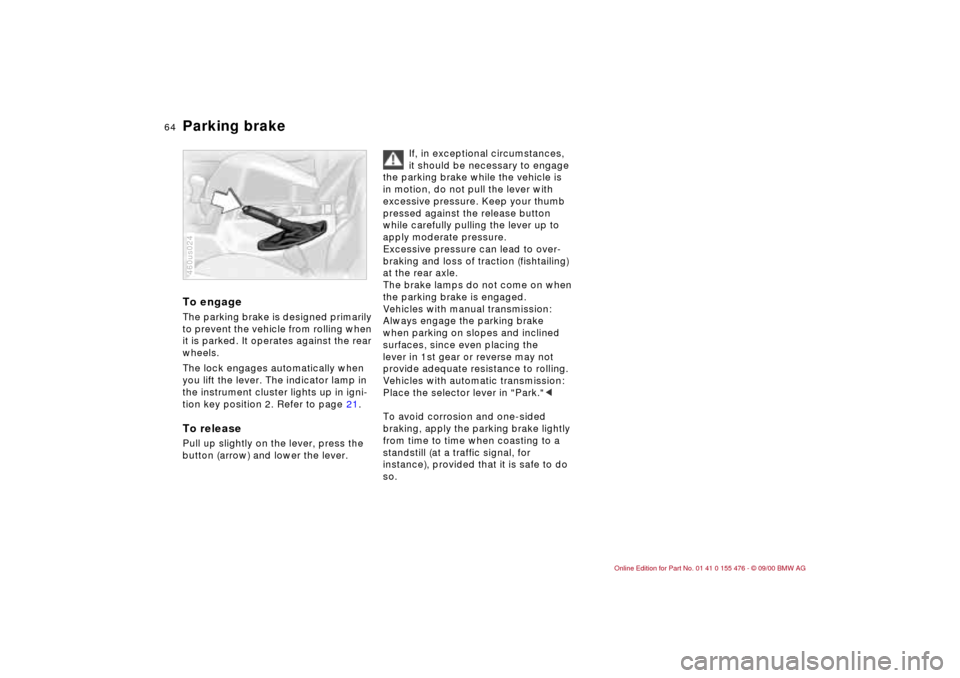
Parking brake To engageThe parking brake is designed primarily
to prevent the vehicle from rolling when
it is parked. It operates against the rear
wheels.
The lock engages automatically when
you lift the lever. The indicator lamp in
the instrument cluster lights up in igni-
tion key position 2. Refer to page 21.To releasePull up slightly on the lever, press the
button (arrow) and lower the lever.460us024
If, in exceptional circumstances,
it should be necessary to engage
the parking brake while the vehicle is
in motion, do not pull the lever with
excessive pressure. Keep your thumb
pressed against the release button
while carefully pulling the lever up to
apply moderate pressure.
Excessive pressure can lead to over-
braking and loss of traction (fishtailing)
at the rear axle.
The brake lamps do not come on when
the parking brake is engaged.
Vehicles with manual transmission:
Always engage the parking brake
when parking on slopes and inclined
surfaces, since even placing the
lever in 1st gear or reverse may not
provide adequate resistance to rolling.
Vehicles with automatic transmission:
Place the selector lever in "Park."<
To avoid corrosion and one-sided
braking, apply the parking brake lightly
from time to time when coasting to a
standstill (at a traffic signal, for
instance), provided that it is safe to do
so.
Page 65 of 211
65n
IndexDataTechnologyRepairsCar careControlsOverview
Manual transmission Press the clutch pedal all the way down
each time you shift, pressing the
manual-shift gear lever into its proper
end position.
Depress the clutch when starting the
vehicle, too, otherwise, lockout will
prevent the engine from starting if the
clutch is not depressed.
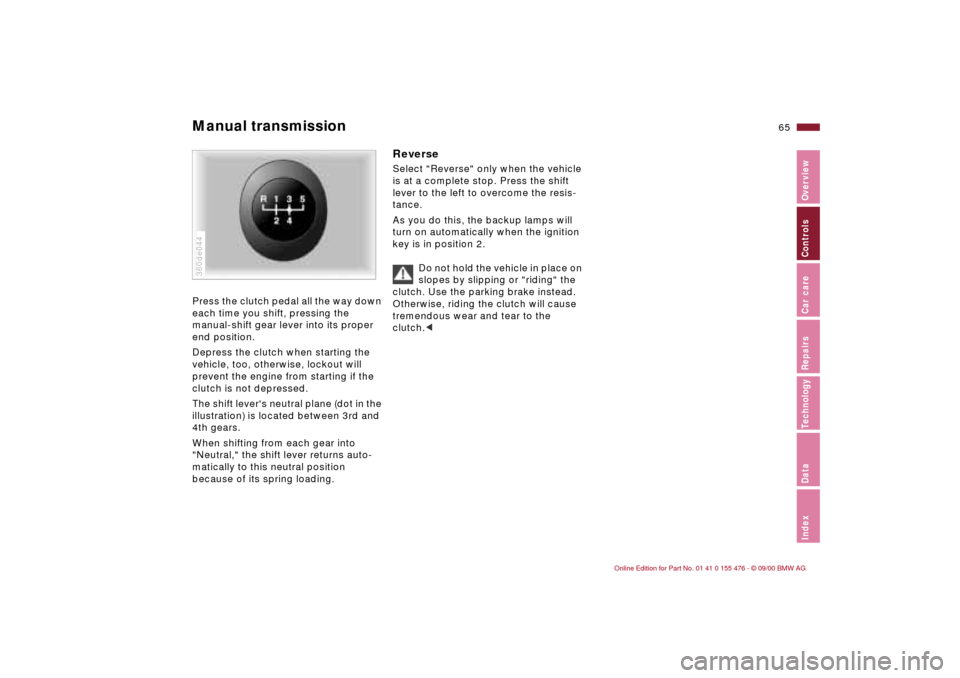
The shift lever's neutral plane (dot in the
illustration) is located between 3rd and
4th gears.
When shifting from each gear into
"Neutral," the shift lever returns auto-
matically to this neutral position
because of its spring loading.360de044
Reverse Select "Reverse" only when the vehicle
is at a complete stop. Press the shift
lever to the left to overcome the resis-
tance.
As you do this, the backup lamps will
turn on automatically when the ignition
key is in position 2.
Do not hold the vehicle in place on
slopes by slipping or "riding" the
clutch. Use the parking brake instead.
Otherwise, riding the clutch will cause
tremendous wear and tear to the
clutch.<