Page 44 of 211
44n
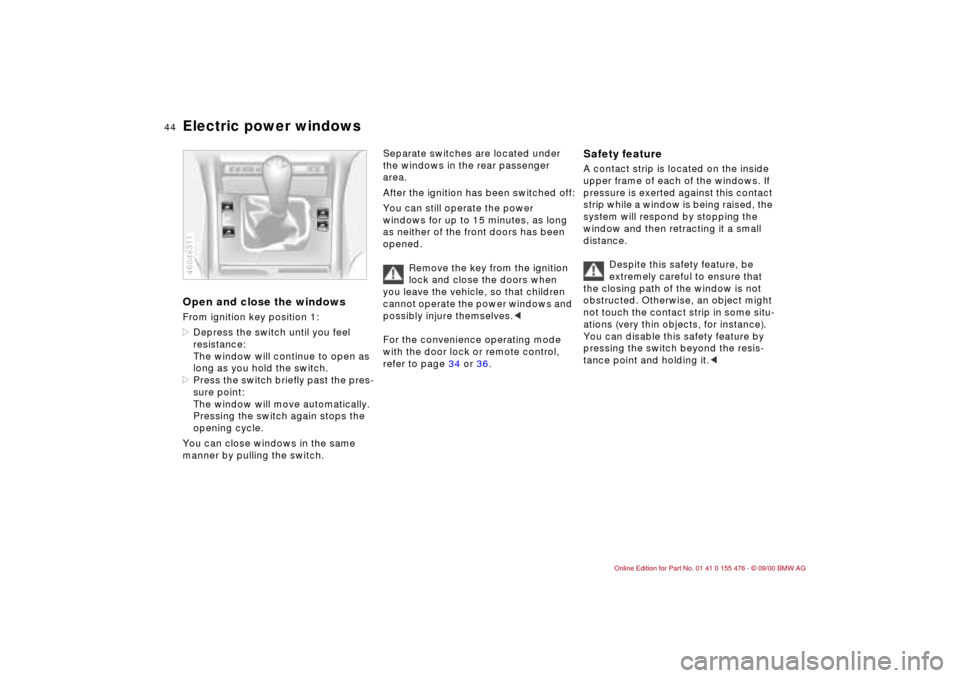
Electric power windowsOpen and close the windowsFrom ignition key position 1:
>Depress the switch until you feel
resistance:
The window will continue to open as
long as you hold the switch.
>Press the switch briefly past the pres-
sure point:
The window will move automatically.
Pressing the switch again stops the
opening cycle.
You can close windows in the same
manner by pulling the switch.460de311
Separate switches are located under
the windows in the rear passenger
area.
After the ignition has been switched off:
You can still operate the power
windows for up to 15 minutes, as long
as neither of the front doors has been
opened.
Remove the key from the ignition
lock and close the doors when
you leave the vehicle, so that children
cannot operate the power windows and
possibly injure themselves.<
For the convenience operating mode
with the door lock or remote control,
refer to page 34 or 36.
Safety feature A contact strip is located on the inside
upper frame of each of the windows. If
pressure is exerted against this contact
strip while a window is being raised, the
system will respond by stopping the
window and then retracting it a small
distance.
Despite this safety feature, be
extremely careful to ensure that
the closing path of the window is not
obstructed. Otherwise, an object might
not touch the contact strip in some situ-
ations (very thin objects, for instance).
You can disable this safety feature by
pressing the switch beyond the resis-
tance point and holding it.<
Page 45 of 211
45n
IndexDataTechnologyRepairsCar careControlsOverview
Electric power windows Sliding/tilt sunroof
*
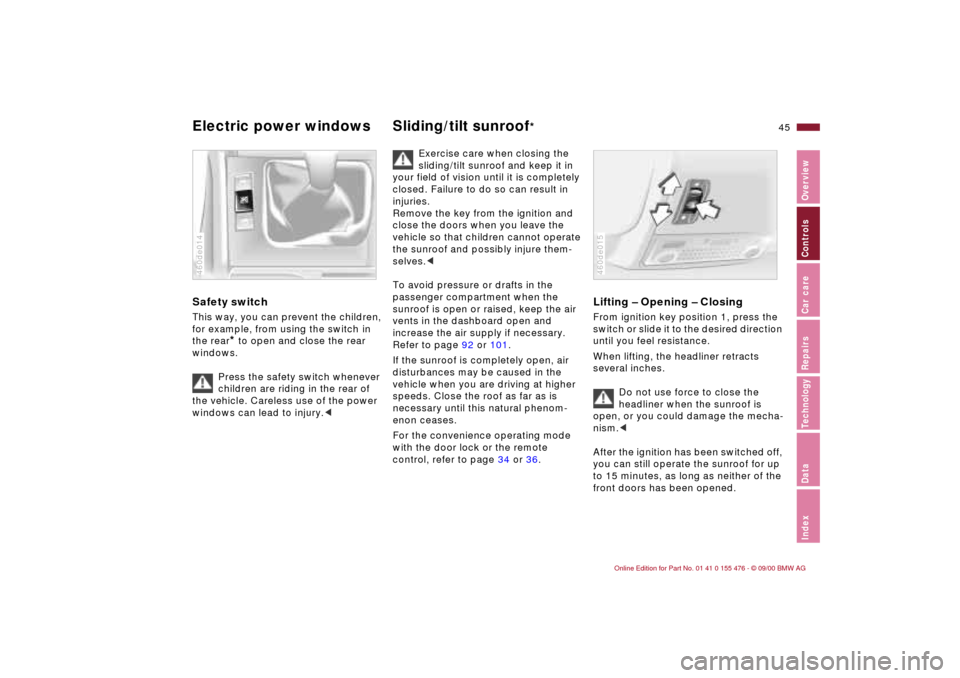
Safety switch This way, you can prevent the children,
for example, from using the switch in
the rear
* to open and close the rear
windows.
Press the safety switch whenever
children are riding in the rear of
the vehicle. Careless use of the power
windows can lead to injury.<
460de014
Exercise care when closing the
sliding/tilt sunroof and keep it in
your field of vision until it is completely
closed. Failure to do so can result in
injuries.
Remove the key from the ignition and
close the doors when you leave the
vehicle so that children cannot operate
the sunroof and possibly injure them-
selves.<
To avoid pressure or drafts in the
passenger compartment when the
sunroof is open or raised, keep the air
vents in the dashboard open and
increase the air supply if necessary.
Refer to page 92 or 101.
If the sunroof is completely open, air
disturbances may be caused in the
vehicle when you are driving at higher
speeds. Close the roof as far as is
necessary until this natural phenom-
enon ceases.
For the convenience operating mode
with the door lock or the remote
control, refer to page 34 or 36.
Lifting Ð Opening Ð ClosingFrom ignition key position 1, press the
switch or slide it to the desired direction
until you feel resistance.
When lifting, the headliner retracts
several inches.
Do not use force to close the
headliner when the sunroof is
open, or you could damage the mecha-
nism.<
After the ignition has been switched off,
you can still operate the sunroof for up
to 15 minutes, as long as neither of the
front doors has been opened.460de015
Page 52 of 211
52n
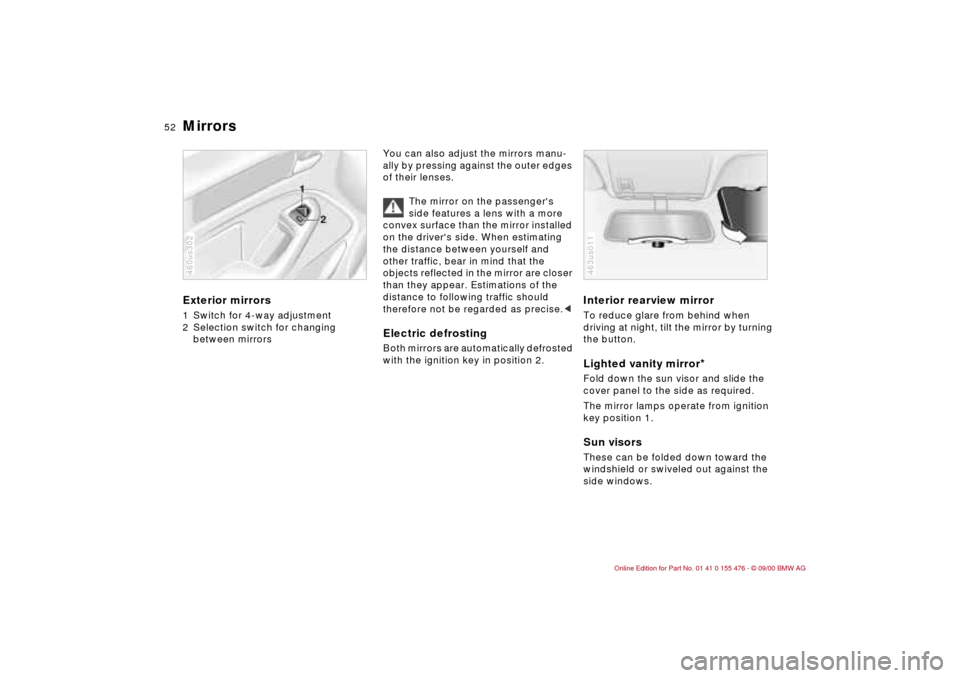
Mirrors Exterior mirrors1 Switch for 4-way adjustment
2 Selection switch for changing
between mirrors460us302
You can also adjust the mirrors manu-
ally by pressing against the outer edges
of their lenses.
The mirror on the passenger's
side features a lens with a more
convex surface than the mirror installed
on the driver's side. When estimating
the distance between yourself and
other traffic, bear in mind that the
objects reflected in the mirror are closer
than they appear. Estimations of the
distance to following traffic should
therefore not be regarded as precise.
with the ignition key in position 2.
Interior rearview mirror To reduce glare from behind when
driving at night, tilt the mirror by turning
the button.Lighted vanity mirror
*
Fold down the sun visor and slide the
cover panel to the side as required.
The mirror lamps operate from ignition
key position 1.Sun visorsThese can be folded down toward the
windshield or swiveled out against the
side windows.463us011
Page 71 of 211
71n
IndexDataTechnologyRepairsCar careControlsOverview
Wiper/Washer system Rear window defroster Cleaning headlamps
*
When the vehicle's lighting system is
switched on, the headlamps will also be
cleaned every fifth time cleaning wind-
shield 5 is activated.
Do not use the washers if there
is any danger that the fluid will
freeze on the windshield. If you do so,
your vision could be obscured. Use an
antifreeze agent. Refer to page 138.
Do not use the washers when the reser-
voir is empty. If you do so, the washer
pump could be damaged.
*
automatically when the ignition key is in
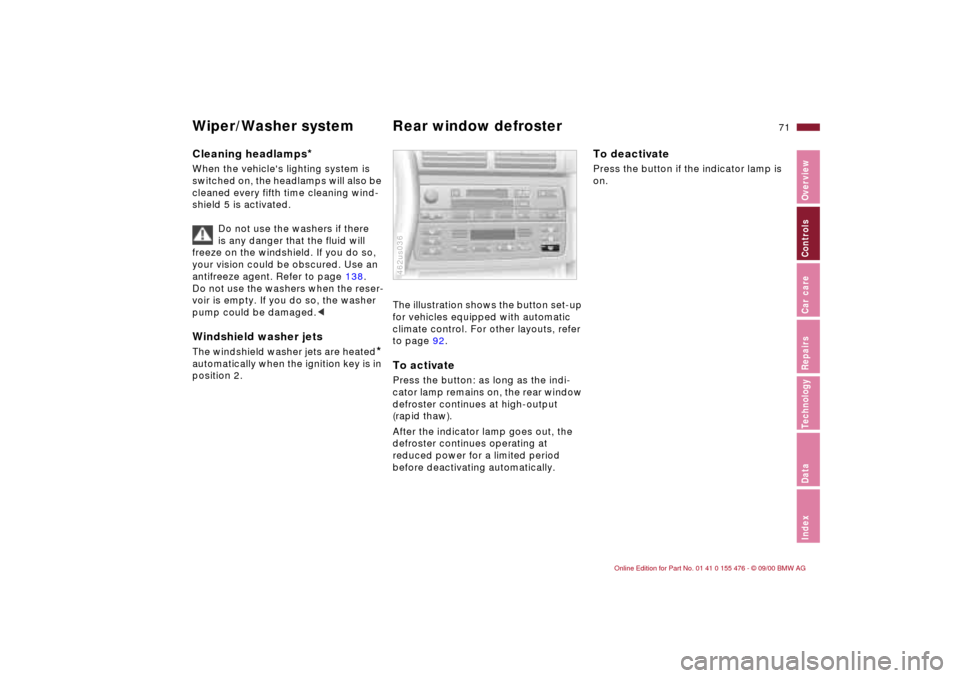
position 2.The illustration shows the button set-up
for vehicles equipped with automatic
climate control. For other layouts, refer
to page 92.To activatePress the button: as long as the indi-
cator lamp remains on, the rear window
defroster continues at high-output
(rapid thaw).
After the indicator lamp goes out, the
defroster continues operating at
reduced power for a limited period
before deactivating automatically. 462us036
To deactivatePress the button if the indicator lamp is
on.
Page 93 of 211
93n
IndexDataTechnologyRepairsCar careControlsOverview
Air conditioner1 Air onto the windshield and onto the
side windows
2 Air for the upper body area
The side rotary dials allow you to
open and close the air supply through
an infinitely-variable range, while the
levers change the air flow direction.
The center rotary dial controls the
temperature of the air as it flows out.
Refer to page 94
3 Air for the front footwell
There are also vent outlets for the
footwell in the rear as well
4 Air supply
Heating and ventilationd are available
starting with position 1. Refer to
page 94
5 Temperature94
6 Air distribution toward
>the windows
>the upper body
>the footwell
You can also make all intermediate
settings. Refer to page 94
7 Rear window defroster94
8 Air conditioner94
9 Recirculated-air mode94
Page 94 of 211
94n
Air conditionerAir supply
You can select blower speeds
from 1 to 4. The heating and
ventilation become more and
more effective as the air
supply settings are increased. In posi-
tion 0, the fan and the heater are
switched off. By using position 0, you
can totally block the air supply by
pressing the button for the recirculated-
air mode.
Temperature
In order to increase the
temperature of the passenger
compartment, turn it to the
right (red). Temperature regu-
lation will keep the interior temperature
you have selected constant.
Air distribution
You can direct air to flow onto
the windows , toward the
upper body and into the
footwell . You can also
make all intermediate settings. In the
setting, there is a low flow of air onto
the windows to keep them free of
condensation. The "6 o'clock" setting is
recommended as a normal setting (refer
also to the illustration and overview on
page 92).
Rear window defroster
When the rear window defroster
is activated, the indicator lamp
comes on. The rear window defroster
switches off automatically. Refer to
page 71.
Air conditioner
The air is cooled and dehumidi-
fied and Ð depending on the
temperature setting Ð rewarmed when
the air conditioner system is switched
on. Depending on the weather, the
windshield may fog over briefly when
the engine is started.
Use the button to switch the air condi-
tioner off at outside temperatures
below approx. 41 7(+5 6). This will
help to prevent the windows from
fogging up.
If the windows fog over after switching
the air conditioner off, switch it back
on.
Condensation forms in the air
conditioner system during opera-
tion, which then exits under the vehicle.
Traces of condensed water of this kind
are thus normal.<
Recirculated-air mode
You can respond to unpleasant
external odors by temporarily
blocking the outside air. The system
then recirculates the air already within
the vehicle.
If the windows fog over in the
recirculated air mode, switch this
mode off and increase the air supply as
required.<
Page 96 of 211
96n
Air conditioner Rapid heating 1 Set the blower speed control for the
air flow rate to position 3
2 Turn the rotary temperature control
completely to the right (red)
3 Rotary control for air distribution in
position .463de019
Defrost the windshield and side
windows 1 Set the blower speed control for the
air flow rate to position 4
2 Turn the rotary temperature control
completely to the right (red)
3 Rotary control for air distribution in
position
4 Switch on the rear window defroster
to defrost the rear window. 463de020
HeatingWhen the windows are free of ice and
condensation, we recommend the
following settings:
1 Set the fan speed control for the air
flow rate to position 2
2 Use the rotary temperature control to
select an interior temperature which
is comfortable for you
3 Rotary control for air distribution in
position .390de127463de021
Page 99 of 211
99n
IndexDataTechnologyRepairsCar careControlsOverview
Automatic climate control
*
1 Air on the windshield and on the
side windows
2 Air flow toward the upper body
The side rotary dials allow you to
open and close the air supply
through an infinitely-variable range,
while the levers change the air flow
direction. The center rotary dial
controls the temperature of the air
as it flows out. Refer to page 102
3 Front footwell ventilation
There are corresponding air vents in
the rear footwell as well
4 Recirculated air mode/Automatic
recirculated air control (AUC)101
5 Air supply101
6 Temperature100
7 Automatic air distribution100
8 Individual air distribution100
9 Air grill for interior temperature
sensor Ð please keep clear and
unobstructed
10 Display for temperature and air
supply100
11 Defrost the windshield and side
windows101
12 Air conditioner101
13 Rear window defroster71, 102