Page 145 of 203

145n
IndexDataTechnologyRepairsCar careControlsOverview
Caring for your vehicleCare of upholstery materials Depressions in the upholstery that
result from everyday use can be
brushed smooth by brushing against
the nap with a lightly dampened brush.
The tendency of the pile to lie in a
particular direction on velour upholstery
is not a quality defect, and, just as on
home textiles or clothing, cannot be
avoided.
Lint on upholstery materials, textile or
leather remnants that have been worn
into the upholstery may be removed
with a lint brush or a Velcro
â brush. A
cleaning glove is available for especially
"stubborn" lint. Stains and fairly large
areas of dirt should be cleaned off with-
out delay, using lukewarm water and an
interior cleaner, stain remover or appro-
priate cleaning fluid. Brush the fabric
afterwards to restore its appearance.
If the vehicle is to be stored for an ex-
tended period, or if it is exposed to in-
tense sunlight, cover all the seats or the
windows to prevent fading.
Use the cleaning and car-care
products available at your BMW
center.<
The buildup of an electrostatic charge
on the seat covers, particularly if
atmospheric humidity is low, can give
the occupants an unpleasant electric
shock if they touch metal body parts
after leaving the vehicle. Although this is
not dangerous in any way, it can be
avoided by touching a bare or polished
metal part of the vehicle while getting
out.
Leather care The leather
* upholstery used by BMW
is a natural product of the highest
quality, processed using state-of-the-
art methods to ensure that it will main-
tain its high quality for years to come,
provided that it is properly cared for.
Because this product is manufactured
using natural materials, you must make
allowance for its special characteristics
and for the peculiarities of its use
and care.
Regular periodic cleaning and care
are essential, as dust and road dirt act
as abrasives in the pores and creases
of the material. This leads to wear
spots and premature brittleness on
the surface of the leather. We there-
fore suggest that you clean the leather
with a vacuum cleaner or cloth at
frequent intervals.
For cleaning, use BMW leather
cleaning foam.
Since dirt and grease gradually attack
the protective layer of the leather, the
cleaned surfaces should be treated
with BMW leather care agent. This also
acts as an antistatic agent.
For protection against dampness
or moisture, treat the leather with an
impregnating agent made by BMW.
Page 146 of 203
146n
Caring for your vehicleWe recommend that you perform this
procedure twice a year on leather
exposed to normal use.
Spills should be wiped up immediately.
Remove grease and oil stains by
dabbing with with spot remover. Avoid
rubbing.
If the upholstery is to be exposed to
intense sunlight or if the vehicle is to be
stored for an extended period, cover
all leather surfaces (or, better yet, the
windows) to prevent fading.
Use the cleaning and car-care
products available at your BMW
center.<
Cleaning agents can contain
substances that are dangerous or
pose health risks. Therefore, always
comply with the warnings and danger
labels on the package.
Open the doors or windows on your
vehicle when cleaning the interior.
Never clean your vehicle with solvents
or other materials not specifically
intended for this purpose.<
Page 147 of 203

147n
IndexDataTechnologyRepairsCar careControlsOverview
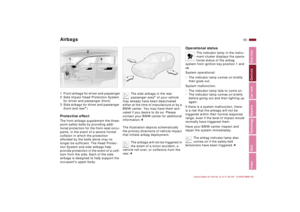
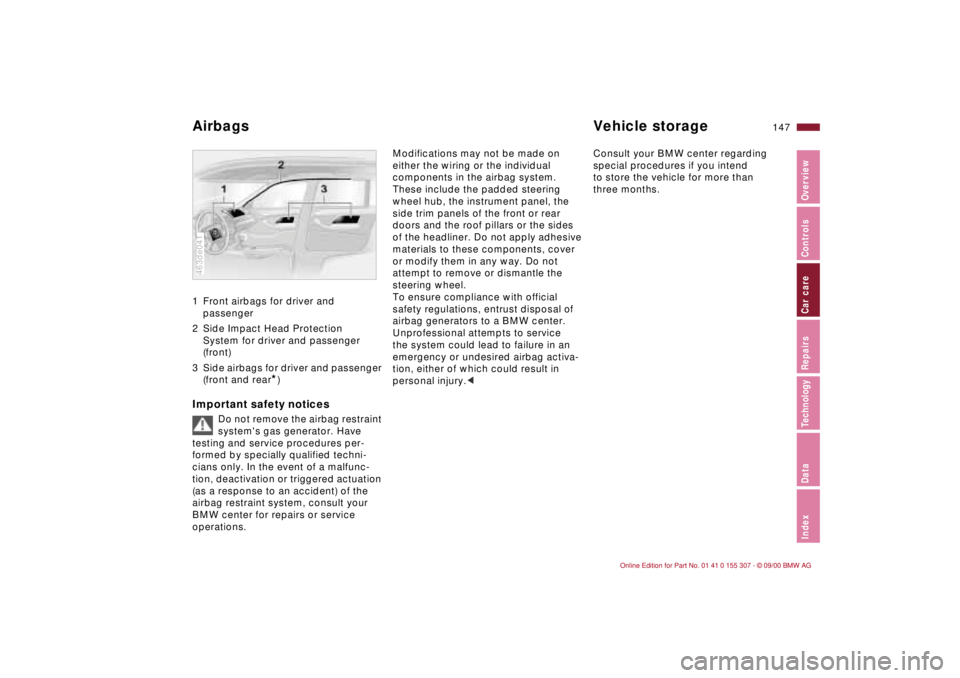
Airbags Vehicle storage1 Front airbags for driver and
passenger
2 Side Impact Head Protection
System for driver and passenger
(front)
3 Side airbags for driver and passenger
(front and rear
*)
Important safety notices
Do not remove the airbag restraint
system's gas generator. Have
testing and service procedures per-
formed by specially qualified techni-
cians only. In the event of a malfunc-
tion, deactivation or triggered actuation
(as a response to an accident) of the
airbag restraint system, consult your
BMW center for repairs or service
operations.
463de041
Modifications may not be made on
either the wiring or the individual
components in the airbag system.
These include the padded steering
wheel hub, the instrument panel, the
side trim panels of the front or rear
doors and the roof pillars or the sides
of the headliner. Do not apply adhesive
materials to these components, cover
or modify them in any way. Do not
attempt to remove or dismantle the
steering wheel.
To ensure compliance with official
safety regulations, entrust disposal of
airbag generators to a BMW center.
Unprofessional attempts to service
the system could lead to failure in an
emergency or undesired airbag activa-
tion, either of which could result in
personal injury.
special procedures if you intend
to store the vehicle for more than
three months.
Page 148 of 203

148n
Technical modifications California Proposition 65 WarningAny BMW center will be glad to advise
you concerning the advisability, legal
implications and factory recommenda-
tions for technical modifications to the
vehicle. For this purpose, the BMW cen-
ter will require the Vehicle Identification
Number and, in some cases, the engine
number as well. Light-Emitting Diodes (LEDs)Light-emitting diodes installed behind
translucent lenses serve as the light
source for many of the controls and dis-
plays in your vehicle. The concept be-
hind their operation is related to that
employed for lasers.
Do not remove the protective lens
and avoid staring directly at the
unfiltered beam for extended periods
(several hours). To do so could result in
inflammation of the iris.<
California laws require us to state the
following warning:
Engine exhaust, some of its con-
stituents, and certain vehicle com-
ponents contain or emit chemicals
known to the State of California to
cause cancer and birth defects or other
reproductive harm.<
Page 149 of 203

149n
IndexDataTechnologyRepairsCar careControlsOverview
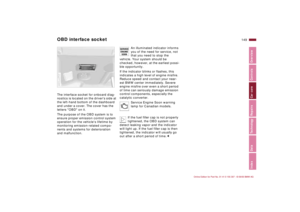
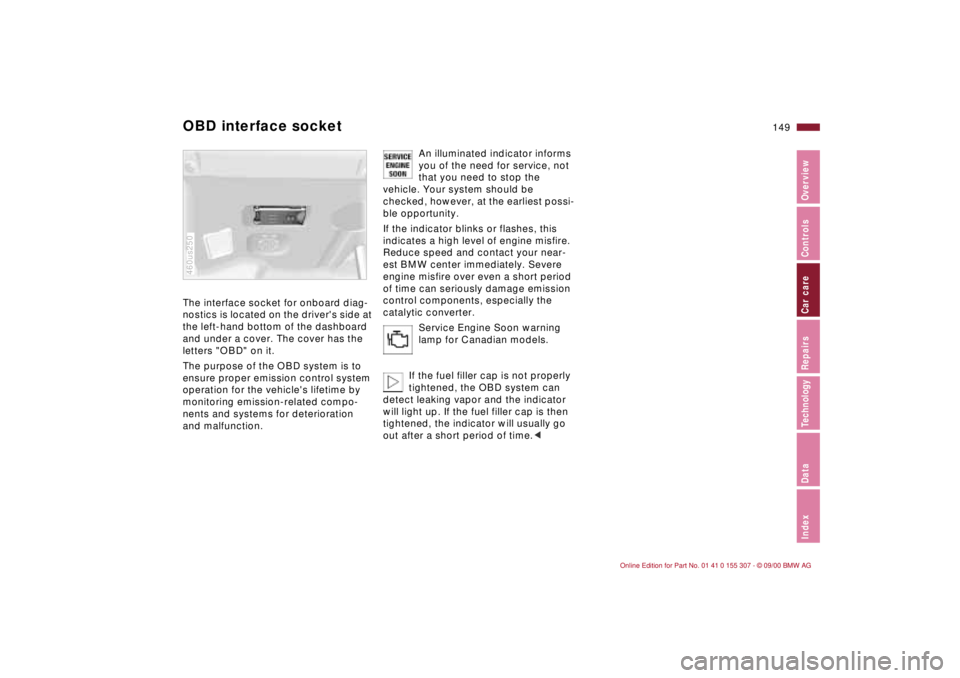
OBD interface socket The interface socket for onboard diag-
nostics is located on the driver's side at
the left-hand bottom of the dashboard
and under a cover. The cover has the
letters "OBD" on it.
The purpose of the OBD system is to
ensure proper emission control system
operation for the vehicle's lifetime by
monitoring emission-related compo-
nents and systems for deterioration
and malfunction.460us250
An illuminated indicator informs
you of the need for service, not
that you need to stop the
vehicle. Your system should be
checked, however, at the earliest possi-
ble opportunity.
If the indicator blinks or flashes, this
indicates a high level of engine misfire.
Reduce speed and contact your near-
est BMW center immediately. Severe
engine misfire over even a short period
of time can seriously damage emission
control components, especially the
catalytic converter.
Service Engine Soon warning
lamp for Canadian models.
If the fuel filler cap is not properly
tightened, the OBD system can
detect leaking vapor and the indicator
will light up. If the fuel filler cap is then
tightened, the indicator will usually go
out after a short period of time.<
Page 150 of 203
Page 151 of 203
Overview
Controls and features
Operation, care
and maintenance
Owner service procedures
Technical data
Index Advanced technology
151n
IndexDataTechnologyRepairsCar careControlsOverview
Replacement procedures:
Onboard tool kit152
Windshield wiper blades152
Lamps and bulbs153
Changing a wheel159
Battery162
Fuses164
Microfilter/Activated-charcoal
filter165
In case of electrical
malfunction:
Fuel filler door166
Sliding/Tilt sunroof166
Tailgate166
Assistance, giving and
receiving:
Jump-starting167
Towing the vehicle168
Repairs
Page 152 of 203
152n
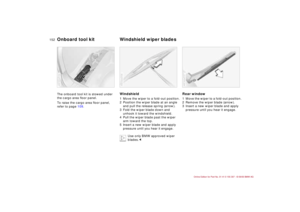
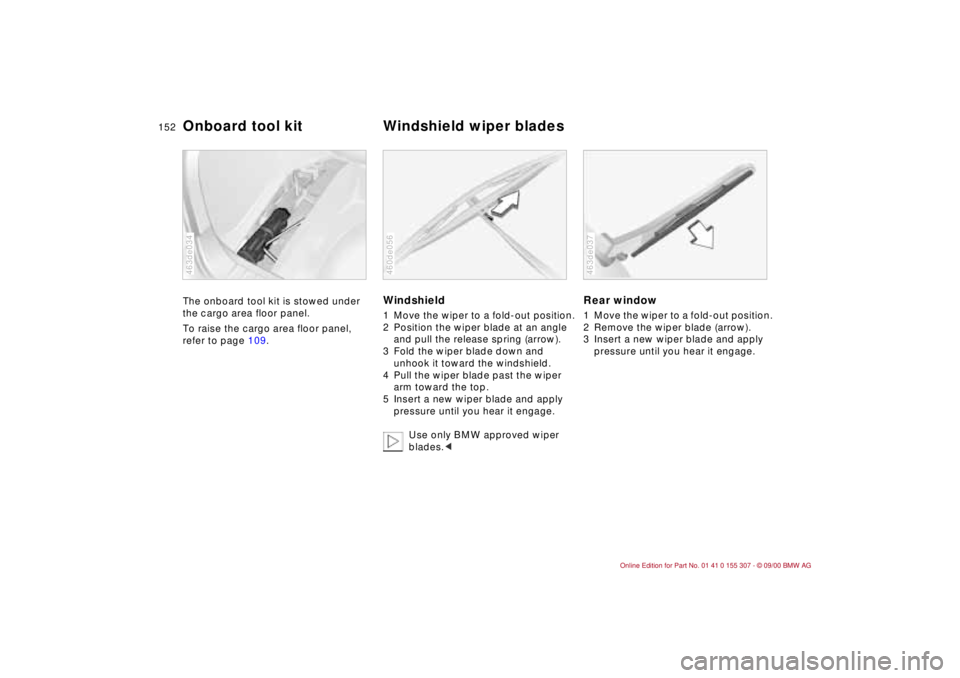
The onboard tool kit is stowed under
the cargo area floor panel.
To raise the cargo area floor panel,
refer to page 109.
463de034
Windshield1 Move the wiper to a fold-out position.
2 Position the wiper blade at an angle
and pull the release spring (arrow).
3 Fold the wiper blade down and
unhook it toward the windshield.
4 Pull the wiper blade past the wiper
arm toward the top.
5 Insert a new wiper blade and apply
pressure until you hear it engage.
Use only BMW approved wiper
blades.<460de056
Rear window 1 Move the wiper to a fold-out position.
2 Remove the wiper blade (arrow).
3 Insert a new wiper blade and apply
pressure until you hear it engage.463de037
Onboard tool kit Windshield wiper blades