Page 59 of 106
6-15
PERIODIC MAINTENANCE AND MINOR REPAIR
1
2
3
4
56
7
8
93.Wait a few minutes until the oil
settles, remove the oil filler cap,
wipe the dipstick clean, insert it
back into the oil filler hole (with-
out screwing it in), and then
remove it again to check the oil
level.
NOTE:
The engine oil should be between the
minimum and maximum level marks.
3121
1.Engine oil filler cap
2.Maximum level mark
3.Minimum level mark
4.If the engine oil is below the min-
imum level mark, add sufficient
oil of the recommended type to
raise it to the correct level.
5.Insert the dipstick into the oil filler
hole, and then tighten the oil filler
cap.
1
1.Engine oil drain boltTo change the engine oil
1.Start the engine, warm it up for
several minutes, and then turn it
off.
2.Place an oil pan under the
engine to collect the used oil.
3.Remove the engine oil filler cap
and the engine oil drain bolt to
drain the oil from the crankcase.
5GM-9-E1(No ABS) 9/27/00 2:18 PM Page 58
Page 60 of 106

6-16
PERIODIC MAINTENANCE AND MINOR REPAIR
1
2
3
4
56
7
8
9
12
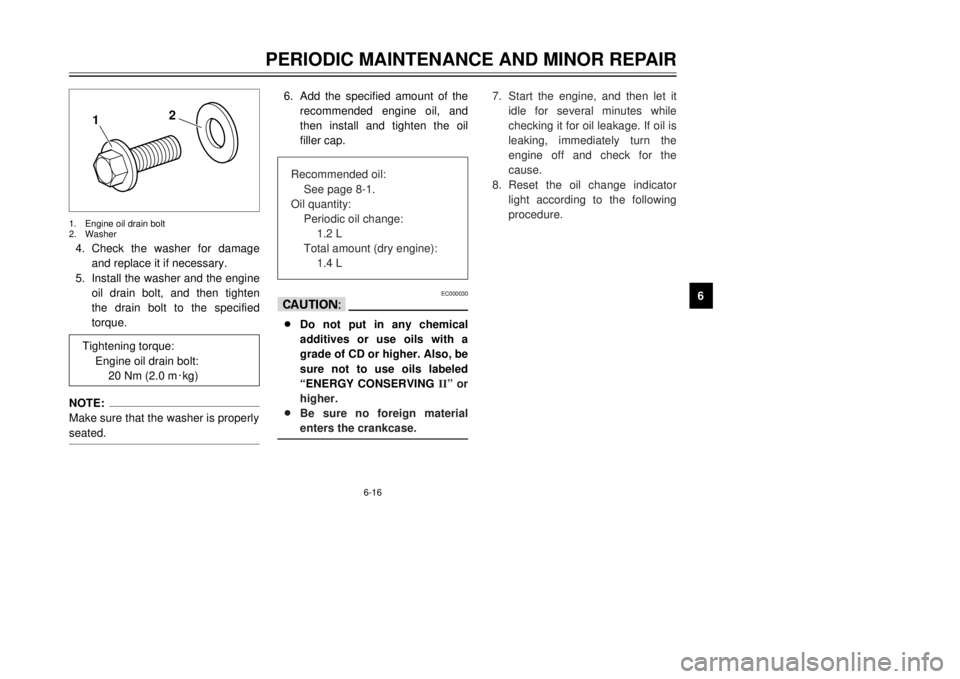
4.Check the washer for damage
and replace it if necessary.
5.Install the washer and the engine
oil drain bolt, and then tighten
the drain bolt to the specified
torque.NOTE:
Make sure that the washer is properly
seated.1.Engine oil drain bolt
2.Washer
Tightening torque:
Engine oil drain bolt:
20 Nm (2.0 m0kg)
6.Add the specified amount of the
recommended engine oil, and
then install and tighten the oil
filler cap.
EC000030
cC8Do not put in any chemical
additives or use oils with a
grade of CD or higher. Also, be
sure not to use oils labeled
ÒENERGY CONSERVING
IIÓ or
higher.
8Be sure no foreign material
enters the crankcase.
Recommended oil:
See page 8-1.
Oil quantity:
Periodic oil change:
1.2 L
Total amount (dry engine):
1.4 L
7.Start the engine, and then let it
idle for several minutes while
checking it for oil leakage. If oil is
leaking, immediately turn the
engine off and check for the
cause.
8.Reset the oil change indicator
light according to the following
procedure.
5GM-9-E1(No ABS) 9/27/00 2:18 PM Page 59
Page 61 of 106

6-17
PERIODIC MAINTENANCE AND MINOR REPAIR
1
2
3
4
56
7
8
9
1
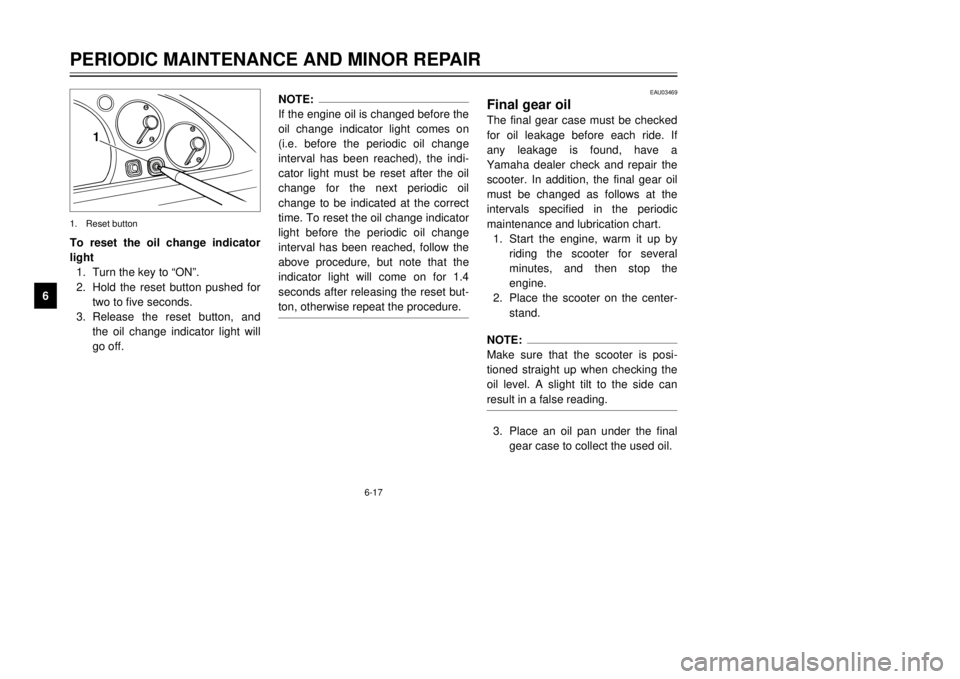
To reset the oil change indicator
light
1.Turn the key to ÒONÓ.
2.Hold the reset button pushed for
two to five seconds.
3.Release the reset button, and
the oil change indicator light will
go off.1.Reset button
NOTE:
If the engine oil is changed before the
oil change indicator light comes on
(i.e. before the periodic oil change
interval has been reached), the indi-
cator light must be reset after the oil
change for the next periodic oil
change to be indicated at the correct
time. To reset the oil change indicator
light before the periodic oil change
interval has been reached, follow the
above procedure, but note that the
indicator light will come on for 1.4
seconds after releasing the reset but-
ton, otherwise repeat the procedure.
EAU03469
Final gear oilThe final gear case must be checked
for oil leakage before each ride. If
any leakage is found, have a
Yamaha dealer check and repair the
scooter. In addition, the final gear oil
must be changed as follows at the
intervals specified in the periodic
maintenance and lubrication chart.
1.Start the engine, warm it up by
riding the scooter for several
minutes, and then stop the
engine.
2.Place the scooter on the center-
stand.NOTE:
Make sure that the scooter is posi-
tioned straight up when checking the
oil level. A slight tilt to the side can
result in a false reading.3.Place an oil pan under the final
gear case to collect the used oil.
5GM-9-E1(No ABS) 9/27/00 2:18 PM Page 60
Page 62 of 106

4.Remove the oil filler cap and
drain bolt to drain the oil from the
final gear case.
5.Install the final gear oil drain bolt,
and then tighten it to the speci-
fied torque.
6.Add the specified amount of the
recommended final gear oil, and
then install and tighten the oil
filler cap.
6-18
PERIODIC MAINTENANCE AND MINOR REPAIR
1
2
3
4
56
7
8
9
1
1.Final gear oil filler cap
Tightening torque:
Final gear oil drain bolt:
22 Nm (2.2 m0kg)
EW000066
w8Make sure that no foreign
material enters the final gear
case.
8Make sure that no oil gets on
the tire or wheel.7.Check the final gear case for oil
leakage. If oil is leaking, check
for the cause.
1
1.Final gear oil drain bolt
Recommended final gear oil:
See page 8-2.
Oil quantity:
0.25 L
EAU01587
CoolantThe coolant reservoir is located
under the battery cover. (See page
6-31 for battery cover removal proce-
dures.)
To check the coolant level
1.Place the scooter on a level sur-
face and hold it in an upright
position.NOTE:
8The coolant level must be
checked on a cold engine since
the level varies with engine tem-
perature.
8Make sure that the scooter is
positioned straight up when
checking the coolant level. A
slight tilt to the side can result in
a false reading.
5GM-9-E1(No ABS) 9/27/00 2:18 PM Page 61
Page 65 of 106
6-21
PERIODIC MAINTENANCE AND MINOR REPAIR
1
2
3
4
56
7
8
9
NOTE:
The sponge material should be wet
but not dripping.7.Insert the sponge material into
the air filter case.
8.Install the air filter case cover by
installing the screws. Recommended oil:
Engine oil
4.Check the sponge material for
damage and replace it if neces-
sary.
5.Allow the sponge material to dry.
6.Apply oil of the recommended
type to the entire surface of the
sponge material, and then
squeeze the excess oil out.
2
1
1.V-belt case air filter cover
2.Screw (´3)Cleaning the V-belt case air filter
element
1.Remove cowling A (See page
6-7 for cowling removal and
installation procedures.)
2.Remove the air filter case cover
by removing the screws.
3.Remove the V-belt case air filter
cover by removing the screws.
5GM-9-E1(No ABS) 9/27/00 2:18 PM Page 64
Page 72 of 106

6-28
PERIODIC MAINTENANCE AND MINOR REPAIR
1
2
3
4
56
7
8
9
EAU03073
Changing the brake fluidHave a Yamaha dealer change the
brake fluid at the intervals specified in
the periodic maintenance and lubrica-
tion chart. In addition, have the oil
seals of the master cylinder and
caliper as well as the brake hoses
replaced at the intervals listed below
or whenever they are damaged or
leaking.
8Oil seals: Replace every two
years.
8Brake hoses: Replace every four
years.
EAU02962
Checking and lubricating the
cablesThe operation of all control cables
and the condition of the cables
should be checked before each ride,
and the cables and cable ends
should be lubricated if necessary. If
a cable is damaged or does not move
smoothly, have a Yamaha dealer
check or replace it.
EW000112
wDamage to the outer sheath may
interfere with proper cable opera-
tion and will cause the inner cable
to rust. Replace a damaged cable
as soon as possible to prevent
unsafe conditions.
Recommended lubricant:
Engine oil
EAU03118
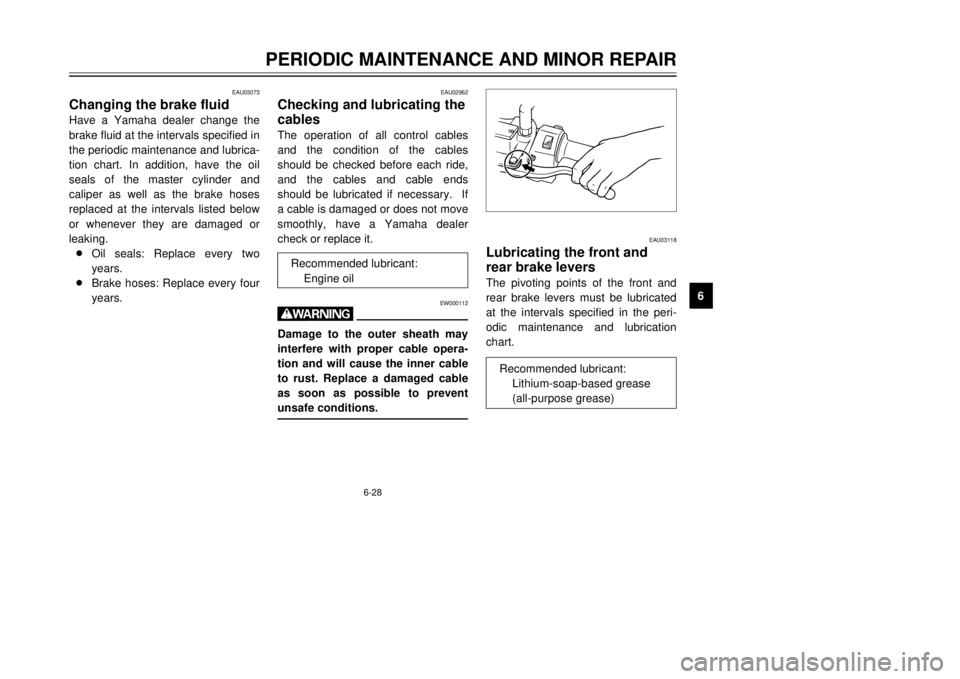
Lubricating the front and
rear brake leversThe pivoting points of the front and
rear brake levers must be lubricated
at the intervals specified in the peri-
odic maintenance and lubrication
chart.
Recommended lubricant:
Lithium-soap-based grease
(all-purpose grease)
5GM-9-E1(No ABS) 9/27/00 2:18 PM Page 71
Page 87 of 106

7-1
CareWhile the open design of a scooter
reveals the attractiveness of the tech-
nology, it also makes it more vulnera-
ble. Rust and corrosion can develop
even if high-quality components are
used. A rusty exhaust pipe may go
unnoticed on a car, however, it
detracts from the overall appearance
of a scooter. Frequent and proper
care does not only comply with the
terms of the warranty, but it will also
keep your scooter looking good,
extend its life and optimize its perfor-
mance.Before cleaning
1.Cover the muffler outlet with a
plastic bag after the engine has
cooled down.
2.Make sure that all caps and cov-
ers as well as all electrical cou-
plers and connectors, including
the spark plug cap, are tightly
installed.
3.Remove extremely stubborn dirt,
like oil burnt onto the crankcase,
with a degreasing agent and a
brush, but never apply such
products onto seals, gaskets and
wheel axles. Always rinse the dirt
and degreaser off with water.Cleaning
ECA00011
cC8Avoid using strong acidic
wheel cleaners, especially on
spoked wheels. If such prod-
ucts are used on hard-to-
remove dirt, do not leave the
cleaner on the affected area
any longer than instructed.
Also, thoroughly rinse the area
off with water, immediately dry
it, and then apply a corrosion
protection spray.
8Improper cleaning can damage
windshields, cowlings, panels
and other plastic parts. Use
only a soft, clean cloth or
sponge with mild detergent
and water to clean plastic.
EAU03434
SCOOTER CARE AND STORAGE
1
2
3
4
5
67
8
95GM-9-E1(No ABS) 9/27/00 2:18 PM Page 86
Page 90 of 106

7
SCOOTER CARE AND STORAGE
7-4
StorageShort-term
Always store your scooter in a cool,
dry place and, if necessary, protect it
against dust with a porous cover.
ECA00015
cC8Storing the scooter in a poorly
ventilated room or covering it
with a tarp, while it is still wet,
will allow water and humidity
to seep in and cause rust.
8To prevent corrosion, avoid
damp cellars, stables (because
of the presence of ammonia)
and areas where strong chemi-
cals are stored.
Long-term
Before storing your scooter for sever-
al months:
1.Follow all the instructions in the
ÒCareÓ section of this chapter.
2.Drain the carburetor float cham-
ber by loosening the drain bolt;
this will prevent fuel deposits
from building up. Pour the
drained fuel into the fuel tank.
3.Fill up the fuel tank and add fuel
stabilizer (if available) to prevent
the fuel tank from rusting and the
fuel from deteriorating.
4.Perform the following steps to
protect the cylinder, piston rings,
etc. from corrosion.a.Remove the spark plug cap and
spark plug.
b.Pour a teaspoonful of engine oil
into the spark plug bore.
c.Install the spark plug cap onto
the spark plug, and then place
the spark plug on the cylinder
head so that the electrodes are
grounded. (This will limit spark-
ing during the next step.)
d.Turn the engine over several
times with the starter. (This will
coat the cylinder wall with oil.)
e.Remove the spark plug cap from
the spark plug, and then install
the spark plug and the spark
plug cap.
EWA00003
wTo prevent damage or injury from
sparking, make sure to ground the
spark plug electrodes while turn-
ing the engine over.
5GM-9-E1(No ABS) 9/27/00 2:18 PM Page 89