Page 3 of 118
Downloaded from www.Manualslib.com manuals search engine Contents
Page
16
19
21
62
STARTING - CHARGING
Alternator 16-1
Starter 16-4
COOLING SYSTEM
Filling - bleeding 19-1
Diagram 19-2
Thermoplunger unit 19-3
Radiator 19-4
Water pump 19-5
ENGINE MOUNTING
Suspended engine mounting 19-6
Exhaust
Catalytic converter 19-7
MANUAL GEARBOX
Identification 21-1
Gears 21-1
Capacity - Lubricants 21-2
AIR CONDITIONING
General 62-1
Compressor 62-2
Dehydration canister 62-3
Condenser 62-4
Pressure relief valve 62-5
Connecting hoses 62-6
Page 44 of 118

Downloaded from www.Manualslib.com manuals search engine TURBOCHARGING
Turbocharger
12
12-6
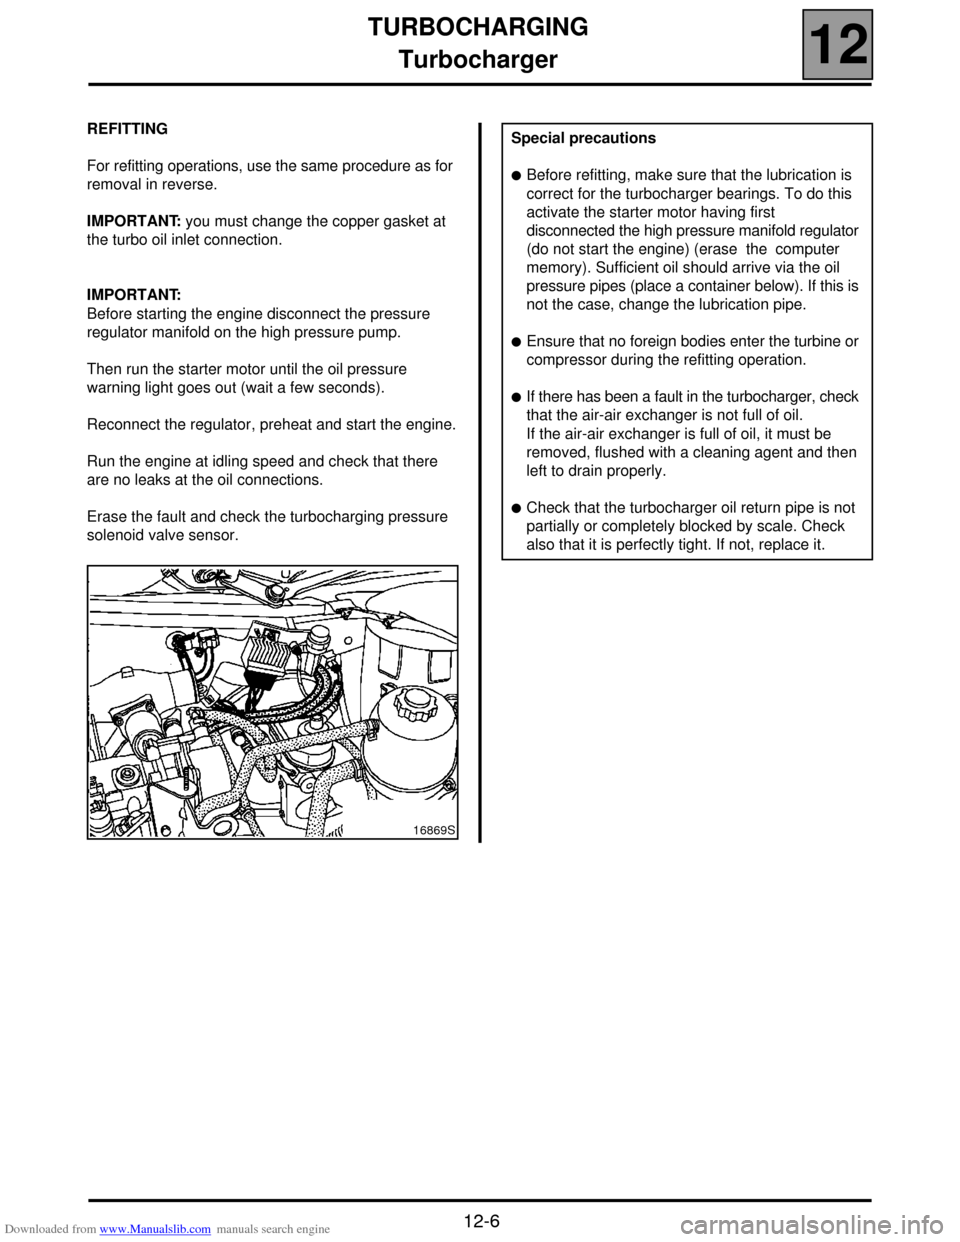
REFITTING
For refitting operations, use the same procedure as for
removal in reverse.
IMPORTANT: you must change the copper gasket at
the turbo oil inlet connection.
IMPORTANT:
Before starting the engine disconnect the pressure
regulator manifold on the high pressure pump.
Then run the starter motor until the oil pressure
warning light goes out (wait a few seconds).
Reconnect the regulator, preheat and start the engine.
Run the engine at idling speed and check that there
are no leaks at the oil connections.
Erase the fault and check the turbocharging pressure
solenoid valve sensor.
16869S
Special precautions
!Before refitting, make sure that the lubrication is
correct for the turbocharger bearings. To do this
activate the starter motor having first
disconnected the high pressure manifold regulator
(do not start the engine) (erase the computer
memory). Sufficient oil should arrive via the oil
pressure pipes (place a container below). If this is
not the case, change the lubrication pipe.
!Ensure that no foreign bodies enter the turbine or
compressor during the refitting operation.
!If there has been a fault in the turbocharger, check
that the air-air exchanger is not full of oil.
If the air-air exchanger is full of oil, it must be
removed, flushed with a cleaning agent and then
left to drain properly.
!Check that the turbocharger oil return pipe is not
partially or completely blocked by scale. Check
also that it is perfectly tight. If not, replace it.
Page 68 of 118
Downloaded from www.Manualslib.com manuals search engine DIESEL EQUIPMENT
Pre-postheating control
13
13-17
Pre-postheating control
The pre-postheating function is controlled by the preheating unit.
OPERATING PRINCIPLE FOR PRE-POST HEATING
1) "Preheating" on ignition
a) Variable preheating
The warning light lighting time and the
supply to heater plugs time depends on the
coolant temperature and the battery
voltage.
In all cases the injection warning light
lighting time cannot exceed 15 seconds.
b) Fixed preheating
After the warning light goes out the plugs
remain supplied for a fixed period of
10 seconds.2) Starting
The plugs remain supplied while the starter is
being activated.
3) "Postheating" while the engine is running
During this phase the plugs are supplied
continuously according to coolant temperature.
time (s)
Coolant
temperature °C For idling speed without
depression of the accelerator
pedal.
Page 101 of 118
Downloaded from www.Manualslib.com manuals search engine STARTING - CHARGING
Starter
16
16-4
Starter
IDENTIFICATION
Type Engine Starter motor
XA0 5 F9Q 732 MITSUBISHI M1T85781
Page 102 of 118
Downloaded from www.Manualslib.com manuals search engine STARTING - CHARGING
Starter
16
16-5
REMOVAL
Put the vehicle on a 2 post lift.
Disconnect the battery.
Remove (for the Scénic):
– the front right hand grille as well as the mounting
bolts of the left hand grille,
– the closure panel of the scuttle,Remove (all types):
– the turbocharging air ducts between the exchanger
and the engine,
– the pre-catalytic converter mountings to the turbo.
Loosen the exhaust pipe clamp mounting.
Remove:
– the pre-catalytic converter stay (1),
– the catalytic converter mountings on the precatalytic
converter and remove this by moving the engine
towards the cooling system,
– the oil return pipe (8),
– the starter electrical connections.
– the starter mountings,
– the starter motor.
REFITTING
To remove, proceed in the reverse order.
Check the presence of the starter motor centring
dowel.
11020R
11036R2
16155R